Fix: You do not have Permission to View this Object’s Security
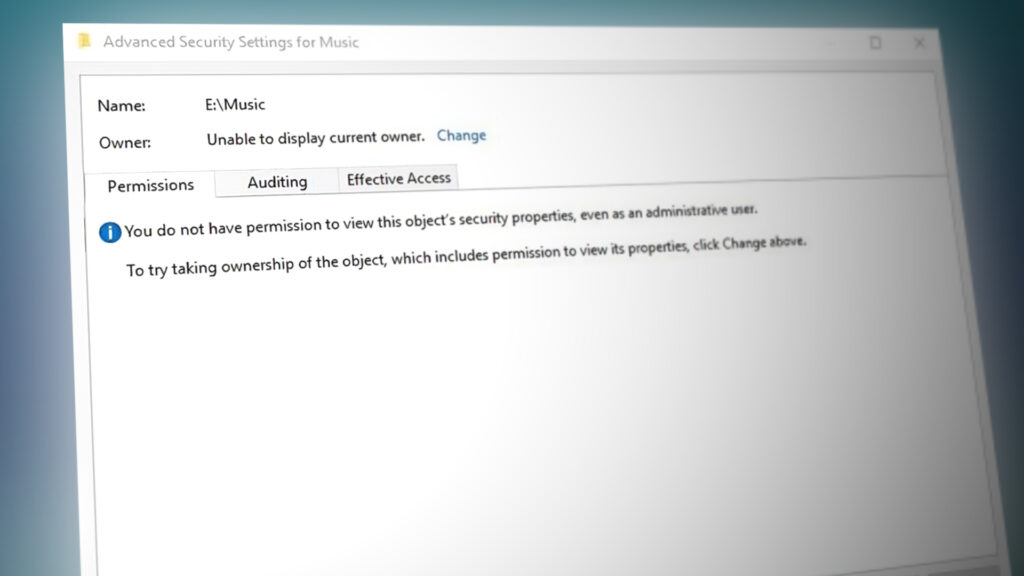
This error appears in a file’s or folder’s properties deep inside security settings which deal with file permissions and ownership. Under the permissions section, you may encounter the following error message:
You do not have permission to view this object’s security properties, even as an administrative user.
To try taking ownership of the object, which includes permission to view its properties, click Change above.
If you want to be able to change the permissions related to the file or folder which is giving you problems, we suggest you follow the rest of the article closely and try out all methods. Good luck!
What Causes the You do not have Permission to View this Object’s Security Properties Error?
The list of possible causes for this problem is pretty short and straightforward. The path to the solution highly depends on what might have caused the problem for you so we recommend you check this list first:
- Some other program or service is using your file or folder simultaneously, preventing you from editing its permission settings. If this is the case, a simple restart should be more than enough to solve the problem.
- The file is created or is owned by a user account which is no longer active on your computer. This can be resolved easily in Safe Mode.
- You are not the owner. Taking ownership of the problematic file or folder might get rid of all permission problems.
Solution 1: Simply Restart Your Computer
The most common cause for this problem is simply the fact that the file or folder you want the change the permissions for is open in some other program or used by some other service and it’s impossible to interrupt that. If that is the case, a simple restart may be enough for you to resolve your problems.
Simply click the Start menu button of your computer followed by the Power Button. Choose Restart from the list of options and see if your problem has been resolved.
Solution 2: Start Your PC in Safe Mode and Delete Old Users
Another possible scenario for this problem occurs if the file was created or is owned by a user account which has since been deleted. This will sometimes still list the file as being owned by the deleted user account which will also prevent it from having its permission settings altered. You can delete the user account from being the owner in Safe Mode.
- This method is useful for a version of Windows older than Windows 10. Use the Windows + R key combination on your keyboard in order to start the Run dialog box and type in “msconfig” before clicking OK.
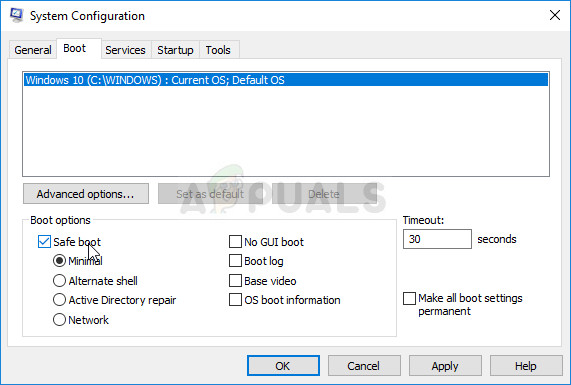
- In the System Configuration window, navigate to the Boot tab to the right and check the box next to the Safe Boot entry. Click OK and restart your computer in order to boot into Safe Mode.
- If you are using Windows 10 on your PC, there is another way to access Safe Mode on your computer. Use the Windows Key + I key combination in order to open Settings or click the Start menu and click the gear key at the bottom left part.
- Click on Update & security >> Recovery and click the Restart Now option under the Advanced startup section. Your PC will proceed to restart and you will be prompted with the Startup Settings screen.
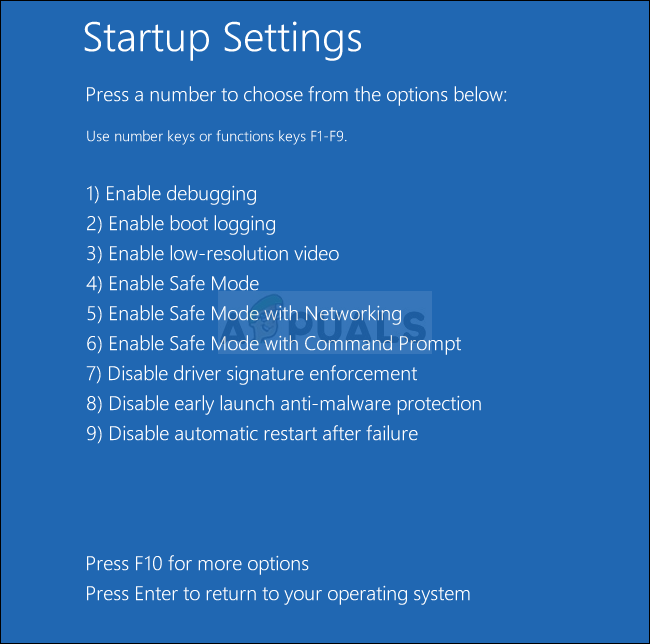
- Click the number 4 key or F4 in order to start your PC in Safe Mode on Windows 10.
- Now that you have successfully booted into Safe Mode, right-click on the file or folder giving you the problems and choose Properties from the context menu.
- Navigate to the Security tab and click the Advanced button at the bottom. Click the Add button in the new window which pops up and click the Select a principal button at the top.
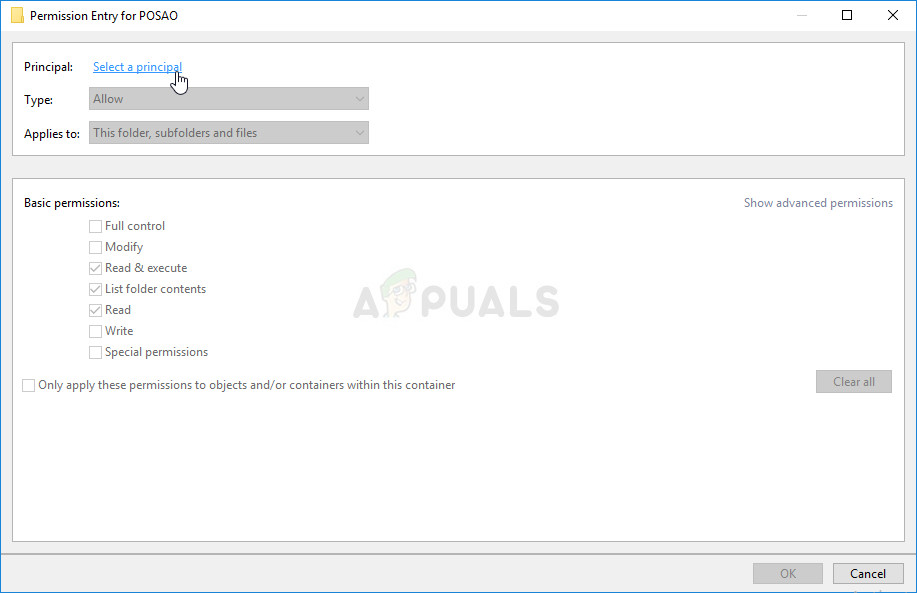
- Enter the name of the user account you wish to add permissions for and click Check Names.
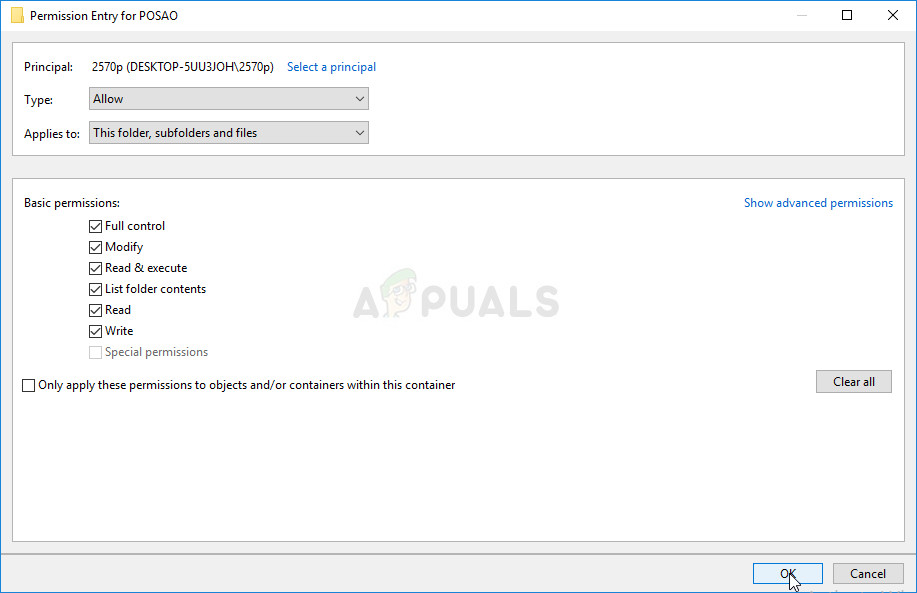
- In the old window, choose Allow under Type and make sure it “Applies to: This folder, subfolders and files”. Choose the permissions you wish to add and click OK.
- Choose the old account which has been deleted from the Permission entries list, click on it once, and click the Remove button and confirm any dialogs.
- Open ‘msconfig’ and remove the check box next to Safe Mode and restart your computer.
Solution 3: Add Permissions for all Authenticated Users
This interesting method includes adding a user called Authenticated Users to add permissions and it will basically enable you to add permissions overriding this problem. This is easy to perform and it has helped some people to get rid of the issue so we highly recommend you try this out.
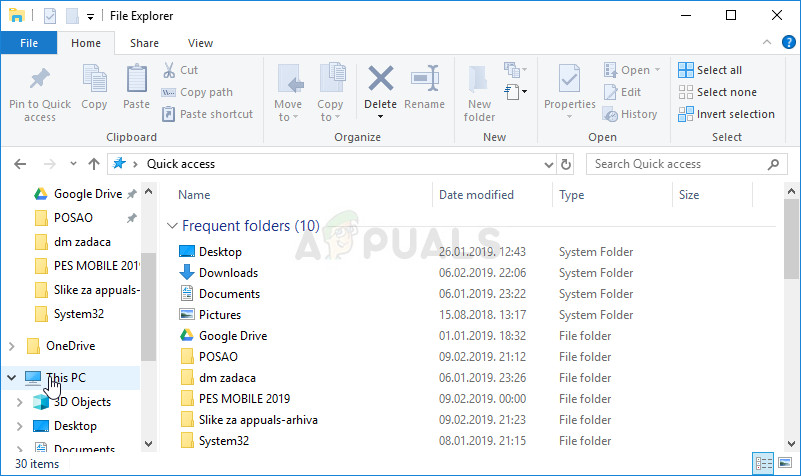
- Open your Libraries entry on your PC or open any folder on your computer and click on This PC option from the left side menu.
- Navigate to the folder or file that you which to change the permission settings for.
- Right-click the folder, click Properties, and then click the Security tab. Click the Advanced button. The “Advanced Security Settings” window will appear. Here you need to add another Permission entry on the list. Click the Add button.
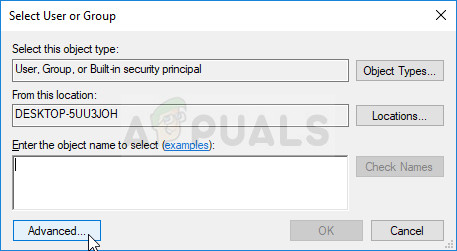
- Click the blue Select a principal button from the top of the page and click Advanced from the new Select User or Group window.
- Click Find Now right after that and locate the Authenticated Users entry in the Search results at the bottom. Double-click to select this entry.
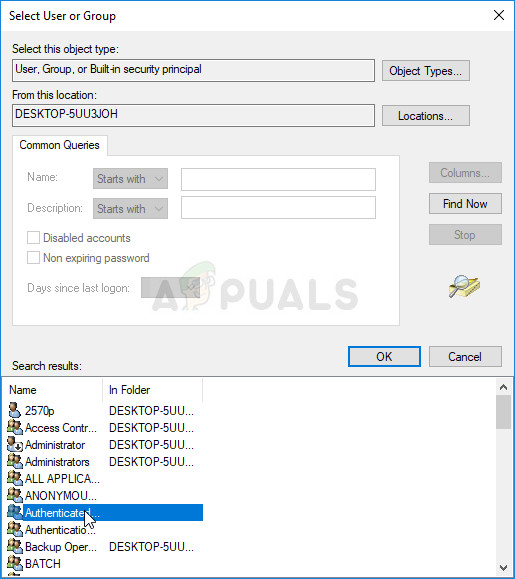
Select Authenticated Users from the list as the required account - In the old window, choose Allow under Type and make sure it “Applies to: This folder, subfolders and files”. Choose the permissions you wish to add and click OK.
- Click OK once more and your problem should be resolved.
Solution 4: Take Ownership
Another great method of solving this problem is taking full ownership of it so that you can freely change and edit permissions settings. Taking ownership in the same window as the one you opened in Properties will sometimes throw some error so it’s better if you use Command Prompt for the same job. Follow the instructions we have prepared below!
- Search for “Command Prompt” by typing it either right in the Start menu or by pressing the search button right next to it. Right-click the first entry which will pop up as a search result and select the “Run as administrator” context menu entry.
- Additionally, you can also use the Windows Logo Key + R key combination in order to bring up the Run dialog box. Type in “cmd” in the dialog box which appears and use the Ctrl + Shift + Enter key combination for admin Command Prompt.

- Type in the following commands in the window and make sure you press Enter after typing each one. Wait for the “Operation completed successfully” message or something similar to know that the method worked.
takeown  /f   "F:\ProblemFolder"   /a   /r   /d y
icacls "F:\ProblemFolder"  /t /c /grant administrators:F  System:F  everyone:F
- “F:\ProblemFolder” is a placeholder for the actual location of the file. If the commands above report not errors, then you have managed to change the permissions and the ownership of the file or folder!


I have been looking for a solution everywhere since I was locked out of 1000s of files. Your CMD workaround was a dream! Ty so much!