Windows 11 Not Detecting Headphones? Try these fixes
There have been reports of users experiencing sound issues on the new operating system. As per the reports, the plugged-in headphones are not detected by Windows 11, and as a result, users are left with no output sound. This can happen sometimes due to obvious reasons such as when your device is not plugged in properly or due to an issue with the audio drivers that are installed on the computer. Regardless of the cause of the problem, an issue like this can be easily resolved. In this article, we are going to take you through this process and show you different methods that you can use to fix the problem with quite an ease.
As it turns out, upgrading to Windows 11 is supposed to be an easy process without any hurdles coming your way. However, that can quickly change due to the various issues with the installation assistant like the 0xc1900101 error code. When you have no sound on your system, this can usually be fixed quite easily through a few simple methods. As it turns out, the problem can occur when sound drivers are not working properly, or when your cable is not plugged into your computer correctly. On top of that, in some scenarios, your BIOS may also cause this problem in which case you will have to update your BIOS to solve the problem.
Now, these reasons are pretty general and they just require a few clicks in order to be fixed which can also be the case with this problem here unless your motherboard is faulty. However, if it was working properly on older versions, you will be able to fix the issue on Windows 11 quite easily as well. With that said, let us get started and show you the different methods that will help you circumvent the issue without any further delay.
Check Headphones Cables
As it turns out, the first thing that you should do when you encounter the problem in question is to make sure that your headphones are properly plugged into your computer. It can happen many times where the device fails to be recognized because it has not been connected properly to the computer. Over time, when you use your device, you might accidentally pull the cable which may not have an immediate effect but it slowly loosens and there comes a point where the device is no longer recognized because of it.
Therefore, go ahead and check your headphone’s cable to make sure that they are properly plugged in. This is a pretty normal mistake to make and it usually slips our minds. On top of that, we all go through something like this at some point. Disconnect the cable completely and then put it back in. If the problem still persists, move on to the next method provided down below.
Run Audio Troubleshooter
Another thing that can potentially find any problems that might be occurring with your audio device and then try to fix them is the audio troubleshooter. As it turns out, Windows comes with a bunch of different troubleshooters that can be used for different purposes and they are often useful when it comes to simple problems such as this.
Thus, in order to fix the problem, you can run the audio troubleshooter and see if that nets you any results. To run the troubleshooter, follow the instructions given down below:
- First of all, open up the Windows Settings app by pressing Windows key + I on your keyboard.
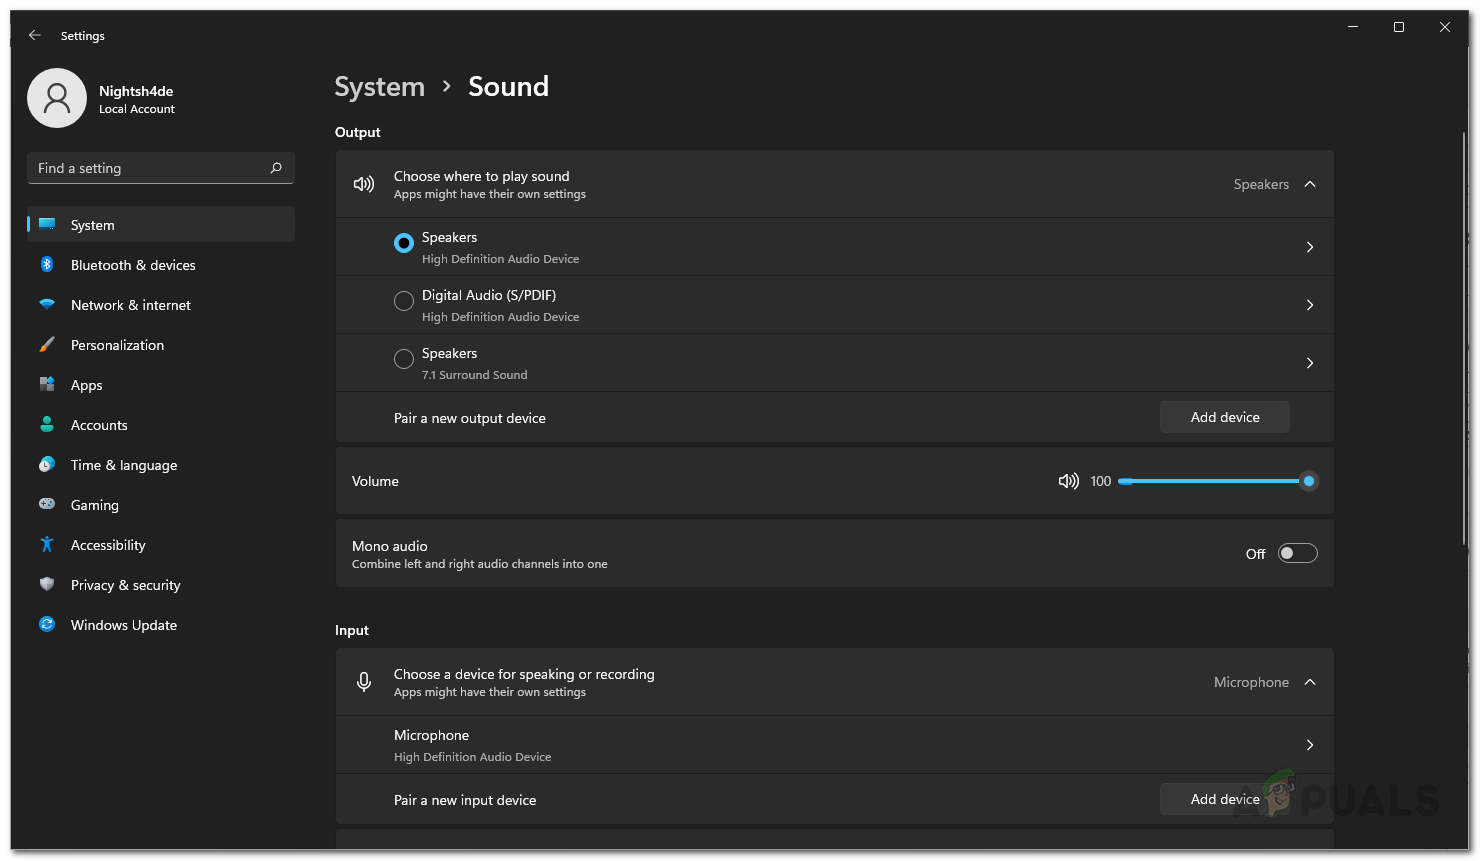
- On the System tab of the Settings window, click on the Sound option provided.
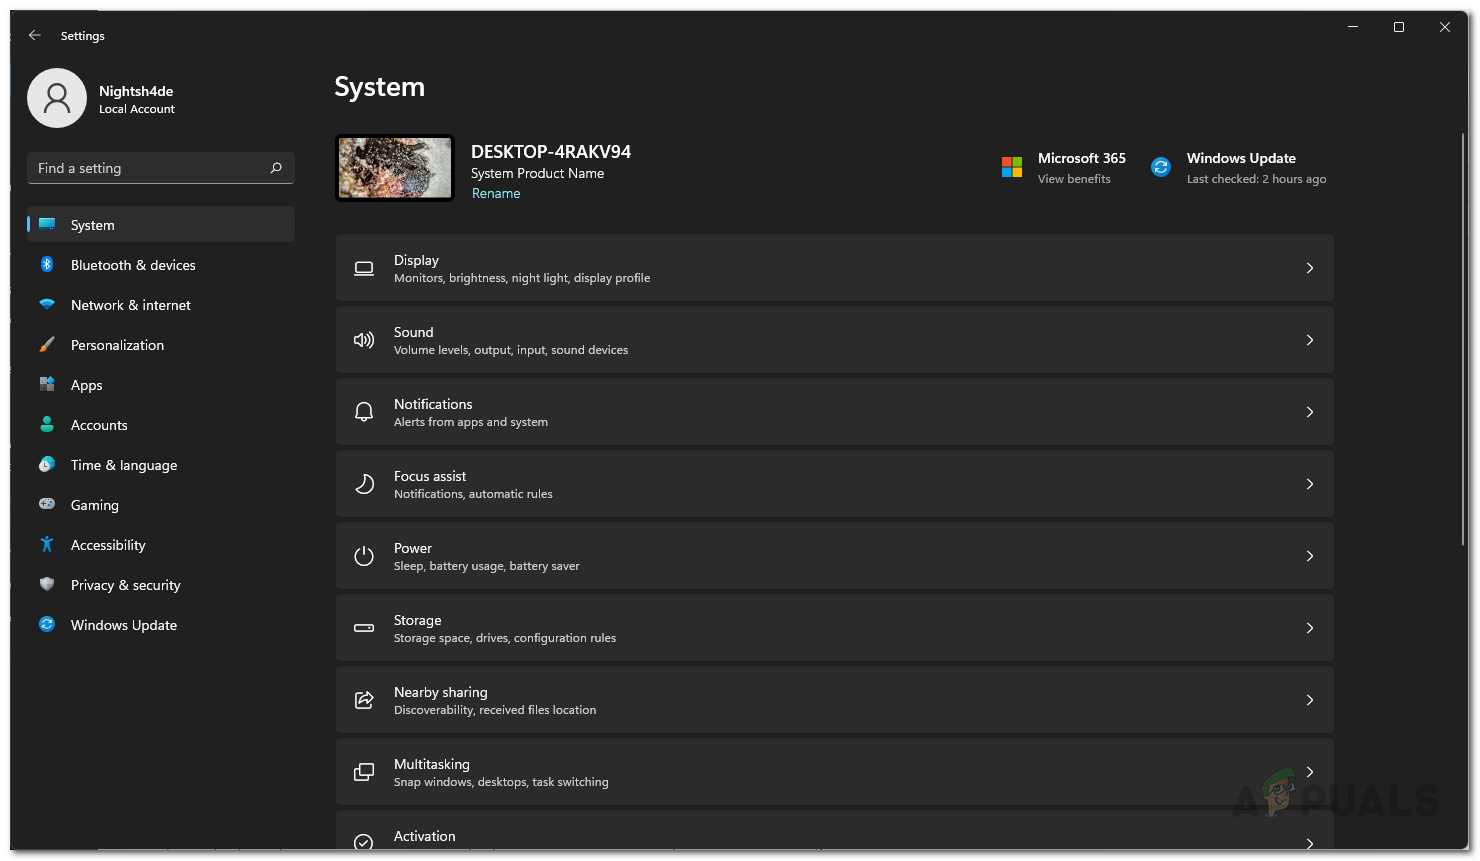
Windows Settings - Make sure that your device is selected in case you see it here.
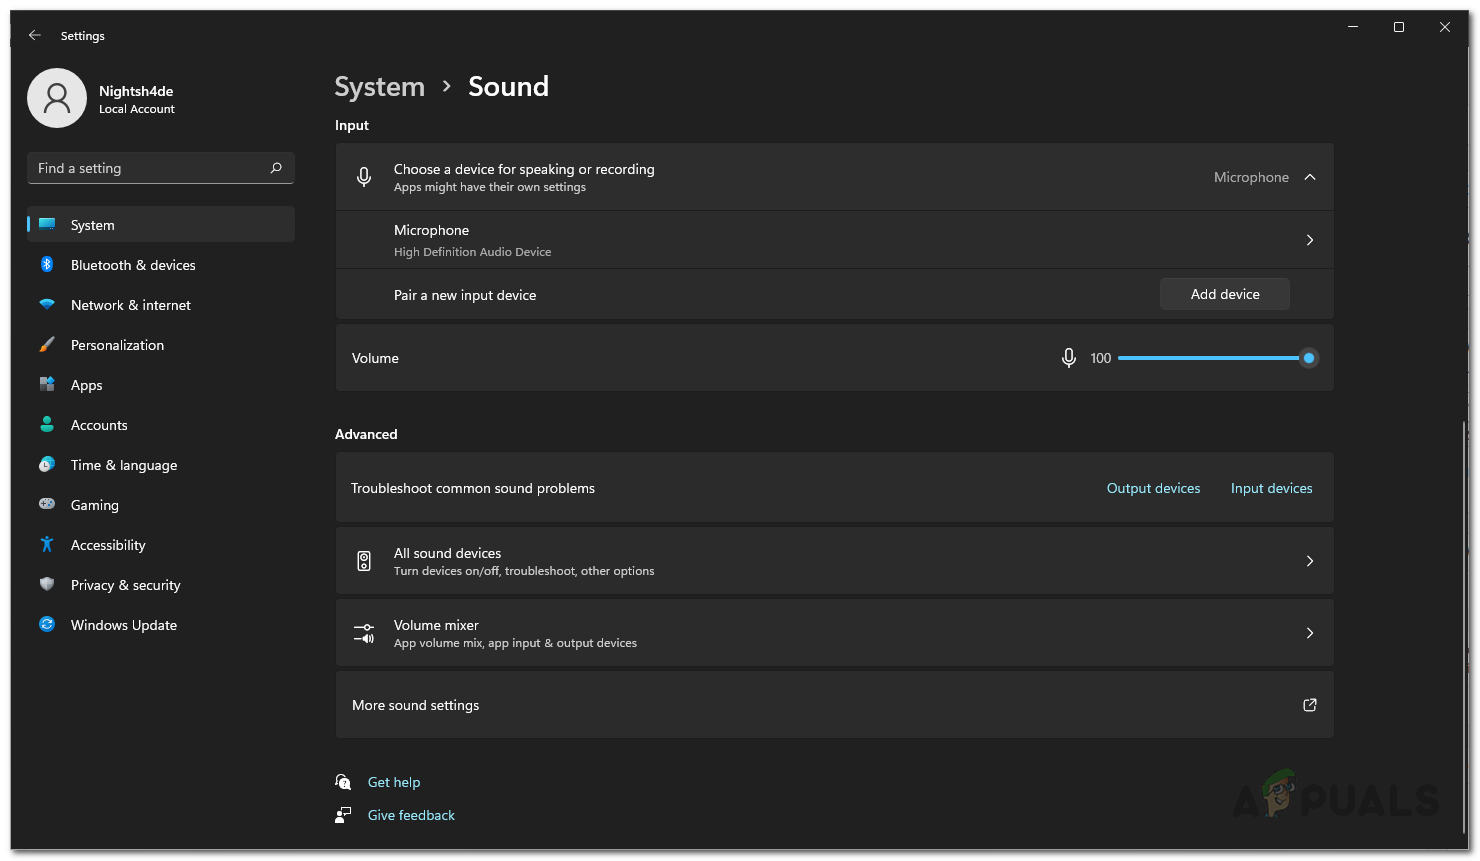
- Otherwise, scroll all the way down to the Advanced section.
- Next to Troubleshoot common sound problems, click on the Output devices option.
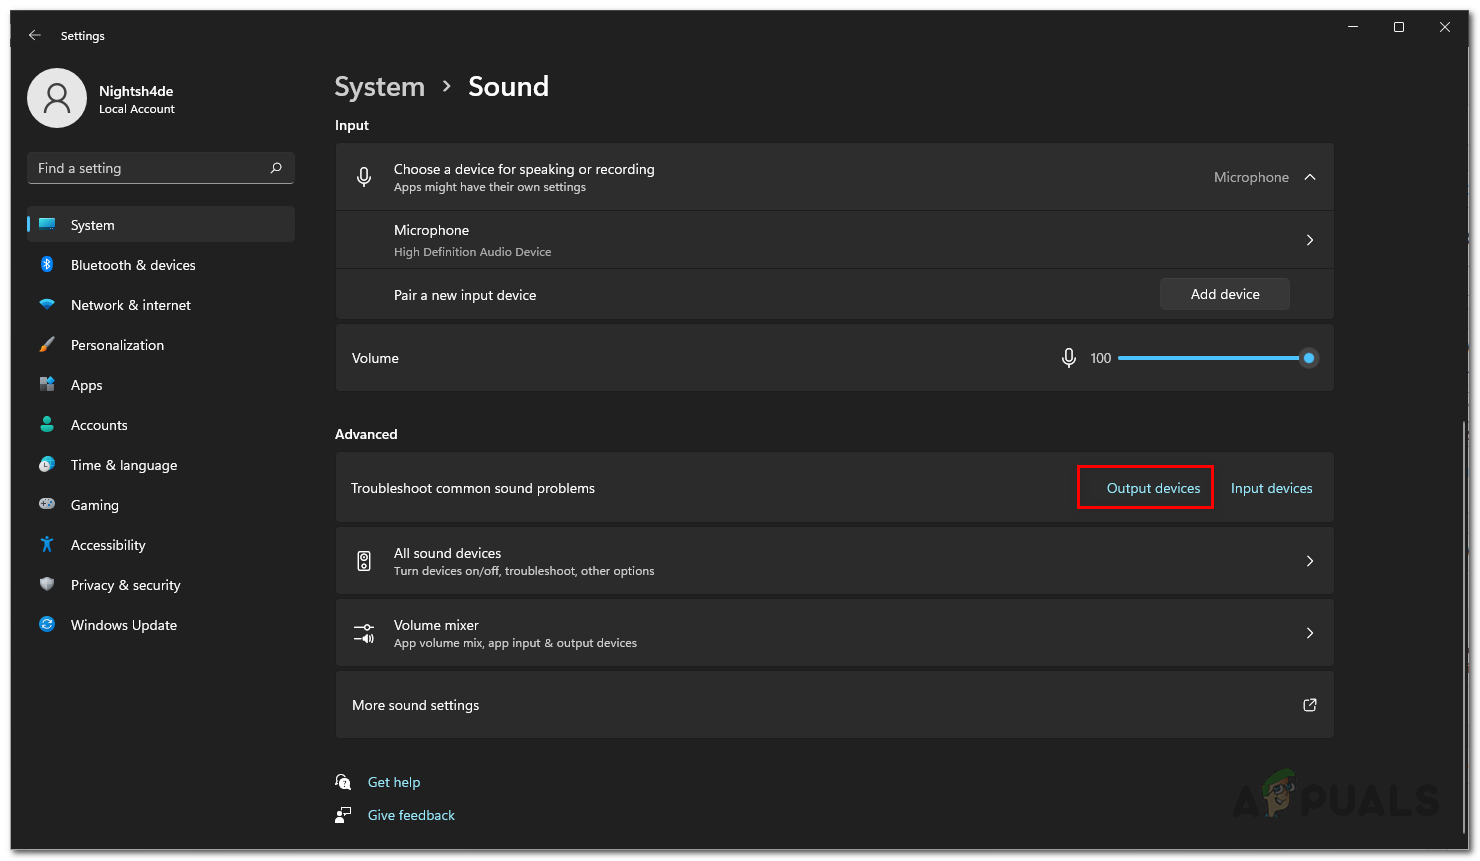
Troubleshooting Output Devices - This will start the troubleshooter. Follow the on-screen prompts to get through it. It will scan your computer and look for any reasons that might be causing an issue.
- Once you are done, see if that fixes the problem for you.
Add Device Manually (if applicable)
As it turns out, in case you are using Bluetooth headphones or anything else that’s similar and connects to your computer via Bluetooth, you can choose to add the device manually. This gives you simple on-screen prompts that you can follow in order to connect or pair your device with your computer. Doing this is pretty simple, just follow the instructions that are given down below and you will be done:
- First of all, open up the Windows Settings window by pressing Windows key + I.
- Then, once the Settings window is up, stay on the System tab and click on Sound on the right-hand side.
Windows Settings - There, at the top, click on the Choose where to play sound drop down menu to expand it.
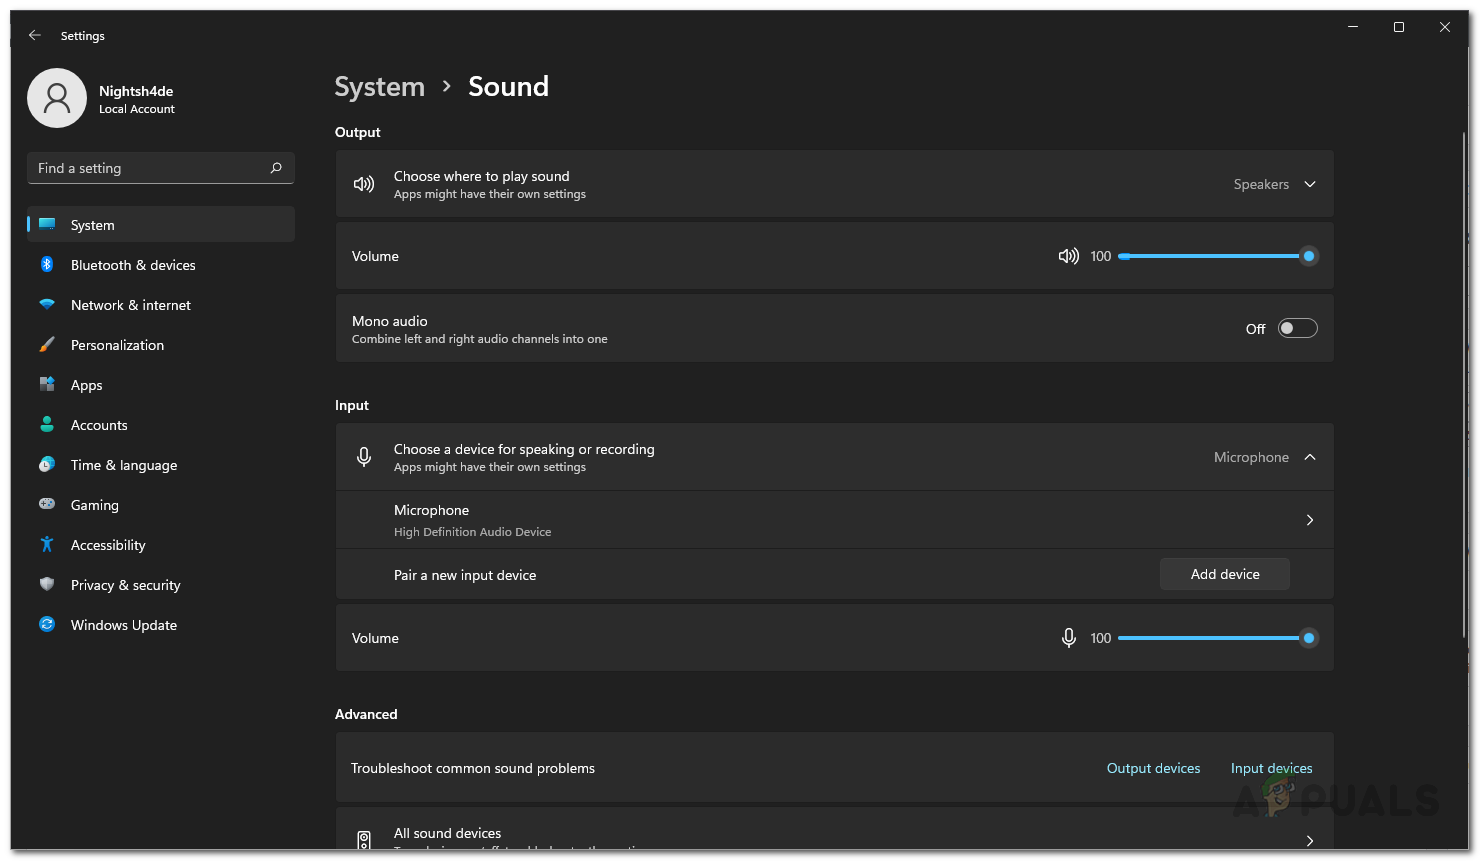
Sound Settings - Then, click on the Add device option provided. In order to be able to connect to a device via Bluetooth, you will first need to turn on Bluetooth on your computer.
Adding Device Manually - Once you have done that, go through the on-screen prompts to go through the process of adding your device manually.
Enable Playback Device
In some cases, you may not be able to get sound through your headphones because the device is disabled on your computer. When this happens, you will not be able to see the device in the options menu of the applications that you use or the Windows Settings window for that matter.
If this case is applicable, you will have to enable your device through the sounds settings window. Once you enable the device, you will be able to choose the device as the default playback device on your computer and thus the problem will be resolved. To enable the device, follow the instructions down below:
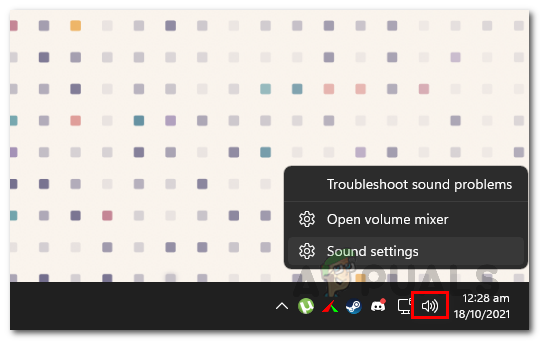
- First of all, on your taskbar, right-click on the sound icon, and from the menu that appears, click the Sound settings option.
Opening up Sound Settings - Now, on the sound settings window that appears, scroll all the way to the bottom and then click on the More sound settings option.
Advanced Sound Settings - This will bring up another window called Sound.
- On the Playback tab, look for any devices that are disabled and right-click on them. From the drop-down menu that appears, click on the Enable option.
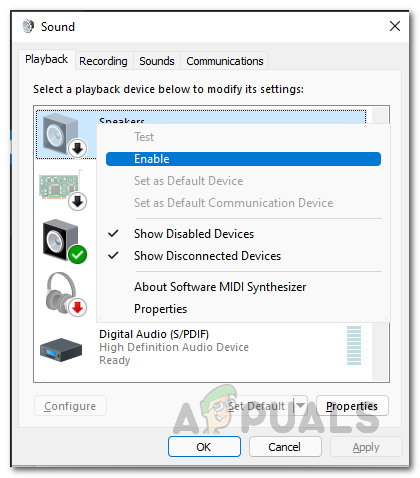
Enabling Playback Device - Once you have done that, see if that resolves your issue.
Reinstall Sound Drivers
As it turns out, if the above-provided methods have not fixed the problem for you, then it may be due to the sound drivers that are installed on your computer. This is not something to worry about as this can happen pretty generally and you can easily reinstall the drivers on your computer.
If this case is applicable, you can actually go about it in two ways. First, you can have Windows install the drivers for you automatically. However, the problem with that is that the drivers installed may not always be up to date. This is where the second option comes in which is more of a manual approach. What you will have to do is go to your motherboard manufacturer’s website and then download the sound drivers from there. This way, you will have the latest drivers installed. To uninstall the sound drivers, follow the instructions down below:
- First of all, open up the Device Manager by searching for it in the Start Menu.
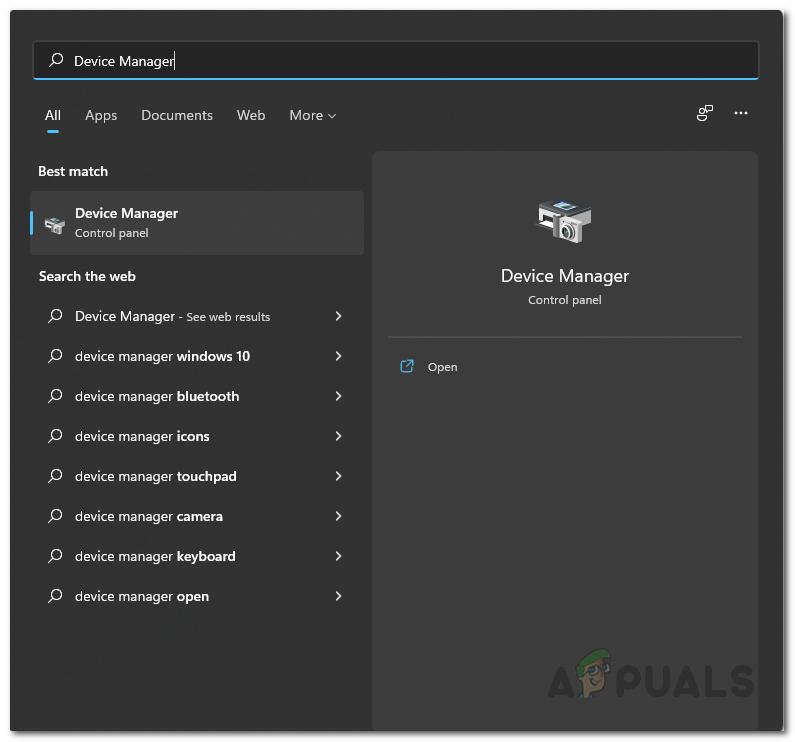
Opening up Device Manager - Once the Device Manager window is open, expand the Sound, video and game controllers list.
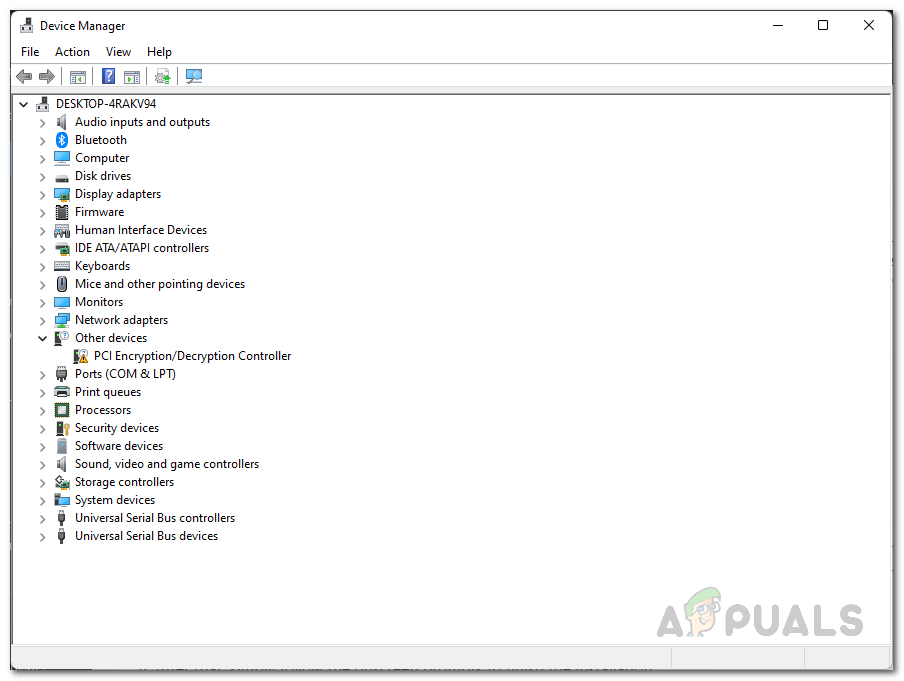
Device Manager - From the list of drivers, right-click on your sound drivers, and from the drop-down menu, click the Uninstall device option.
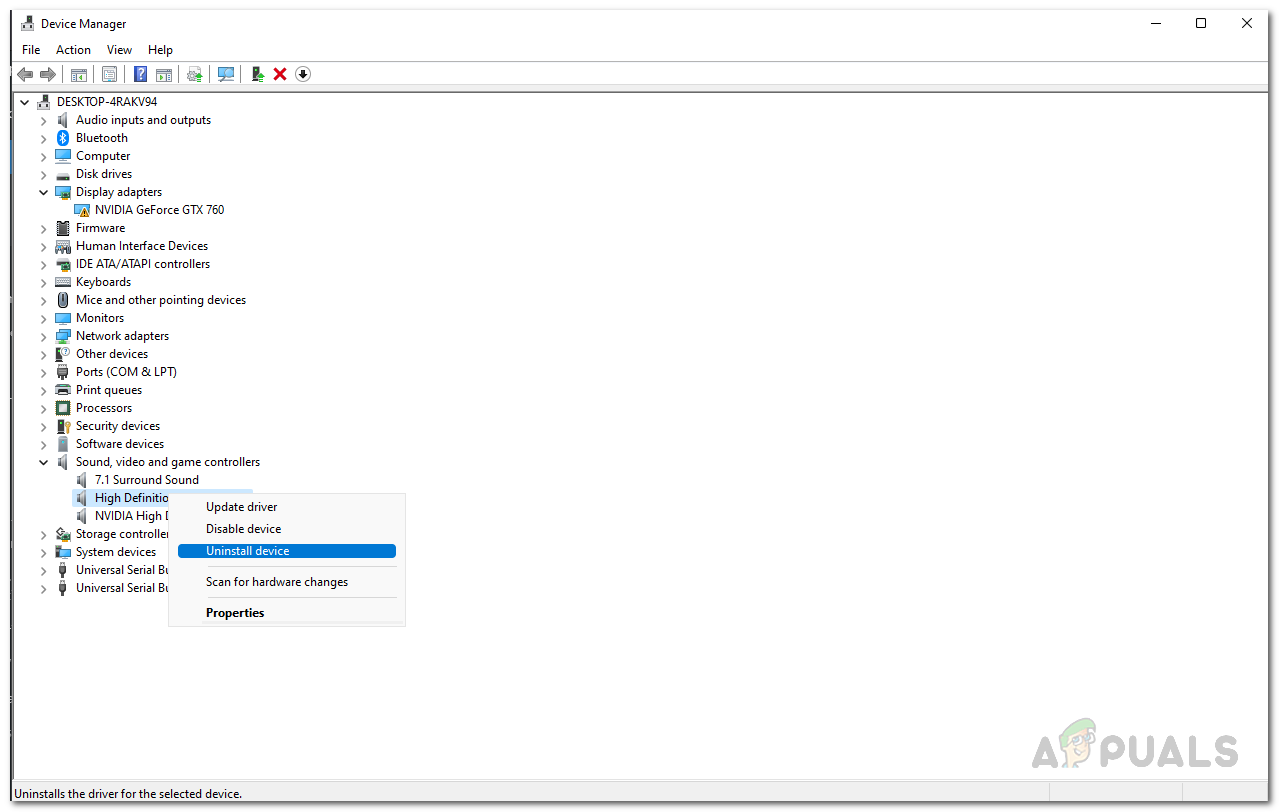
Uninstalling Sound Driver - Once you have done that, this is where you get to choose what you wish to do.
- If you want to have Windows install the drivers automatically, you can simply restart your computer and let Windows handle the drivers.
- Alternatively, and this is what we recommend, you can go to your motherboard manufacturer’s website and download the latest sound drivers from there. Once you have done that, install them and see if that resolves the problem.
Update BIOS
Finally, if updating your audio drivers has still not fixed the issue for you, then your last resort would be to simply update the BIOS firmware on your motherboard. BIOS is a key component on your computer that starts all the devices as your PC is booting up. Thus, if you have an outdated BIOS, that can cause you several issues and in order to fix them, you will have to update your BIOS.
To update the BIOS, you will have to head to your motherboard manufacturer’s website and then download the latest version available for your product. You can also take the help of the utilities that are provided by some manufacturers to update the BIOS automatically. Once you have done that, see if that resolves the problem for you.


