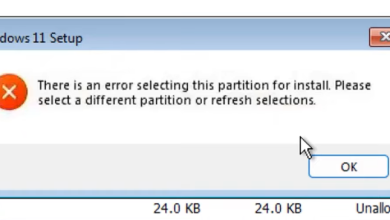
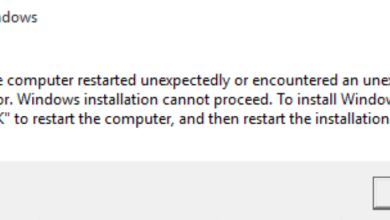
Windows 11 Installation Has Failed? Here’s the Fix!
Windows 11 is still in its early days, which is one of the main causes why it is common to encounter errors while installing it or using its certain features. One common error code that the users face is the ‘Windows 11 installation has failed’ error code, which does not describe the reason behind the error.
There can be quite a few variables behind the ‘Windows 11 installation has failed’ error in the Windows 11 installation process, including:
- Incompatible hardware – If your PC does not meet the minimum requirements set by Windows, you will not be able to install and use the new operating system.
- TPM and Secure Boot are disabled – Windows also requires you to have TPM 2.0 and Secure Boot enabled on your Windows before you begin installing Windows 11. You can enable these features in BIOS settings as described below.
- Corrupt Graphics Card driver – As it turns out, a corrupt or outdated Graphics Card driver might also prevent you from installing the new version of the Windows operating system. If this scenario is applicable, removing the driver should do the trick for you.
Now that we know about the potential causes, let’s see how to fix the issue.
Check Hardware Requirements
Your PC might not meet the minimum hardware requirements – one of the main reasons why you can’t install Windows 11. Microsoft has clearly stated that it will block systems that fail to meet its minimum requirements for Windows 11, as they have been very strict about the minimum requirements.
Here are the system requirements:
- Processor – at least 2 cores running at 1 GHz or faster
- RAM – 4 GBs
- Storage – at least 64 GB of available storage
- System Firmware – Secure Boot, UEFI capable
- Graphics Card – Compatible with DirectX12 or later with WDDM 2.0 driver
- TPM – Version 2.0 of the Trusted Platform Module
If you want to have a detailed look at the system requirements, you can visit the official Microsoft website here.
Enable TPM In BIOS Settings
TPM chips reside on the motherboard of your computer. It’s a dedicated processor for handling encryption, containing part of the secret key for unlocking your device and accessing services.
If you want to update to Windows 11, TPM 2.0 must be enabled. The new operating system uses TPM 2.0 for several features, including Windows Hello for online identity management and BitLocker for data encryption.
There are some cases where TPM 2.0 isn’t properly configured on computers. This is why you need to make sure that TPM 2.0 is enabled on your device before upgrading to Windows 11.
Here is how you can enable TPM on your Windows:
- Launch Windows Settings and select Update & Security.
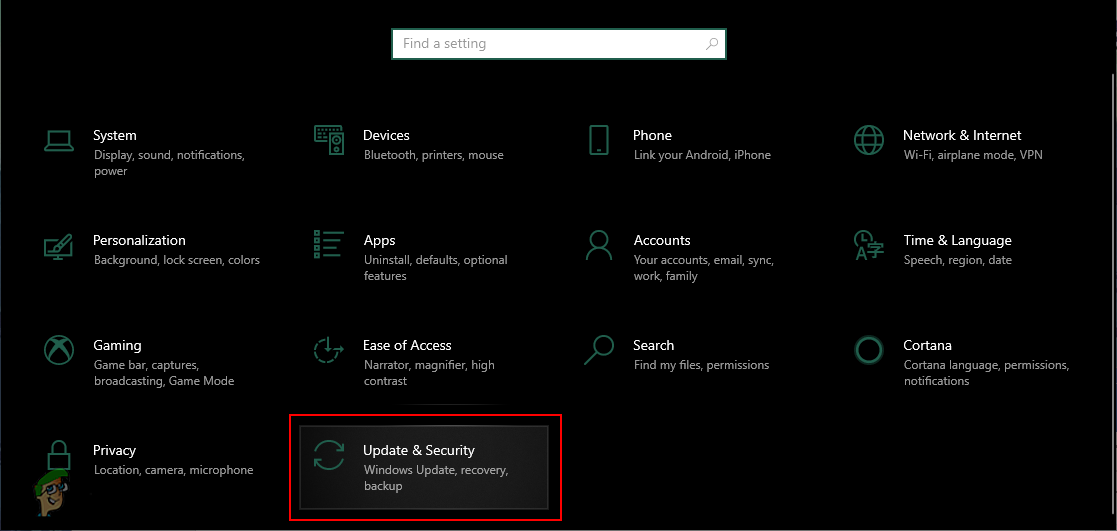
Opening Updates & Security settings - Now select Recovery from the left pane and then click on Restart now as shown below.
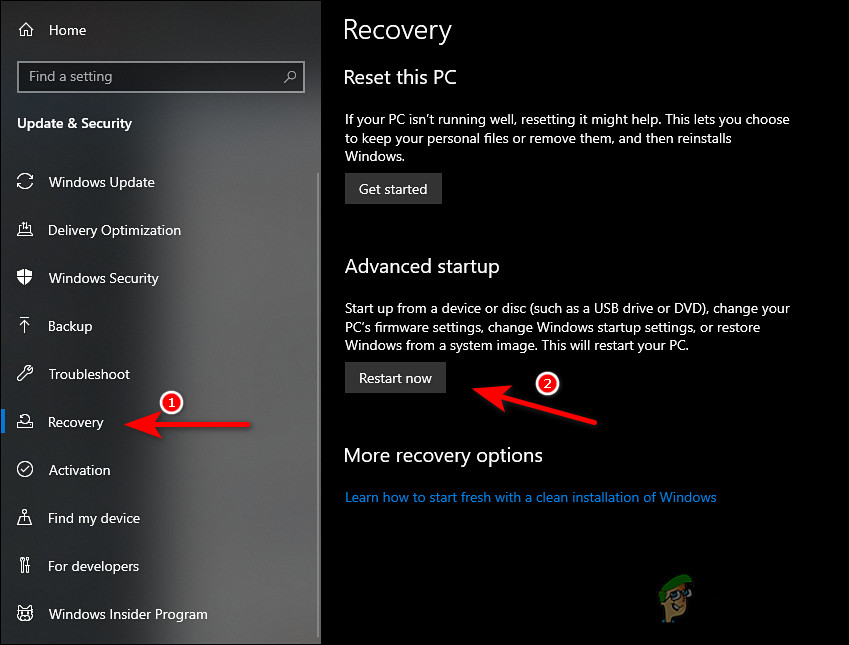
Restart PC to launch Advanced Settings - From the next screen, choose Troubleshoot > Advanced options.

Access the Troubleshoot menu - Click the UEFI Firmware settings option.
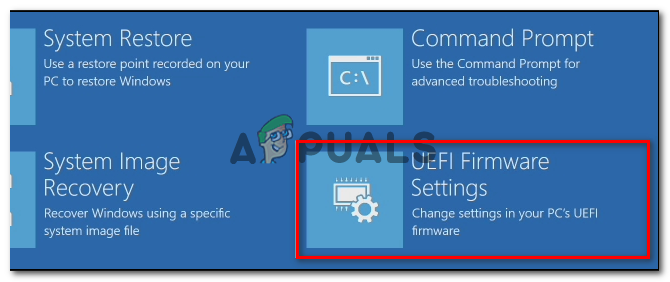
Accessing the UEFI firmware settings - Next, hit the Restart button.
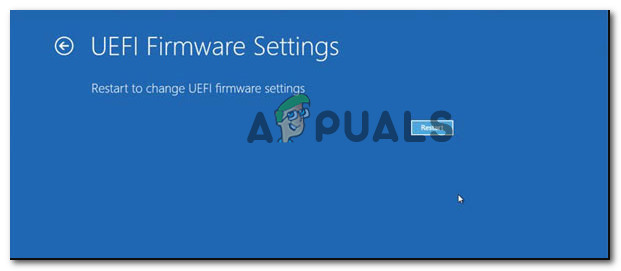
Restarting the computer directly into the UEFI Setup - In the next window, open the Security settings page.
- Select the Trusted Platform Module (TPM) option and choose the Enabled option. Press Enter to proceed.
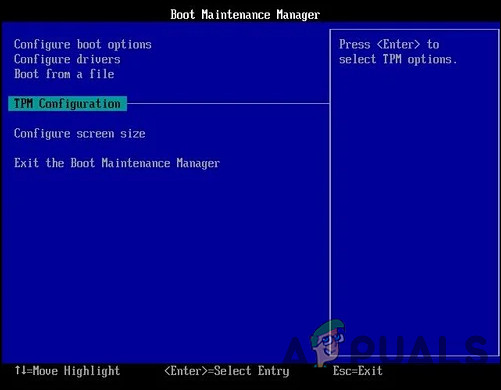
Configure TPM - Finally, exit the settings and wait for your PC to boot normally. Hopefully, this will fix the errors within the Windows 11 installation process.
Enable the Secure Boot Option
A Trusted Platform Module (TPM) is not enough to upgrade to Windows 11; your computer also needs to support Secure Boot.
With Secure Boot, an operating system starts in a secure environment that prevents malware from hijacking the system during booting. The feature is built into most modern hardware and UEFI firmware.
Here is how you can enable the Secure Boot option on your PC:
- Launch Windows Settings and head over to Updates & Security.
- Select Recovery from the left pane, and then click on the Restart button.
- From the next screen, choose Troubleshoot > Advanced options.
- Click the UEFI Firmware settings option.
- Next, hit the Restart button.
- In the next window, open the Security settings page.
- Select the Secure Boot option and enable it. Press Enter to proceed.
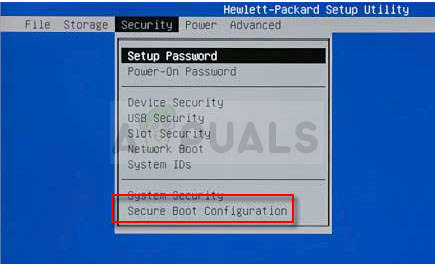
Secure Boot Configuration - Finally, exit the settings.
Bypass TPM 2.0 and Secure Boot
If you find it hard to change the BIOS settings, you can also bypass TPM 2.0 and Secure Boot to complete the Windows 11 installation process successfully.
We will be using Windows Registry to do so. However, since the Windows Registry is an administrative-level tool, we recommend creating a backup, just in case anything goes wrong.
- Press Windows + I keys simultaneously on your keyboard to open a Run dialog box.
- In the text field of the dialog box, type regedit and hit Enter to launch Windows Registry with administrative privileges.
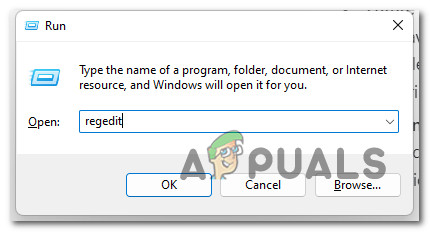
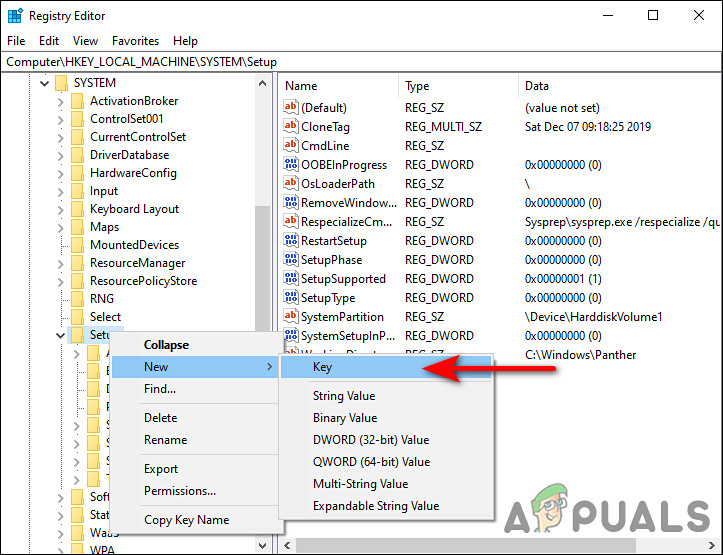
Opening up the Registry Editor - Once you are inside the Registry Editor, navigate to the location mentioned below.
HKEY_LOCAL_MACHINE\SYSTEM\Setup
- Now right-click on Setup and select the New > Key option.
- Rename this newly created key as LabConfig and double-click on it.
Create LabConfig key in Windows Registry - Next, right-click anywhere in the right pane and select the DWORD (32-bit) Value option.
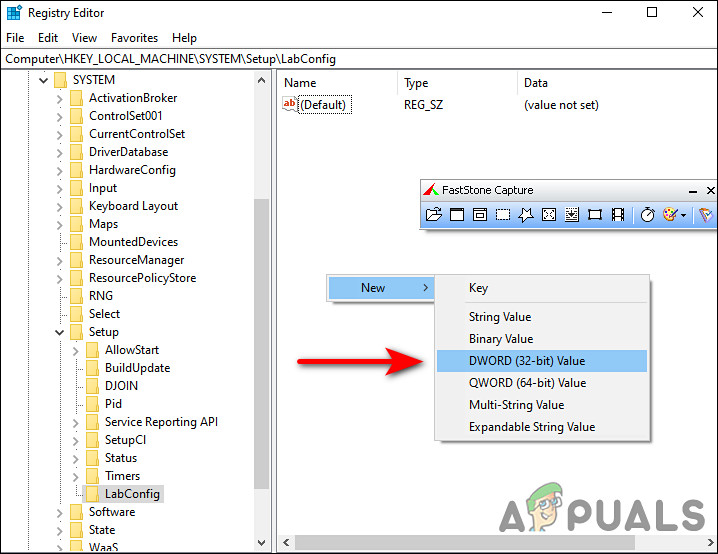
- Create a new DWORD value
- Name this value as BypassTPMCheck.
- Double-click the BypassTPMCheck value and under Value data, type 1.
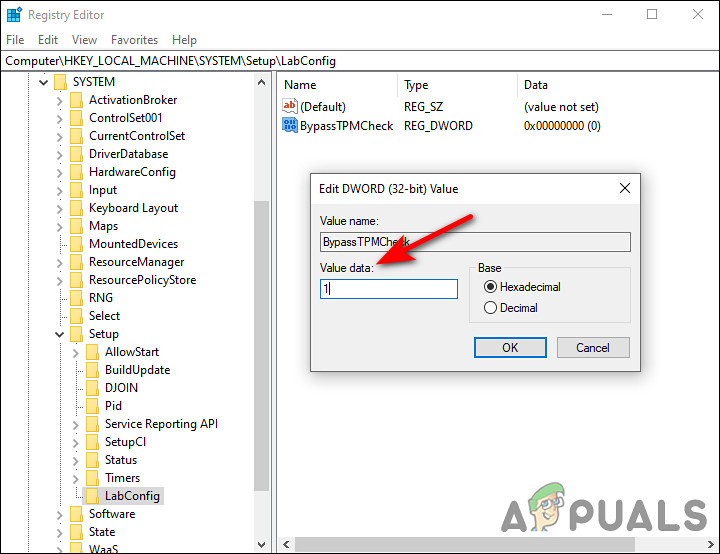
Change the Value data to 1 - Once done, make another value named BypassSecureBootCheck by following the same method and set its value as 1 too.
- Finally, close the Registry Editor and restart your PC.
Uninstall Your GPU Driver
Several users were able to resolve the issue regarding Windows 11 installation after uninstalling their GPU drivers since reports suggest that a corrupt driver might cause problems when you try to install Windows 11.
For this reason, we recommend uninstalling your GPU driver and checking if doing so resolves the issue.
- Type Device Manager in the search area of your taskbar and hit Enter.
- In the Device Manager window, expand Display adapters.
- Now right-click on your Graphics driver and select Uninstall device.
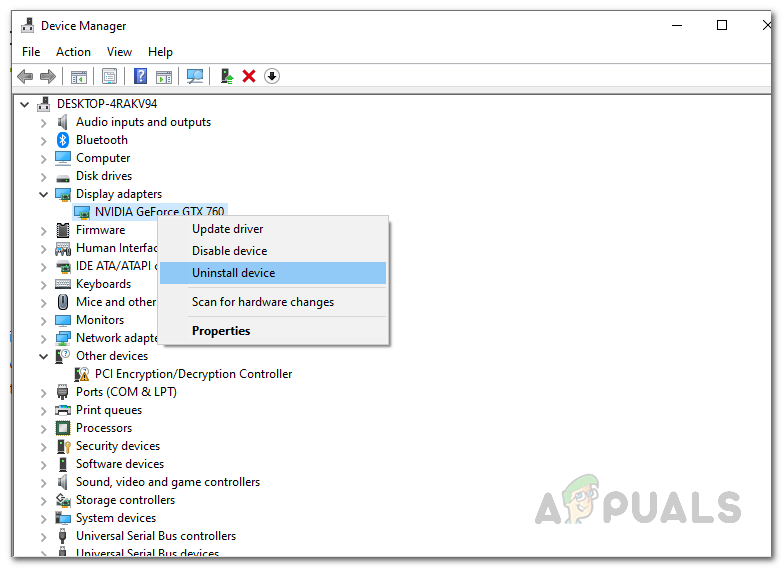
Uninstalling Graphics Drivers