Fix: Windows 10 2nd Monitor Resolution Zoomed in
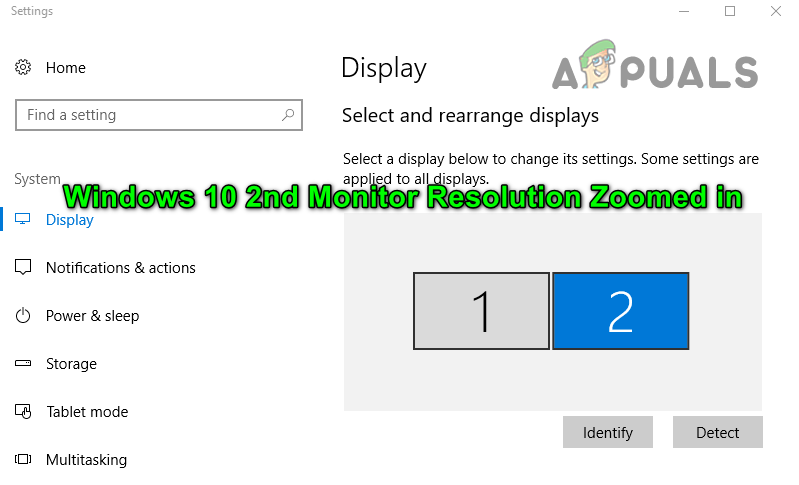
When adding a second screen to a Windows 10 computer, the display might look zoomed in with large content and cut-off edges, making it look off. This usually happens because of wrong screen resolution or scaling settings. The most common cause is wrong resolution settings.
It can also be due to old or incompatible graphics drivers, bad display cables, or monitor-specific settings like overscan. This issue can happen when using monitors of different brands or resolutions.
In this article, we will discuss different ways to solve this error
1. Edit the Monitor Settings
Adjusting your monitor settings is important to fix resolution problems. By setting the display resolution and scaling to match your monitor’s original settings, you can fix the zoomed-in look and make the display clear and properly sized.
1.1 Disable Overscan in the Monitor/TV Settings
- Navigate to the TV menu and select Picture.
- Go to Advanced Video (or HDMI Settings) and find Overscan. On an LG HDTV, select Just Scan under Picture Menu > Aspect Ratio. For Samsung TVs, set Picture Size to No Overscan or switch Picture Mode to Relax (TV Settings > Menu > Picture Mode). Other terms you might encounter include Underscan, Pixel, Scaling, etc.
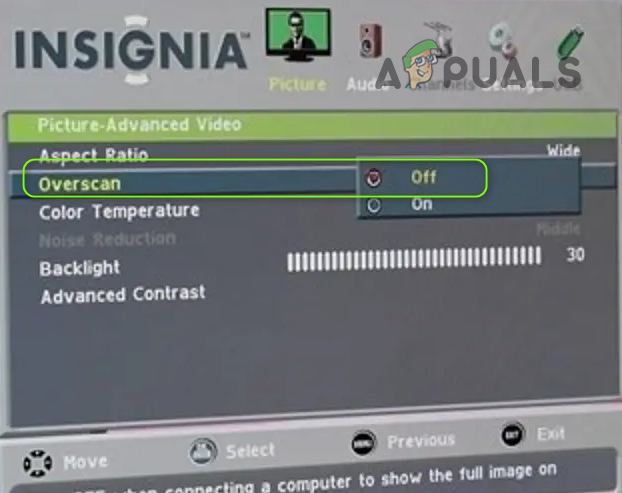
Disable Overscan - Disable the option and verify if the issue is fixed.
- If the issue persists, try disabling all post-processing effects (e.g., Adaptive Contrast) in the TV settings.
1.2 Disable HDMI Full Mode in the Monitor Settings
- Access TV Settings and go to Extras.
- Find HDMI Full Mode and enable it.
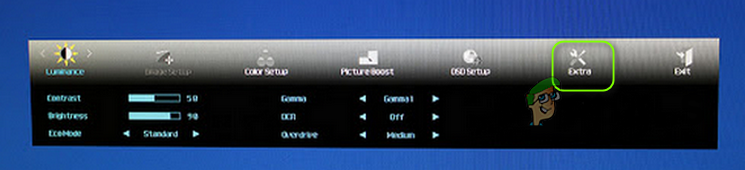
Enable HDMI Full Mode - Check if this clears the zoomed-in issue.
1.3 Edit the General TV/Monitor Settings
If the issue persists, try the following steps one by one to resolve the problem:
- In the TV Settings, try using auto-size or auto-detect in the Advanced Screen Resolution setting to see if it resolves the issue.
- See if selecting Panorama in the Aspect Ratio or Screen Resolution options solves the problem.
- Attempt to reduce the sharpness of the TV to below 10 and check if that fixes the issue.
- Ensure the cable connects to the port labeled HDMI/DVI and verify if setting (or renaming) the connection to PC (instead of presentation) resolves the issue.
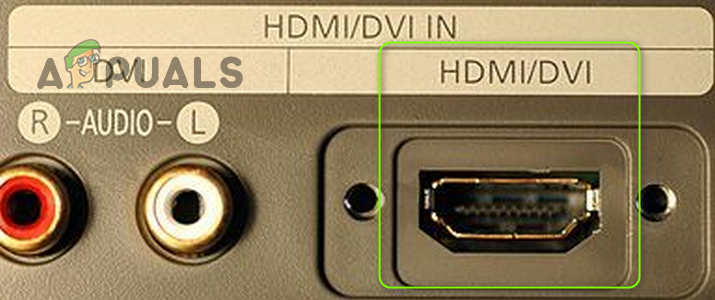
Use HDMI/DVI Port - Check if setting the monitor to Screen Fit (instead of 16:9) fixes the problem.

Setting Picture Size to Screen Fit - See if your TV (or its remote) has a picture size option. If it does, try changing the Picture Size or setting it to No Overscan to resolve the issue.
- If your TV has a zoom feature, make sure it is disabled.
2. Edit the Display Settings of Your System
Changing your display settings can fix resolution or scaling problems that cause the zoomed-in issue. By adjusting these settings in Windows, you can ensure both monitors work well together, fixing any problems and improving clarity.
2.1 Change Display Orientation
- Press the Windows key and go to Settings.
- Click on System and under the Display tab, open the Display Orientation dropdown.

Open System in Windows Settings - Choose Portrait (apply this to all displays) and see if the second monitor works correctly. If it does, you can switch back to Landscape mode.
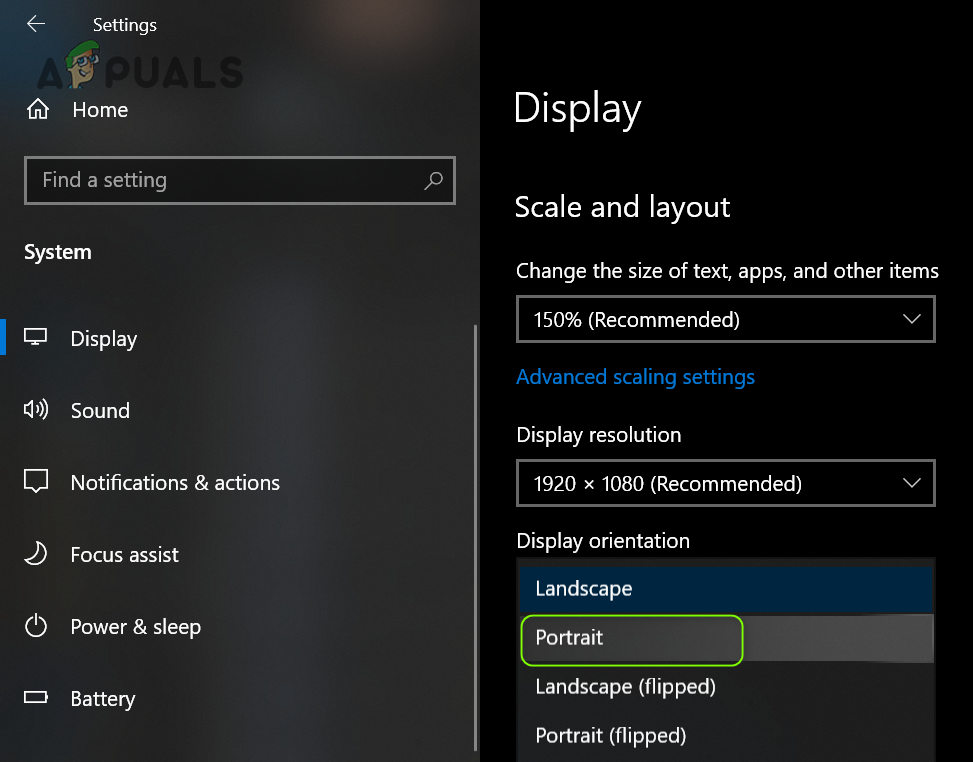
Change the Display Orientation
2.2 Edit the Multi-Monitor Settings
- Go to your system’s Display Settings and open the Multiple Displays dropdown.
- Select Extend These Displays to see if the issue resolves.
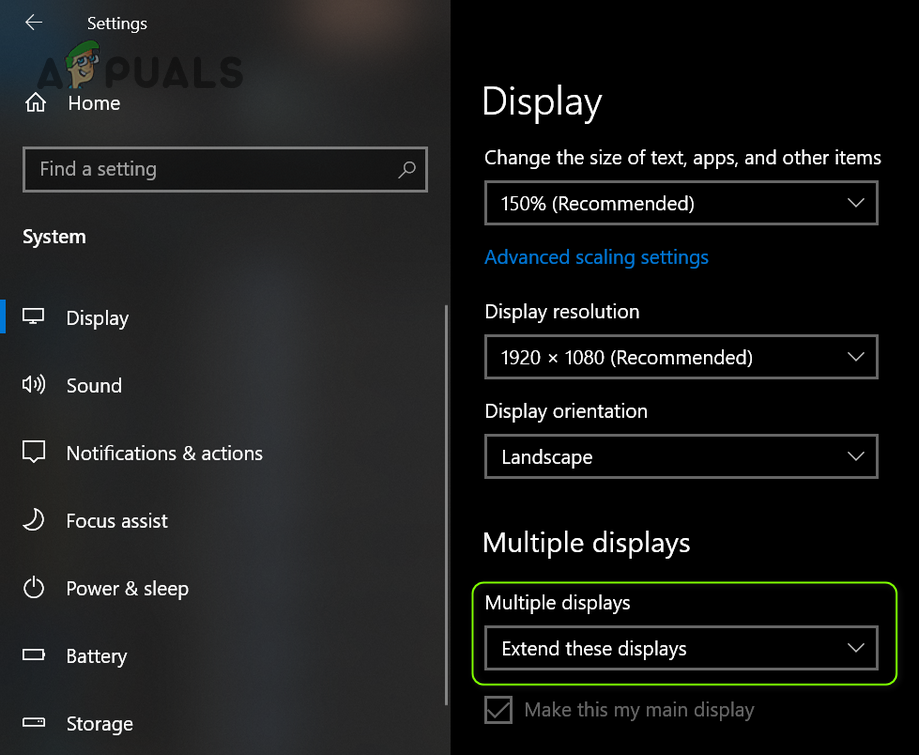
Set Multiple Displays to Extend These Displays - If not, try setting Multiple Displays to Duplicate to resolve the problem.
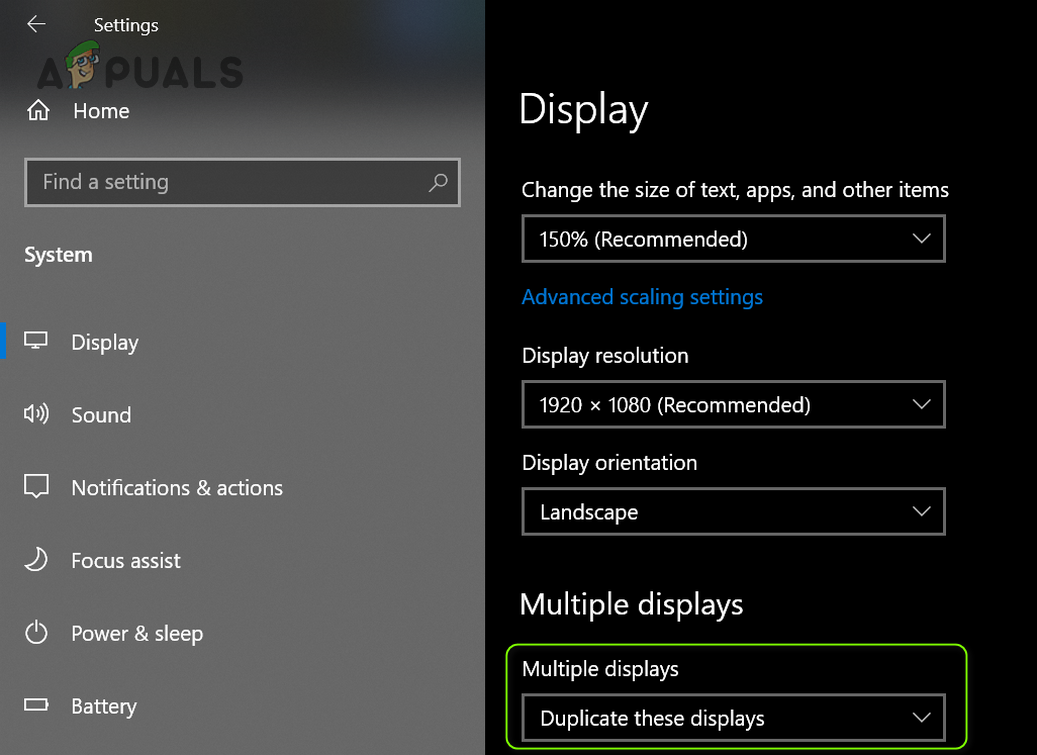
Set Multiple Displays to Duplicate These Displays - If the issue persists, return to Display Settings, and where 1 and 2 appear, click on Detect to see if it fixes the issue.
- Still unresolved? Try clicking the Identify button to address the glitch.
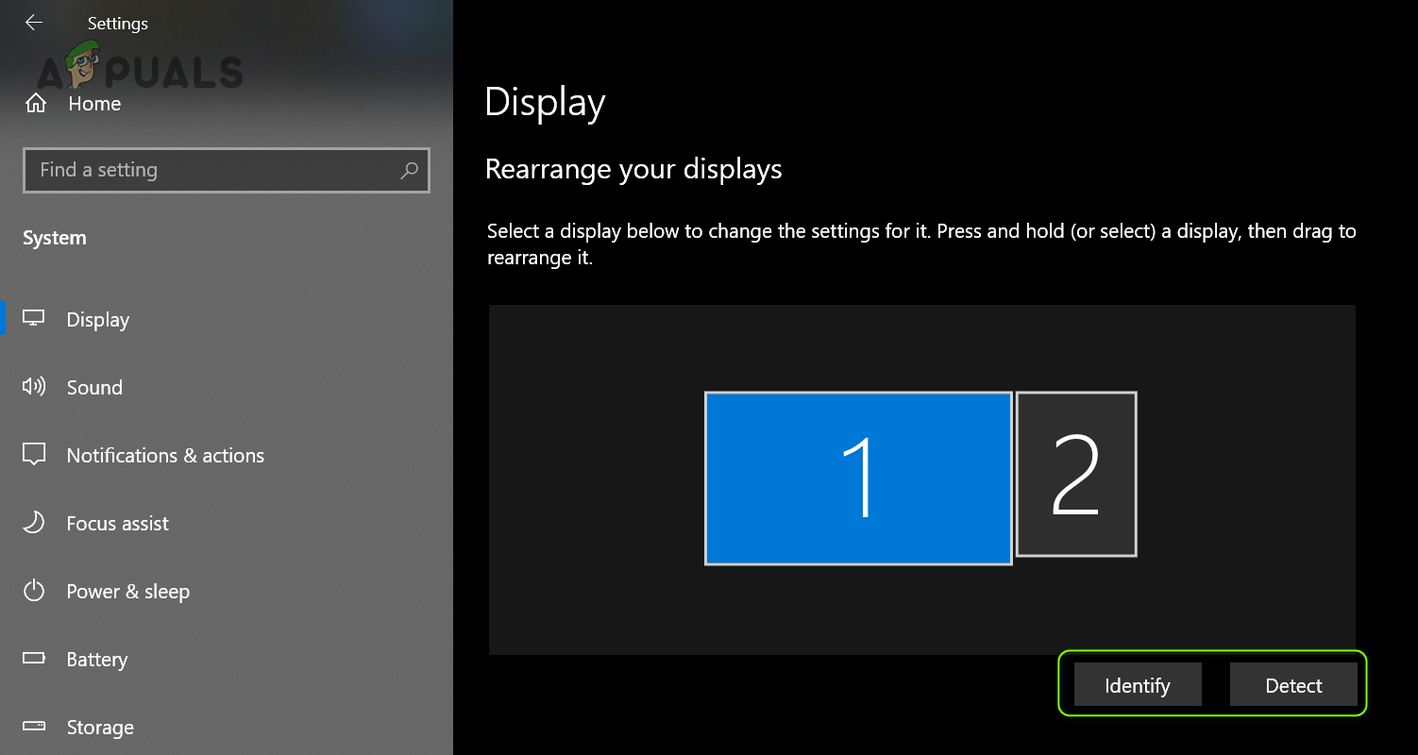
Click on the Detect and Identify Buttons
2.3 Match the Refresh Rate of the Monitors
- Access Display Settings, then scroll to the bottom.
- Click on Advanced Display Settings and verify the refresh rate of display 1.
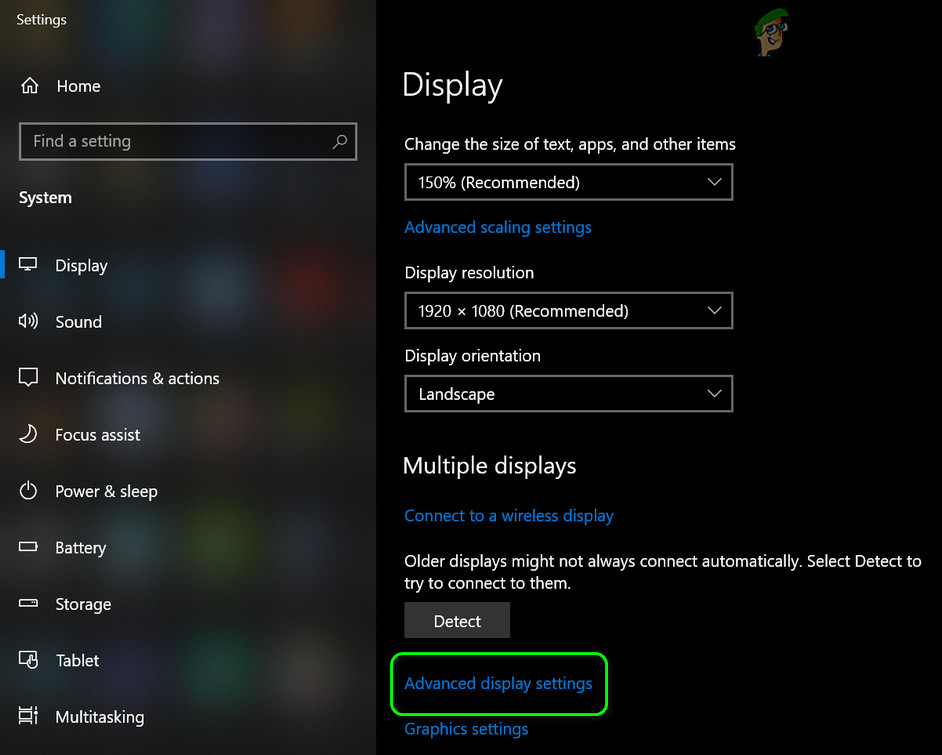
Open Advanced Display Settings - Select the second display in the Choose Display dropdown and ensure its refresh rate matches that of the first. A 60 Hz refresh rate is recommended for both displays.
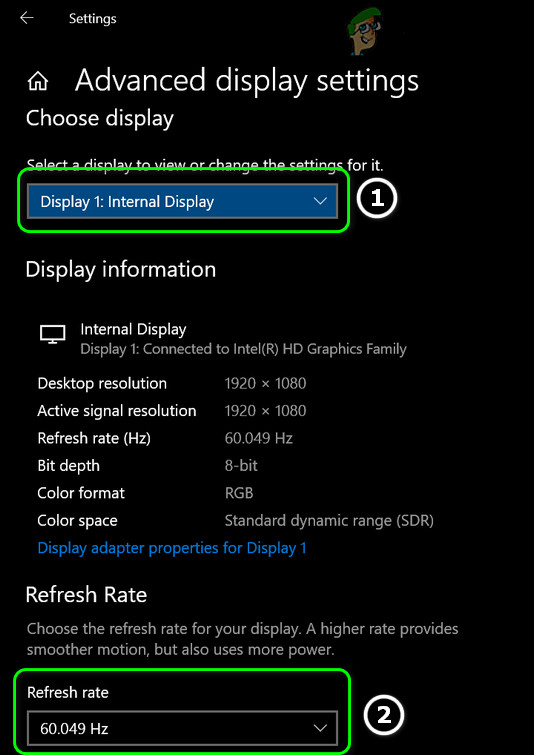
Match the Refresh Rate of Your Displays - See if this resolves the monitor issue.
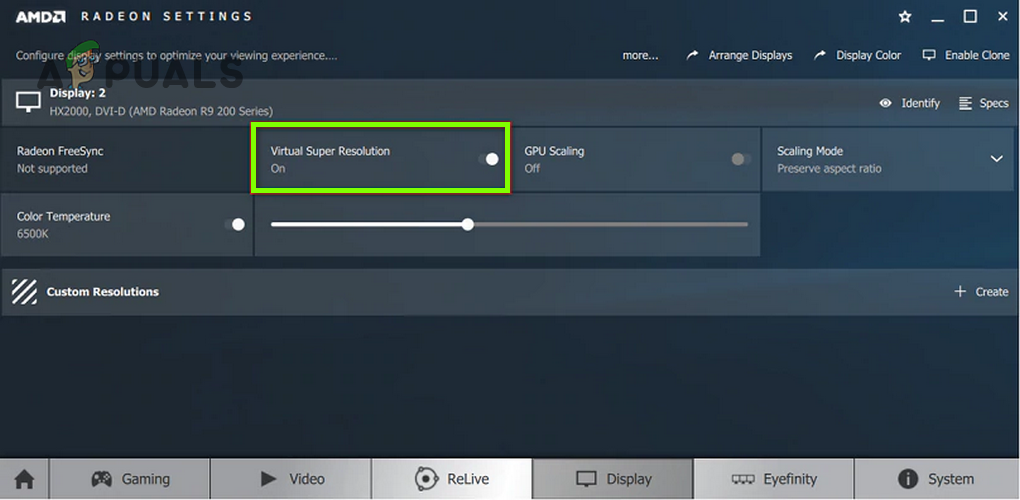
If the issue persists, try applying a similar refresh rate to both displays using the graphics control panel of your system (e.g., Nvidia or Intel HD Graphics Control Panel) and see if that resolves the problem. If you are using a display with a resolution greater than 1080p, make sure to enable Virtual Super Resolution in the Graphics Control Panel (in AMD Radeon, you may find it under the Display tab).
2.4 Use the Recommended Resolution for Both Monitors
- Access your PC’s Display Settings and select your display (1 or 2).
- Open the Display Resolution dropdown and select the Recommended resolution.

Use the Recommended Resolution of Your 1st Display - Do the same for the other display and see if the issue is resolved.
- If it persists, try applying a similar resolution for both displays to see if that fixes the issue.
2.5 Edit the Scaling of Your Display
- Access Display Settings and select the problematic display.
- Under Scale and Layout, expand the dropdown for Change the Size of Text, Apps, and Other Items.
- Select 100% and immediately log out of your account.

Set Scaling of Your Display to 100% - Log back in to see if the monitor works fine. If it does, adjust the scaling as desired.
- If the issue persists, return to Display Settings and choose your first display.
- Go to Advanced Scaling Settings and turn off Let Windows Try To Fix Apps So They’re Not Blurry.
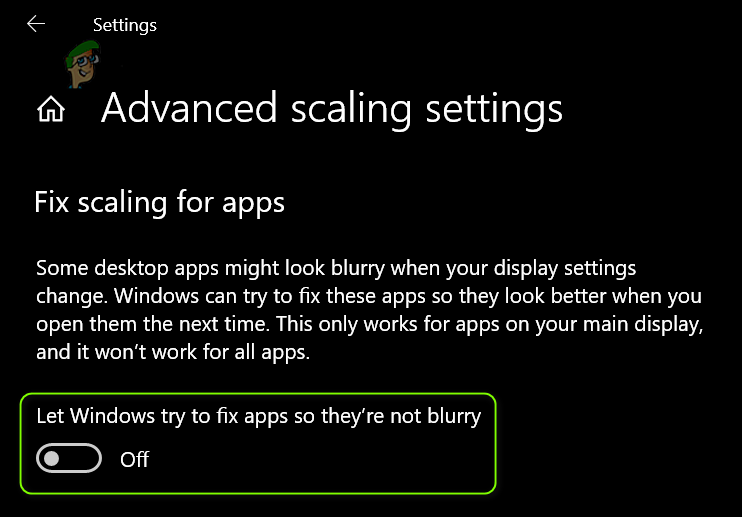
Disable Let Windows Try To Fix Apps So They’re Not Blurry - Do the same for the second monitor and reboot your PC to check if the issue is resolved.
2.6 Set Your Second Monitor as Main
- Go to your PC’s Display Settings and select the problematic display by clicking on 1 or 2.
- In the Multiple Displays section, check Make This My Main Display and reboot your PC.
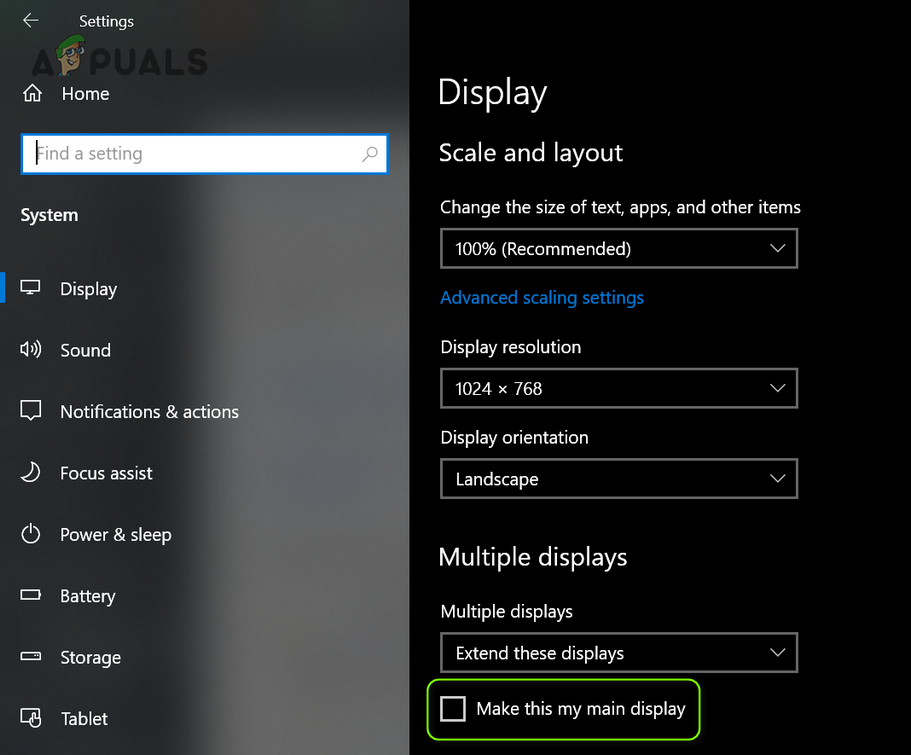
Enable Make This My Main Display for the 2nd Display - After rebooting, check if the monitor functions properly.
3. Update/Reinstall the Graphics Driver
Outdated or corrupted graphics drivers can cause display problems, like wrong resolutions or zoomed-in screens on extra monitors. By updating or reinstalling the drivers, you can fix these issues and make sure everything works well with Windows 10 and the monitors.
- Manually update the graphics driver and see if the resolution issue resolves.
- If not, open a web browser to download the latest graphics driver from the OEM website.
- Run the downloaded driver file as an administrator and follow the installation prompts.
- Reboot your PC and check if the second monitor is functioning correctly.
- If the issue persists, right-click the Windows button for the Quick Access menu and choose Device Manager.

Open Device Manager - Expand Display Adapters and right-click the driver for the second monitor.
- Select Uninstall Device and confirm the uninstallation (check Delete the Driver Software for This Device).
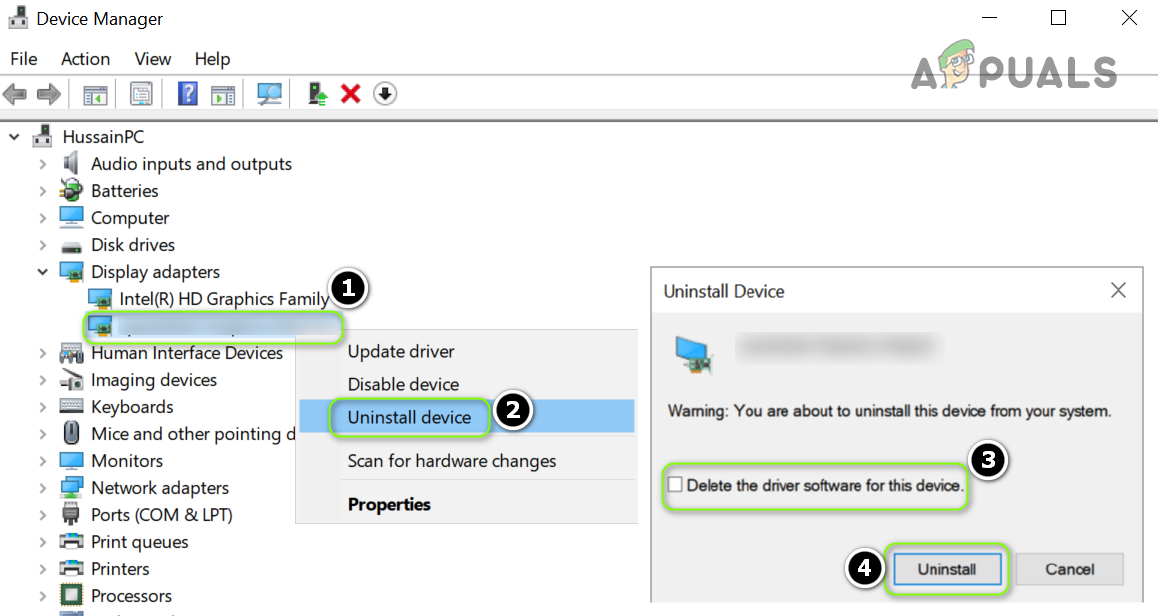
Uninstall the Graphics Driver of the Second Monitor - Complete the uninstallation and reboot your PC.
- After rebooting, check if the monitor works (Windows might install a default driver).
- If not, run the downloaded driver (from step 2) with administrator privileges to resolve the issue.
- If the issue persists (using an HDMI cable), remove the graphics driver for the second monitor (using DDU if possible) and power off your system.
- Disconnect the second monitor and reconnect it via another port like DVI, if possible.
- Power on your system and reinstall the driver.
- Check if the monitor operates correctly and, if successful, you can switch back to the HDMI cable if needed.
If the issue persists, consider rolling back to an older version of your graphics driver.
4. Edit the Graphics Control Panel Settings
You can improve your monitor display by changing settings in your graphics control panel. This lets you adjust the resolution, scaling, and refresh rate for each monitor to make sure they look right. Doing this can help fix any “zoomed-in” issues by manually setting the best settings instead of relying on automatic ones.
4.1 Enable Desktop Resizing
- Open your system’s Graphics Control Panel (e.g., Nvidia Control Panel) and select Adjust Desktop Size and Position from the left pane.
- In the right pane, go to the Size tab, and enable Desktop Resizing (ensure the correct display is selected).
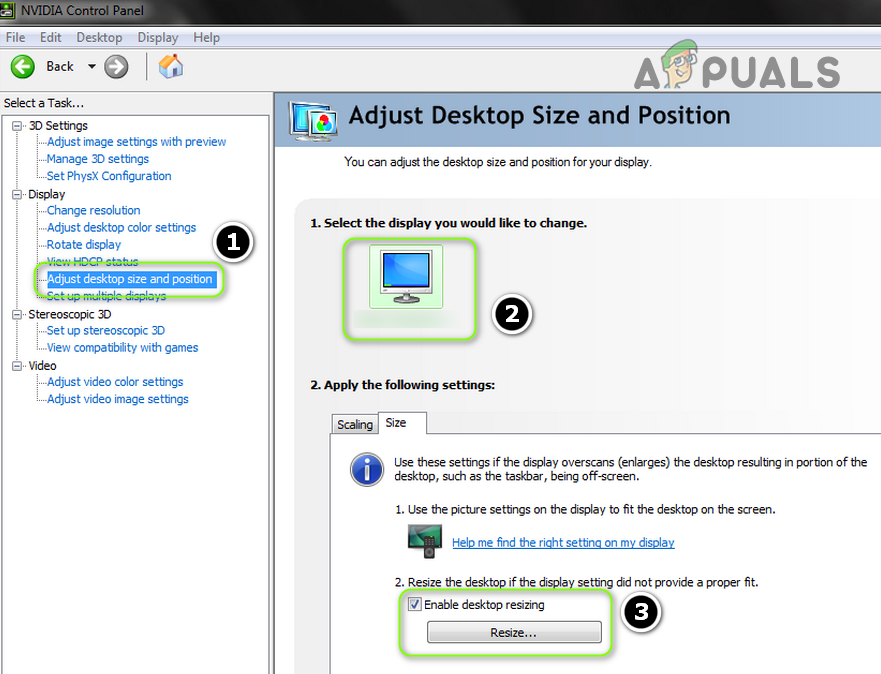
Enable Desktop Resizing - Click on Resize; test different settings to check if the resolution issue is resolved. If it reappears after a graphics driver update, reapply the settings post-update.
- If the issue continues, try changing the Scaling option in “Adjust Desktop Size and Position” settings to resolve the problem.
4.2 Set the Picture Size
- Right-click on your desktop and select Graphics Properties (or Intel Graphics Settings) from the context menu.
- Navigate to Display and choose your display.
- Select Picture Size and adjust it to 100%.
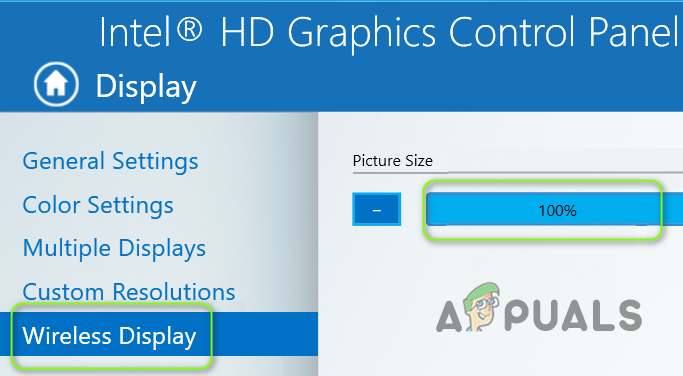
Setting Picture Size to 100% - Verify if the monitor functions correctly.
4.3 Disable Overscan in the Graphics Control Panel
- Open your system’s graphics control panel (e.g., AMD VISION Engine Control Center) and expand My Digital Flat-Panels in the left pane.
- Choose Scaling Options (Digital Flat-Panel) and in the right pane, set the slider to 0% to see if this resolves the monitor issue.
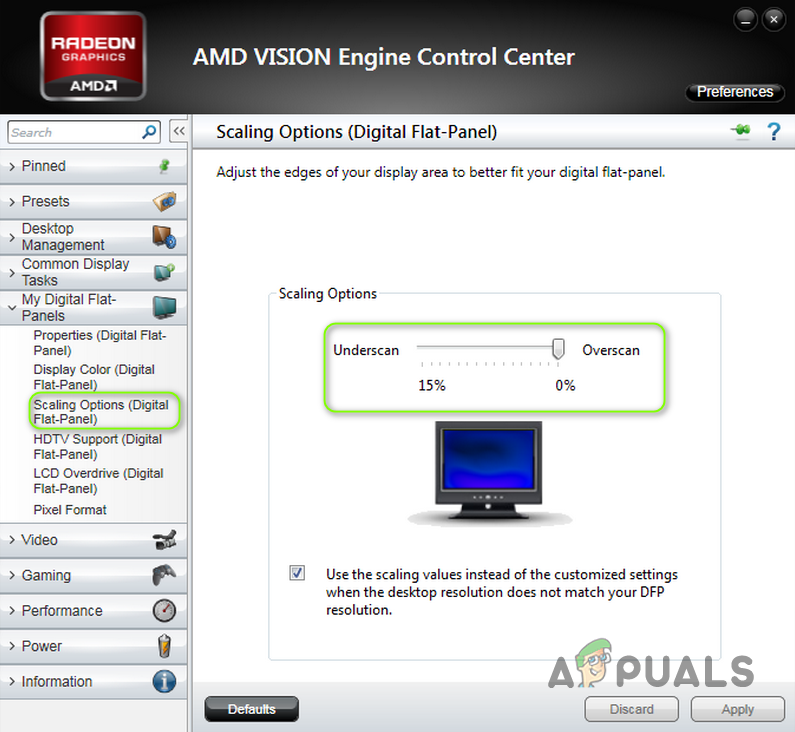
Disable Overscan in the Graphics Control Panel - If not, adjust the slider to various values to see if that fixes the issue.
4.4 Edit the General Settings
- Start by ensuring both displays use the same display resolution in the graphics control panel.
- If that doesn’t work, try a custom resolution.
- Adjust to a custom aspect ratio (avoid 16:9 zoom) for both displays.
- If the problem remains, change the scaling settings in the graphics control panel.
- Lastly, ensure the refresh rate is set to 60Hz.


Change Display Orientation worked for me. Thanks man!