Windows Display
-

-
 December 12, 2024
How to Stop Your Mouse from Jumping to the Second Monitor?
-
 May 7, 2024
6 Easy Ways to Fix the Generic PnP Monitor Error
-
 March 28, 2024
How to Fix Black Screen After Changing Refresh Rate?
-
 December 25, 2023
How to Fix Screen Artifacts Display Problem in Windows?
-
 December 24, 2023
How to Troubleshoot and Fix Black Lines on Your Monitor?
-
 November 30, 2023
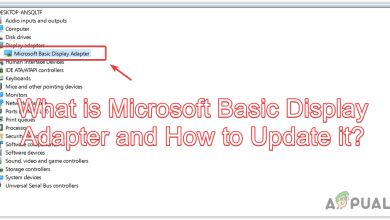
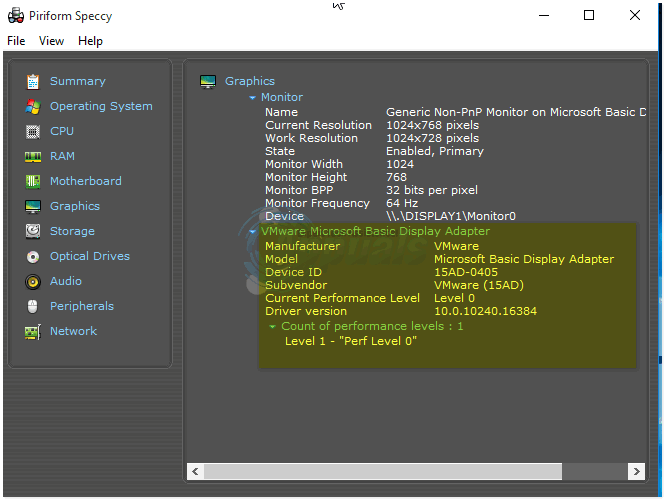
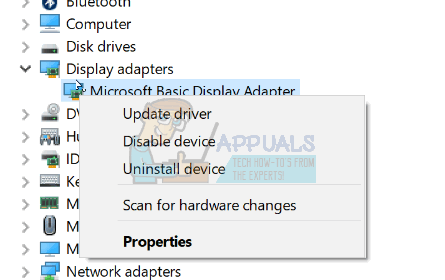
What is Microsoft Basic Display Adapter and How to Update it?
-
 August 1, 2023
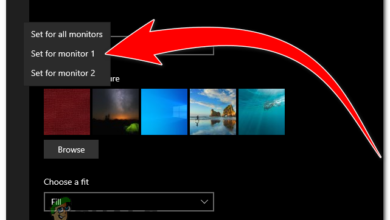
How to Set Different Wallpapers on Each Monitors?
-
-
 January 9, 2023
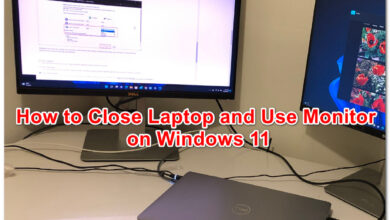
How to Close Laptop Lid and Use Monitor on Windows 11?
-
 October 1, 2022
Windows 11 Not Detecting Second Display? Try these fixes
-
 June 17, 2022
How to Fix Color Management Not Working Windows 11?
-

-
 April 21, 2022
How to Fix Monitors Turning Off After Boot on Windows?
-
 April 10, 2022
How to Fix Wireless Display Install Failed Error Windows 11?
-
 April 3, 2022
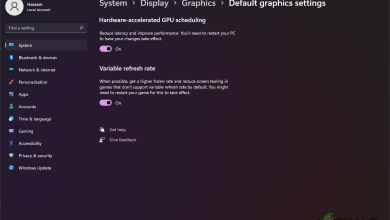
Should you Enable Hardware-Accelerated GPU Scheduling?
-
 February 26, 2022
Translucent Box on the Screen in Windows 11? Try these Fixes
-
 February 11, 2022
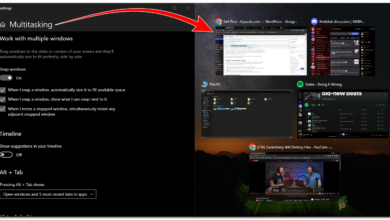
How to Split Screen in Windows 10 and 11
-
 January 21, 2022
How to Disable Rounded Corners in Windows 11?
-
 January 12, 2022
How to Fix Screen Flickering Issues on Windows 11
-

-
 December 25, 2021
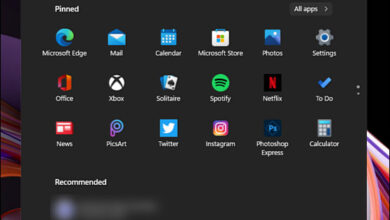
How to Center the Start Menu Along With Taskbar Icons in Windows 10?
-
 October 14, 2021
Make Windows 11 Taskbar Look Like macOS Dock?
-
 October 14, 2021
How to Restore Windows 11 Taskbar to Windows 10 Style?
-
 October 11, 2021
How to Change the Size of Taskbar in Windows 11?
-
 September 14, 2021
Can’t Change Color of Taskbar on Windows 11? Here’s How to Fix It
-
 September 11, 2021
Brightness Not Working on Windows 11? Here’s how to Fix It
-
 September 10, 2021
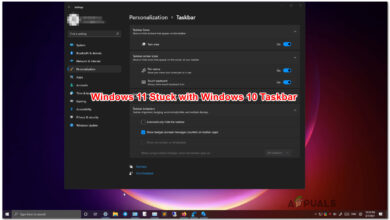
How to Fix Windows 11 Showing the Windows 10 Taskbar
-
 September 9, 2021
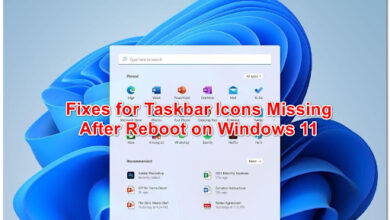
How to Fix Taskbar Icons Missing After Reboot on Windows 11
-

-
 August 12, 2021
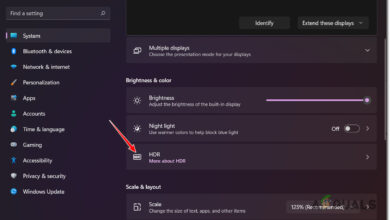
How to Check If HDR is Supported on Windows 11
-
-
 July 31, 2021
How to Enable or Disable Snap Layouts on Windows 11
-
 July 31, 2021
How to Customize the Touch Keyboard on Windows 11
-
 July 28, 2021
How to Remove Chat Button in Windows 11?
-
-
 July 28, 2021
How to Adjust the Display Brightness in Windows 11
-
-
 July 26, 2021
How to Change Between Dark and Light Mode on Windows 11
-
-
-
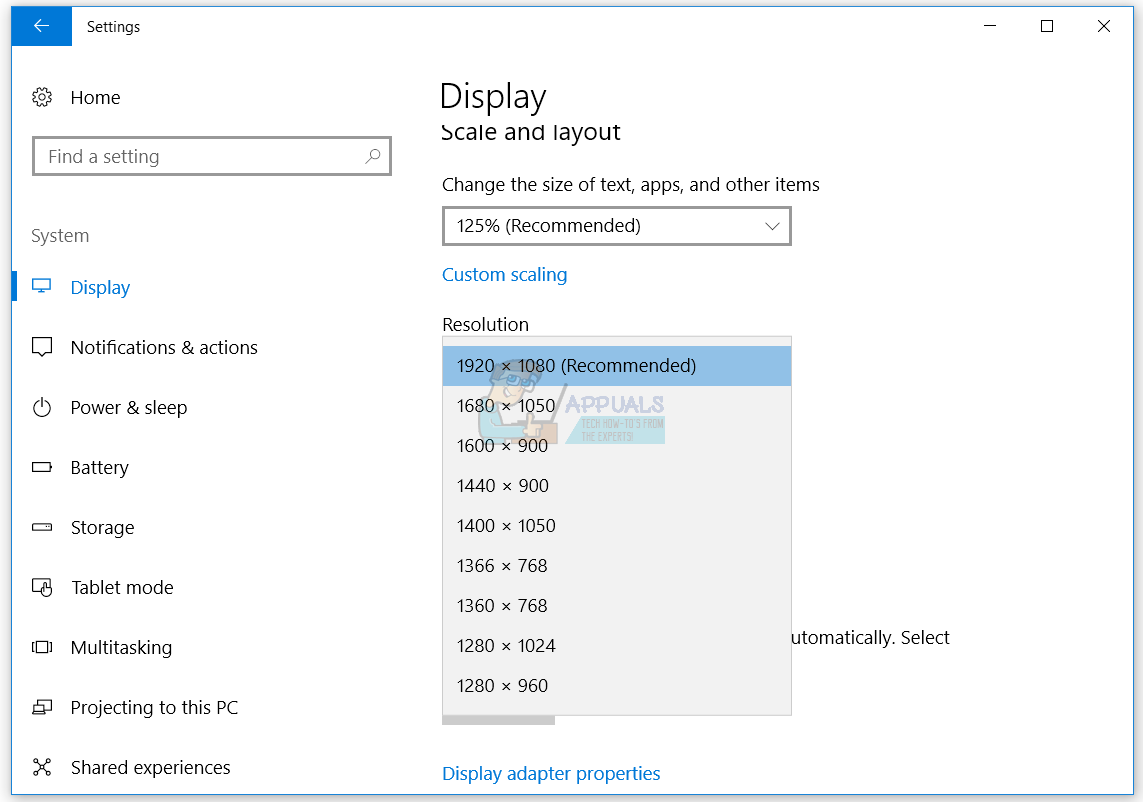
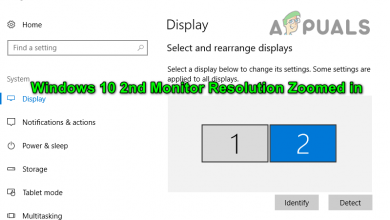 March 9, 2021
Fix: Windows 10 2nd Monitor Resolution Zoomed in
-
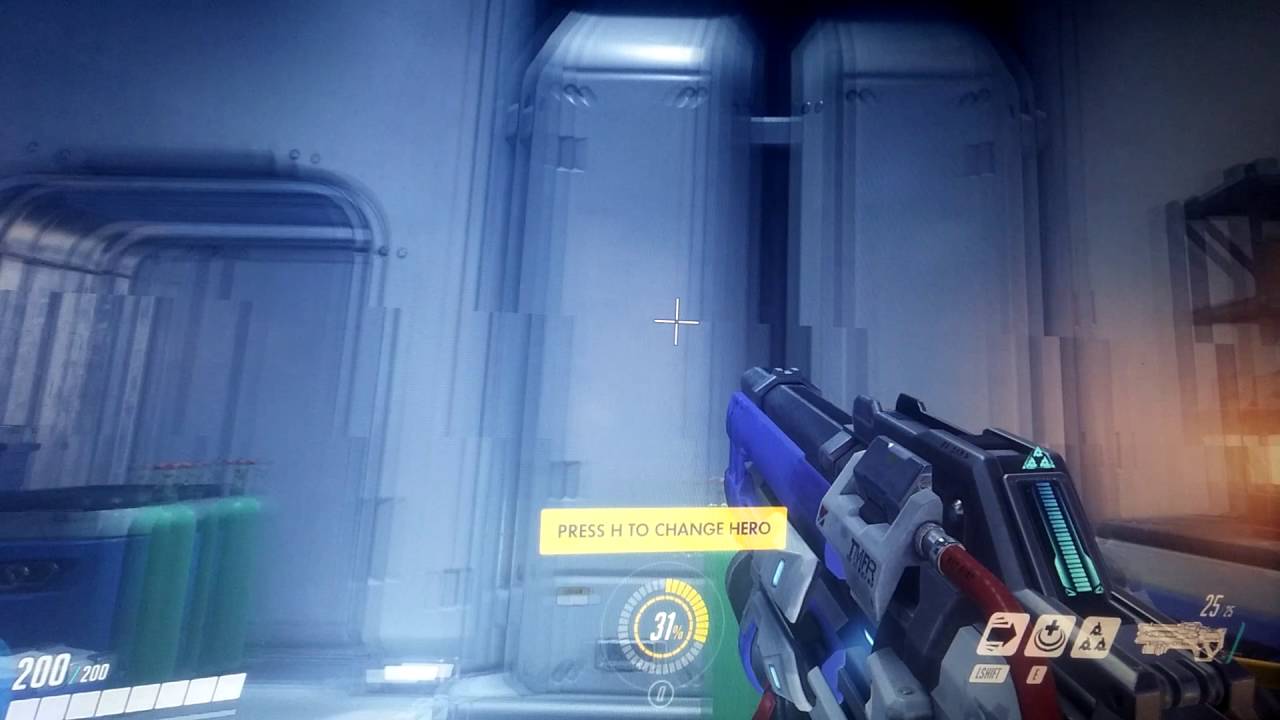
 January 18, 2021
Fix: Black Screen HDR After Adjusting Volume
-
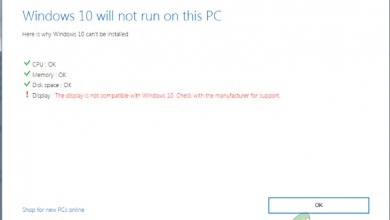 June 6, 2020
How to Fix Display not Compatible with Windows 10
-
 August 25, 2019
How to Fix Advanced Display Settings Missing in Windows?
-
 August 18, 2019
How to Fix Monitor Randomly Going Black
-
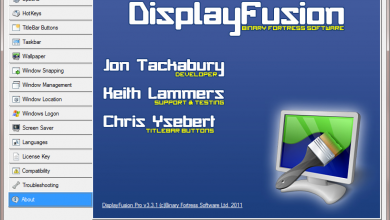 July 16, 2019
5 Best Multi Monitor Software
-
-
 June 12, 2018
Fix: HDMI No Signal
-
-
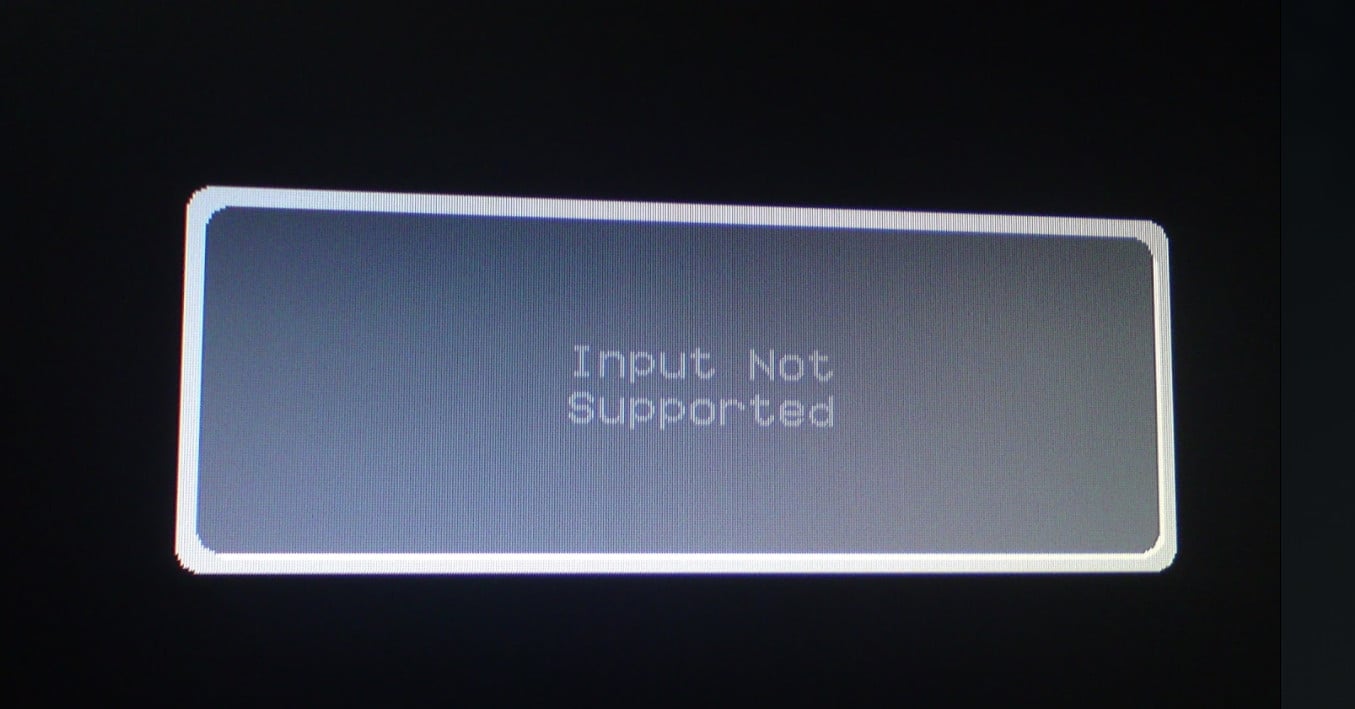 April 19, 2018
Fix: Input Not Supported
-
 February 12, 2018
How to Flip Your Screen on a Windows Computer
- February 10, 2018
How to Set Your Primary Monitor in Windows?
-
 January 24, 2018
How to Disable Hardware Acceleration in Windows 7, 8, 8.1 and 10
-
 January 9, 2018
Fix: DisplayPort No Signal
-
 December 3, 2017
Fix: Windows 10 Display Issues or Stretched Screen
-
 November 19, 2017
How to Calibrate Monitor on Windows 10
-
 October 22, 2017
Fix: The device is being used by another application (HDMI)
-
 October 9, 2017
How to Enable and Prioritize G Sync
-
 May 26, 2017
Dual Monitor Wallpaper on Creators Update
-
 May 24, 2017
Fix: HDMI Sound Not Working
-
 May 13, 2017
How to Adjust Screen Brightness on Windows 10
-
 March 12, 2017
How to Switch Between Displays (dGPU, GPU, Intel and Nvidia)
-
 January 14, 2017
How to Create and Set a Custom Resolution on Windows?
-
 December 24, 2016
How to Fix a Screen Resolution Reverting to 640×480
-
 October 3, 2016
‘Dolby Digital Plus errors after upgrading to Windows 10’ [Fix]
-
 September 24, 2016
How to Change Default Display Adapter on Windows (7/8/10)
-
 March 22, 2016
FIX: Windows 10 Cannot Change Screen Resolution
-
 December 10, 2015
Fix: Windows 10 Creators Update Brightness Issues
-
 July 2, 2014
How to Add and Setup Multiple Monitors on Windows?