How to Fix Windows 11 Update KB5018427 Not Installing?
When installing the KB5018427 Update on Windows 11, multiple errors occur on the Windows update settings, warning you that the installation has failed, and you are shown a “Something went wrong, we are rolling back changes” error message on your screen. This error is mainly caused by a corrupted Windows Update Cache, interference from third-party security software, and issues caused by unwanted services running on your system.
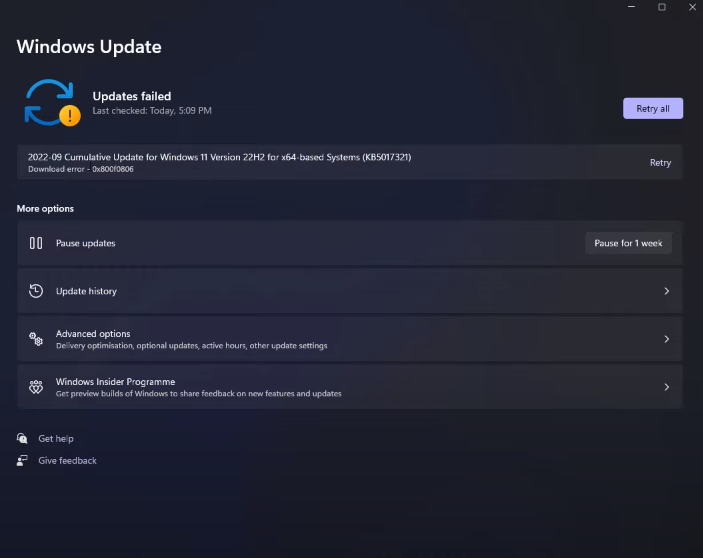
Windows 11 KB5018427 system update has multiple errors, such as 0x80888002, and 0x800f0806.
This guide will show you all the steps you must take to fix the Win 11 KB5018427 update error.
1. Use Windows Update Troubleshooter
Windows have a troubleshooter catered for Windows update issues; before moving onto actual methods that can change settings in your computer, you should try using this Windows Update troubleshooter, as it can automatically fix many update problems.
Follow the steps below to Perform an Update Troubleshoot on Windows 11.
- Open the Settings app by pressing the Win + I keys together.
- Navigate to the following settings System > Troubleshoot > Other troubleshooters
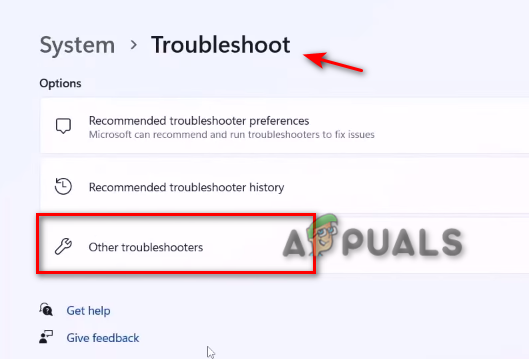
Opening the Other Troubleshooter option
- Now on this page, press the ‘Run’ button to Run the Windows Update troubleshooter.
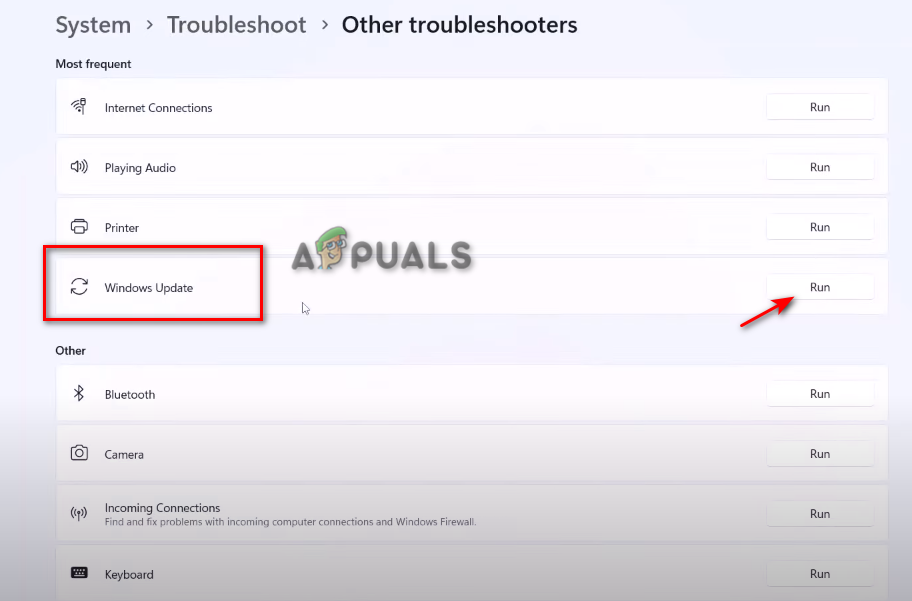
Running a Windows Update Troubleshoot - Wait for the Windows Update troubleshooter to detect the problem and suggest fixes.
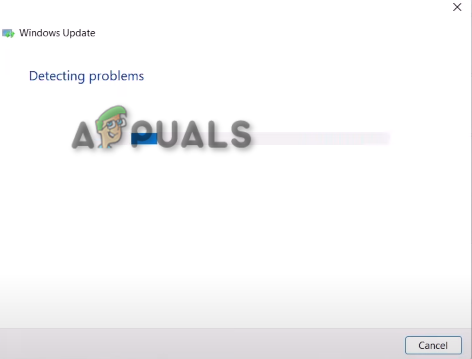
Resolving the Windows Update Issue - Now press the ‘Apply’ button if it suggests and fixes, then restart your computer.
2. Manually Download the KB5018427 Update
When your system fails to install a Windows update automatically, it is better to download the Windows Update patch manually. You can open the Windows Update Catalog to download the latest update for your Windows 11.
However, before downloading the update, you must verify your Operating System specifications to see if your device is running on 32-bit or 64-bit; if your Operating System is 64-bit in size, then you must download the patch of that same bit size.
Follow the steps below to check your OS specifications and see how to download the Windows 11 Update manually:
- Open the Windows Settings app by pressing the Win + I keys together.
- Now navigate to this setting ‘System > About’
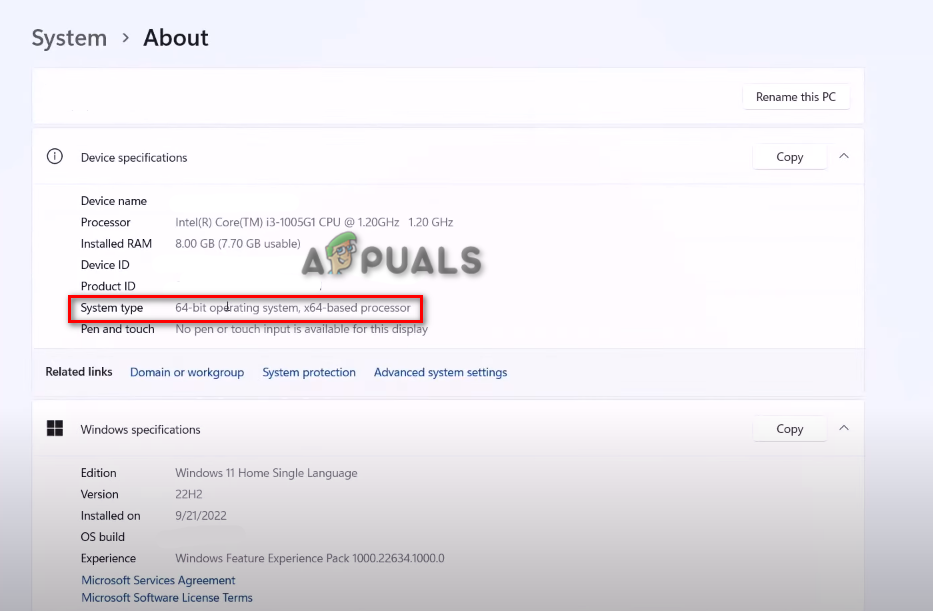
Checking System Type - Now open the Windows Update Catalog.
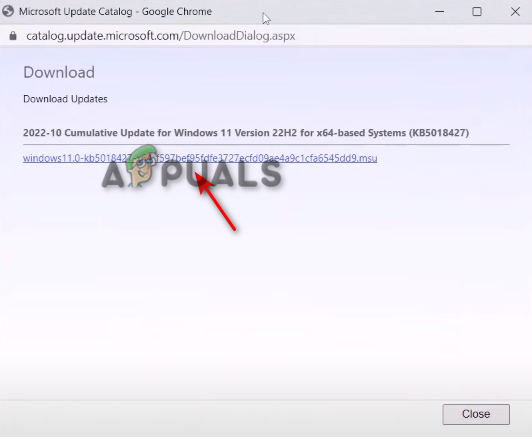
- Copy and paste “KB5018427” into the search box of the MS Update Catalog page.
- Now click on the corresponding download button.

Downloading the latest Windows Update patch - Click on the link and wait for the patch to download to your system.
Downloading the link - After downloading the update, open the file you just downloaded.
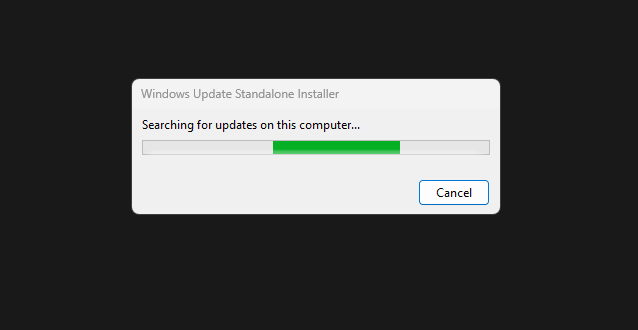
Now, wait for the Update installer to install the Windows update - Now follow the on-screen instructions to install the update.
3. Perform a Clean Boot on your Windows
Unwanted drivers may be running in your background, interfering with your Windows 11 update. To get rid of them, you must perform a Clean Boot to help your Windows start properly while ensuring minimum drivers run on your system. This can remove any interference that causes problems when updating your Windows 11.
Follow the steps below to perform a clean boot on Windows 11.
- Press the Win + X keys together and press ‘Run‘.
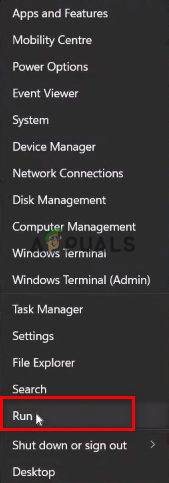
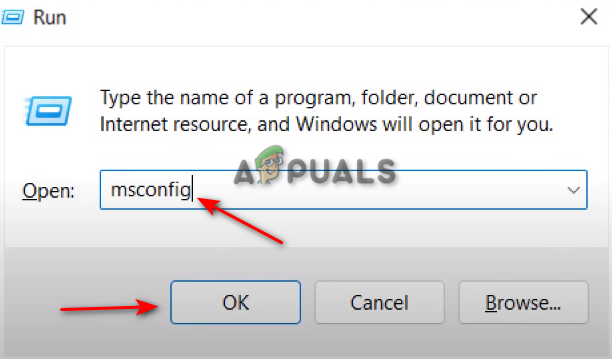
Opening Run command on Windows 11 - Now in this Run window, type “msconfig” then press Ok
Opening System Configuration on Windows 11 - Navigate to the ‘Services‘ tab.
- Press the check box on the “Hide All Microsoft services” option.
- Now press ‘Disable all‘, then click apply, and press ok.
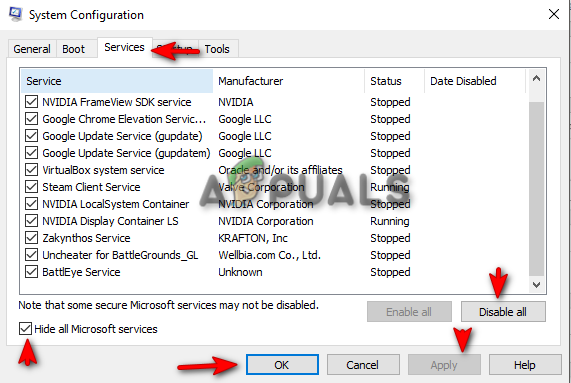
Performing a Clean Boot - Now restart your computer.
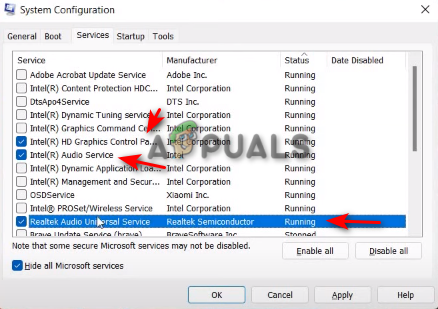
Note: When Disabling the Services, make sure to uncheck or enable the Intel(R) services, such as the Audio and Graphics services, as shown in the picture below:
4. Clear Windows Update Cache
To clear Windows 11 Update Cache, follow the methods given below:
- Download this file from this link (here).
- Once the file is downloaded, Righ-click on it and Press Run as Administrator.
I am running the command file as administrator. - Click on Yes.
Opening Command on the command prompt - Restart your Computer.
8. Disable Third-Party Security Software Temporarily
Security Software or third party Antiviruses will interfere when Updating your Windows 11 and will most likely give you the update error. To fix this issue, disable the software from your Windows before you update it.
Follow these steps to disable third-party security software from your Windows temporarily:
- Open Windows Settings from the Windows Start Menu.
Opening Windows 11 Settings - Click on the Privacy and Security option on the left panel.
Opening Privacy and Security Settings - Open Windows Security.
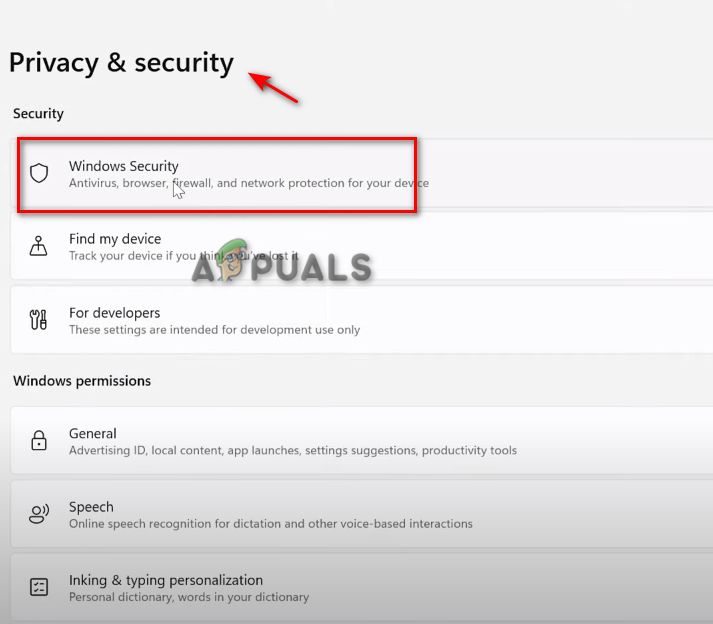
Opening Windows Security - Click on the Virus and Protection option.
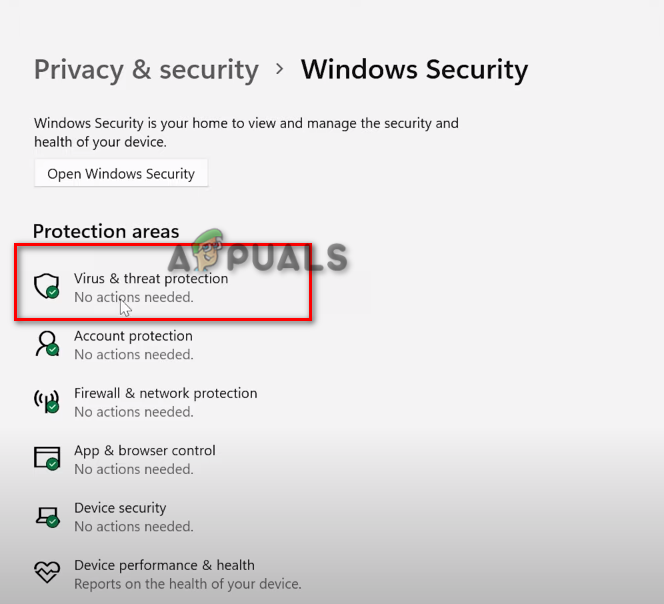
Opening Virus and Threat Protection - Scroll down and click on Manage Settings.
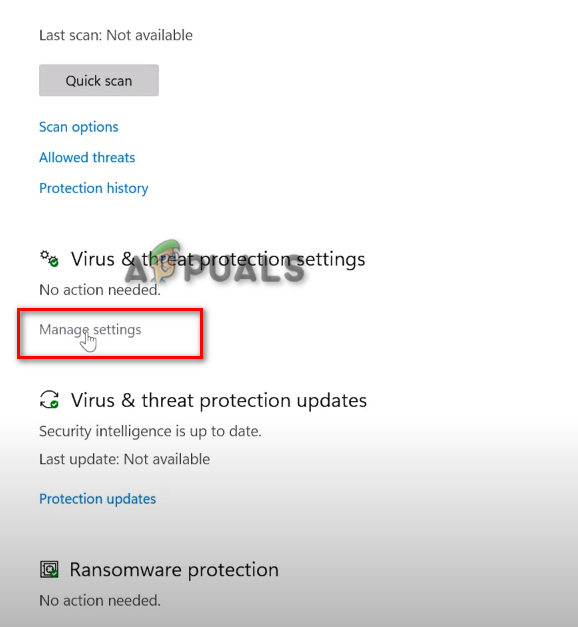
Managing Virus and Protection Settings - Turn off the Tamper Protection option.
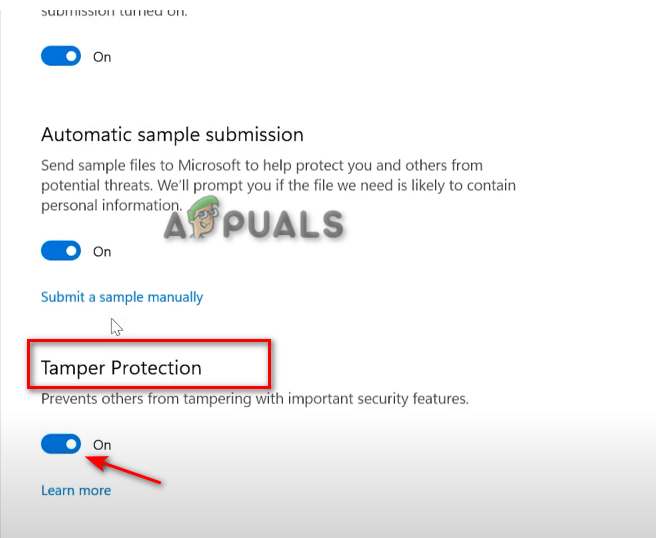
Turning Tamper Protection Off - Click Yes on the User Account Control
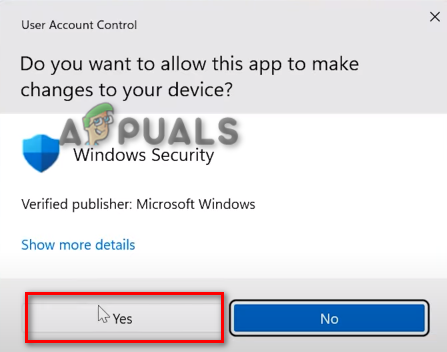
Accepting changes from User Account Control
If all the steps mentioned above did not work for you, you could perform a Repair Install on your Windows. During a Repair Installation, the latest Windows Update on your system will be installed while ensuring all files on your system are also repaired.
You can perform a Clean Installation of Windows 11 to fix the Win 11 KB5018427 update error. A clean installation will eliminate all your data on your system and completely re-install your Windows without leaving any trace of an error. You can follow the steps of the clean installation here.


