How To Fix WiFi keeps Disconnecting On Windows?
The WIFI or internet keeps disconnecting issue usually occurs due to misconfiguration in the network settings. Some of the settings that have been accused of triggering this issue are having a public profile in the network settings, enabled power saving feature to the WIFI card, faulty DNS settings, stopped WIFI connection services, and corrupted network adapter. You could run into this issue if one of the settings is enabled.
1. Switch to Private Network Profile
If you are using a public profile, you could encounter this issue because when you use a public profile, your device will be hidden from other devices due to security issues. Hence, this could be the reason for WIFI keeps disconnecting, as the firewall works aggressively on a public profile.
So when we use a Private profile, which means you are using a Home network, then the firewall will not work aggressively and your device can be seen by other devices, which might solve the WIFI keeps disconnecting issue.
- To change the network profile, click the WIFI icon from the bottom right
- Click Properties on your connected WIFI network
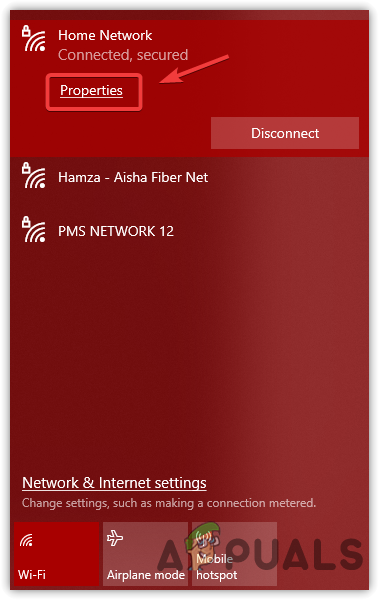
Opening Network Properties - Select Private under Network Profile
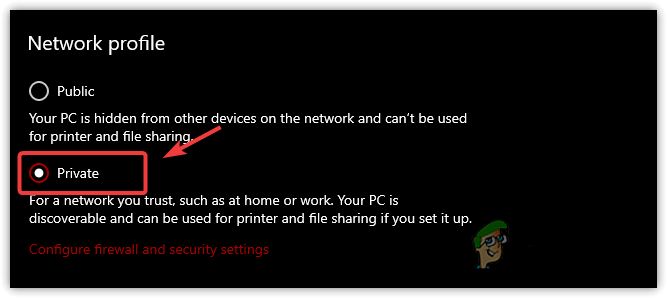
Changing Network Profile - Then, check if your internet still keeps disconnecting.
2. Disable Power Saving Feature For Network Card
The power-saving feature triggers when the computer goes into sleep mode. This feature is designed to save battery usage or power. When this setting is enabled, Windows will enter the network card into sleep mode and when you get out of sleep mode, it will start the network card as before.
However, in some cases, it causes the WIFI or internet keeps disconnecting issue because it might put the network card into sleep mode even if you are not in sleep mode. Therefore, uncheck this setting by following the method below:
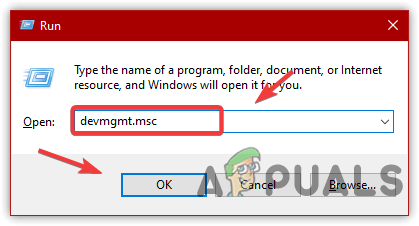
- Press the Windows + R on the keyboard to launch Run Window
- Type devmgmt.msc in the search box and click OK
Opening Device Manager Using Run Command - Right-click the Network Driver and click Properties
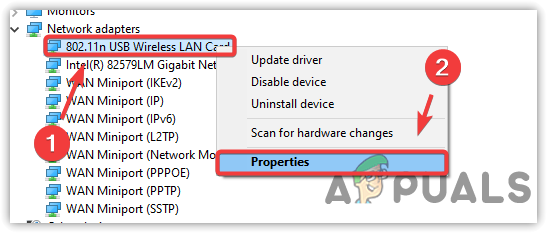
Navigating to Network Adapter Properties - Go to Power Management and uncheck Allow The Computer To Turn Off This Device
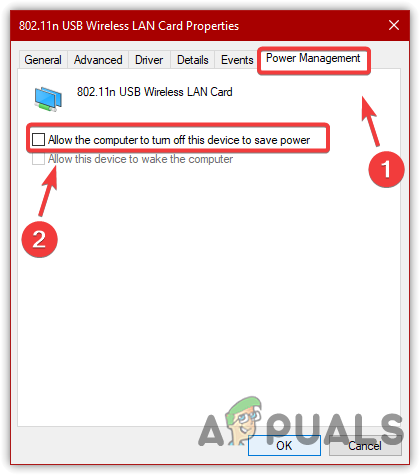
Disabling Power Saving Feature to Network Adapter - Once done, click OK to close the Window.
3. Change Power Plan Settings (Laptop Users)
Windows provide power plans for the network adapter. If the power plan is set to Medium Power Settings or lower, you can encounter this issue because the WIFI card utilizes less power and even might not work. To fix this, follow the methods below to change the power plan settings.
- Click Start Menu and type Control Panel
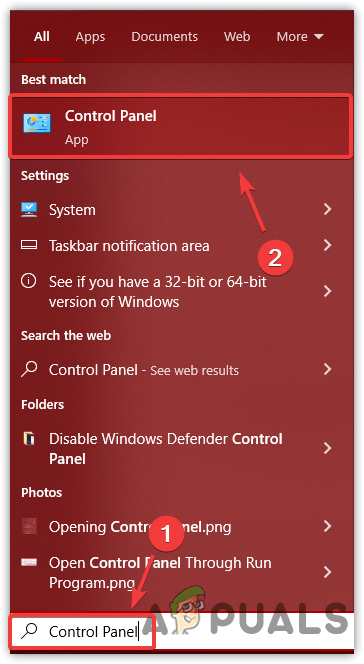
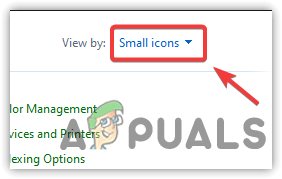
Opening Control Panel - Select Small Icons From the View By
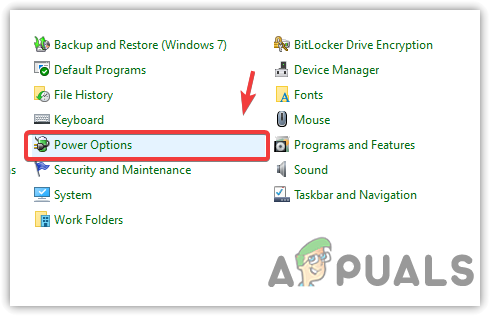
Changing View By On Control Panel - Go to Power Options
Proceeding To Power Options - Click Change Plan Settings on your current power plan
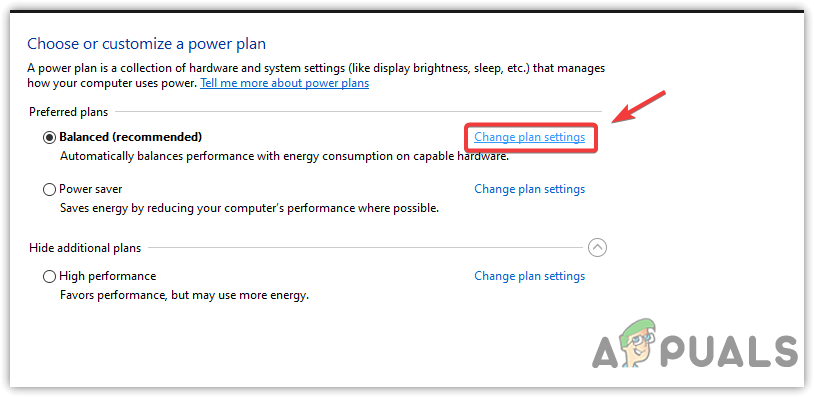
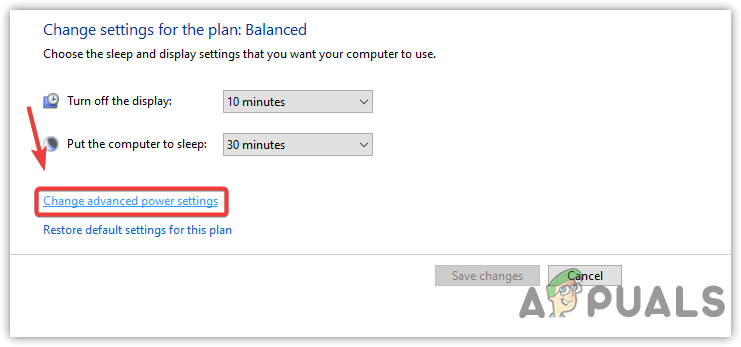
Clicking Change Power Plan Settings - Then, click Change Advanced Power Settings
Clicking Change Advanced Power Settings - A short Window popups, expand the Wireless Adapter Settings > Power Saving Mode
- Click on Settings and change the settings to the Maximum Performance
- Click Apply and then click OK
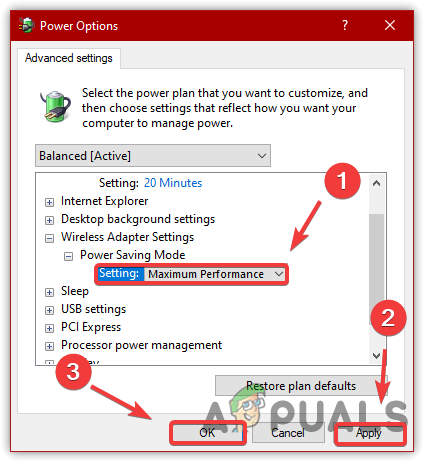
Changing Wireless Adapter Settings to Maximum Performance - Once done, the issue should be resolved.
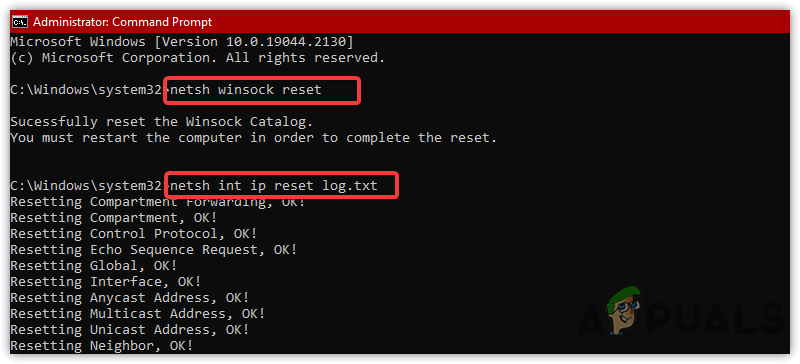
4. Use Commands To Reset Network Settings
Sometimes we get into trouble when connecting to the internet or browsing websites. Both situations can arise due to a malicious script or an unknown program downloaded from an unverified source.
To counter this, you can use some commands such as netsh winsock reset, which allows users to reset the configurations required for internet connectivity. While netsh int ip reset log.txt will reset all the IP logs on your Windows. Both commands are helpful as it helps in resetting the network configuration to its default.
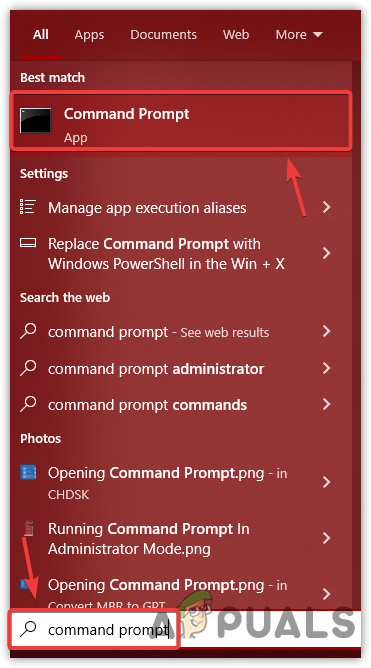
- Press the Win key and type Command Prompt
- Right-click the terminal and click Run As Administrator
Running Command Prompt As Administrator - Once the terminal is launched, paste the following commands
netsh winsock reset
netsh int ip reset log.txt
Resetting Sockets API And Winsock - Then, check if the issue persists.
5. Restart WLAN AutoConfig Service
WLAN AutoConfig Service automatically selects and connects the best WIFI network for your device. If the service is not running for some reason, you will encounter this issue. Therefore, try checking the service by following the methods below:
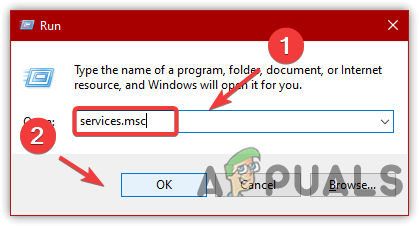
- Press the Win + R to open the Run Window
- Type services.msc and click OK
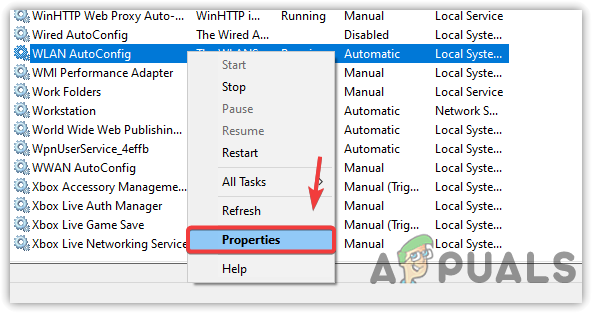
Launching Services Window - Find and right-click WLAN AutoConfig and then click Properties
Opening WLAN AutoConfig Service Properties - Change the Startup type to Automatic
- Click Apply and then click the Start button if the service is stopped
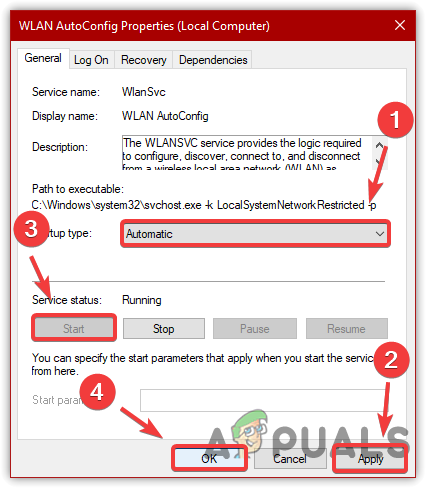
Restarting WlanAutoConfig Service - Once done, click OK and check if the issue is fixed.
6. Reinstall Network Driver
If the issue still persists, the last solution you could try reinstalling the network driver. However, if you use a custom WIFI card, you need to download the driver first because you cannot use the internet after uninstalling the driver. Moreover, if you are using a laptop, download the driver provided by your laptop’s manufacturer because it is more reliable. Follow the steps to reinstall the network driver:
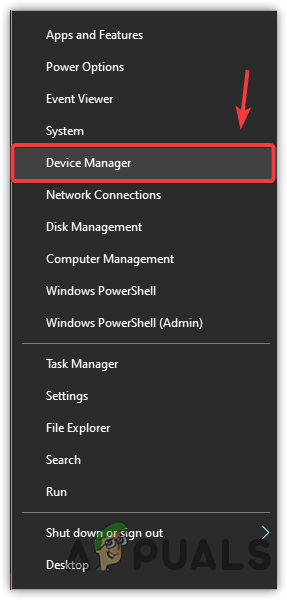
- Right-click the Start Menu and click Device Manager
Navigating To Device Manager - Expand the Network Adapters, right-click the network driver and click Uninstall Device
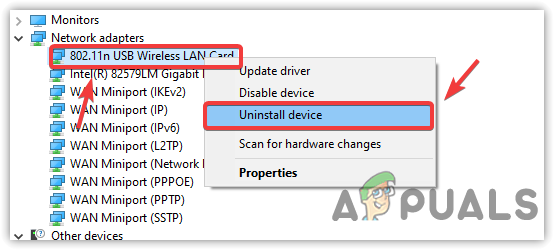
Uninstalling Network Adapter - Once the driver is uninstalled, restart your computer to reinstall the driver and check if the issue persists.
7. Change DNS Settings
The faulty DNS settings can prevent you from browsing the websites, but it cannot lead you to the internet keeps disconnecting issue. Therefore, if you are not able to reach websites, you can try changing the DNS settings to Google DNS or Cloudflare DNS. Both DNS services work efficiently. We recommend Google DNS service because it is more reliable than the other DNS services. Follow the steps below:
- Press the Win key and type Control Panel and open it
Heading to Control Panel - Go to the following path
Control Panel\Network and Internet\Network and Sharing Center
- Click Change Adapter Settings from the left pane
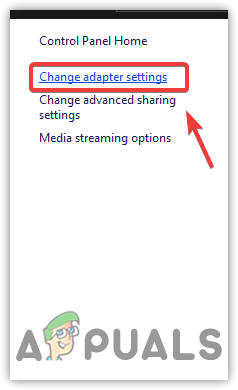
Proceeding to the Network Adapter Settings - Right-click the Network Connection and go to Properties
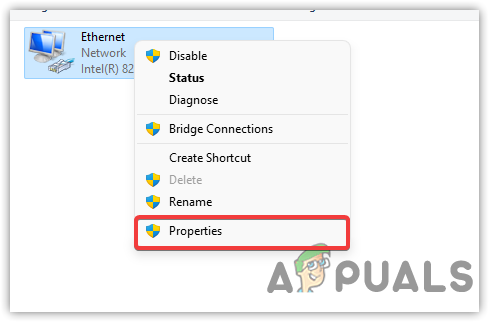
Opening Network Adapter Properties - Select Internet Protocol Version 4 (TCP/IPv4) and click Properties
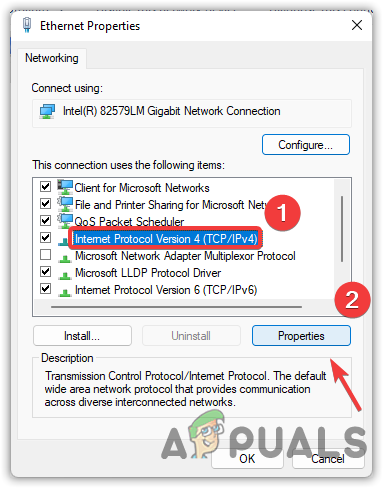
Opening Internet Protocol Version 4 (TCP IPv4) Properties - Once the new Window is opened, choose Use The Following IP Address
- Type the following address in the boxes and click OK
8.8.8.8
8.8.4.4
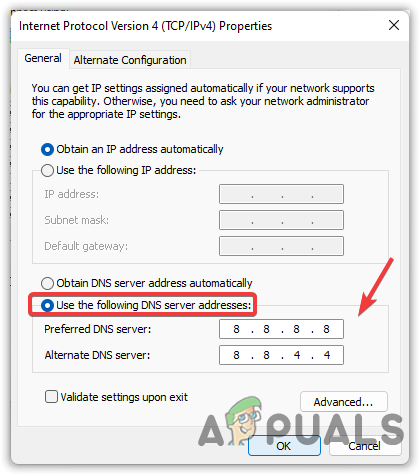
Applying Google DNS To The Network - Once done, check if this fixes your issue.
didnt work pls help