How to Fix Windows Keeps Changing the Power Plan?
This problem mostly occurs due to a custom power setting, a generic glitch, or third-party interference. On Windows 11, the problem is most likely caused by an unpatched bug affecting retail and insider builds. You can also expect this issue on laptops if your battery loses capacity fast.
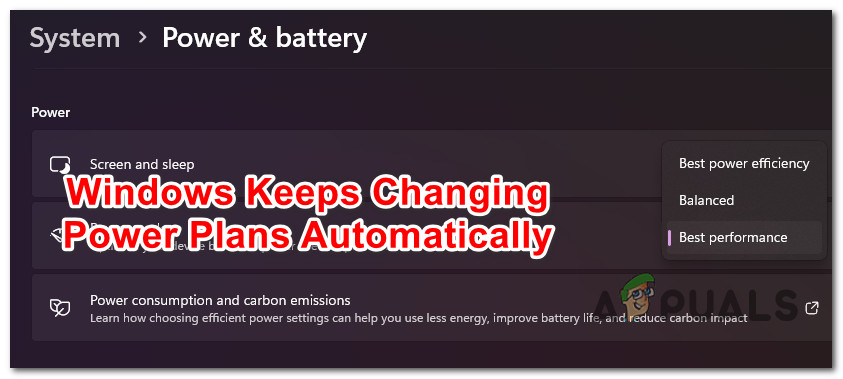
While some users are annoyed that they want to go for the Balanced power plan and Windows keeps changing it to Ultra Performance, others experience the issue in reverse (Windows keeps defaulting to Balanced).
Let’s start troubleshooting.
1. Restore default settings for the power plan
The ideal way to troubleshoot this issue is to revert every power-plan-related setting to the default values. This is usually effective in situations where you previously modified your AdvancedPower Plan settings or if you let a battery-optimized tool do it for you.
In most documented cases, this intentional change between power plans happens due to a previously established advanced power-setting rule. To fix this issue, access your Power Plan settings and restore the settings to the default.
If there’s nothing wrong with your battery, this action should allow your OS to remain consistent with the plan you establish.
Here’s what you need to do:
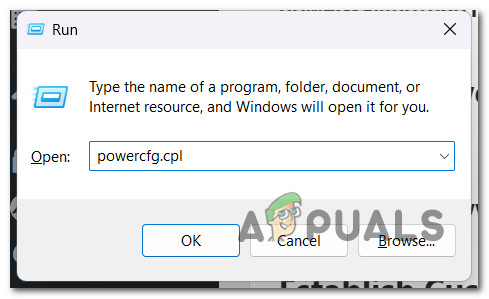
- Press the Windows key + R keys simultaneously to open a Run dialog box.
- Inside the Run box, type ‘powercfg.cpl’ and press Ctrl + Shift + Enter to open up the Power Settings menu.
Open the Power Settings menu - Click Yes to grant admin access at the User Account Control (UAC).
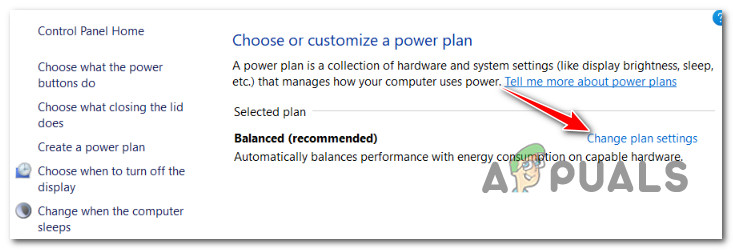
- Once inside the Power Options menu, click on Change plan Settings.
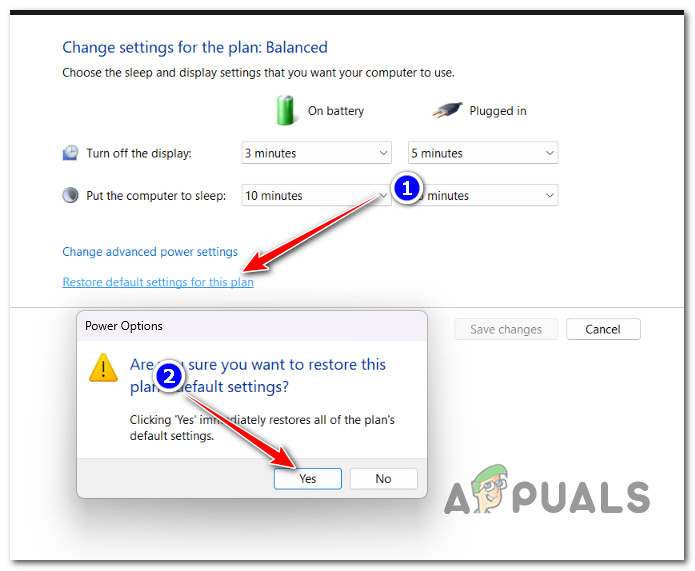
Change the plan settings - From the next screen, click on Restore default settings for this plan.
- At the confirmation prompt, click Yes to initiate the reset procedure.
- Once the reset procedure is complete, reboot your PC, then utilize your Windows PC normally and see if the same issue is still occurring.
Reset all Power plan settings
If the issue is still not fixed despite resetting the power plan options, move down to the next method below.
2. Run the Power troubleshooter
If resetting back to the default power plan didn’t make a difference for you, the next thing you should do is troubleshoot for a potential power-related glitch.
By running the Windows Power Troubleshooter, you will force your OS to cross-check your current power components against a list of automated repair strategies.
If any recognizable scenario is found, the Windows Power Troubleshooter will automatically attempt to fix the issue.
IMPORTANT: Before you run the Power Troubleshooter, start by unplugging any unnecessary device from your computer, including USB-connected printers, headphones, external cameras, and anything else that can suck power from the PSU.
After doing this, perform the steps listed below to launch the Power Troubleshooter and see if it manages to fix the issue for you:
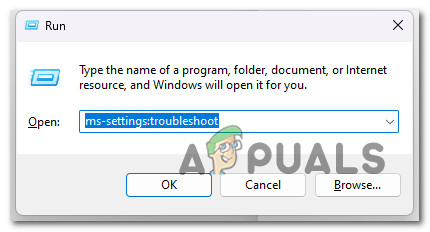
- To bring up the Run dialog box, press the Windows key + R. Next, launch the Troubleshooting tab by typing “ms-settings:troubleshoot” into the Run text box and pressing Enter.
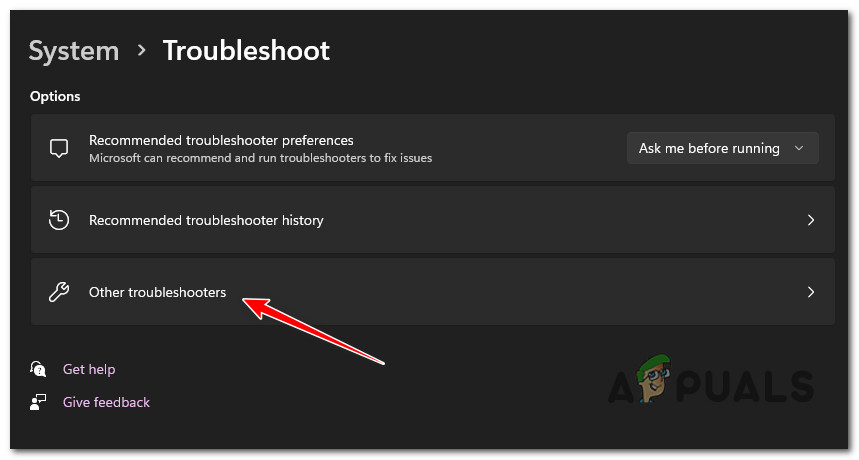
Open the Troubleshoot menu - After entering the Troubleshoot tab of the Settings app, click on Other Troubleshooters on the right side of the screen.
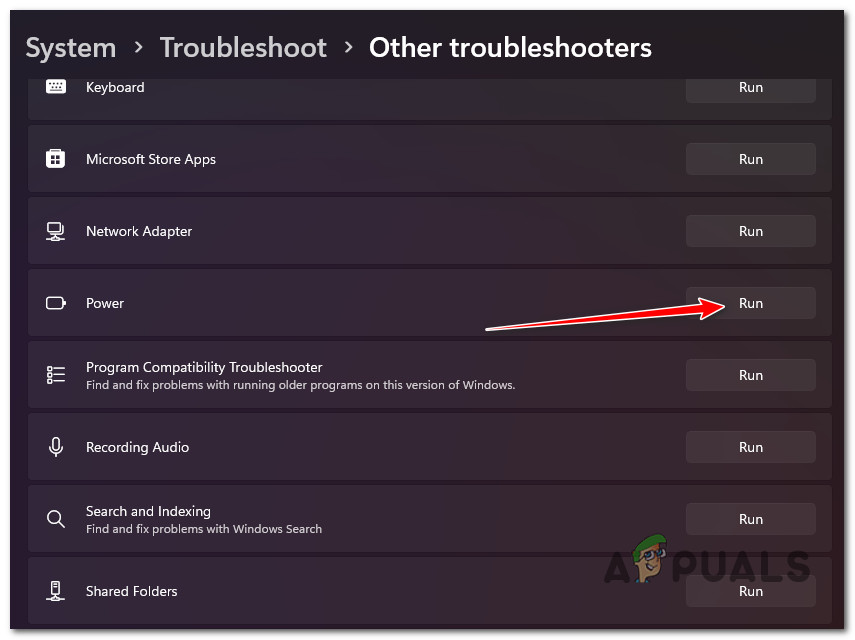
Open the Other Troubleshooters tab - Click the Run button next to Power from the following menu after scrolling down to the Other area.
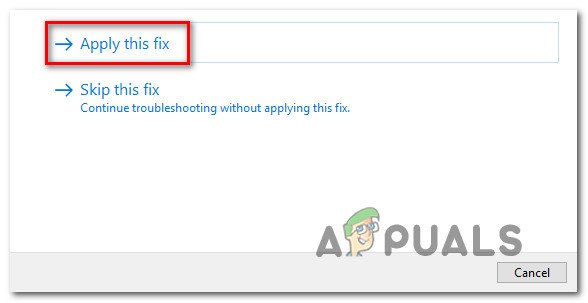
Click on the Power button - After launching the troubleshooter, hold off until the preliminary scan is finished. If the remedy isn’t implemented automatically, click Apply this fix and wait until the deployment of the repair strategy (in case a viable scenario is identified).
Apply this fix - After completing this process, restart your computer and check to see if the issue has been resolved.
3. Uninstall Asus AI Suite 3 or Intel (R) RMT (if applicable)
If you set a power plan that only remains saved until the next restart and you’re using an ASUS computer, you should check if ASUS AI Suite 3 is installed on your PC.
Note: One particular build (Asus AI Suite 3 v3.00.10) is known to override any user-established power plan. Since then, ASUS has patched the issue, so newer builds won’t cause the same behavior on Windows 10 and 11.
However, according to other ASUS users, the self-updating function is very unreliable – your best course of action is to uninstall ASUS AI Suite 3 and reinstall it by downloading the latest build (if you use it). If you don’t actively use Asus AI Suite 3, there’s no point in keeping this tool installed since it’s no way necessary to your Windows installation.
Intel Ready Mode Technology is a similar tool that might cause this issue. Some users who had this tool installed have reported that it was constantly altering their power scheme, even if it was disabled or not actively running in the background. If you have this installed, the fix is the same – uninstall the tool from your system.
Follow the instructions below to uninstall Asus AI Suite 3 v3.00.10 or Intel Ready Mode Technology if this scenario is applicable:
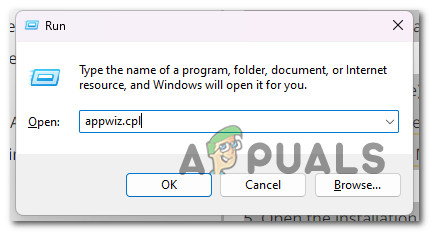
- To bring up the Run dialog box, press the Windows key + R. After that, enter “appwiz.cpl” into the text field to launch the Programs and Features window.
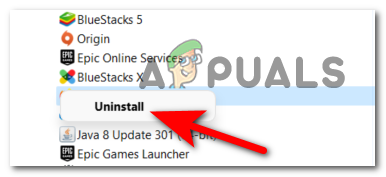
Open the Programs and Features menu - Find the ASUS AI Suite (or Intel Ready Mode Technology) installation by scrolling down the list of installed programs after you’ve reached the Programs and Features panel.
- To start the removal process, right-click on it when you notice it and select Uninstall from the context menu.
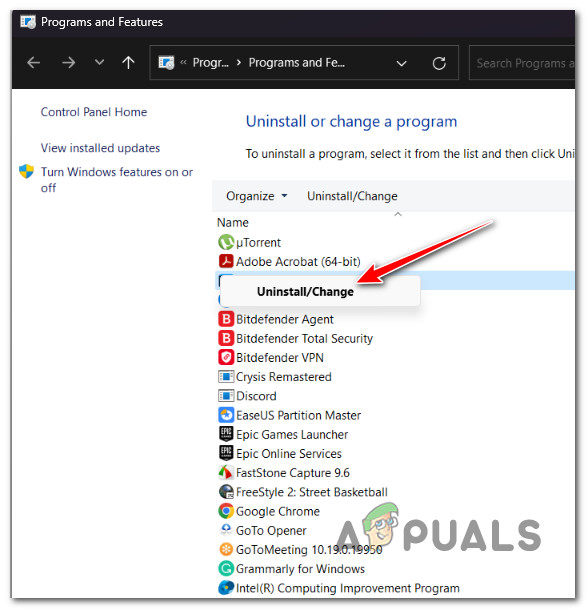
Uninstall ASUS AI suite - Once you’ve reached the uninstallation page, follow the directions to finish the process. Then, restart your computer.
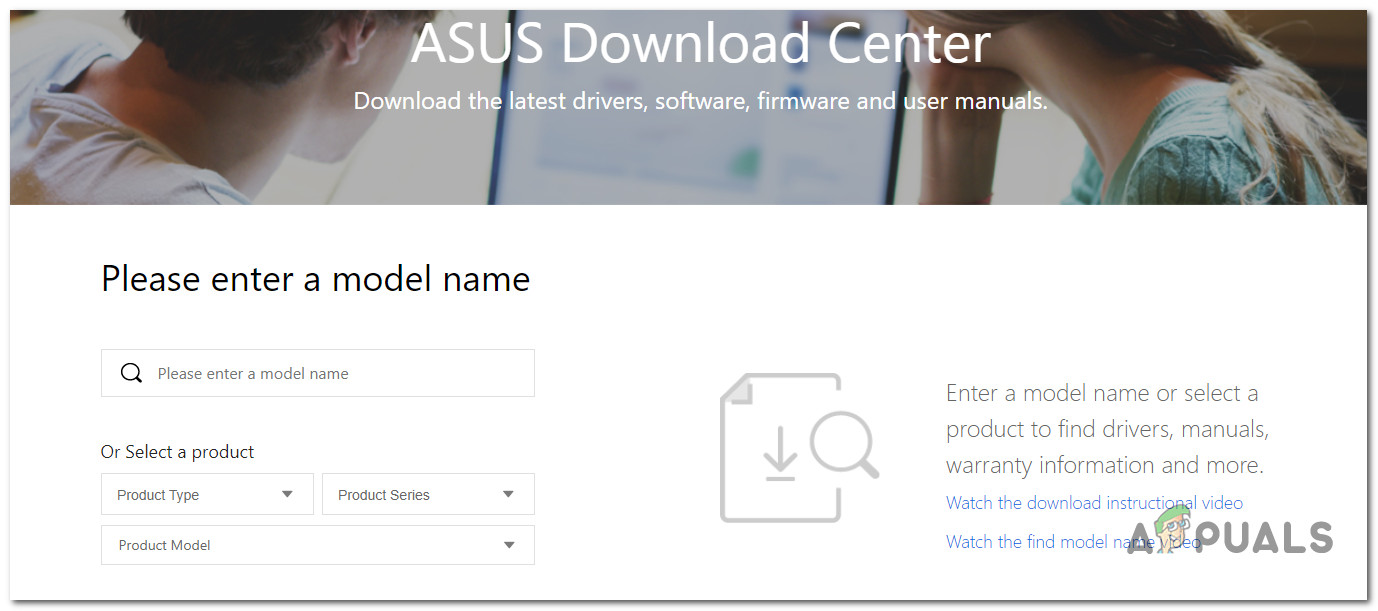
- If you actively use the ASUS AI Suite tool, you can reinstall it by accessing the official download website. You’ll need to insert your model name and type first.
Downloading the latest version of ASUS AI Suite IMPORTANT: Don’t reinstall Intel Ready Mode Technology because the same issue will repeat. If you use it regularly, refer to the next method below for instructions on reconfiguring its main service to avoid conflict with the active power scheme.
- On the next page, choose the relevant OS, and download the most recent version of ASUS AI Suite if you want to install the patched version of it (the version that doesn’t clash with your current power plan)
- Open the installation executable when the download is finished and follow the on-screen instructions to finish installing the most recent version of ASUS AI Suite.
- Monitor the situation and see if the active power plan is still explicitly changing without your say-so.
If the same problem is still occurring, move to the next method below.
4. Delete unused power plans (Windows 11 Only)
If you’re using Windows 11, chances are you’re dealing with the same glitch that has affected many users (using retail and insider builds).
Certain OEMs had this weird issue where the Ultimate Performance plan always defaults to High Performance. This is a huge problem for gamers since they lose precious FPS.
Fortunately, there is a fix, but you won’t like it much if you frequently change between power plans.
The solution confirmed by most affected users is to delete every other power plan besides Ultimate Performance. This will ensure that your OS doesn’t have an inferior power plan to default on.
Here’s how to do this:
- Start by pressing Ctrl + Shift + Enter to open a Run dialog box.
- Type ‘cmd’ inside the Run box, then press Ctrl + Shift + Enter to open up an elevated Command Prompt.
Open an elevate CMD window - Hit Yes to grant admin access at the User Account Control (UAC).
- Once you’re finally inside the elevated CMD prompt, type the following command and press Enter to generate a list of all the available power schemes that are compatible with your PC:
POWERCFG /LIST
- Take note of the GUID of every other power plan that is not Ultimate Performance.
- Use the following command to delete every other power plan besides the one that you want to use:
powercfg -delete [REPLACE THIS WITH GUID]
Note: Make sure you replace the [REPLACE THIS WITH GUID] placeholder with the actual GUID of the power plan you want to delete.
- Once every power plan has been deleted, reboot your PC and see if the problem is now fixed.
If the same problem is still occurring, move to the next method below.
5. Uninstall Avast (if applicable)
If you’re using Avast as the default security suite, you should know that it has a performance feature buried in its UI that will change the default power plan without your permission.
It turns out that the “Do Not Disturb” feature of Avast will automatically run the application that you are actively opening with priority and override your power plan to ‘High Performance” without asking you anything.
To mitigate this issue, you can either disable the Do Not Disturb mode or you can simply uninstall the antivirus.
If you plan on going for the uninstallation, make sure you also remove every remnant file by following this guide.
If this scenario is not applicable to you, try the next method below.
6. Modify the Behavior of IRMT Service (if applicable)
If you have the Intel Ready Mode Technology app installed and you’re actively using it, the only way to prevent this app from overriding your active power plan is to re-configure the main IRMTService.
IMPORTANT: If you’re using a newer Dell with the newer version of BIOS, you can also disable the Intel Ready More Technology without uninstalling the main app at the BIOS level.
If this option is not available for you, open the Services screen and look for the IRMT Service (Intel Ready Mode Technology). Once you find it, ensure the behavior is set to Manual, so this service is never permitted to start on boot up.
Here’s how to carry on this method:
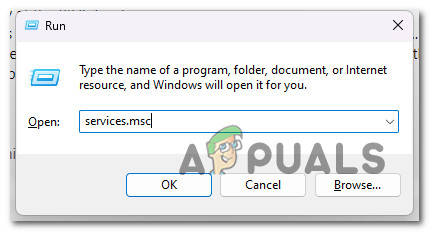
- Press the Windows key + R to open up a Run dialog box.
- Next, type ‘services.msc’ and press Ctrl + Shift + Enter to open the Services screen.
Open the Services screen - Click Yes to grant admin access at the User Account Control (UAC).
- Scroll down through the list of services and click on Properties from the context menu.
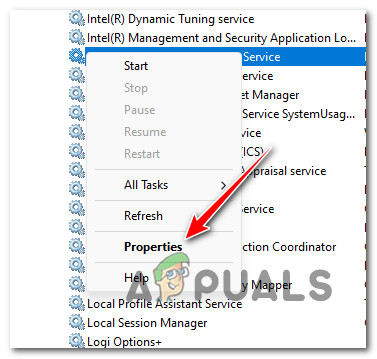
Access the Properties screen - Next, go to the General tab, then change the Startup type to Manual before clicking on Apply to save the changes.
- Restart your PC and see if the active power plan remains unchanged.
If the problem is still not fixed, try the next method below.
7. Perform a clean boot
If none of the methods above have allowed you to prevent your OS from changing the power plan without your specific consent, the next thing you should investigate is a third-party culprit.
This is the logical follow-up method if uninstalling ASUS AI Suite and/or Intel Ready Made Technology didn’t work for you (or was not applicable).
Achieving a clean boot state will force your Windows installation to boot up without any non-MS services and processes. This will help you rule out a potential 3rd party cause off your list.
After achieving a clean boot state, utilize your PC normally and see if the power plan changes again.
If you confirm that the problem is not occurring while in clean boot mode, you should systematically re-enable each 3rd party component until you discover the culprit changing the power plan.
Start with the usual suspects like computer performance tools, then look into manufacturer-provided support tools.
If getting to a clean boot state doesn’t solve the problem, move on to the next method below.
8. Establish Custom Power-plan via Local Group Policy
If none of the methods above ended up working for you, another thing that you should try is assigning a custom power plan via Local Group Policy Editor. But to do that, you will first need to open up an administrative Command Prompt terminal and generate a list of all the compatible power schemes.
Once you are armed with the list of power schemes your computer supports, you can use the Local Group Policy Editor (GPEDIT) to establish a custom active power plan.
Note: This custom plan enforced via Local Group Policy Editor will remain active even if another OS component or 3rd party suite attempts to change it. However, if your battery is damaged, your OS might still forcibly change it to Balanced or Battery saving (as a security mechanism) to preserve the battery. More details on the next method are below.
If you want to give this method a try, follow the instructions below:
IMPORTANT: Home and Education editions of Windows won’t include the Local Group Policy Editor by default. If you’re using a Home or Education Windows edition, follow this guide to install the Gpedit utility manually first.
- Press Ctrl + Shift + Enter to open up a Run dialog box.
- Next, type ‘cmd’ inside the Run box, then press Ctrl + Shift + Enter to open up an elevated Command Prompt.
Open an elevate CMD window - Click Yes to grant admin access at the User Account Control (UAC).
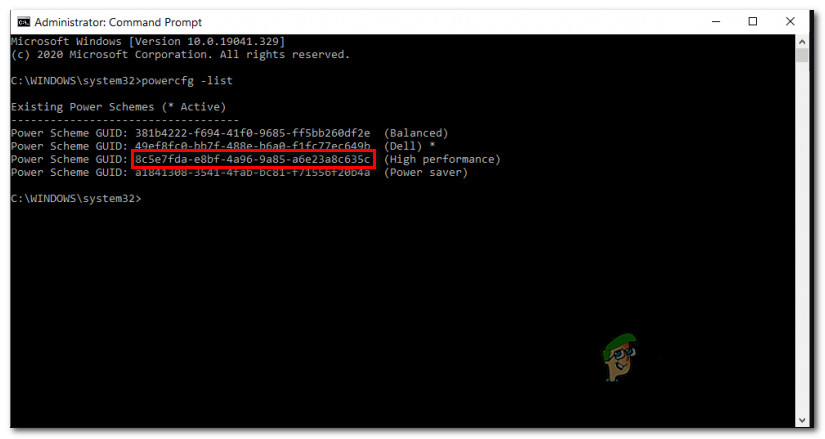
- Once you’re finally inside the elevated CMD prompt, type the following command and press Enter to generate a list of all the available power schemes that are compatible with your PC:
POWERCFG /LIST
- After a few seconds, you will get a list of all Power Schemes. When the results are in, weigh your options and decide on the power scheme you will use.
- Note down the GUID of the power scheme that you want to use. In the example above, we want to use the High Performance power scheme.
High-Performance Power Scheme Note: After you note down the GUID, you can safely close the elevated CMD window.
- Press the Windows key + R again to open another Run box.
- This time, type ‘gpedit.msc’ and press Ctrl + Shift + Enter to open up the Local Grop Policy Editor with admin access.
Open the Gpedit utility - Click Yes to grant admin access at the User Account Control (UAC).
- Inside the Local Group Policy Editor, use the menu on the left to navigate to the following location:
Computer Configuration -> Administrative Templates
- Next, move to the menu on the right and navigate to the following location:
System -> Power Management
- Double-click on Specify a custom active power plan policy.
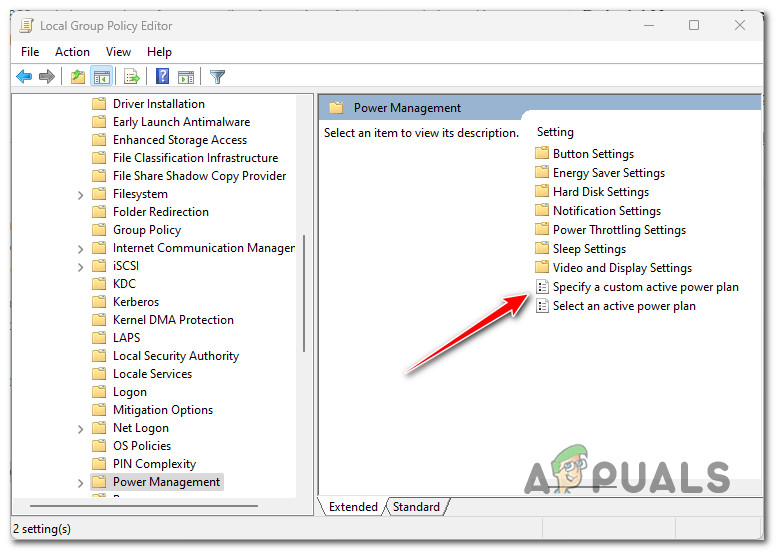
Specify a custom active power plan - Next, set the policy to Enabled, then go to the Options screen and past the GUID you previously noted down in step 6.
- Click Apply to save the changes you’ve just deployed, then reboot your PC.
- Once the next startup is complete, utilize your PC normally and see if your OS maintains the custom-established plan.
Note: If you ever want to revert the custom plan you just enforced above, simply return to the Specify a custom active power plan policy via Local Group Policy Editor and set its status to Not Configured.
If this method didn’t allow you to fix the issue, move down to the next method below.
9. Analyze the health of your battery (if applicable)
One of the most common reasons you might experience sudden power plan changes is if your battery has a sudden drop in the battery-life percentage. This typically happens with laptop batteries that are older than 2 years.
Note: If you don’t experience this issue on a laptop, tablet (or a Windows device with a battery), skip this method and move down to the next method below.
Windows is hard-wired to switch back to Balanced or Power-Saving as a security mechanism (to extend the battery life).
If you only face this issue while your laptop is NOT plugged into a power source and your battery is over 2 years old, you should take the time to investigate the health of your battery by running an elevated CMD command.
Once the battery report is generated, you can go through it and see if any student percentage drops are forcing your OS to override the user-selected power plan.
Follow the instructions below to generate a battery report and inspect it:
- Make sure you are signed in with an administrator account.
- Press the Windows key + R to open up a Run dialog box.
- Next, type ‘cmd’ inside the text box, then press Ctrl + Shift + Enter to open up an elevated Command Prompt.
Open a CMD window with admin access - Click Yes to grant admin access at the User Account Control (UAC).
- Once you’re finally inside the elevated CMD prompt, type the following command and press Enter to generate the battery report:
powercfg /batteryreport
- Once the operation is complete, you will get a message saying, ‘Battery life report saved“.
- After seeing the success message, close the elevated CMD prompt and open File Explorer.
- Use File Explorer to navigate to the following location:
C:\Windows\System32\
- Once you arrive inside the correct location, scroll down through the Windows files and locate the .HTML file named battery-report.
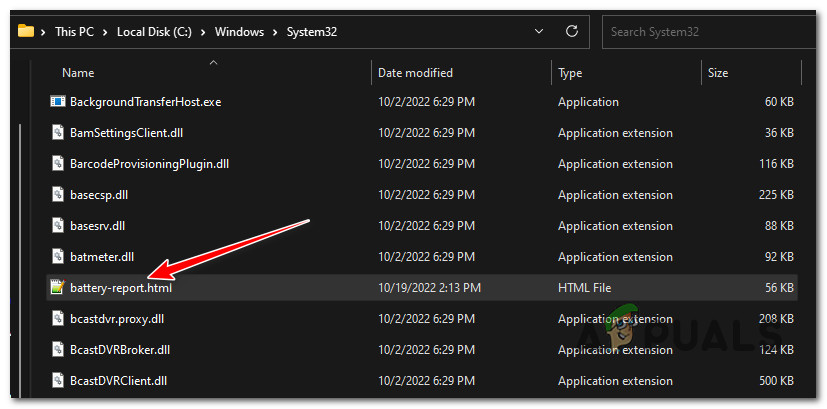
Open Battery Report - Right-click on battery-report.html, then click on Open With and select any browser from the list of suitable equivalents.
- After you’ve opened the battery report, scroll down to the Battery Capacity History and look at the latest entries. If the Full Charge Capacity is less than half of the Design Capacity, you’ll need to change your battery sooner than later.

Inspecting the battery status Note: However, the fact that your actual battery charge is way under the intended capacity is not an actual cause that will force Windows to override the power plan. For this to happen, it needs to see a sudden change in battery percentage while the PC is actively running. To verify this, follow the step below
- In the same Battery Report, go under Recent usage and see if you can correlate sudden capacity drops while your laptop was active and running on battery.
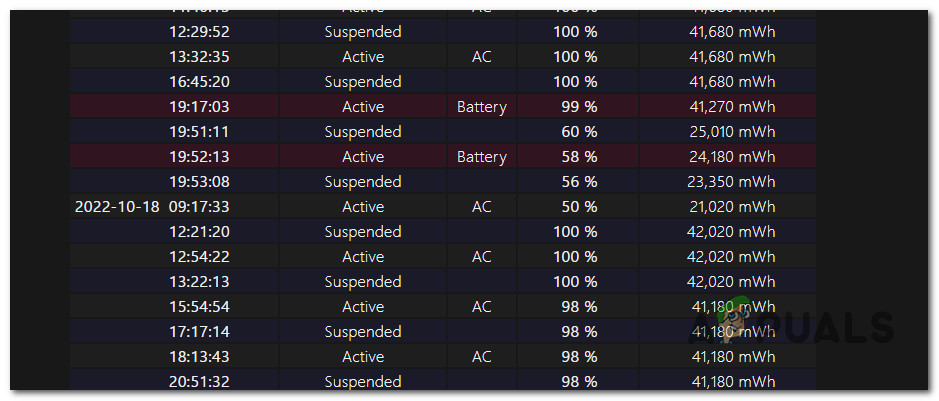
Investigate for any capacity drops - In case the investigation you just did has revealed that there is indeed a sudden percentage drop in your battery life, you only have two ways to fix this issue:
- Always use your laptop via AC cable (this issue won’t occur if the battery is not actively being used)
- Replace your battery with a brand-new one.


