What is UNCServer.exe and Should I Remove It?
Several Windows users have been reaching us with questions asking if UNCServer.exe is an important part of Windows after discovering that the process is constantly using a considerable amount of system resources. The issue does not seem to be exclusive to a certain Windows version since the process is commonly encountered on Windows 7, Windows 8.1 and Windows 10.
What is UNCServer.exe?
UNCserver.exe is a system update server module. The acronym UNC comes from Universal Naming Convention. What this module essentially does is it runs as a separate windows task while System Update is running.
The UNCServers.exe task will start as soon as Lenovo System Update is started (and should close along with it). The task is also tied to the newer TVSU (ThinkVantage System Update).
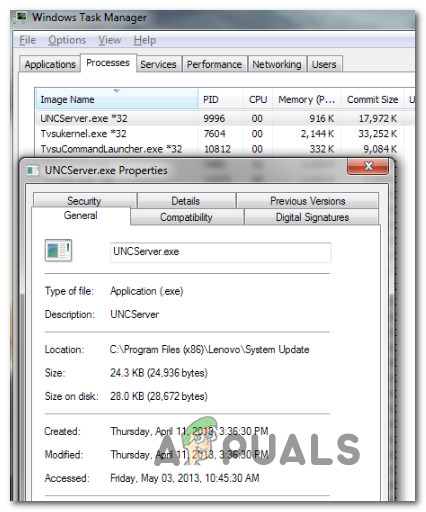
It works by opening the inbound TCP and UDP traffic in order to allow SU (System Update) to self-update and download any pending installation packages. If you get to to see the UNCserver.exe task inside TaskManager.exe, it means that the module is actively working. But as soon as the task is complete, the uncserver.exe task should automatically terminate.
If you find that the UNCserver.exe is always on, chances are you’re system is suffering from a bug that manifests by the refusal of the process to terminate after SU is closed.
Should I Remove UNCServer.exe?
There are very few reasons why you’d want to remove UNCserver.exe. As stated above, the file is part of Lenovo System Update and it’s digitally signed by Lenovo. However, a malicious file that poses as UNCServer.exe will have the necessary permissions to grant itself access to all TCP and UDP ports for both Domain and Public profiles.
Because of these, the best course of action is to ensure that the UNCServer.exe file is legit and doesn’t pose a security threat. To do this, we recommend going for a Deep Malwarebytes scan and confirm that the file is not actually a malicious file in disguise. You can follow our article (here) on using the Malwarebytes security scanner to perform a security scan.
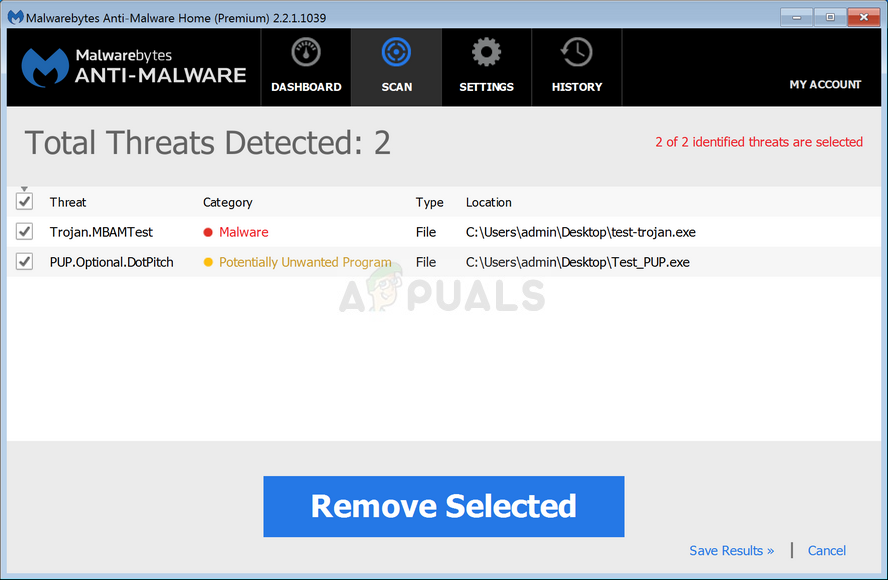
If the scan reveals that the UNCServer.exe file is legitimate and belongs to Lenovo, you shouldn’t remove it unless it affects your system performance in one way or another.
In case you are still determined to prevent the process from using any of your system resources, move down to the next section below.
How to Remove UNCServer.exe?
You can prevent UNCServer.exe process from ever running on your computer if you choose to do so. But keep in mind that going this route might limit your PC’s ability to self-update and install the latest security patches automatically.
If you accept the risks, follow one of the two methods below to remove the UNCServer.exe.
Method 1: Uninstall Lenovo System Update
The quickest way to do this is to simply uninstall the Lenovo System update application. But this method is also the most destructive route since it will completely sever the means to self-update. If you’re prepared to go ahead with the uninstallation, here’s what you need to do:
- Press Windows key + R to open up a Run dialog box. Then, type “appwiz.cpl” and press Enter to open up the Programs and Features window.

Type appwiz.cpl and Press Enter to Open Installed Programs List - Once you arrive inside the Programs and Features window, scroll through the list of applications and locate Lenovo System Update. Once you see it, right-click on it and choose Uninstall from the context menu.
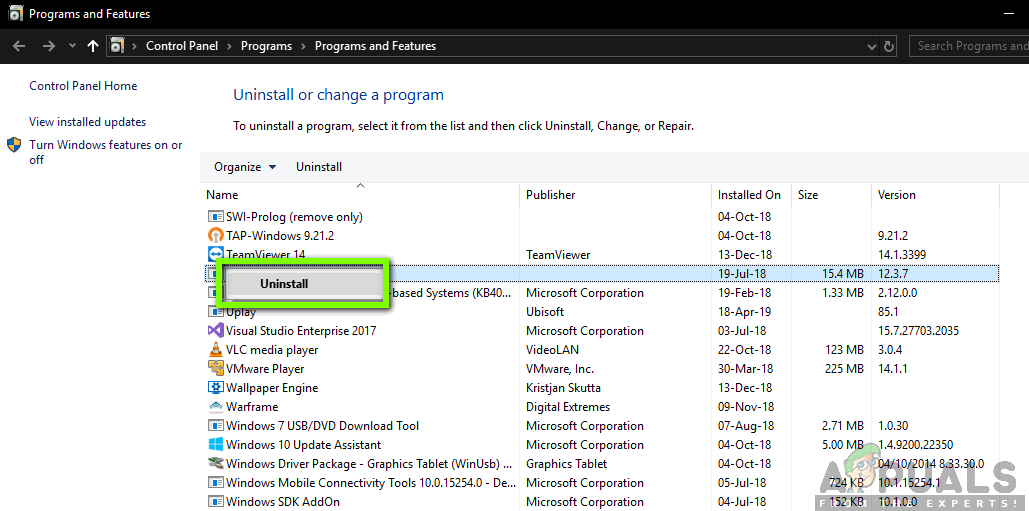
Uninstalling Lenovo System Update - Follow the on-screen prompts to complete the uninstallation process. Once it’s complete, restart your computer.
- Once the next startup sequence is complete, check your Task Manager and see if the UNCServer.exe is still draining system resources. You should no longer see it inside the list of processes.
If this method didn’t resolve the issue or you’re looking for a less destructive method of resolving this issue, move down to the next method below.
Method 2: Disable the TVSUUpdateTask
A more elegant way to prevent UNCServer.exe from actively draining system resources is to disable the TVSUUpdateTask task under task manager. Here’s a quick guide on how to do this:
- Press Windows key + R to open up a Run dialog box. Then, type “taskschd.msc” and press Enter to open up the Task Scheduler utility.
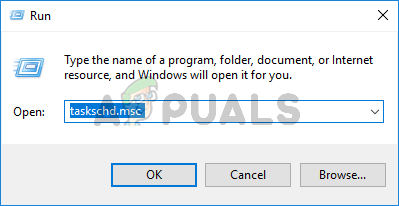
Type taskschd.msc in the Run to open Task Scheduler - Once you’re inside Task Scheduler, expand the vertical menu on the right (Task Scheduler Library) and select TVT from the sub-menu.
- Next, move over to the right-hand pane menu and scroll down through the list of tasks until you locate TVSUUpdateTask.
- When you see it, right-click on it and choose Disable from the context menu to disable the task altogether.
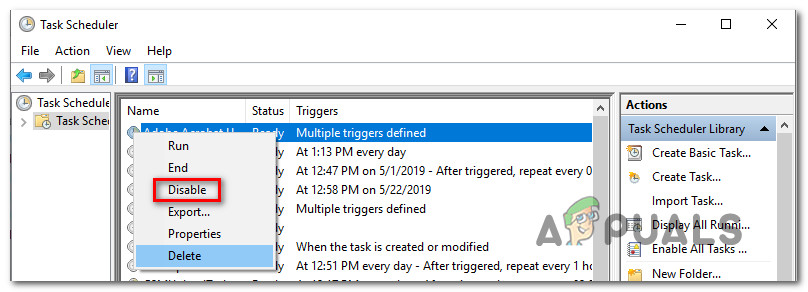
Disabling the TVSUUpdateTask - Once this change is enforced, restart your computer.
- Starting with the next startup sequence, the change will prevent Lenovo System Update from running on a schedule and leave UNCServer.exe running in the background. But you will still be able to run Lenovo System Update manually if you decide to do so.