What is ‘fsavailux.exe’ and Should I Remove It?
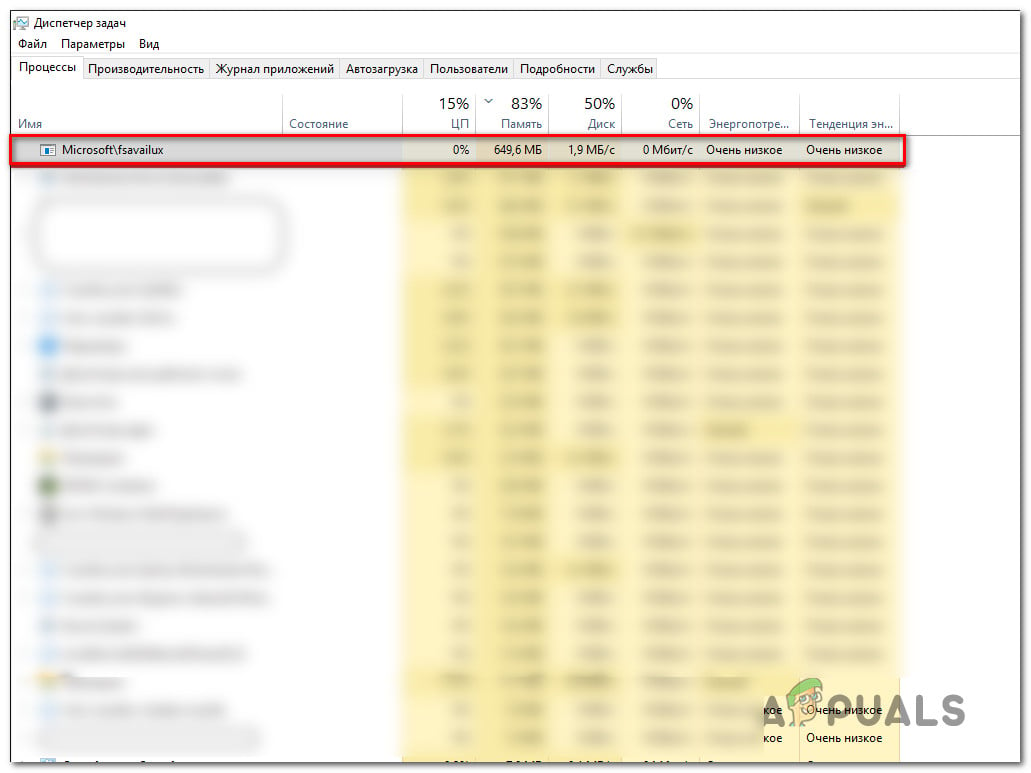
Several Windows users have been reaching us with questions after noticing that a certain process called fsavailux.exe is using a lot of system resources at random times and ends up slowing the computer up. The majority of users that are affected by this behavior are wondering if they’re dealing with malware or if the executable is a part of the Windows operating system. As it turns out, this behavior is encountered on Windows 10, Windows 8.1 and Windows 7.
What is ‘fsavailux.exe’?
The genuine fsavailux.exe process is a software component belonging to the most recent Windows installations. The process is signed by Microsoft and is actively being used by the Disk Check Utility, a proprietary Windows tool.
The purpose of this executable is to call, start and manage the Disk Check Utility scans that are triggered by the end-user manually or by an auto-start task.
After looking at the average usage of the fsavailux.exe process, we can conclude that the default resource usage is small and should not have an impact on the overall system performance (particularly when the DIsk Check Utility is not running).
Is ‘fsavailux.exe’ safe?
Since the legitimate fsavailux.exe file is signed by Microsoft, it should not be regarded as a security threat. However, you should not disregard this possibility, since some malware nowadays are designed with cloaking capabilities – This means that they are equipped to disguise themselves as system executable with enhanced privileges to avoid detection by security scanners.
Some do it better than others, but to make sure that you’re not dealing with a security threat, we encourage you to perform a series of investigations that will help you determine whether the fsavailux.exe executable is genuine or not.
First things first, you should investigate whether you find yourself in a scenario where the Disk Check Utility has a reason for being called. If you manually trigger a scan or you started your computer after an unexpected shutdown, there’s a valid reason why you’ll see this process inside your Task Manager.
However, if none of the scenarios above are applicable and you find no reason for seeing the fsavailux.exe file with a lot of system usage, you should start looking into the location of the file you’re dealing with. To do this, press Ctrl + Shift + Esc to open up a Task Manager window.
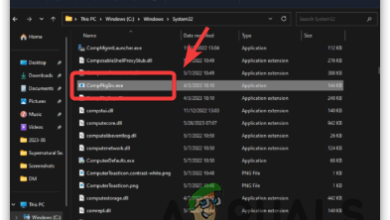
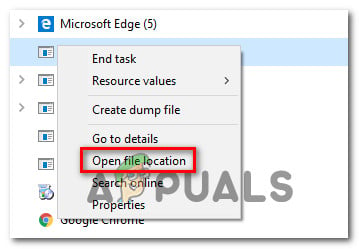
Once you’re inside Task Manager, select the Processes to tab from the horizontal menu, then scroll down to the list of Background processes and locate fsavailux.exe. After you manage to locate it, right-click on it and choose Open File Location from the newly created context menu.
If the revealed location is different than C:\Windows\System, there’s a very high chance that you’re dealing with a malicious executable.
If you discover the fsavailux.exe file in an improper location, the best course of action is to upload a suspicious file to a virus database to figure out if the file is indeed infected or not. Several different ways will allow you to do this, but the most convenable method is to rely on VirusTotal.
To do this, access this link (here), upload a file and wait for the analysis to complete.
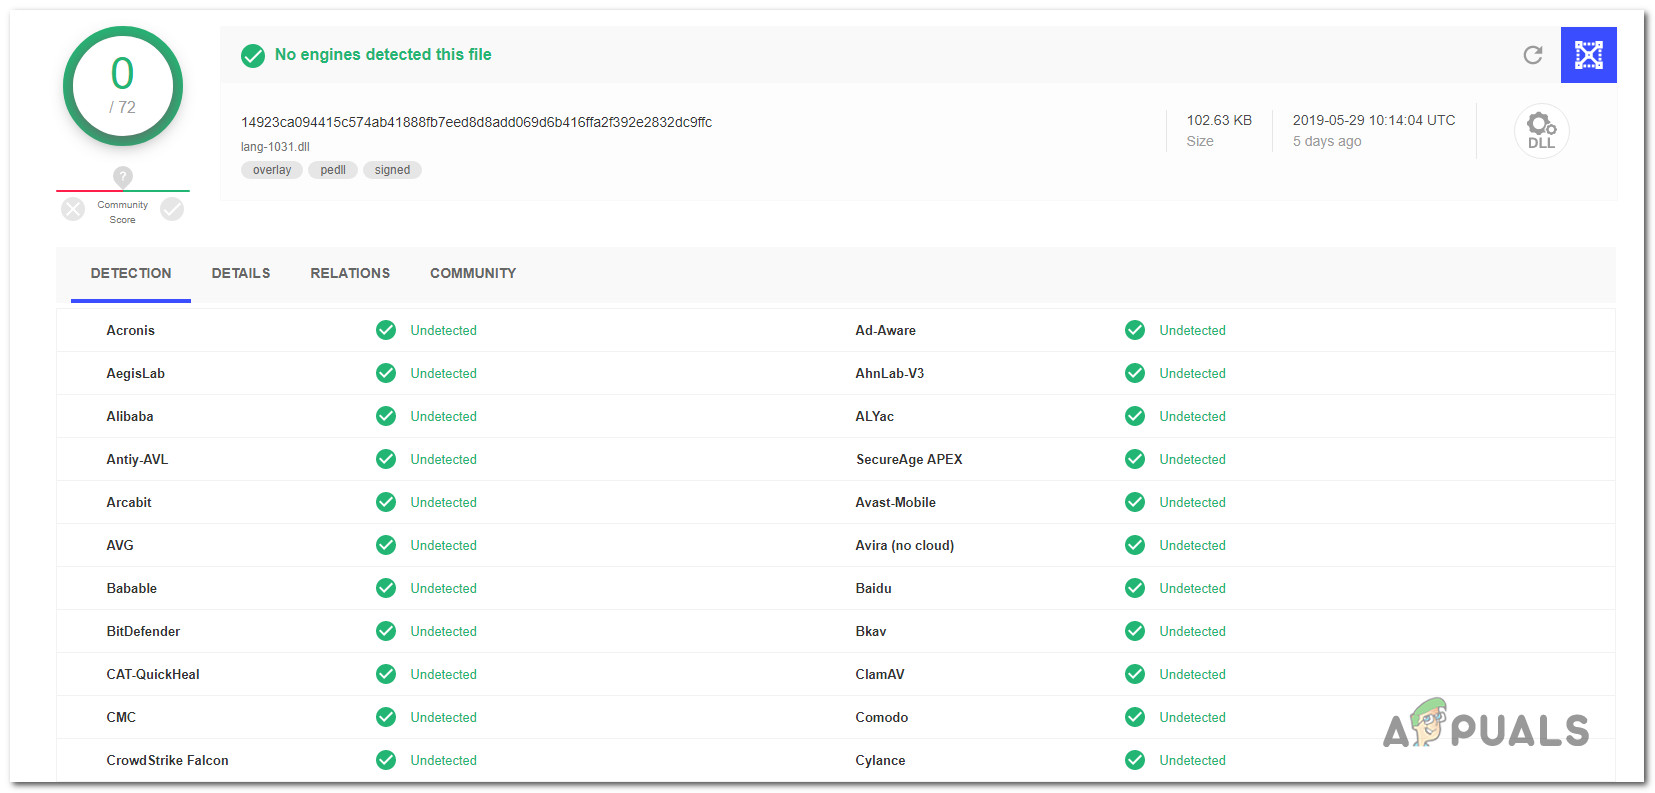
If the analysis didn’t reveal any inconsistencies, skip the next section below and move directly to the Should I remove fsavailux.exe? section.
But in case the analysis revealed that the file is indeed infected, continue with the next section below for step by step instructions on dealing with a virus infection.
Dealing with the Security Threat
If the investigations you did above revealed that the fsavailux.exe file is not legitimate and the VirusTotal analysis flagged it for being a potential virus infection, it’s highly recommended that you deploy a security scanner capable of identifying and infected files and eliminating them from your computer.
Keep in mind that when it comes to detecting malware with cloaking capabilities, not all security suites are efficient as identifying and quarantining them. If you already pay a monthly or quarterly subscription to a scanner, go ahead and scan your system with it.
But if don’t have access to a premium security suite and you’re looking for a free option that is capable of dealing with the virus infection, your best choice is Malwarebytes. This utility will allow you to remove the vast majority of malware that is configured to avoid detection by posing as a system process.
If you’re unsure of how to initiate a deep Malwarebytes scan, follow this article (here).

If this scan manages to identify and remove the infected items, restart your computer and see if you’re still experiencing high-resource usage of the fsavailux.exe, go over to the final section below.
Should I Remove ‘fsavailux.exe’?
If the investigations above didn’t reveal a security threat, you can safely conclude that the executable you’re dealing with is genuine. However, if you’re still seeing abnormal resource usage of fsavailux.exe, it’s very likely that the executable has become corrupted and is malfunctioning.
If you find yourself in this particular situation, you should be able to resolve the issue by fixing every possible corruption issue that might be responsible for this problem. Here’s a quick guide on fixing resolving the corruption with two built-in utilities – DISM (Deployment Image Servicing and Management) and SFC (System File Checker):
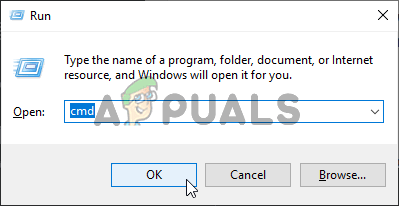
- Open up a Run dialog by pressing Windows key + R. Next, type “cmd” inside the text box and press Ctrl + Shift + Enter to open up an elevated Command Prompt. When you get to the UAC (User Account Control) prompt, click Yes to grant administrative privileges.
Running Command Prompt - Once you’re inside the elevated CMD prompt, type the following command and press Enter to initiate an SFC scan:
sfc /scannow
Note: Don’t interrupt this process until the operation is complete. Otherwise, you run the risk of provoking additional logical errors.
- Once the SFC scan is complete, close the elevated CMD and restart your computer. At the next startup sequence, follow step 1 again to open up another elevated CMD. After you do this, type the following commands in order and press Enter after each one to initiate a DISM scan:
Dism.exe /online /cleanup-image /scanhealth
Dism.exe /online /cleanup-image /restorehealth
Note: DISM needs a reliable Internet connection to download healthy copies that will replace corrupted items. With this in mind, ensure that you have a stable internet connection before initiating this type of scan.
- After the operation is complete, restart your computer and see if the issue is resolved at the next system startup.