How to Fix DEV ERROR 5820 in Call of Duty Warzone?
The Dev Error 5820 typically occurs when Call of Duty Warzone players are playing private matches or tournaments. This problem is only confirmed to occur on PC with both Nvidia and AMD dedicated GPUs.
If you’re experiencing the same Dev Error when playing private matching or tournaments, the most likely causes are a conflicting in-game overlay, an outdated GPU driver, or outdated BIOS firmware.
Additionally, you might also see this error due to the notorious ’emblem card’ glitch or when you have the game installed on a traditional HDD while Windows is installed on a newer NVMe drive.
1. Disable In-Game Overlay
The first major culprit that you should investigate is the in-game overlay software that is currently active on your PC. This issue is confirmed to occur on both Windows 10 and Windows 11.
Take a look and see if you presently have any in-game overlay program that is running on your PC and disable it temporarily to test out this theory.
Another possible option is that the issue is being created by two competing overlay programs. In this instance, you should be able to resolve the issue by deactivating or uninstalling the non-essential in-game overlay.
In most instances, the issue is caused by either Discord’s in-game overlay or Nvidia Experience’s overlay function.
Follow the sub-guides below to temporarily remove overlay tools and see if the Dev 5820 problem is resolved.
Note: In case you’re using a specific overlay tool that is neither Nvidia Experience nor Discord, you can follow the third sub-guide below in order to get rid of it.
1.1. Turn off Discord Overlay
If you’re utilizing Discord’s Overlay function, you’ll need to go to the User settings and disable the feature from the Overlay tab.
Here’s how to do this:
- Ensure that the game is not running in the background, and then launch the Discord application.
- If you are unable to see the screen immediately, open the system tray.
- Double-click the symbol to bring the Discord window to the front.
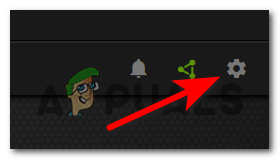
- Once you’re within the Discord program, search for the User settings (gear symbol) at the bottom portion of the window.

Access the User Settings - From the User Settings menu, select the Overlay tab on the left-hand vertical menu (under App Settings).
- Disable the toggle associated with Enable in-game overlay from the Overlay menu.
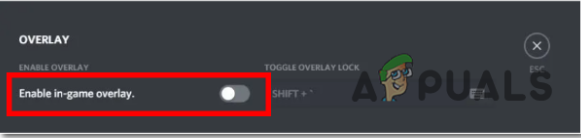
Disable the in-game overlay - Save the modifications, then run the game again to see if the issue has been resolved.
1.2. Disable Nvidia Overlay
If you’re utilizing the overlay technology from Nvidia Experience, follow the instructions below to disable in-Game Overlay.
Here is what must be done:
- First, ensure that Call of Duty Warzone is switched off, and then launch Nvidia Experience.
- Within Nvidia Experience, select the Settings icon (tool symbol) on the screen’s right side (at the top).
Accessing the Nvidia Experience settings menu - Next, select the General tab from the Settings menu’s right-hand column.
- Once within the appropriate menu, navigate to the left menu and disable the In-Game overlay option.
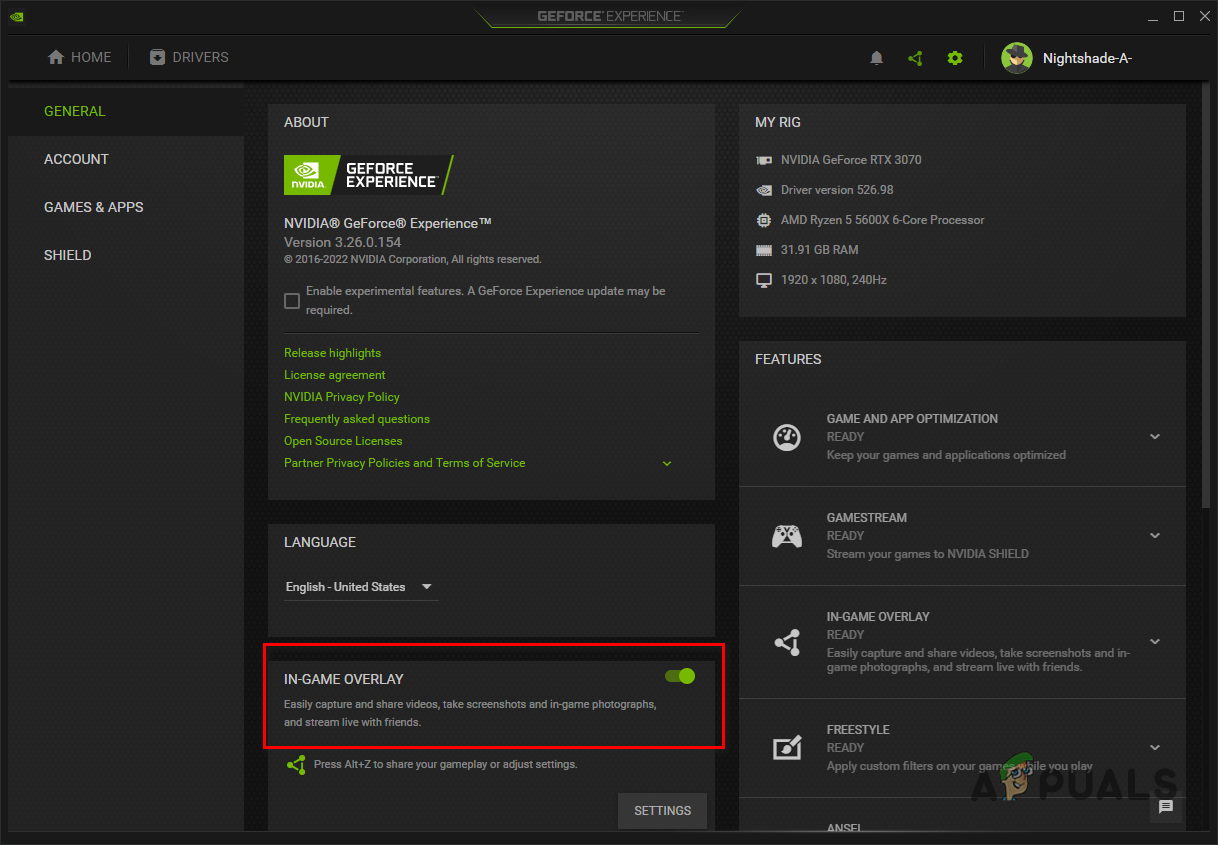
Disable the in-game overlay - Launch Call of Duty Warzone once more and see if the Dev error is still occurring.
1.3. Uninstall the overlay tool
If you have an overlay feature (other than Discord or Nvidia Experience) installed and you have no use for it, you can delete it to eliminate the potential of a conflict.
To uninstall the possibly conflicting overlay utility, follow these steps:
- Press the Windows key + the letter R to launch the Run dialog box.
- Next, type ‘appwiz.cpl’ followed by the Enter key to launch the Programs and Features menu.
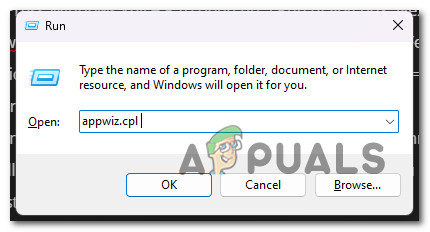
Uninstall the Programs and Features menu - Within the Applications and Features menu, go through the list of installed programs until you identify the overlay software you intend to delete.
- Right-click on it and select Uninstall from the context menu that appears.
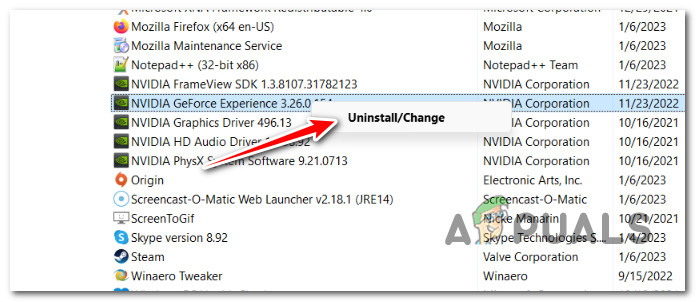
Uninstall Nvidia Experience - Once you reach the uninstallation screen, follow the on-screen directions to finish the removal, and then restart your computer.
- After your PC powers back up, open Call of Duty Warzone once again and see if the Dev Error 5820 error is still occurring.
2. Update GPU drivers to the latest
The Dev Error 5820 might be caused by an obsolete or severely outdated GPU driver or a missing physics module.
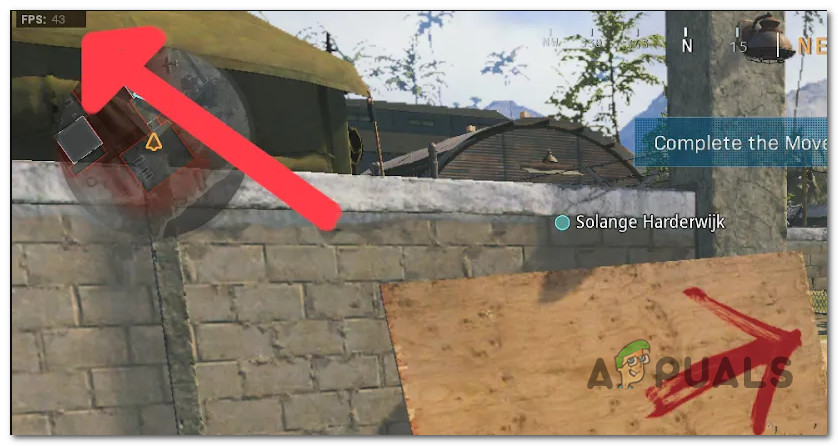
If you experience this problem only during action-packed sequences, but never in the lobby or when nothing is happening on the screen, you can assume that your GPU drivers are out-of-date, corrupted, or missing key dependencies.
The issue can be repaired by updating the GPU drivers and the physics module that governs the game’s mechanics.
If this is the case and you have not recently updated your GPU drivers, erase your existing GPU drivers and reinstall the most recent version before attempting to start the game again:
- To open the Run dialog box, hit the Windows key and R key at the same time.
- To access Device Manager, type “devmgmt.msc” in the text box labeled Open and press the Enter key.
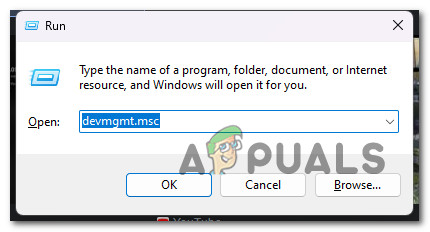
Open Device Manager - Once into Device Manager, expand the drop-down selection for Display Adapters by scrolling down the installed devices list.
- Right-click on your GPU, then click on Update from the related context menu.
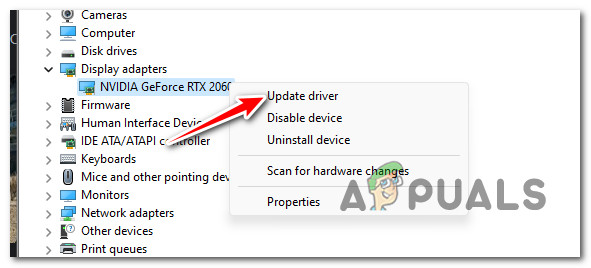
Update the GPU driver Note: If your computer has both a dedicated and an integrated GPU, you must update the drivers for both.
- Select Search for new driver software automatically from the following option.
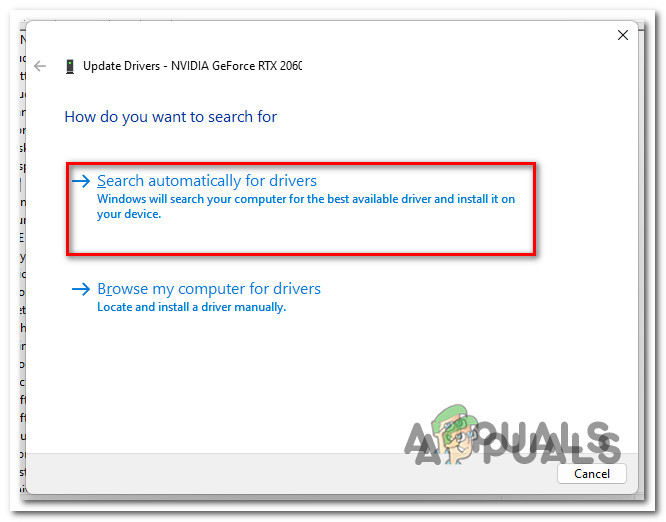
Search automatically for updated GPU drivers - When the first scan is complete, follow the on-screen directions to install the most recent GPU driver discovered.
- After the operation is complete, restart your computer and attempt to launch Call of Duty: Warzone during the next system startup to see if the Dev Error 5820 is now fixed. Note: If Device Manager was unable to locate a new GPU driver version, you should use the proprietary software provided by the manufacturer of your graphics card to update your existing graphics drivers. Depending on your GPU manufacturer, the following software is necessary:
GeForce Experience – Nvidia
Adrenalin – AMD
Intel Driver – Intel
3. Change the emblem or calling card (if applicable)
If this problem started occurring after you changed your card or embedded it into a random item, you might be able to fix the problem simply by selecting a different item.
This fix has been confirmed to work by a huge variety of players running Warzone on both PC or consoles (Playstation and Xbox).
If you didn’t try this already, follow the instructions below to change the emblem & calling card for your active Warzone account:
- From the initial game screen, click on your profile icon (top-right corner of the screen).
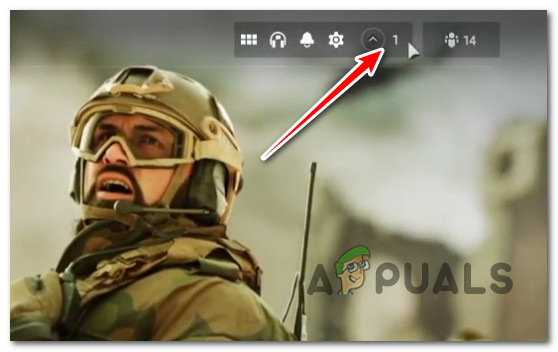
Access the Profile icon - Next, from the context menu that just appeared, click on Edit Calling Card and set a different calling card from the next menu.
- Finally, revert back to the root profile menu and click on Edit Emblem.
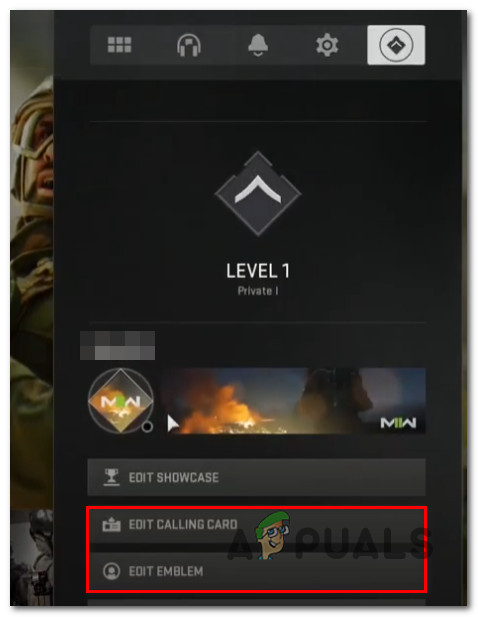
Edit calling card and emblem on COD Warzone - Set a different emblem before saving the changes and restarting the game.
4. Install the game in the same directory as Windows
Another issue that might indirectly cause the Dev Error 5820 critical crash is a scenario in which the game is installed on a traditional drive (HDD) when the operating system (Windows) is installed on a newer NVMe drive.
This will produce unintended behaviours, such as crashing the game if the engine is unable to keep up with the transfer speeds of the NVMe drive.
The solution, in this case, is simple – you will need to move the game on the Windows drive with faster transfer speeds.
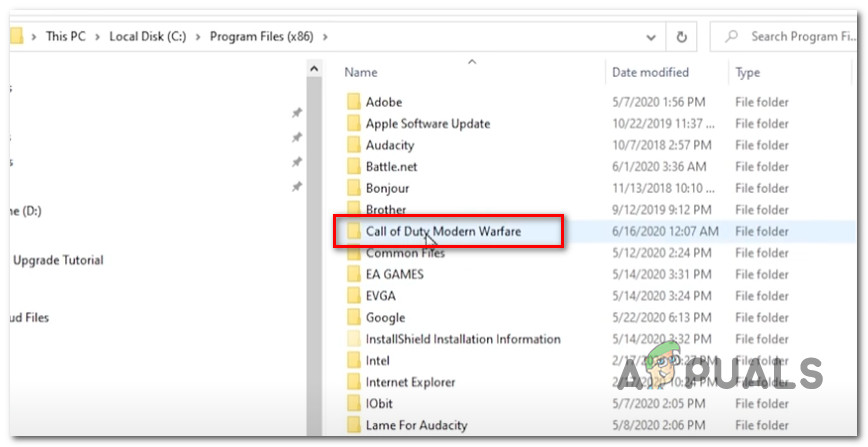
Our recommendation is to move the main game folder in: C:\Program Files (x86)
This solution is not always ideal since COD’s size is over 200 GB and some smaller NVMe drives might not be able to accommodate it, but this solution has been confirmed by a lot of users.
Update: You should be able to simply move the game folder from one drive to another without the need to reinstall. Once you launch the game manually from the new path, the launcher should acknowledge it. However, going this route will break any shortcuts you previously established, so make sure to create new ones.
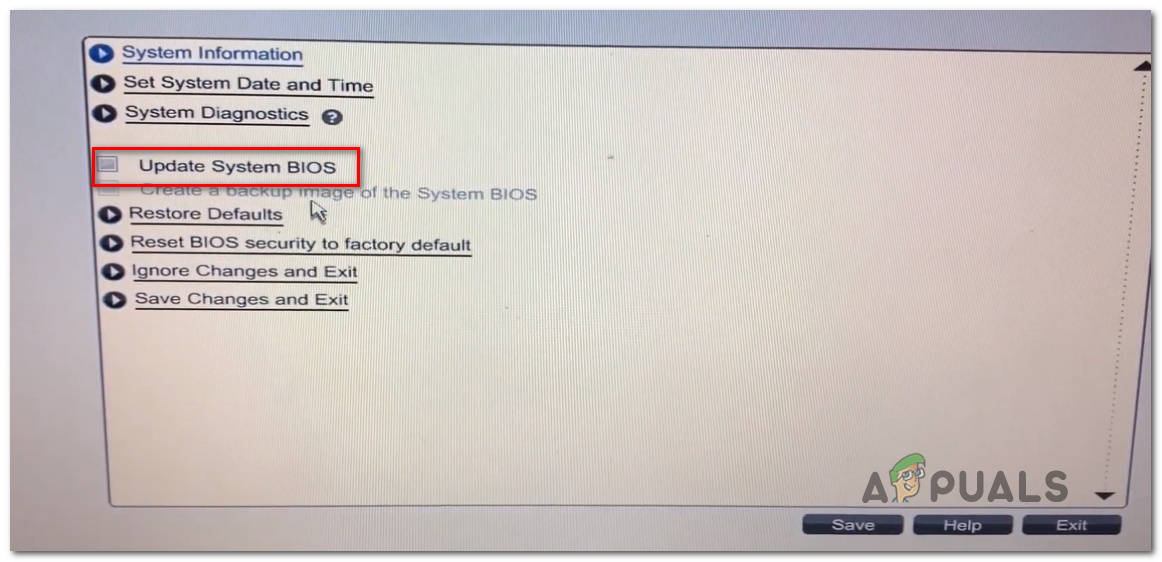
5. Update BIOS to the latest firmware
If your BIOS version predates Windows 11’s official release, this Warzone DEV problem might be caused by an old BIOS or UEFI interface.
To resolve this issue, you must update your BIOS or UEFI to the most recent version available.
Multiple afflicted gamers reported that upgrading their BIOS firmware to the latest version resolved the issue.
Changing your motherboard’s BIOS is no longer as difficult as it once was since all of the major motherboard makers now offer flashing software that allows you to do it without requiring a high level of technical expertise.
The best course of action is to visit the website of your motherboard’s manufacturer and search the Drivers Download section for a BIOS update program. ASUS’ E-Z Flash, MSI’s MFlash, Gigabyte’s @BIOS Live Update, and so on.
Note: Before starting the update process, read the official documentation thoroughly.
Follow the on-screen directions to update your BIOS, and after restarting your computer, launch the game and see if the Dev Error 5820 is now fixed.


