Volume Muting Automatically in Windows 11? Try these methods
Some Windows users have been experiencing a weird issue with their volume mixer. As it turns out, the volume mutes itself automatically after a while even when the user unmutes it and sets it according to their preference. Regardless of the efforts, the volume mixer mutes again after a while and there’s no audio at all. This problem is often caused by the audio drivers that are installed on your system and as such, you will have to check them. In this article, we are going to show you how to resolve the mentioned problem so just follow through with the methods.
As it turns out, audio is a major part of any operating system and without that, it can not be complete. Audio is something everyone uses all the time whatever for and thus when it isn’t really working properly, you might not be able to use your system at all. Like we have mentioned above as well, the problem in question is usually related to the audio drivers that are installed on your system in which case you will have to either update the drivers on your system or change them. With that said, let us get started and take you through the different methods that you can use in order to resolve the issue.
Run Audio Troubleshooter
The first thing that you should do when you encounter the problem in question is to run the audio troubleshooter on your system. As it turns out, Windows comes with a number of troubleshooters that can be used to detect and solve different problems on your system. One of these troubleshooters can be used for any issues with your audio.
While the troubleshooter may not always fix the problem for you, it can usually resolve normal problems that might be easy to catch but you may not have caught it. To run the audio troubleshooter, follow the instructions given down below:
- First of all, open up the Windows Settings app by pressing Windows key + I on your keyboard.
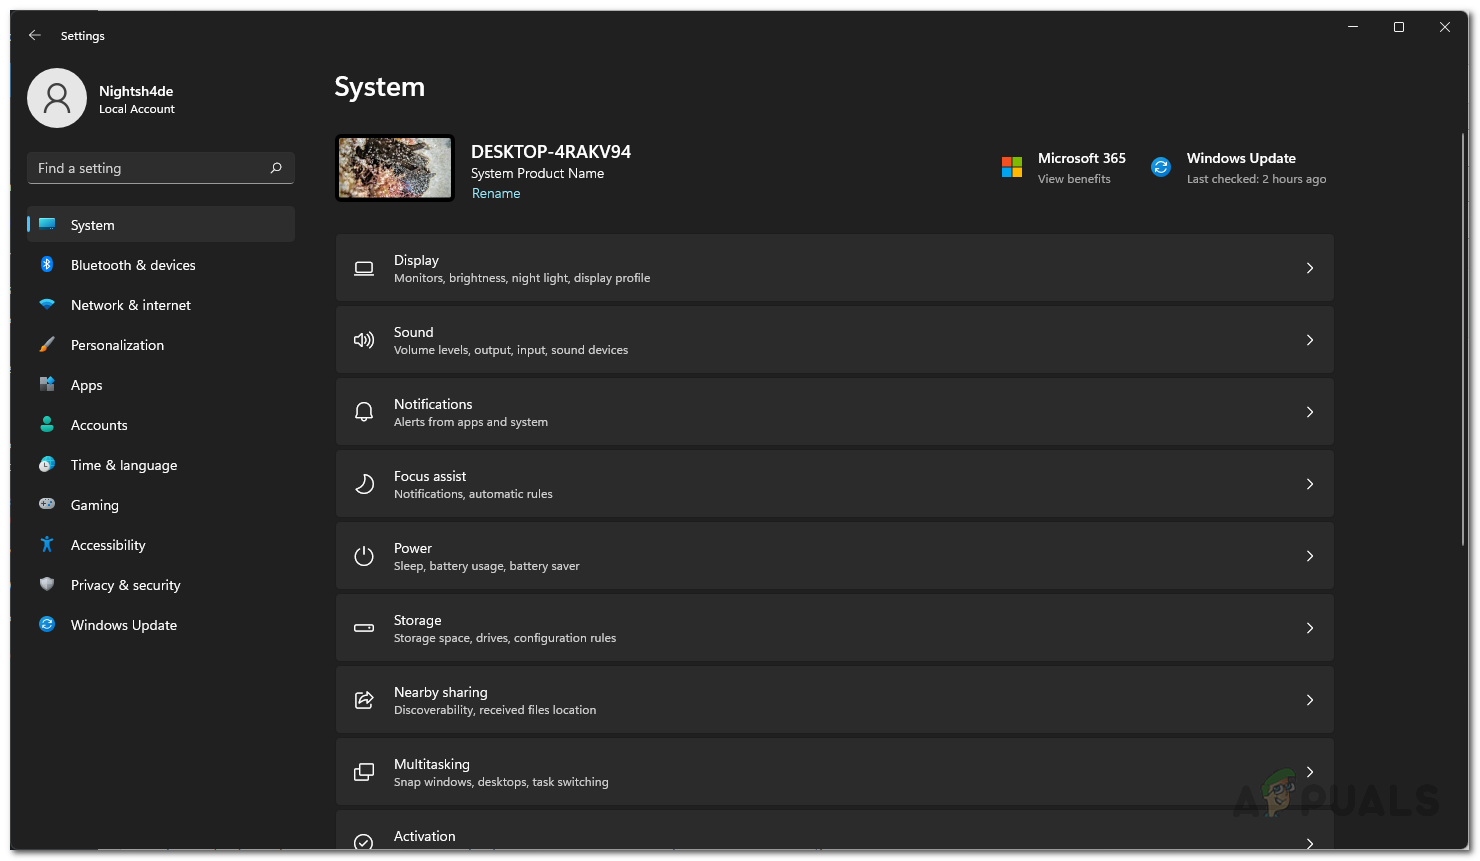
Windows Settings - On the Settings window, scroll down on the System tab and then click on the Troubleshoot option provided.
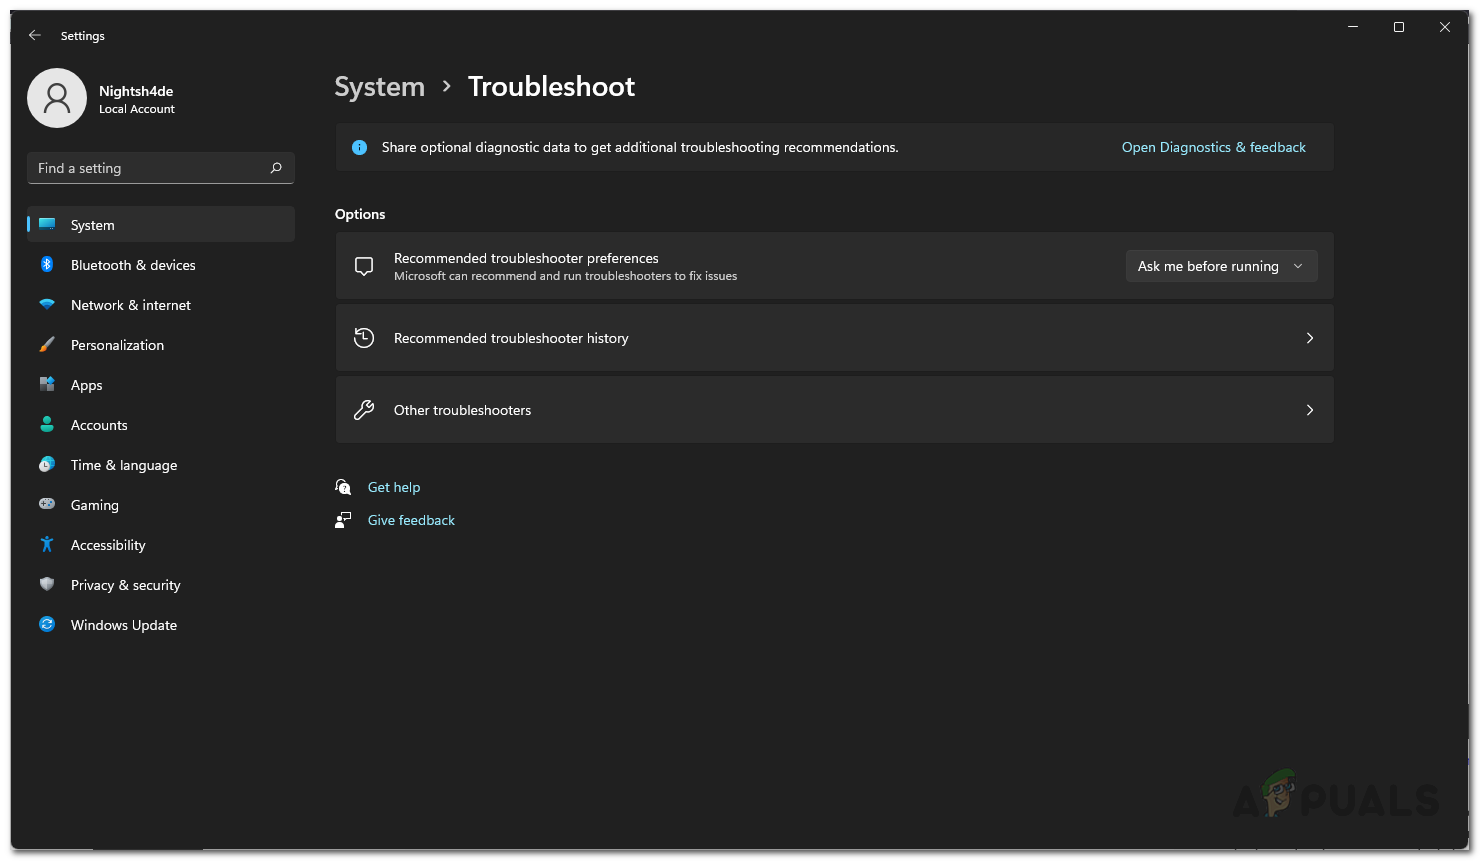
- Once you are there, click on the Other troubleshooters option given.
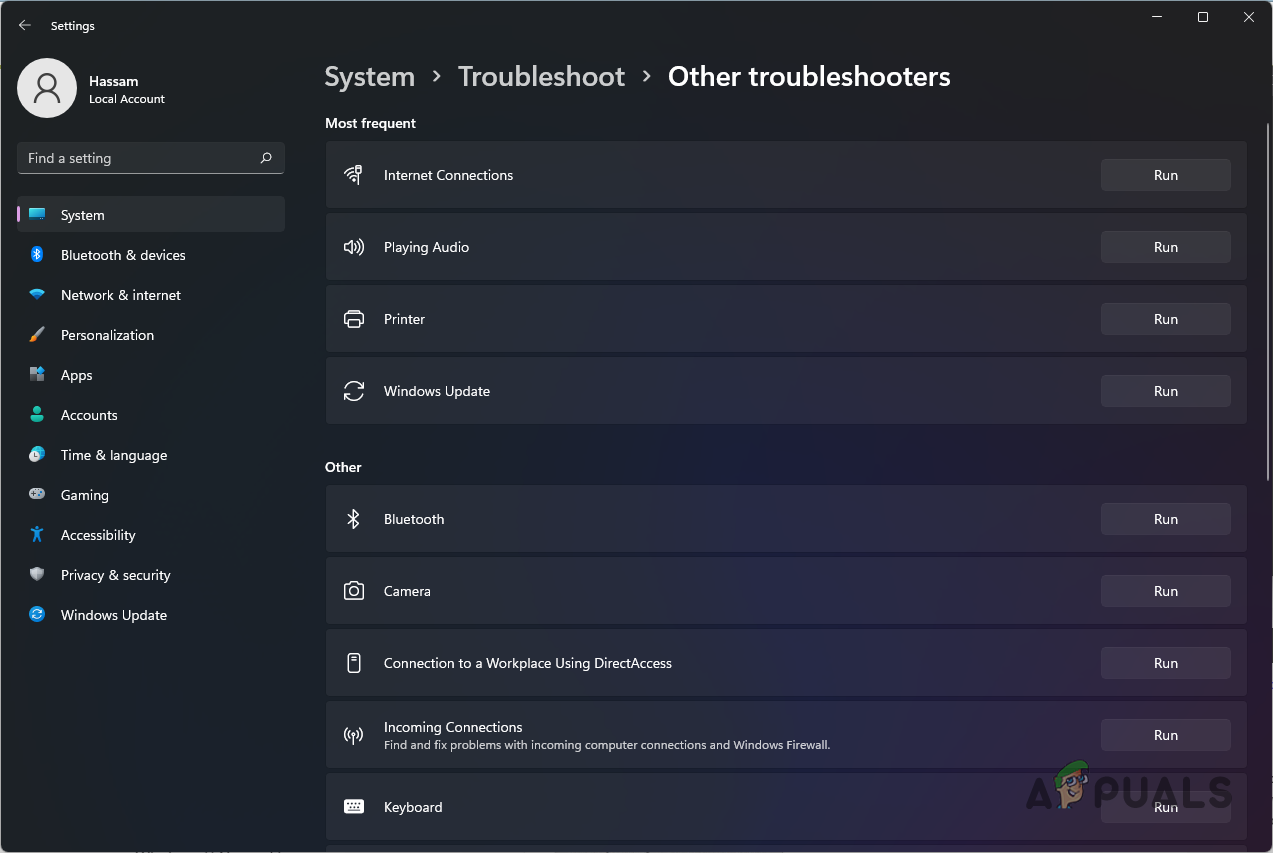
Troubleshoot Settings - This will show you a list of the available troubleshooters. Click on the Run button in front of Playing Audio located under Most frequent.
Running Audio Troubleshooter - Wait for the troubleshooter to search for any problems.
- See if that resolves the problem for you.
Switch to Generic Audio Driver
As it turns out, in some cases, the problem may be caused by the specific audio driver that is installed on your system. If this case is applicable, you will have to switch to the generic audio driver and see if that fixes the problem for you. You should only do this if you don’t have the High Definition Audio Device driver installed. To do this, follow the instructions that are provided down below:
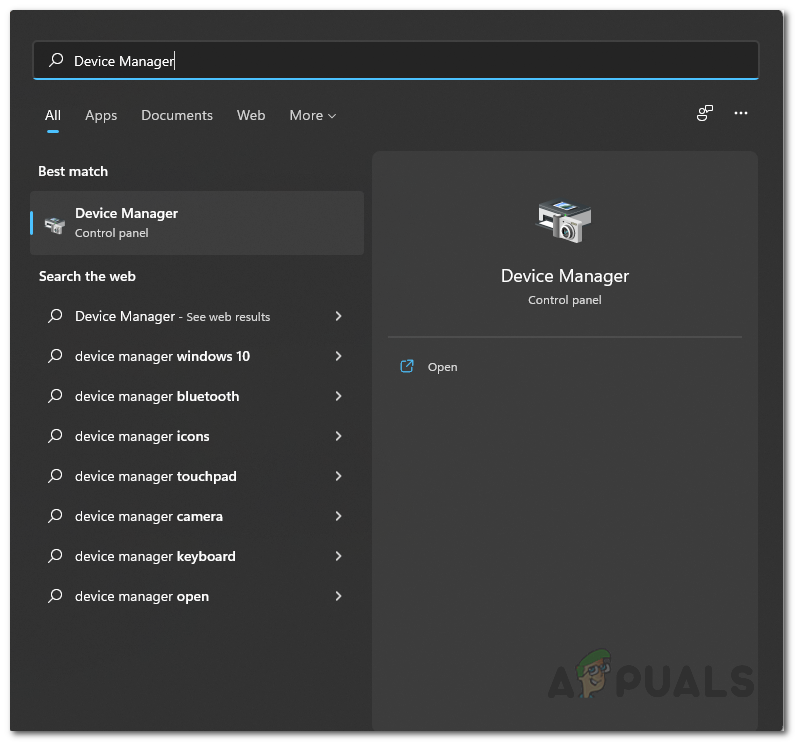
- To start off, open up the Device Manager by searching for it in the Start Menu.
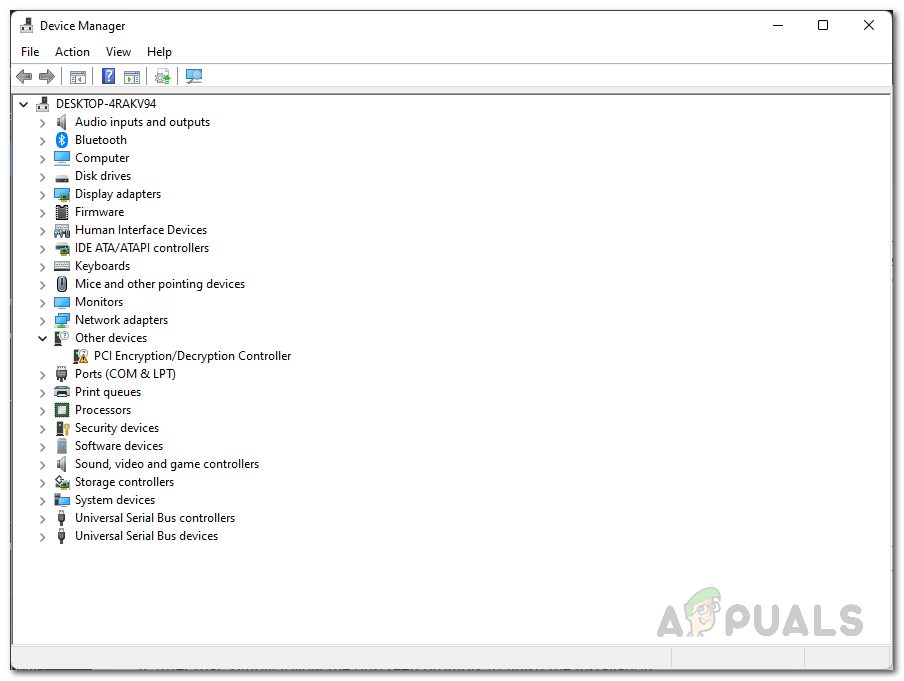
Opening up Device Manager - On the Device Manager window, expand the Sound, video and game controllers list.
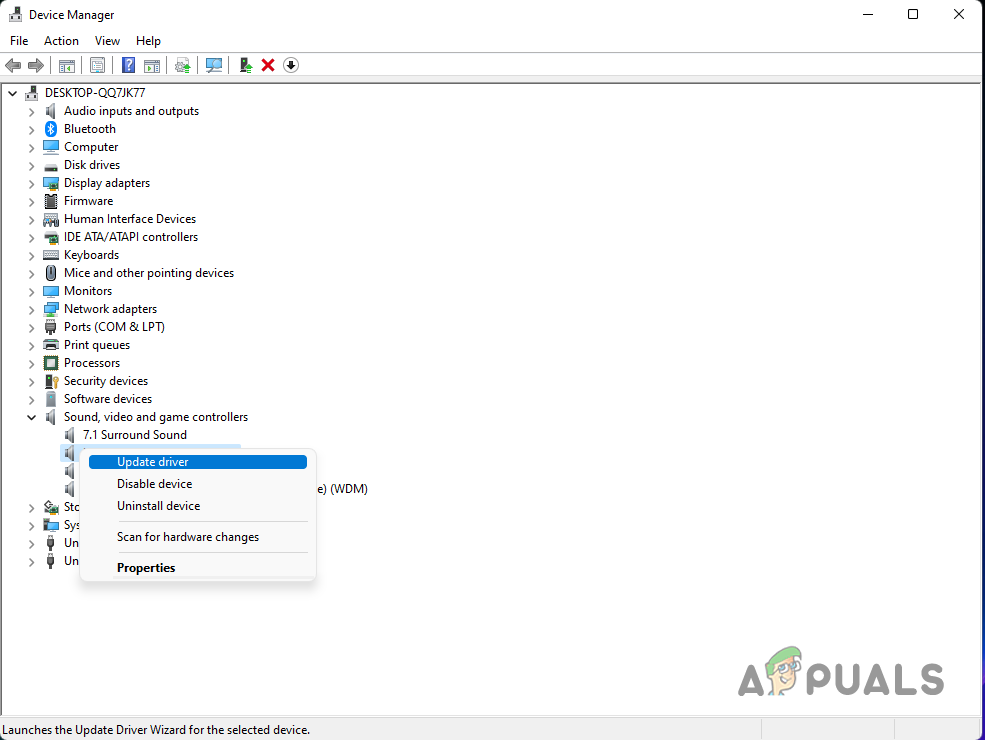
Device Manager - There, right click on your audio driver and from the drop down menu, choose the Update driver option.
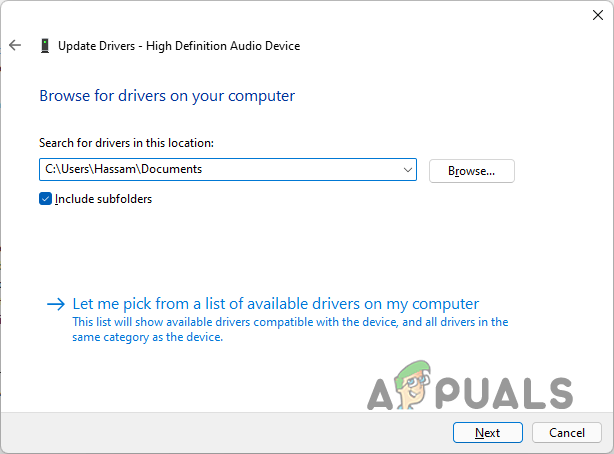
Updating Audio Driver - Then, click on the Browse my computer for drivers option.
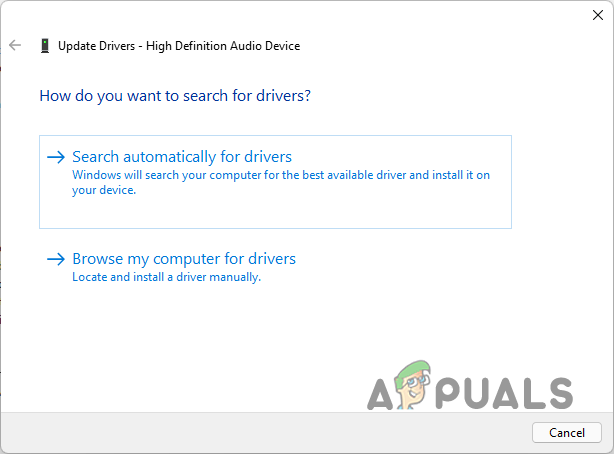
Browsing PC for Driver - On the follow up screen, click the Let me pick from a list of available drivers on my computer option.
Choosing Audio Driver - Choose the High Definition Audio Device option and then click the Next button.
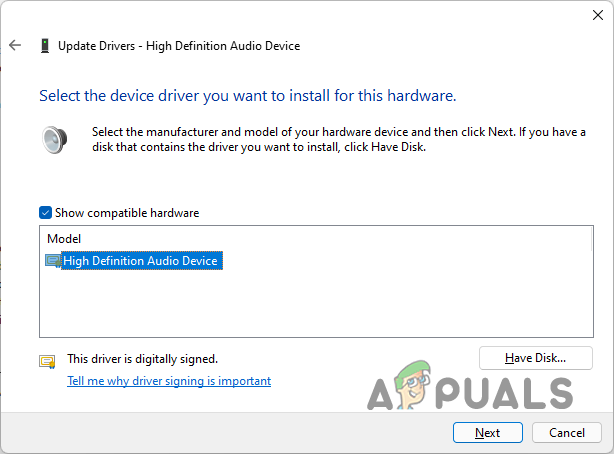
Installing High Definition Audio Device Driver - The driver should now be installed. See if that resolves the problem for you.
Reinstall Audio Drivers
In case you are still facing the problem, then in such a scenario, you will have to reinstall the audio drivers that are installed on your computer. If this case is applicable, there are essentially two ways you can do this. First of all, you should let Windows automatically reinstall the audio drivers on your computer and see if that resolves the problem for you.
In case that doesn’t fix the issue, then you can move on to the second method i.e. to manually download the audio drivers available for your motherboard and then install them on your computer. For this, you will have to know your motherboard model. With that said, follow the instructions given down below:
- First of all, open up the Start Menu and search for Device Manager and then open it up.
Opening up Device Manager - Then, on the Device Manager window, expand the Sound, video and game controllers list.
Device Manager - Right click on your audio drivers and from the drop down menu, choose the Uninstall device option provided.
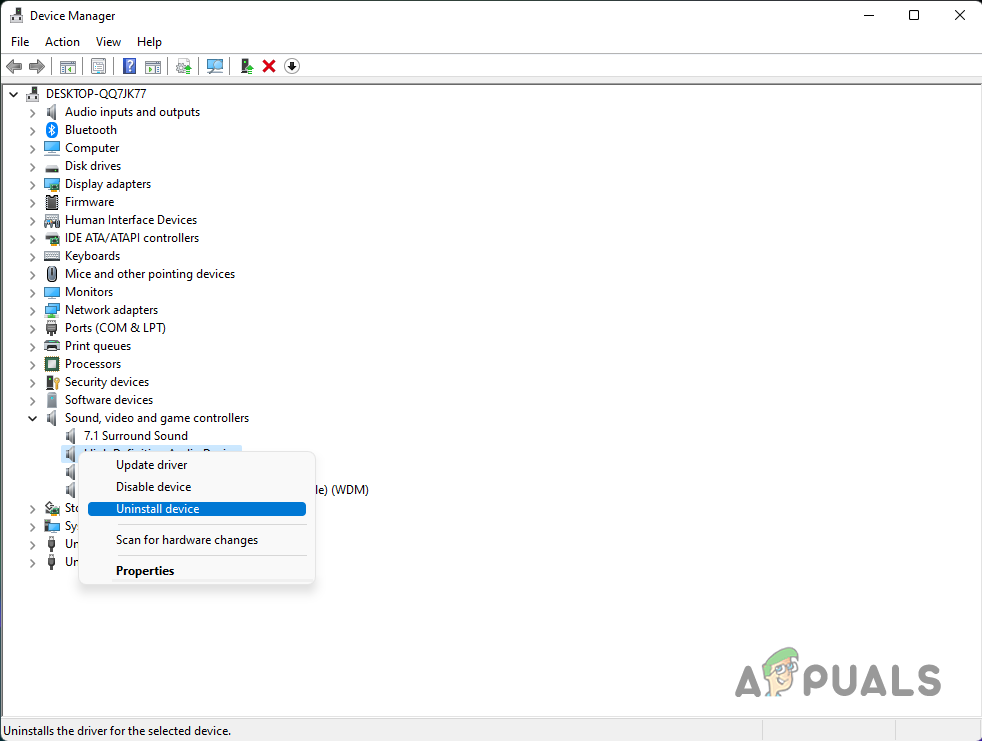
Uninstalling Audio Driver - With that done, go ahead and restart your computer. Doing so will make Windows reinstall the drivers for you when you boot up again.
- See if that resolves the problem.
- In case the problem still persists, then you will have to download the audio drivers from your motherboard manufacturer’s website and then install them on your computer. That should sort out the issue.


I found out that tapping ‘M’ mutes/unmutes the photos app