How to Fix Voice Chat Not Working Issue in Call of Duty: Warzone 2
Warzone 2 in-game chat not working can be due to various reasons, including input audio settings, the game chat channel you are connected to, and more. If you’re playing on a PlayStation, there is a good chance you are encountering the issue due to the Mute Voice Chat option located in the Sound settings.
Crossplay communication is a fundamental requirement to be able to communicate with players on different platforms during your game session. We have compiled a list of different methods you can use to try to resolve the issue for yourself below. Follow them to find a fix.
1. Reconnect to Game Chat Channel
The first thing you should do when starting to troubleshoot the voice chat issue is to make sure you are in the right channel for in-game chat. Call of Duty Warzone 2.0 allows you to create your channel to talk to your friends when you are playing the game.
However, when you have joined a different channel, you will not be able to use in-game chat or proximity chat. To fix this, you will need to join the game chat channel, like everyone else in your game to be able to communicate with other players.
Follow the instructions below to do this:
- Start by opening Call of Duty Warzone 2 on your computer.
- Then, click on the Channels option in the top-right corner.
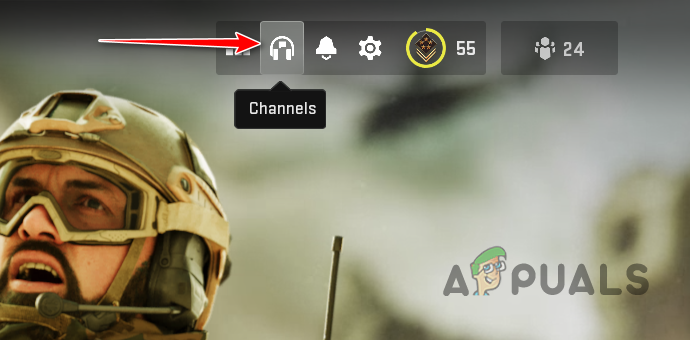
Opening Game Chat Channels Menu - In the Channels menu, make sure you are not connected to your own private channel.
- Alternatively, you can change the Game Voice Channel from the Audio settings menu as well.
- Click on the Settings icon in the top-right corner.
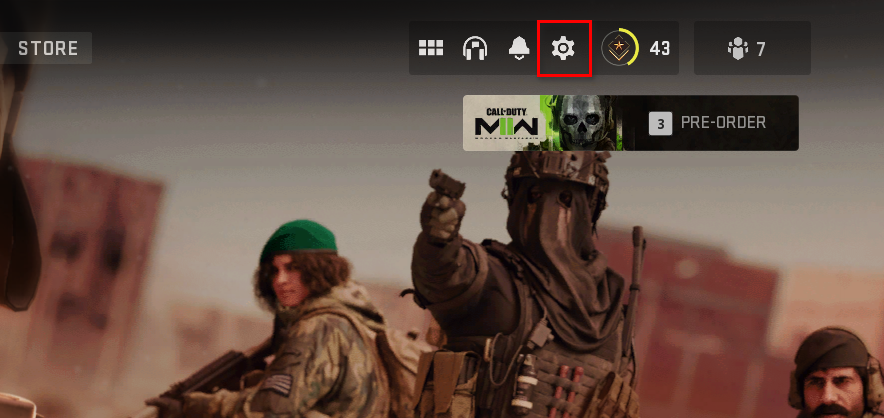
Opening the Settings Menu - From the Settings menu, choose Audio.
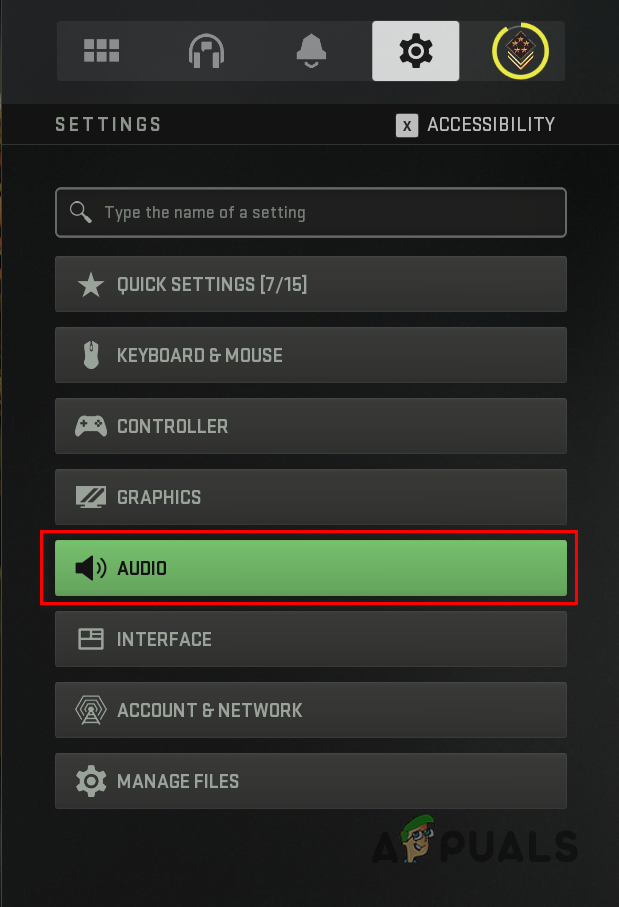
Navigating to Audio Settings - Once you are there, scroll down and locate Game Voice Channel.
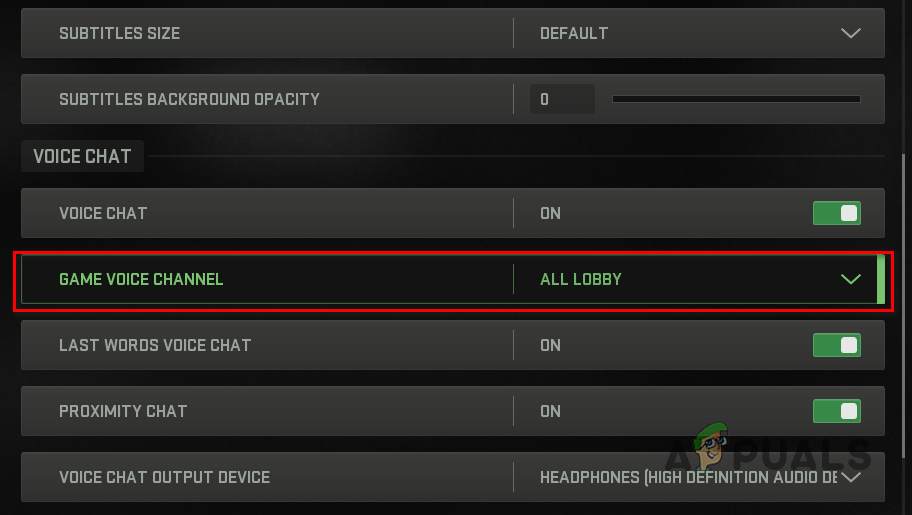
Changing Game Voice Channel - Finally, choose All Lobby from the drop-down menu.
- With that done, see if the problem is resolved.
2. Check Audio Settings
The voice chat not working issue can also be due to your audio settings in some scenarios. This can happen when your input and output device are incorrect in the game’s Audio settings.
Call of Duty Warzone 2 has a dedicated option for the output device of the game’s voice chat. If you are not hearing anybody in the game, the issue is likely caused by your voice chat output device. If this scenario is applicable, you will have to make sure the output device is set to the default output device of Windows.
Follow the instructions below to check your Audio settings:
- First, launch the game on your PC.
- Open the Settings menu by clicking the gear icon in the top-right corner.
Opening the Settings Menu - Navigate to Audio from the Settings menu.
Navigating to Audio Settings - In Audio Settings, scroll down to locate Voice Chat Output Device.
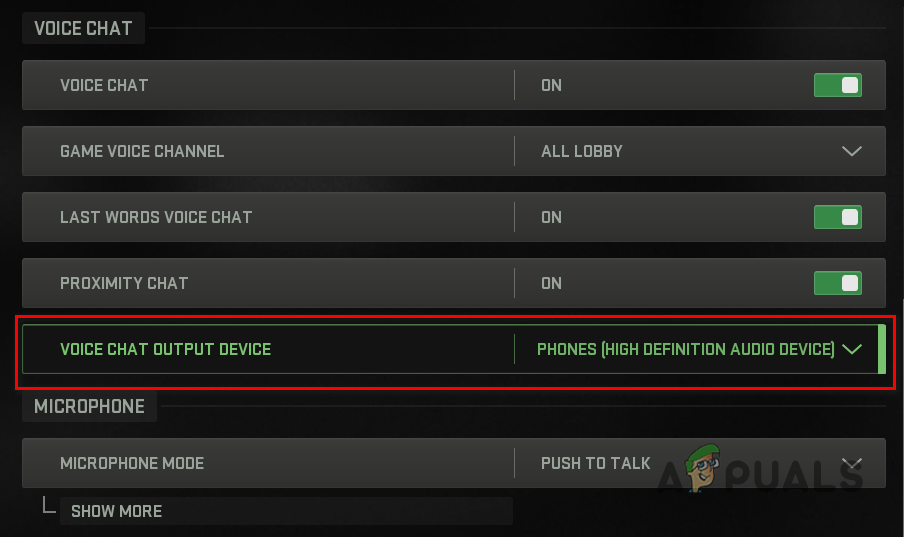
Changing Voice Chat Output Device - Make sure the output device is the same as the Game Sound Device above.
- With that done, check if that fixes the Warzone 2.0 in-game chat issue.
3. Change Voice Chat Option on Battle.net
If you are playing the game on a PC, your Battle.net account settings can also cause the voice chat issue. Battle.net manages some privacy and communication settings through their website that can directly affect your game.
If your Voice Chat setting is set to ‘Do not allow’ on Battle.net’s website, you will not be able to use the in-game chat. In such a scenario, you will have to update the privacy and communication settings of your Battle.net account to resolve the issue.
Follow the instructions below to do this:
- First, visit the Battle.net website in a browser and log in to your account.
- Once you have signed in, click on your username in the top-right corner and choose Account Settings from the drop-down menu.
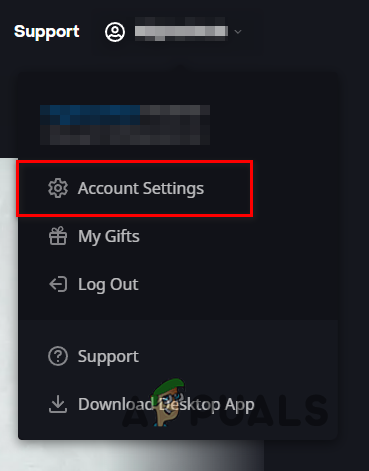
Opening Battle.net Account Settings - After that, navigate to the Privacy and Communication tab on the left-hand side.
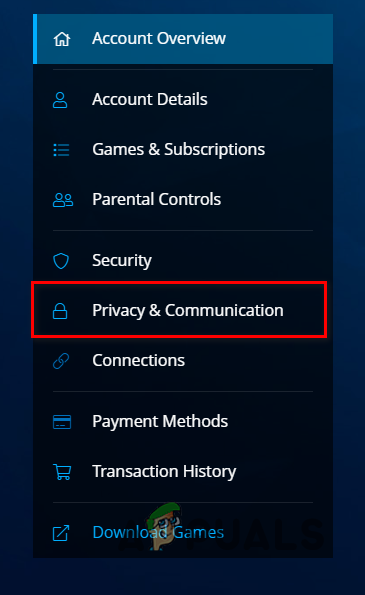
Navigating to Privacy and Communication Settings - Then, click on the Update option next to Social Settings.

Updating Privacy and Communication Settings - Finally, choose Listening & Speaking from the Voice Chat drop-down menu.
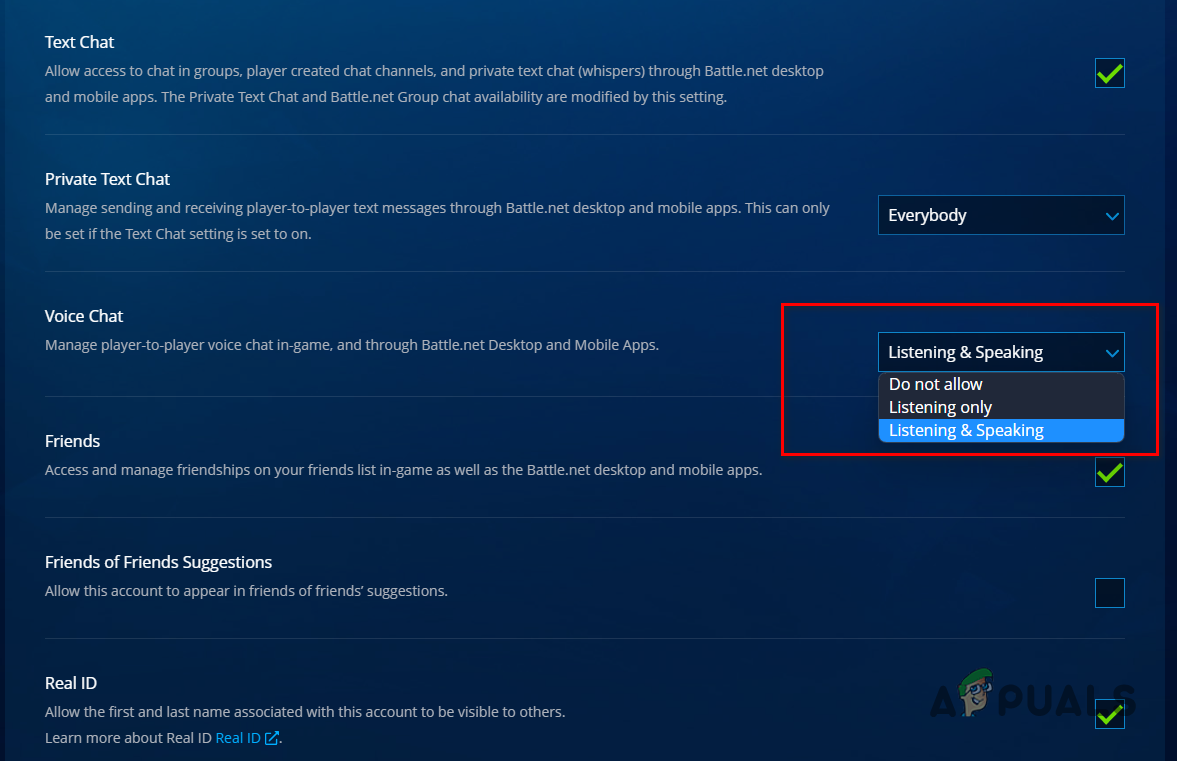
Changing Voice Chat Settings - Scroll down and click the Save button.
- With that done, launch the game to see if the issue has been resolved.
4. Enable Crossplay Communication (Consoles Only)
Crossplay is a feature that allows players from different platforms to play together in the same lobby. If you are playing the game on a console, you will need to enable crossplay communication to be able to communicate with players on a different platform.
If the Crossplay Communication option is turned off, you will only be able to communicate with players that are on the same platform as you. To enable crossplay communication, follow the instructions down below:
- First, open up the Settings menu via the gear icon in the top-right corner.
Opening the Settings Menu - Navigate to Account & Network from the Settings menu.
- There, enable Crossplay Communication via the slider provided.

Enabling Crossplay Communication - Once you do that, try playing the game to see if the issue persists.
5. Turn off Mute Game Voice Chat (PlayStation only)
If you are using a PlayStation, there is a Mute Voice Chat option in the Sound settings of the game that can override the game settings and prevent you from using the in-game chat.
In such a scenario, you will have to make sure the Mute Game Voice Chat option is turned off so that you can use the in-game chat. This can be found in the Sound settings of the Control Center. Follow the instructions below to do this:
- Start by launching Call of Duty Modern Warfare 2/Warzone 2 on your PlayStation.
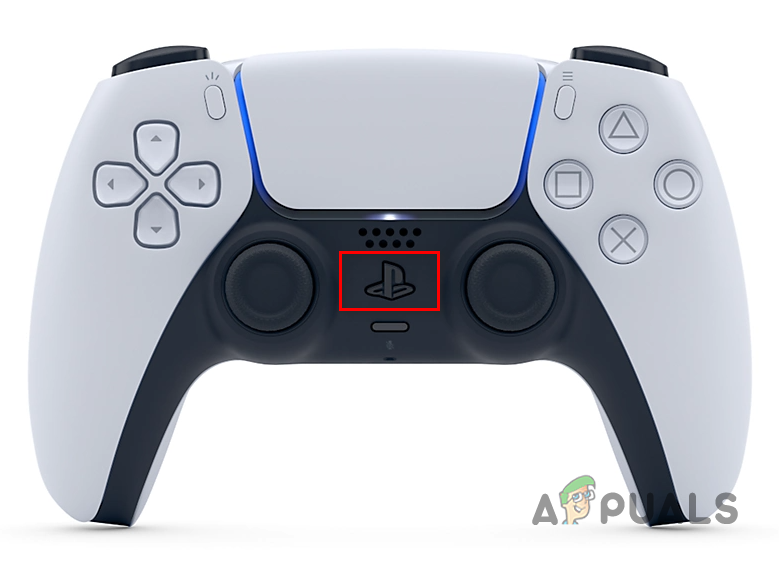
- Once the game is open, press the PlayStation button on your controller to bring up the Control Center.
PlayStation Button - After that, navigate to Sound settings.
- From the Sound settings menu, make sure the Mute Game Voice Chat option is turned off.
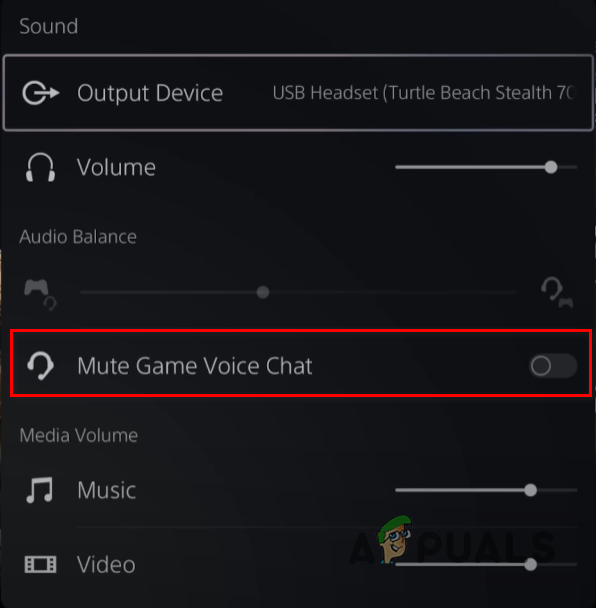
Disabling Mute Game Voice Chat - Once you do that, try playing a game to see if the problem still occurs.
6. Clear Alternate MAC Address (Xbox Only)
For Xbox users, the issue can also arise due to your network connection to the game servers. In such a scenario, you can resolve the issue by clearing the Alternate MAC Address on your console.
This is pretty easy to do, follow the instructions down below:
- First, open the Settings menu.
- On the Settings screen, navigate to Network Settings.
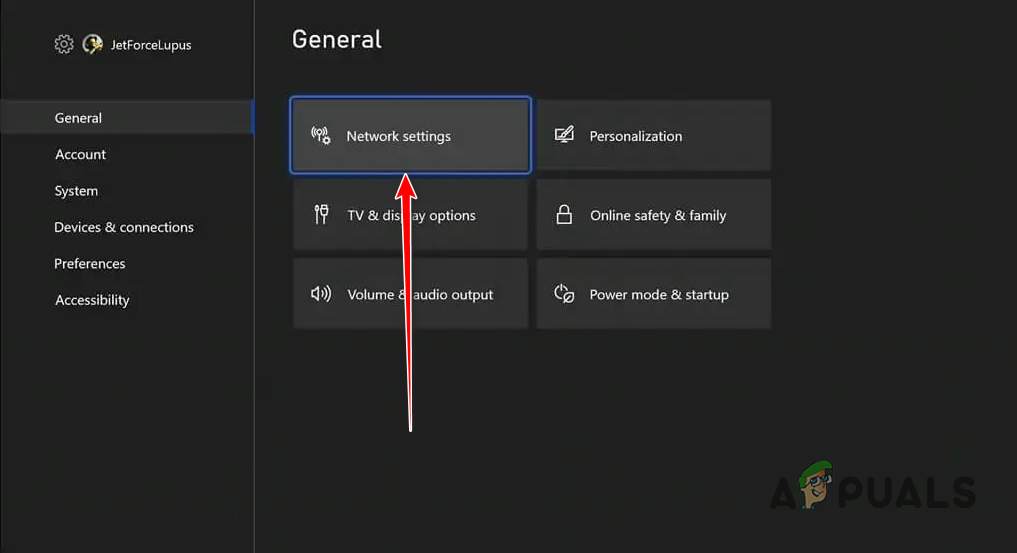
Navigating to Network Settings - After that, navigate Advanced Settings > Alternate MAC Address.

Navigating to Alternate MAC Address - Finally, choose the Clear option to clear your Alternate MAC Address.
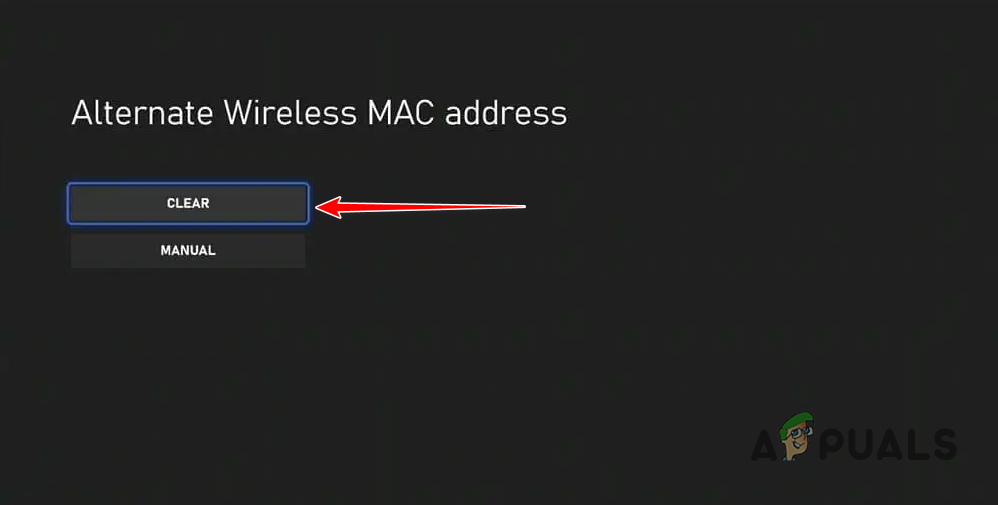
Clearing Alternate MAC Address - With that done, open Call of Duty Warzone 2 to see if the in-game chat is working now.
7. Perform a Clean Boot
Finally, if none of the above methods has fixed the problem for you, the issue may likely be caused by the interference of a third-party application on your computer. This can happen when a third-party application in the background is using your microphone and preventing the game from accessing it.
In such a scenario, you can perform a clean boot to see if it resolves the issue. A clean boot starts your computer with only the required Windows services running in the background.
If the problem goes away with a clean boot, it was evidently a third-party application causing the issue. In such a scenario, you can enable the services back one by one to discover the culprit.
Follow the instructions below to perform a clean boot:
- First, open the Run dialog box by pressing the Win key + R on your keyboard.
- In the Run dialog box, type in msconfig and press Enter.
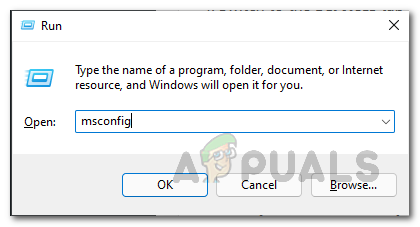
Opening System Configuration - This will open the System Configuration window. Switch to the Services tab.
- After that, tick the Hide all Microsoft services checkbox.
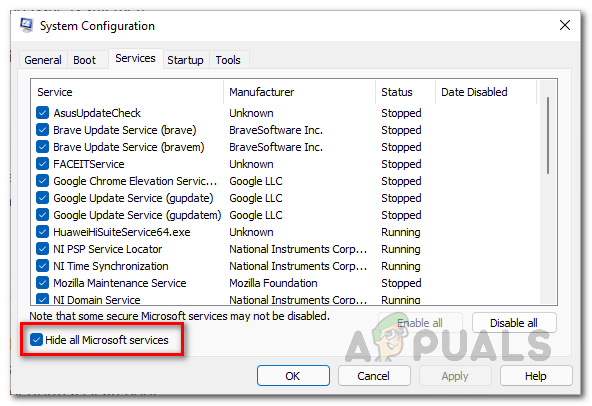
Hiding Microsoft Services - Then, click on the Disable all button and follow it up by clicking Apply.
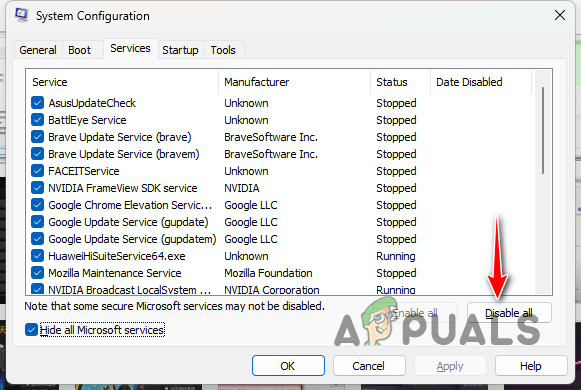
Disabling Third-Party Services - Once you do that, switch to the Startup tab and click on the Open Task Manager option.

System Configuration Startup Tab - In the Task Manager window, select each app one by one and click the Disable option.
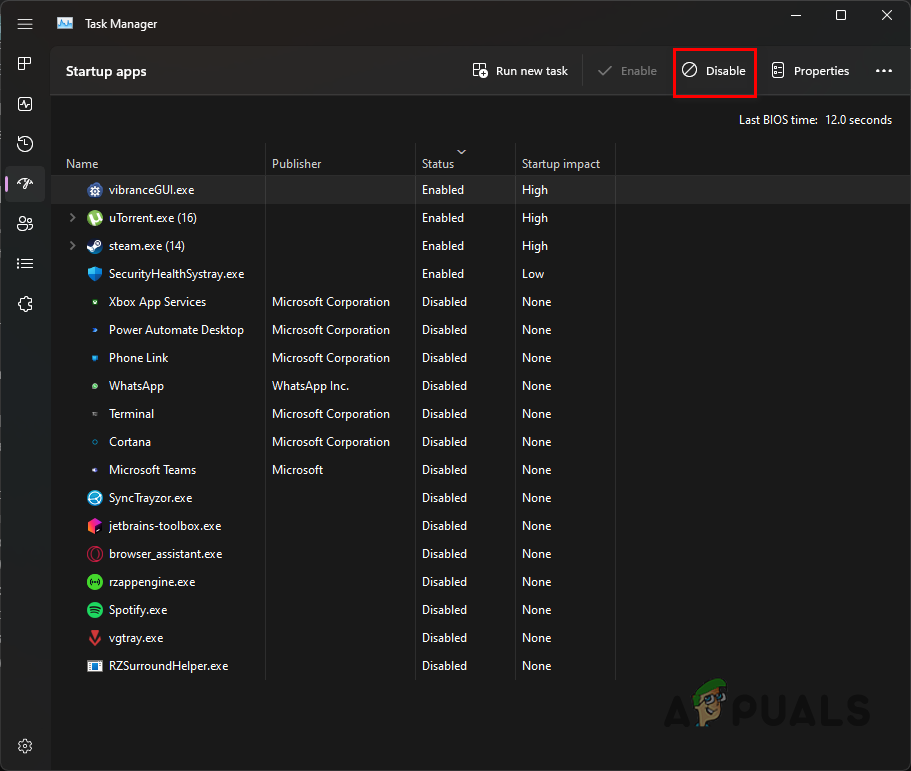
Disabling Third-Party Apps on Startup - With that done, restart your computer.
- After your PC boots up, see if the in-game chat is working now.


