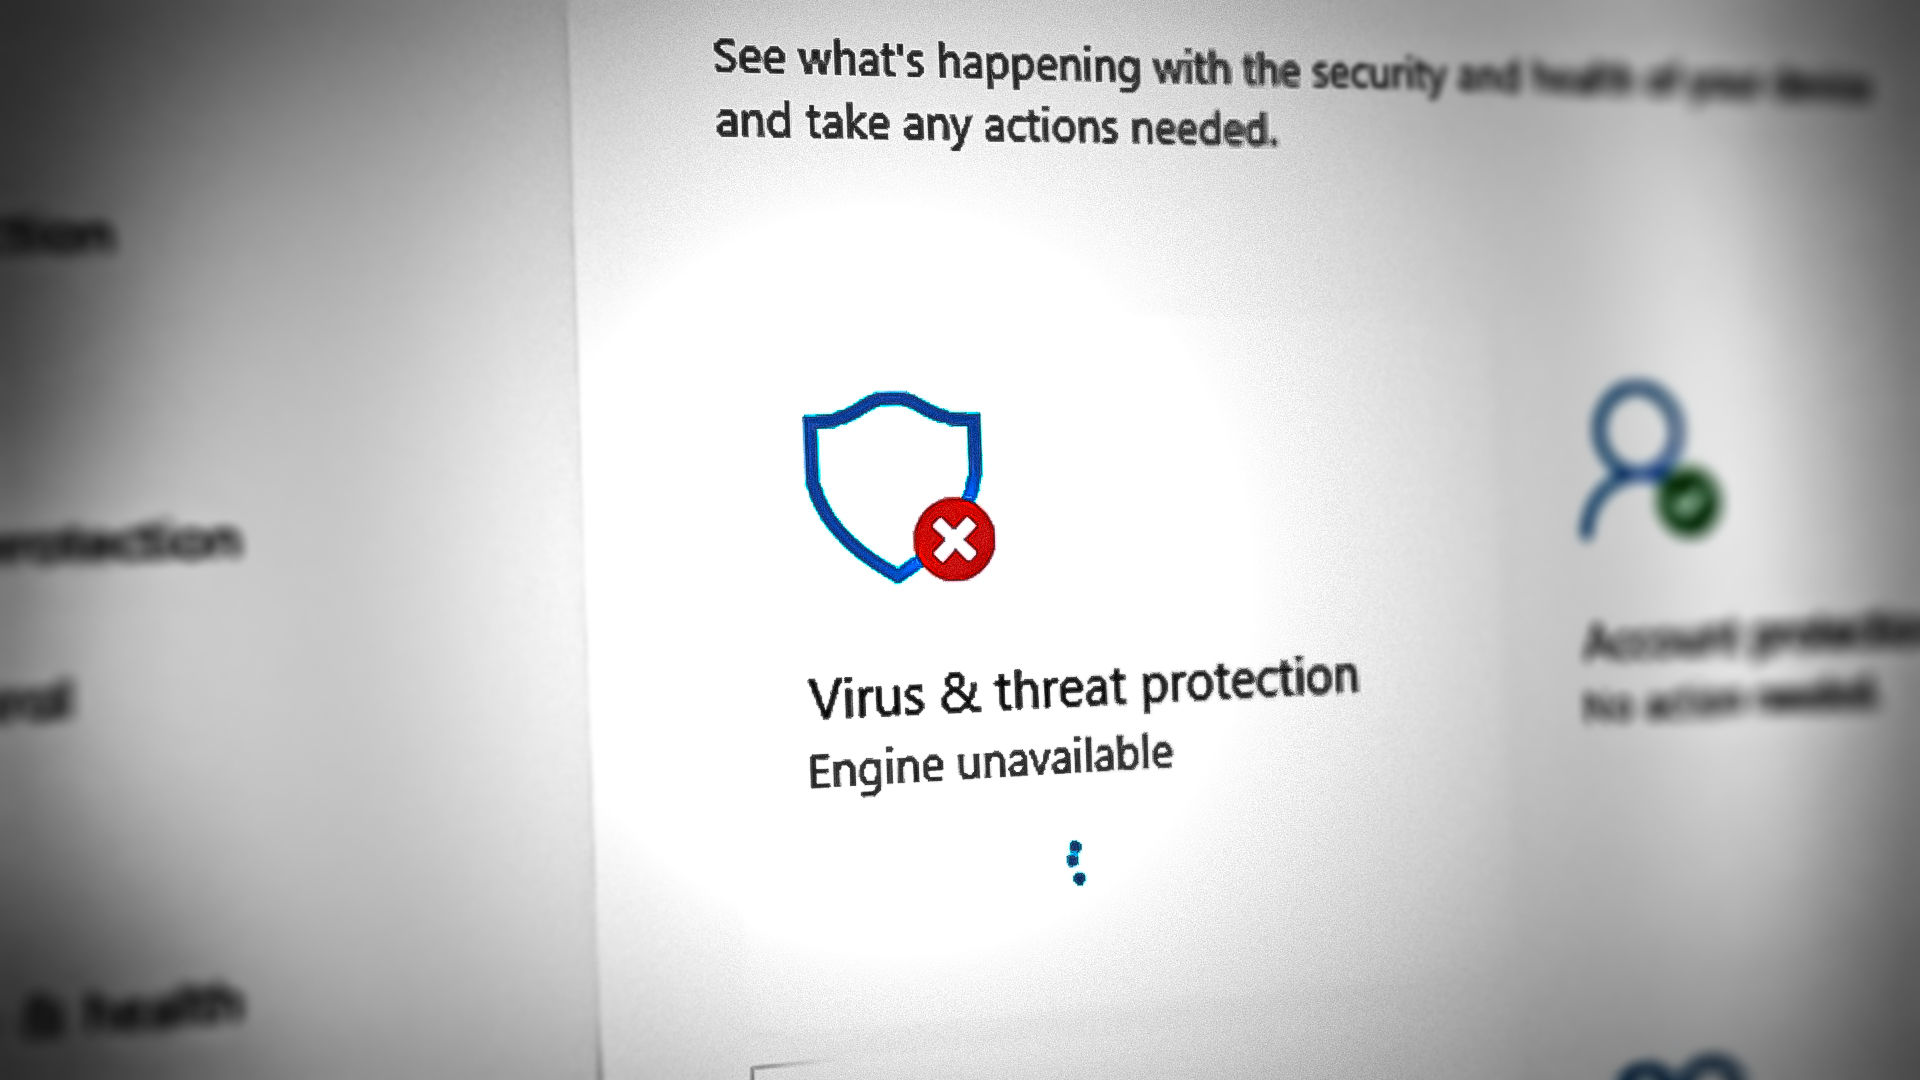
Fix: Virus and Threat Protection Showing “Engine Unavailable”
The Virus and Threat protection Engine is a built-in feature in Windows that provides security from viruses and malware. However, you receive this “Engine unavailable” error after the Windows Defender update fails to install on the device. In this guide, we will show you how to fix the Virus and threat protection engine’s unavailable Error.
Workaround: Restart your Computer
You can get the Engine unavailable error when your system did not boot properly. Therefore, as a workaround, you can perform a complete system restart to make sure all programs on your system start properly. Below have given the steps for restarting your computer:
- Open the Windows Start Menu by pressing the Win key.
- Click on the Power Option below the Windows Settings.
- Restart the computer by clicking on the Restart option.

Restarting the PC
1. Run the Windows Update Troubleshooter
Windows Update is a built-in feature in Windows that allows your system to detect and repair the errors found in it. Therefore, running a troubleshooter is a must in this situation. You can run the Windows Update Troubleshooter with the steps given below:
- Open the Windows Settings by pressing the Win + I keys together.
- Navigate to Update and Security > Troubleshoot.
- Click on the Windows Update option under “Get up and running.” and run the Windows Update troubleshooter by clicking the “Run the troubleshooter” option.

Running the Windows Update Troubleshooter - After the troubleshooter has detected the problem, it will give you the solutions to fix it.
2. Restart Security Center Service
Security Center Service monitors your system and notifies you when your device is facing any errors. However, it can also cause issues with the Virus and Threat protection Engine. Therefore, you must restart the service to prevent the error from occurring.
- Open the Run Command by pressing the Win + R keys together.
- Type “services.ms” in the Search Box and click OK to open the Windows Services.
- Now, restart the Security Center Service by right-clicking on it and selecting the “Restart” option.
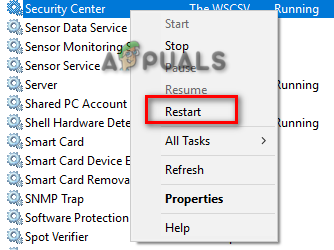
Restarting the Security Center Service
3. Manually Enable the Windows Defender
Windows Defender provides additional protection to your system from viruses. When Windows Defender gets disabled, it will cause issues with the system. Therefore, you must manually enable Windows Defender through the command prompt.
- Open the Windows Start Menu by pressing the Win key.
- Type “cmd” in the Windows Search bar.
- Run the command prompt as an administrator by right-clicking on the app and selecting the “Run as an administrator” option.
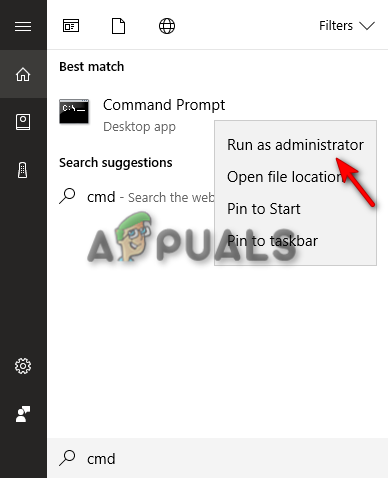
Running the Command Prompt as an administrator. - Enable the Windows Defender by pasting the following command into the Command Prompt and pressing the Enter key.
sc start WinDefend Enable
4. Run the System Scans
Corrupted system files also give rise to this error. Therefore, make sure there are not any corrupted files on your device by performing system scans that will scan your device and repair the defective files. Below are the steps below to performing the system scans:
- Open the Windows Start Menu by pressing the Win key.
- Type “cmd” in the Windows Search bar.
- Run the command prompt as an administrator by right-clicking on the app and selecting the “Run as an administrator” option.
Running the Command Prompt as an administrator. - Type the following command in the Command Prompt while giving a space between “sfc” and “/.”
sfc /scannow
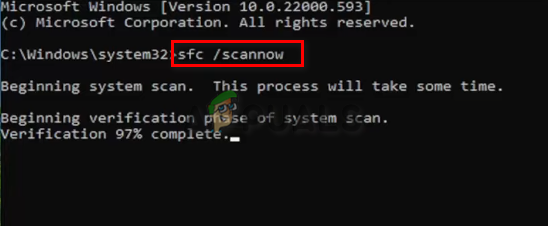
Running system file checker on the command prompt. - After the scanning is completed, the system file checker automatically repairs the damaged files.
- To run the DISM command, Paste the following command into the command prompt.
Dism.exe /online /cleanup-image /restorehealth
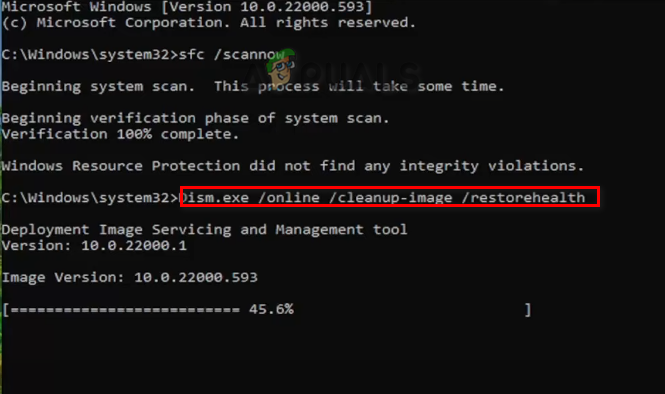
Running DISM Command on the Command Prompt
5. Change Windows Defender Registry Key Values
The Registry Editor consists of several registry keys with each key serving its own purpose. DisableAntiSpyware and DisableAntiVirus are special keys associated with the Windows Defender. When these registry keys are not set to the recommended number, you will face this error. Therefore, you must change the values of both registry keys by following the steps given below:
- Open the Run Command by pressing the Win + R keys together.
- Open the Registry Editor by typing “regedit” in the search box and clicking OK.
Opening the Registry Editor - Now, copy and paste the following path into the search bar above and press the Enter key.
HKEY_LOCAL_MACHINE\SOFTWARE\Policies\Microsoft\Windows Defender
- Click on both the registry keys and type “0” in the Value data box and click OK to confirm the action.
Setting the value to 0
- Open the following path inside the Registry Editor:
HKEY_LOCAL_MACHINE\SOFTWARE\Policies\Microsoft\Windows Defender
- Right-click on the employ panel on the right.
- Now, navigate to New > DWORD (32-bit) Value.
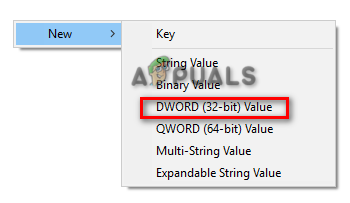
Creating a DWORD Registry key - Name the newly created REG_DWORD as “DisableAntiSpyware” and do the same with “DisableAntiVirus.”
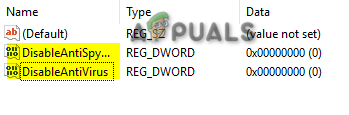
Renaming the Registry Keys - Once both registry keys are created, you can change their respective values to the recommended 0.
6. Temporarily Disable Third-Party Security Software
This error can also occur after inference from third-party security software such as Antivirus. Therefore, make sure that you temporarily disable any antivirus software installed on your system. Follow the steps below to see how to temporarily turn off an antivirus from our device (in this method, we have used Avast as an Example):
- Open Avast Antivirus and navigate to Menu > Settings > Protection > Core Shield.
- Disable the Avast security feature by turning off the Core-Shield toggle switch.
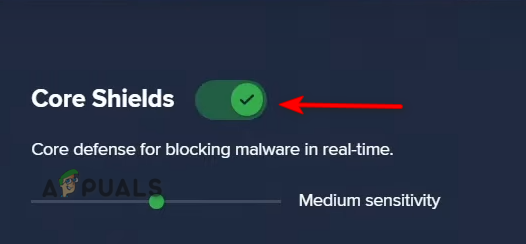
Turning on Avast Core Shield - Right-click on the Windows Start Button and select the “Task Manager” option.
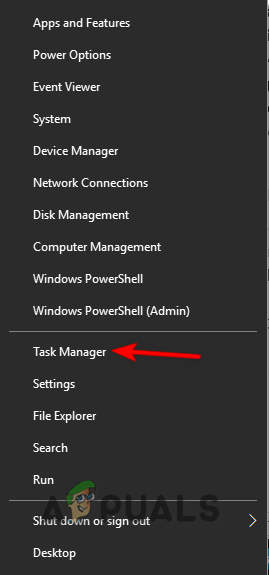
Opening Task Manager - Click on the Processes tab and select the Antivirus program running in the background.
- Close the program by clicking on “End Task” at the bottom of the Window.

Ending the Task
7. Delete conflicting Registry Entry
A corrupted Registry can also be one of the reasons for this error to occur as malware inside the Registry will create corrupted Entries that will prevent the Windows Defender from working. Therefore, you must delete these entries to prevent the Windows Defender Error. Follow the steps below to see how to delete the conflicting Registry Keys:
- Open the Run Command by pressing the Win + R keys together.
- Type “regedit” in the search box and click OK to open the Registry Editor.
Opening the Registry Editor - Now, copy and paste the following path into the Registry Editor’s search bar and press the Enter key:
HKEY_LOCAL_MACHINE\Software\Microsoft\Windows NT\CurrentVersion\Image File Execution Options
- Lastly, delete the keys named MSASCui.exe, MpCmdRun.exe, and MsMpEng.exe by right-clicking on them and Selecting the “Delete” option.
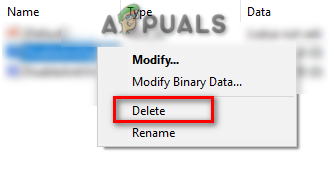
Deleting Conflicting Registries
8. Manually Install the Windows Defender Update
Before you move to the last resort, you also have an option to manually download and Install the Windows Defender Update. Simply follow the steps below to see how to Download and Install the Windows Defender Update manually:
- Check the total size of the Operating System on your Device by right-clicking on “This PC” and selecting the “Properties” option.
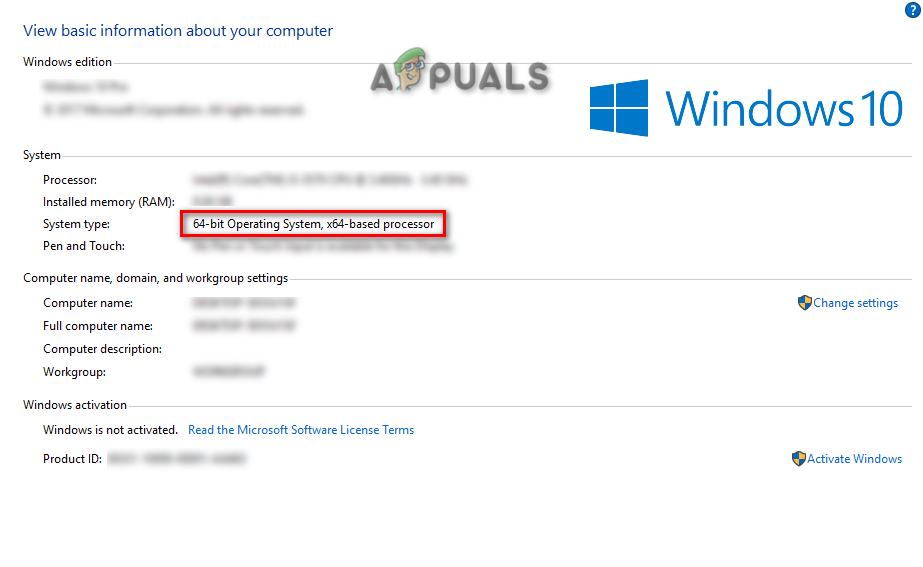
Checking System Type - Go to the Official Microsoft Website and download the Microsoft Defender Antivirus Version corresponding to your Operating System’s size. (For example 64-bits in size).
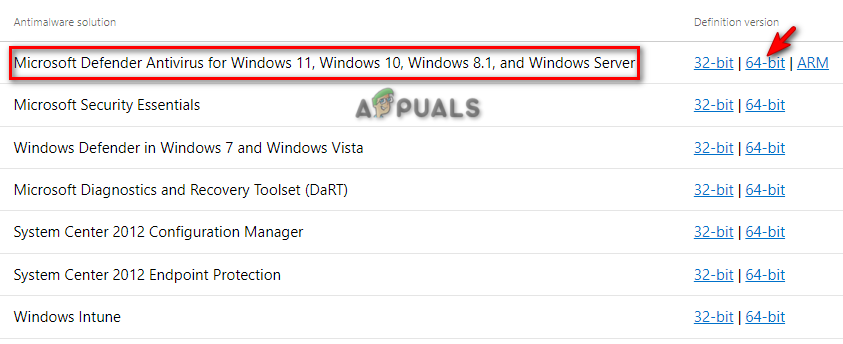
Downloading the Windows Defender Update - Click on the three dots in the top right corner and open the downloads page by clicking on the “Downloads” option.
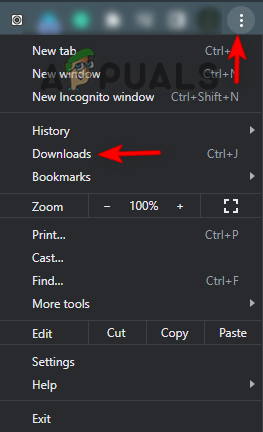
Opening the Downloads tab - Open the file directory of the Defender by clicking on “Open in Folder.”

Opening file in Directory - Double-click on the downloaded Defender and click Run to install it on your system.
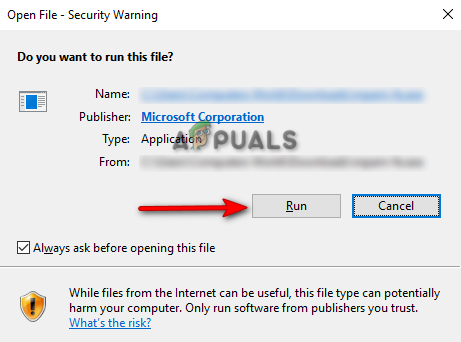
Running the EXE file
9. Perform a Clean Boot
If you are still facing the Virus and threat protection engine’s unavailable Error, then as a last resort, you must perform a Clean Boot which is a feature used to start your system on a minimal set of drivers and startup programs.


