Fix: “Verification Codes Cannot Be Sent” on Apple ID
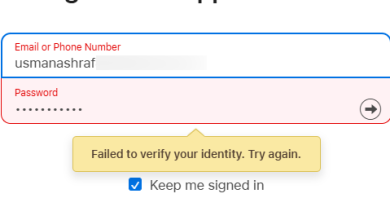
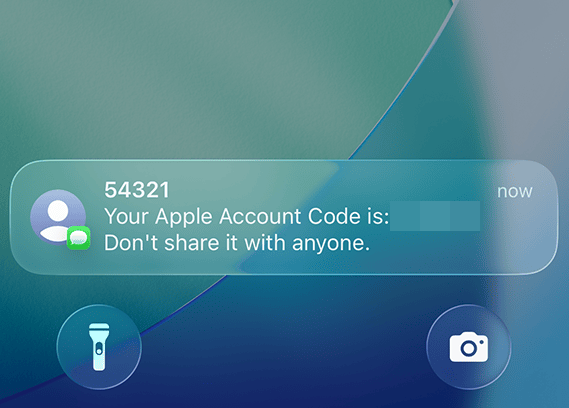
The error message “Verification codes cannot be sent to phone numbers at this time” usually appears when you try to sign in, reset your password, enable two-factor authentication, or recover your Apple ID.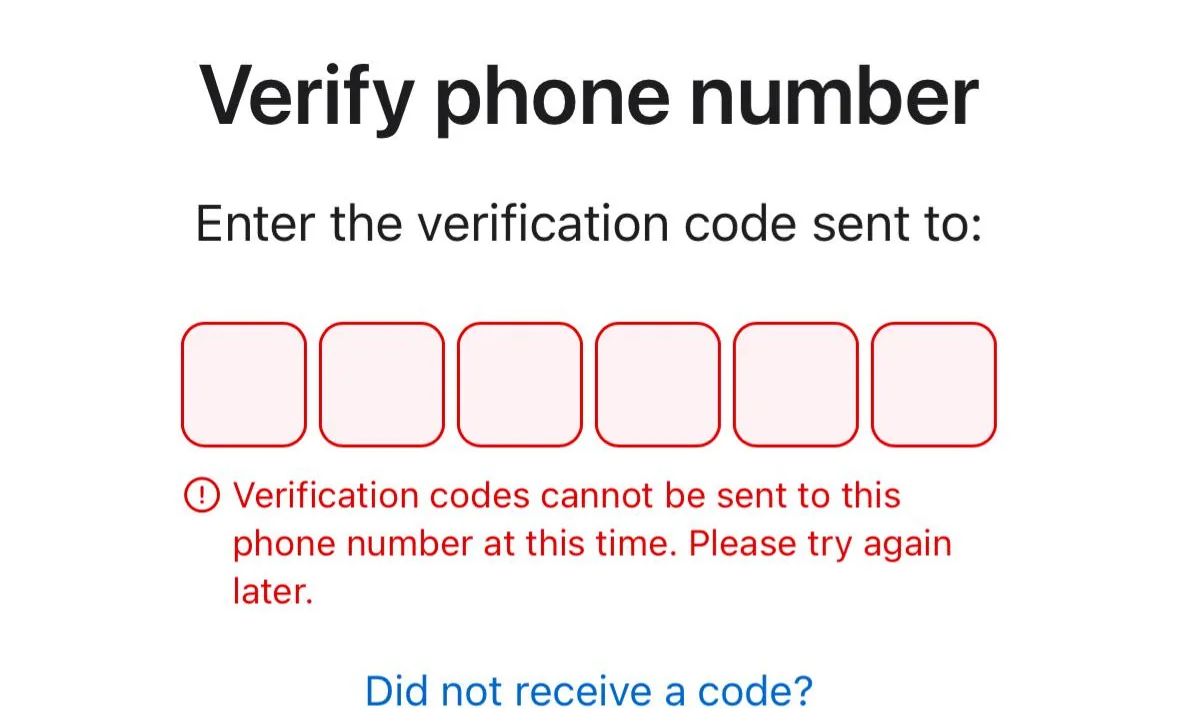 This isn’t a typical “OTP didn’t arrive” issue. Instead, it indicates that the system never attempted to send the code in the first place.
When you request a verification code, the process follows this chain:
You (Request) ➝ Apple’s Verification System ➝ Carrier Network ➝ OTP (SMS)
If any part of this chain fails, the verification code is never sent and the error appears immediately.
In most cases, the failure occurs at one of the following points:
| Failure Point | Description |
|---|---|
| Apple Backend Restrictions | Temporary service blocks, security flags, or internal validation errors can stop the system from sending the code. |
| Carrier or Routing Issues | Short code filtering, poor routing, unsupported regions, or overloaded SMS gateways can prevent the message from being delivered. |
| Number Eligibility Problems | VOIP or virtual numbers, newly activated SIMs, or unverified lines may be rejected by Apple’s system. |
| Region or Account Mismatch | A mismatch between your Apple ID region and your phone number’s country, or unsupported locales, can block code dispatch. |
Now that you understand why this error happens, you can follow the solutions below to fix it effectively.
Before You Begin: Preliminary Checks
Apple’s system won’t even start the code-sending process if your device isn’t communicating properly with its servers. A weak network connection or inactive SIM card is one of the most common silent blockers during sign-in or setup.
- Ensure that no VPN or captive portal is active.
- Insert an active SIM card or enable eSIM.
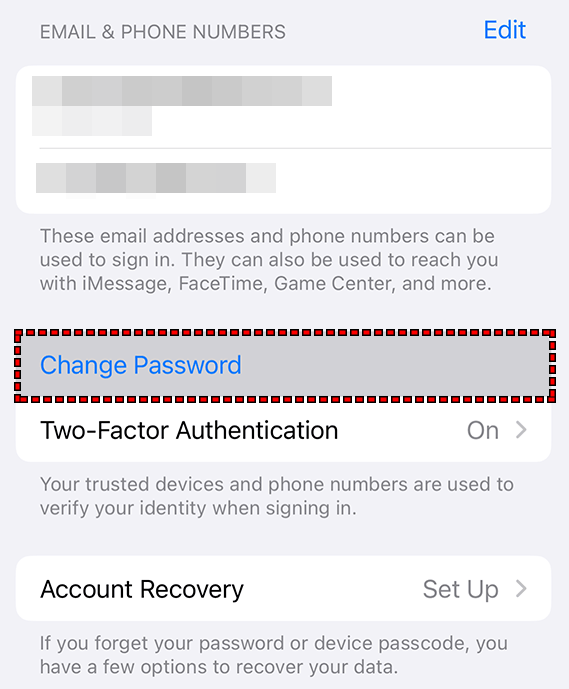
- If the verification code doesn’t arrive, use another trusted Apple device: Settings → [Your Name] → Password & Security → Get Verification Code.
- If you don’t have another device, go to appleid.apple.com, add a temporary trusted number, and try again.
- If you’ve made multiple failed attempts, wait a few hours before retrying to reset any rate limits.
1. Add a Special Character When Creating the Apple ID
Apple’s system runs automated security checks before sending any verification code. A weak password can trigger these checks and block the process silently. Adding a special character (like !, @, #, $) strengthens your password and allows the request to pass these checks successfully.
- Go to Apple ID account creation (for new accounts) or sign-in settings (for existing accounts).
- Set or change your password to include at least one special character (e.g.,
!,@,#,$). - Save the new password.
- Return to the verification screen and request the code again.
- If it doesn’t arrive, wait a few minutes and retry once more.
2. Make Sure Your Phone Number Is Eligible
Apple’s verification system may silently reject numbers that don’t meet its eligibility criteria, such as newly activated SIM cards, VOIP lines, or numbers from unsupported regions. If your number isn’t eligible, the request won’t even start.
- Enter your phone number in full international format (e.g.,
+1…,+44…). - If the number is new or recently ported, wait 24–48 hours to ensure complete network activation.
- Avoid using VOIP or virtual numbers, as Apple often blocks these.
- If possible, use a trusted number (such as a family member’s or friend’s) temporarily for verification.
- You can switch back to your original number later once it becomes eligible.
3. Switch to a Different Network (Wi-Fi or Mobile Data)
Apple’s verification system can block or flag requests from specific Wi-Fi networks or IP ranges, often due to routing problems, regional restrictions, or shared networks. Switching networks can help bypass these silent blocks.
- If you’re on Wi-Fi, turn it off and use mobile data instead.
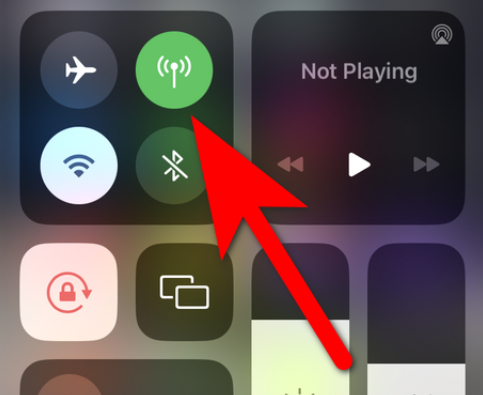
- If you’re already on mobile data, try connecting to a different Wi-Fi (e.g., home or office).
- Avoid VPNs, public Wi-Fi, or networks with strict firewalls.
- After switching, restart the verification process and request the code again.
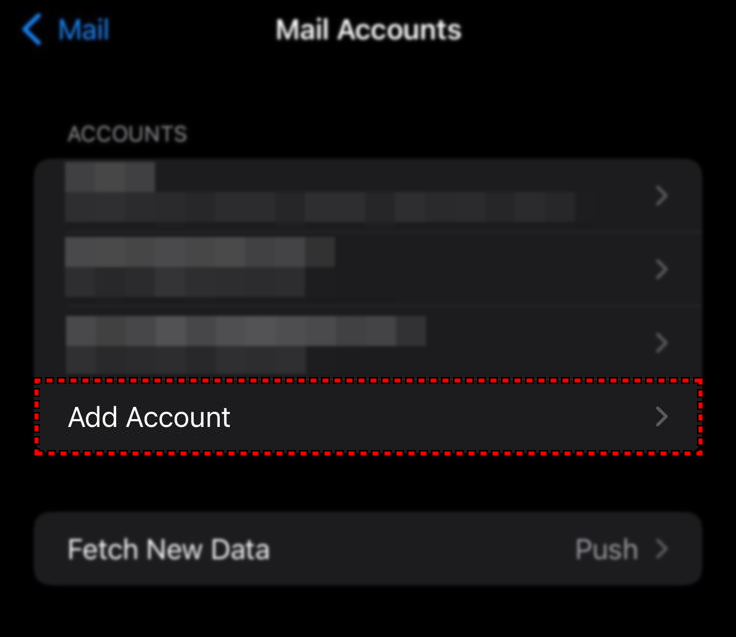
4. Add Your Apple ID via the Mail Account or App Store Setup
If you can receive normal texts but never get Apple’s code during the main sign-in, your request may be blocked upstream (cache, throttle, or routing). The Mail Account setup uses a different authentication path from the standard Apple ID screen. This alternate path:
- creates a fresh authentication session with no cached state,
- uses a different rate-limit and routing path, and
- reinitializes the trusted phone challenge from scratch. If the main flow is stuck, this clean path often triggers the SMS challenge successfully.
- On iPhone/iPad: Go to Settings → Mail → Accounts → Add Account → iCloud.
- Sign in with your Apple ID and choose “Text message” when prompted.
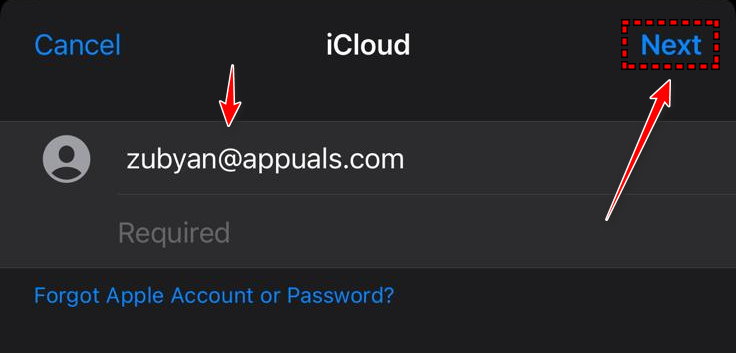
- Enter the code once it arrives, then return to your original sign-in process if needed.
If this doesn’t work, try the App Store path:
- Skip Apple ID creation during initial setup (or sign out if stuck).
- Open the App Store and try to download any free app.
- When prompted, tap Create New Apple ID or Sign In.
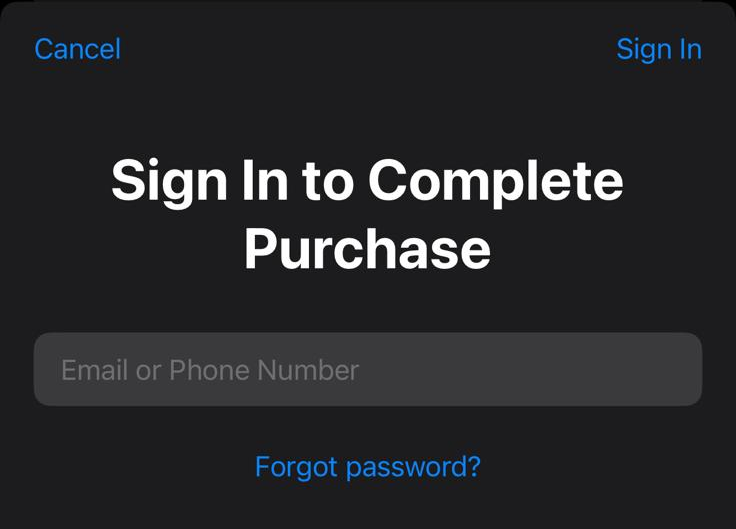
- Enter your number and select SMS for verification.
- Complete the process once the code arrives.
5. Start Verification Through Apple Music
Apple’s services don’t all use the same sign-in path. The Apple Music sign-in process is simpler and often skips the extra checks that can block the main flow. Signing in here first can help initiate a cleaner route for your account, increasing the chance of receiving the code.
- Go to music.apple.com.

- Click “Sign In” and enter your email.

- Once the account is partially set up, return to the original sign-in page.
- Request the code again. In many cases, it arrives right after this step.
If none of the above methods work, the issue is most likely beyond your control. This usually indicates a problem with Apple’s backend systems or your mobile carrier.
Your best next steps are to:
- Wait and try again after a few hours (especially if the issue is temporary).
- Contact your mobile carrier to ensure there are no restrictions on receiving short codes.
- Reach out to Apple Support and report the error directly.