Vanguard Build Out of Compliance Error: Troubleshoot VAN9003
Vanguard is VALORANT’s proprietary anti-cheat engine developed by Riot Games, it runs using a kernel-level driver which allows it to start before Windows even loads properly. Due to this level of security, it requires security features such as Secure Boot and TPM which Windows 10 Builds earlier than 1709 aren’t fully compatible with.

Therefore, to ensure fair competition Riot Games decided to cease support for Windows 10 builds earlier than 1709. Now, whenever you try to open VALORANT on these older builds you will receive error “This build of Vanguard is out of compliance…”. This error code is accompanied with “VAN9003” and “VAN 9001“
1. Install Latest Build of Windows
As this issue mainly occurs for outdated builds of Windows 10. It is recommended to update your Windows to latest build available before changing any of your Windows core settings. Follow these steps to update your Windows:
- Press the Win + I keys together to open Windows Settings app.
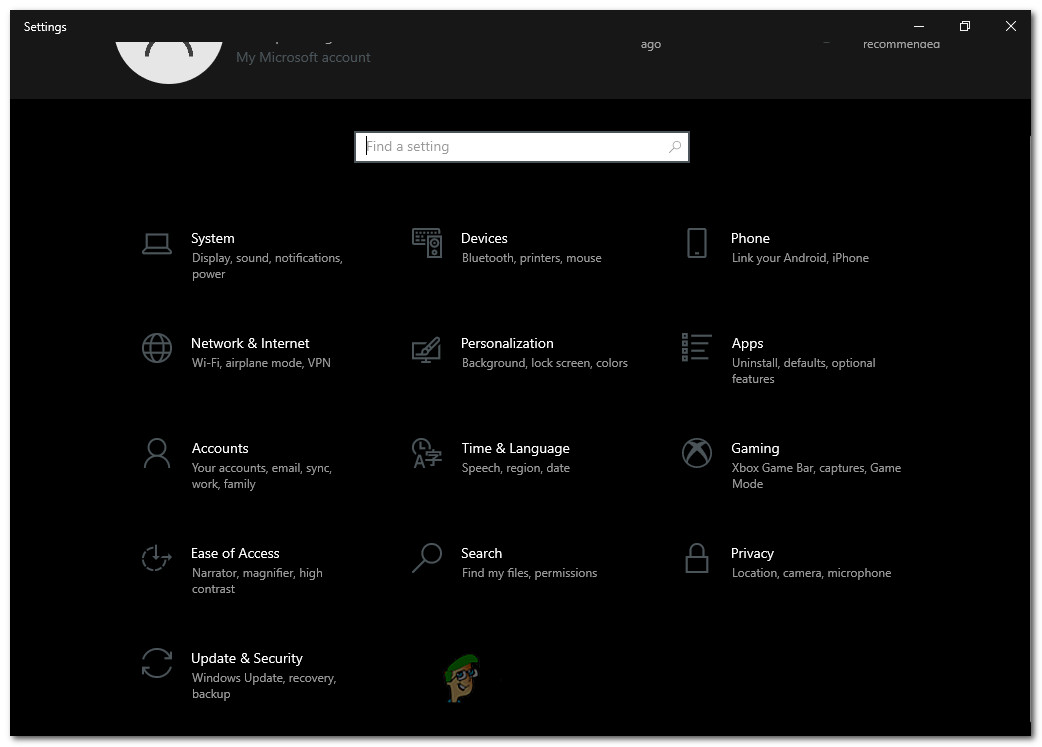
Press the Win + I keys together to open Windows Settings app - Navigate to ‘Update and Security > Windows Update‘

Navigate to ‘Update and Security - Now press ‘Check for Updates‘ button and wait for it to check.
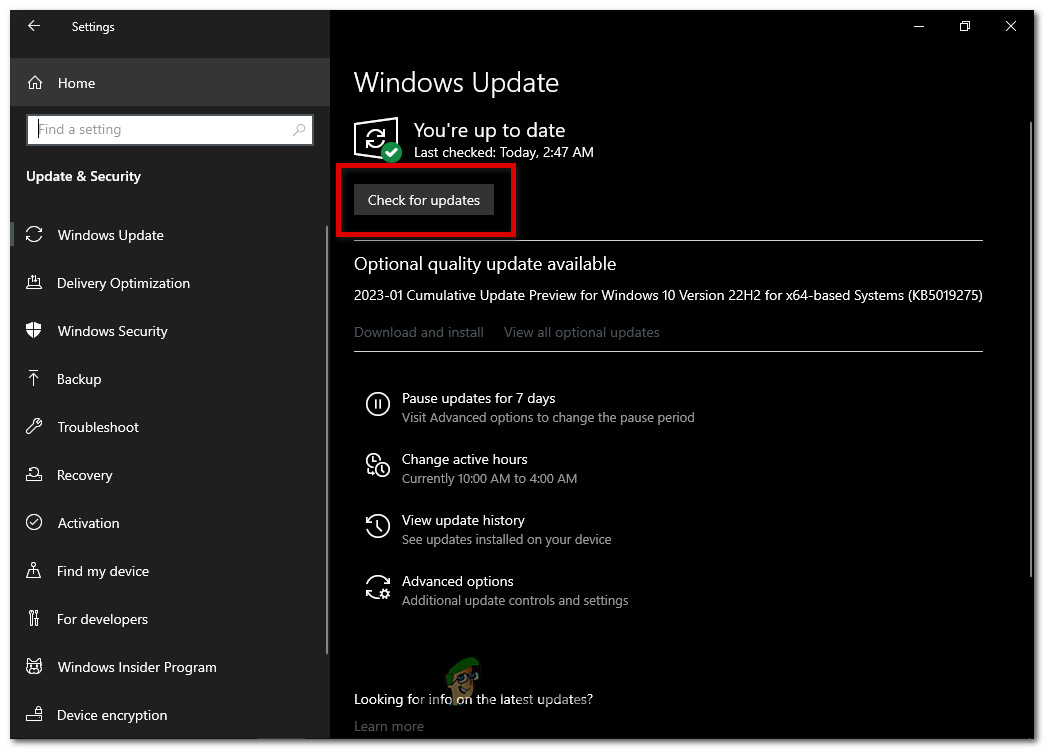
Press ‘Check for Updates’ button - Once new updates are found, simply install all of them and restart your computer.
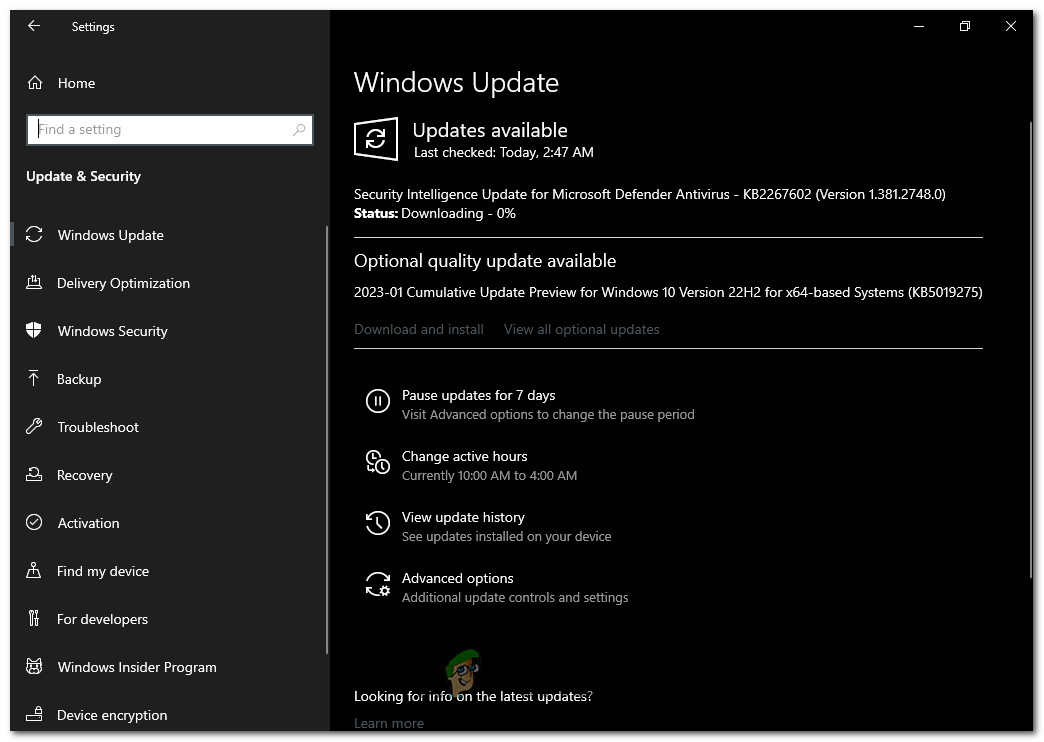
New updates are found
Check to see if Valorant is working now.
2. Change Legacy BIOS to UEFI and Enable Secure Boot
Legacy BIOS do not support Secure boot. Secure Boot only works in UEFI (Unified Extensible Firmware Interface) BIOS mode.
UEFI BIOS mode is required to protect the computer from viruses and malicious software by ensuring that only trusted software is launched during the boot process. Riots Vanguard, like most applications nowadays, requires this feature to function properly. Follow these steps to check and convert legacy BIOS to UEFI and enable secure boot:
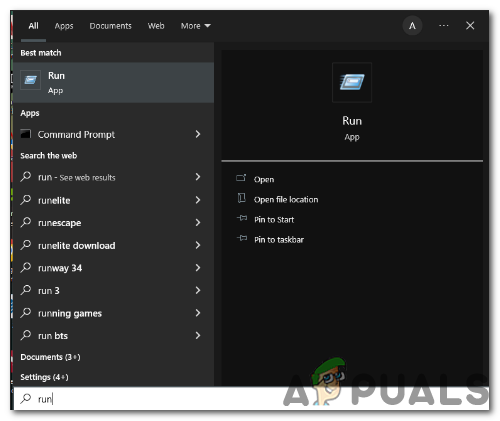
- Press Win + R keys together to open “run“.

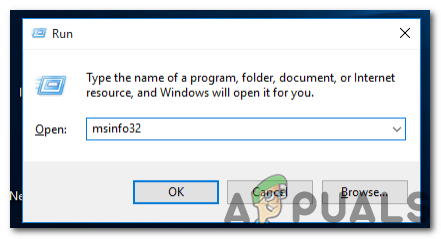
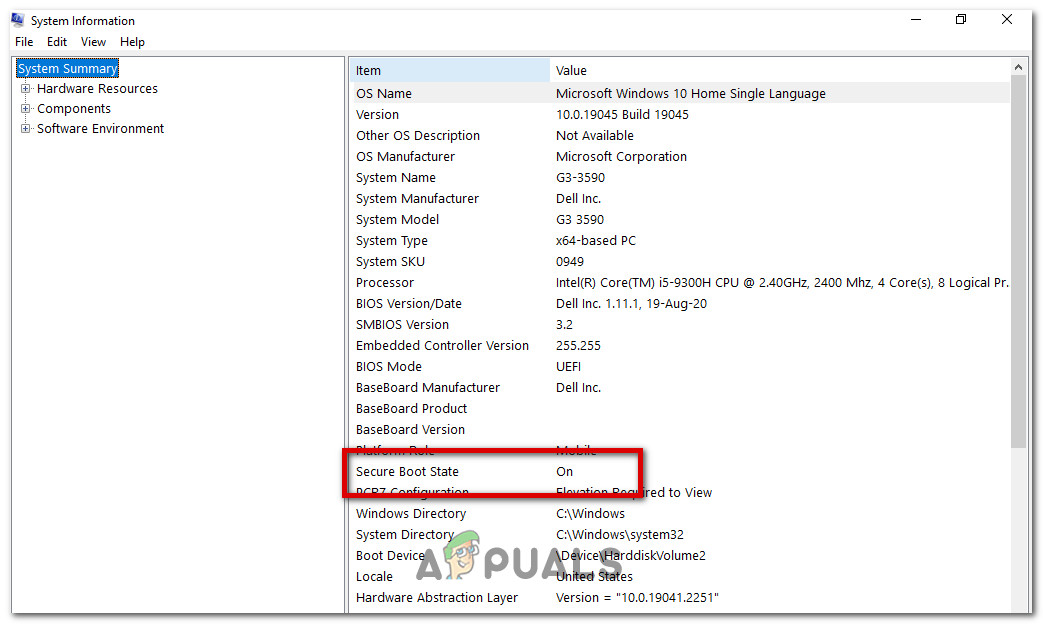
Press Win+r keys together to open “run” - Type in ”msinfo32” and click ”ok”.

Type in ”msinfo32” - In the System Summary section, look at the BIOS mode value in the right pane. It can have the value ”Legacy” or ”UEFI“. The legacy mode means that your hardware does not support UEFI, or that it’s disabled for some compatibility reasons.
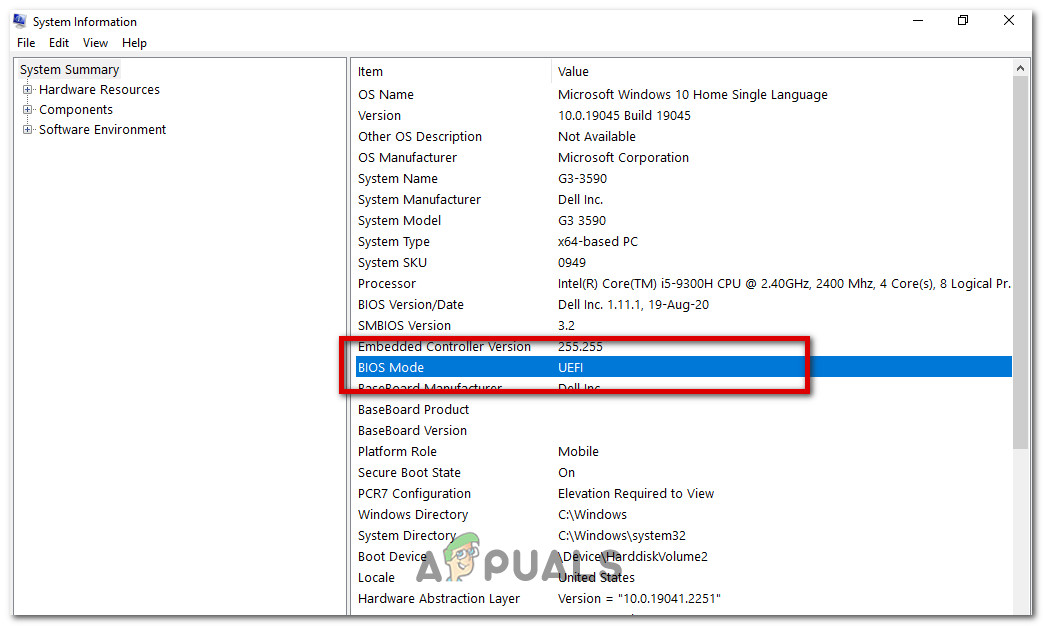
look at the BIOS mode value - If it says ”Legacy” in ”BIOS Mode”, you will need to change it to ”UEFI” in your BIOS settings, which, depending on the manufacturer of your motherboard, can be accessed during boot-up by pressing specific keys.
- When you enter the BIOS on a Lenovo ThinkPad (may differ slightly depending on the manufacturer), from the BIOS Main menu screen, navigate to ‘Startup > Boot’.
- From the Boot screen, select UEFI / Legacy Boot, and press Enter.
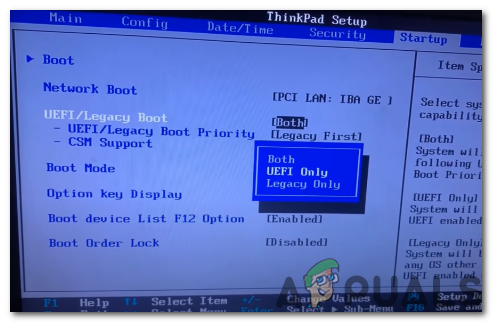
select UEFI/Legacy Boot - Use the up and down arrows to select UEFI Boot Mode, and then press Enter.
- Make sure under ”UEFI / Legacy Boot”, ”CSM Support” is disabled.
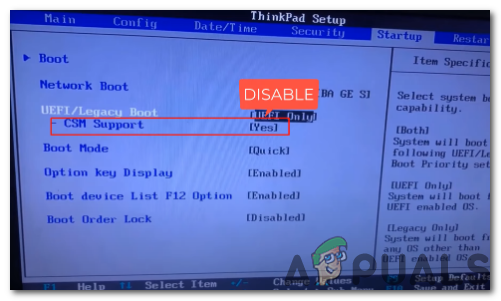
”CSM Support” is disabled - To save the changes and exit the screen, press F10.
2.1 Turn on Secure Boot
Once the BIOS mode has been set to UEFI, all you need to do is turn on secure boot. To turn it on follow these steps:
- Press Win+r keys together to open “run“.
ress Win+r keys together to open “run” - Type in ”msinfo32” and click ”ok”.
Type in ”msinfo32” - In the System Summary section, look at the Secure boot state value in the right pane. It can have the value ”On”, “Off“ or ”Unsupported “.
look at the Secure boot state value - If it says ”No” in ”Secure boot state”, you need to enable it in the ”BIOS” settings, which, depending on the manufacturer of your motherboard, can be accessed during boot-up by pressing specific keys.
- When you enter the “BIOS“, from the BIOS Main menu screen, navigate to “Security > Secure Boot“.
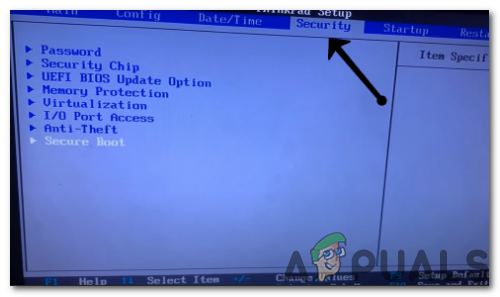
- From the ”Secure Boot” tab in security select the ”Secure Boot” option again, and press enter.
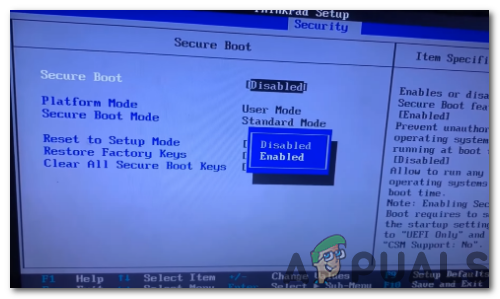
select the ”Secure Boot” option - Use the up and down arrows on your keyboard to select ”Enabled” and press enter.
- If you also have the option ”Secure Boot Mode”, select it and hit “enter“.

the option ”Secure Boot Mode” - Try both the ”Custom Mode” and ”Standard Mode”. Keep whichever works for you on.
This should fix your VAN 9003 error code issue; if it does not, you will need to reinstall Vanguard or clean install a new build of Windows and redo this fix, as some settings or corrupted files will be the source of this problem, which a newer and cleaner build will fix.
4. Reinstall Riot Vanguard
Reinstalling Vanguard gets rid of any corrupted files that is preventing it from launching. All you need to do is uninstall it and then launch any Riot game, and it will download and install again automatically.
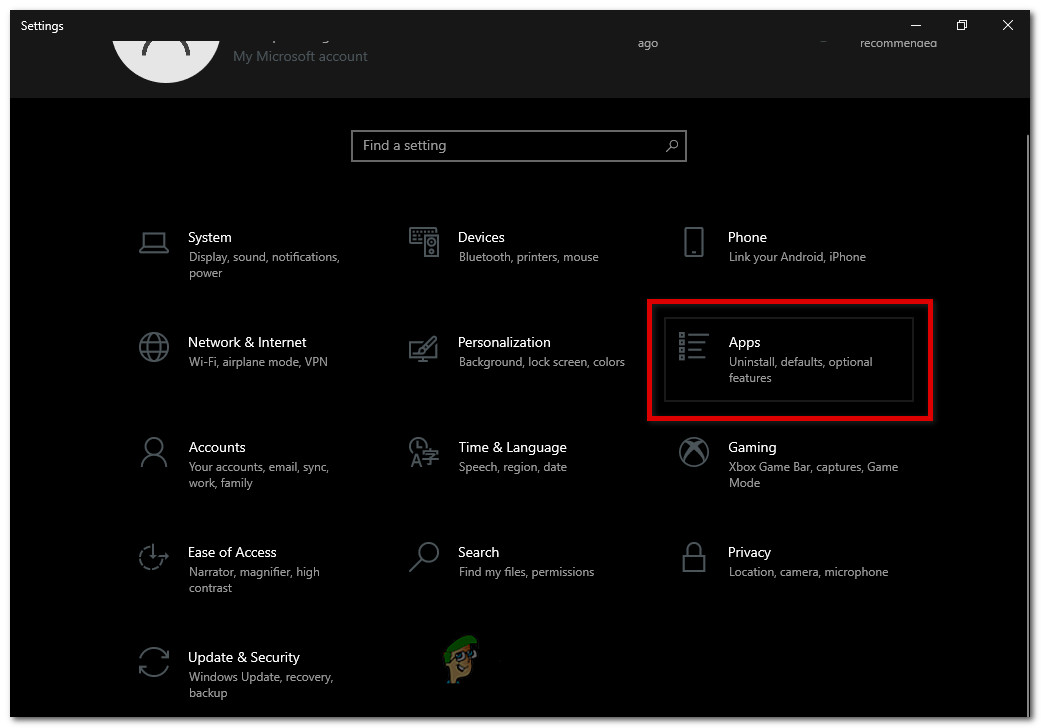
- Press the Win + I keys together to open Windows Settings app.

Press the Win + I keys together to open Windows Settings app - Navigate to “Apps > Apps & features“.
Navigate to Apps - Type “Riot Vanguard” into the “Search this list” box.
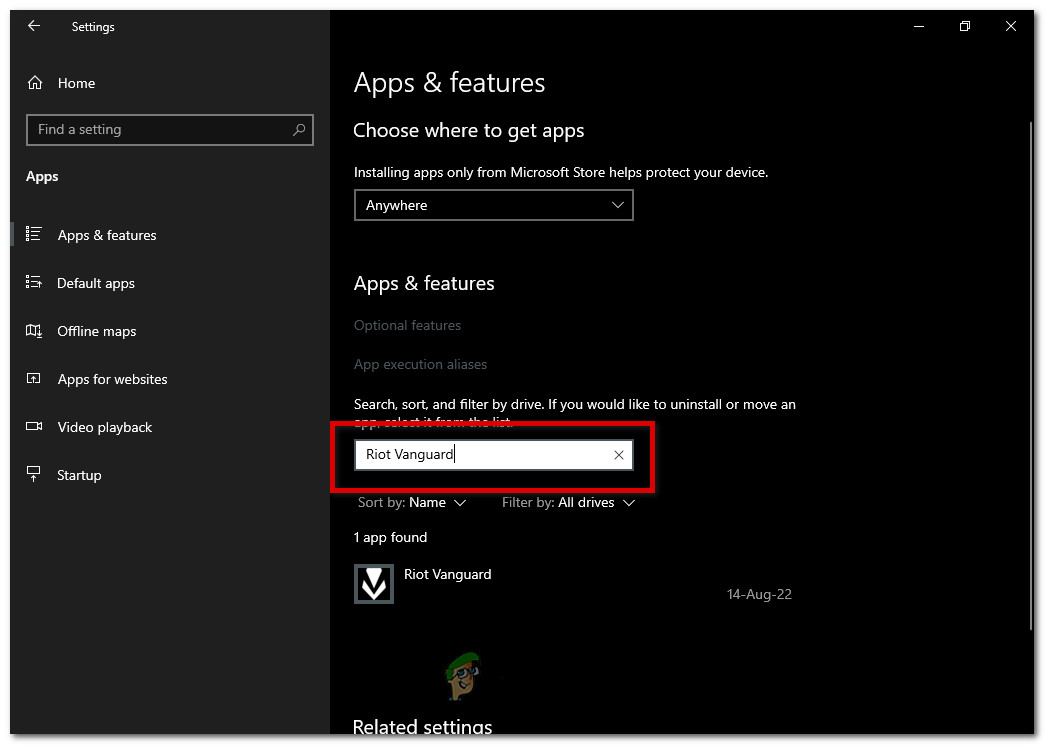
type “Riot Vanguard” into the “Search this list” box - To uninstall “Riot Vanguard” left click it and press the “Uninstall” button to the bottom right of the tab.
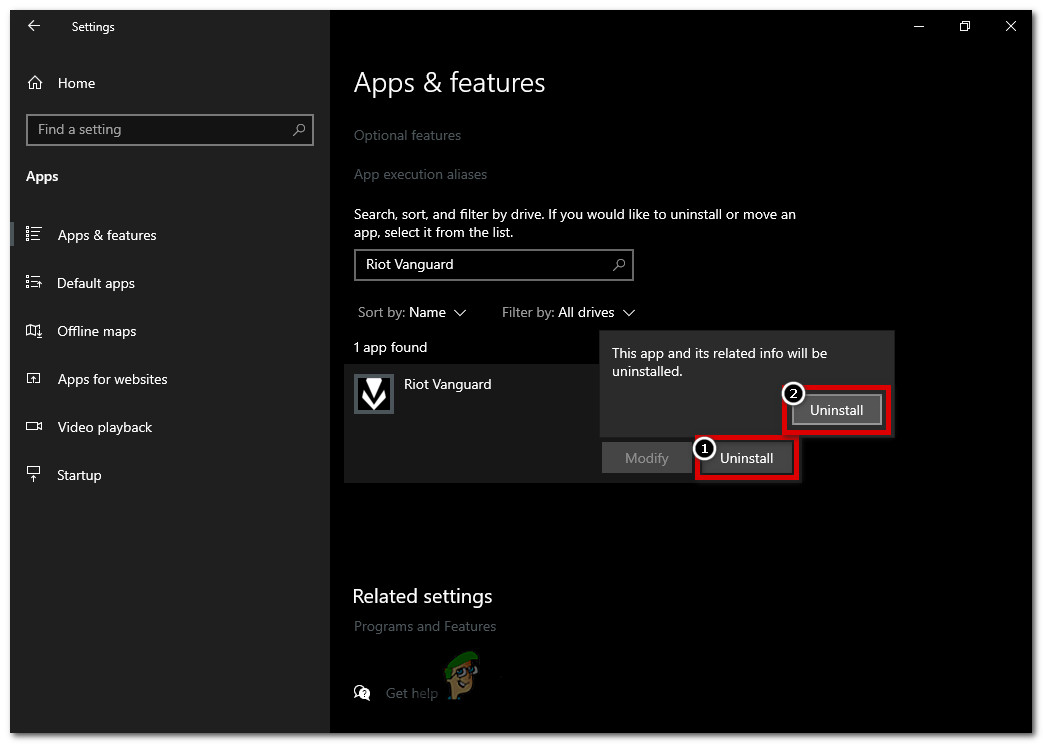
press the “Uninstall” button to the bottom right of the tab - Press “Yes” on “Are you sure you want to continue” popup. Restart your computer to completely remove all of its files.
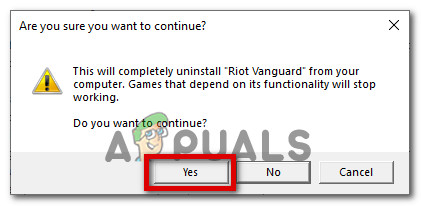
Press “Yes” on “Are you sure you want to continue” popup - To reinstall it once again, launch one of the Riot games, like Valorant, to load the Riot Client.
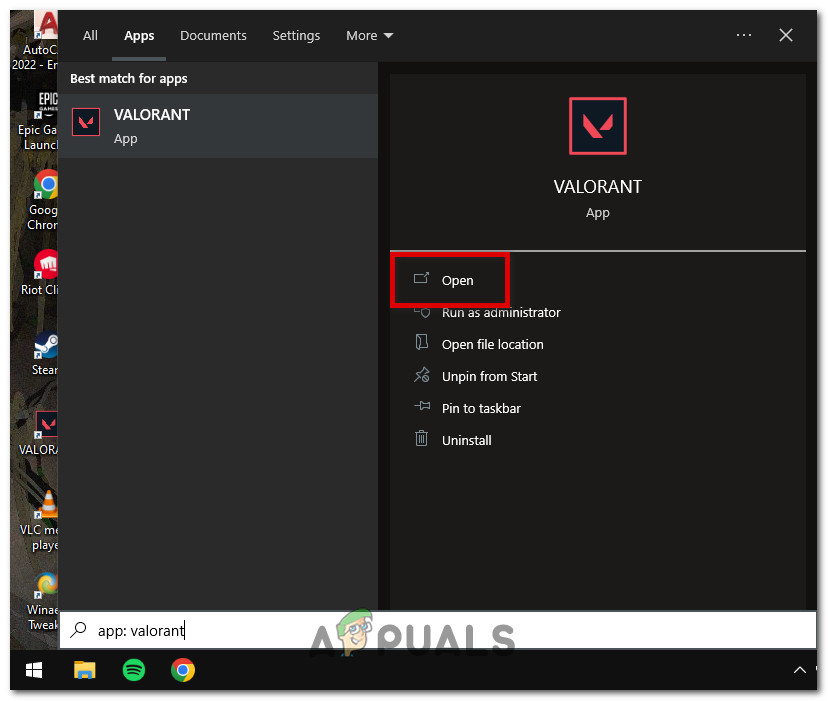
launch one of the Riot games - Following that, Riot Vanguard will download and start installing on your computer.
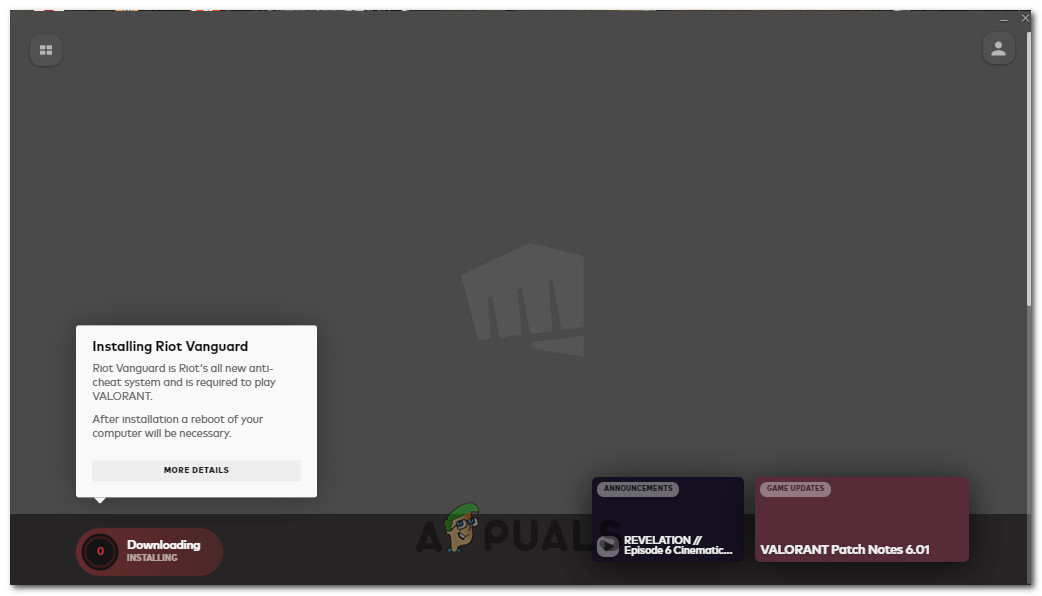
Riot Vanguard will download and start installing on your computer - Restart Windows after installing Riot Vanguard in order for the installation to be complete.
You can now quickly uninstall and reinstall Riot Vanguard using the steps listed above. Check to see if Valorant is working now.
5. Clean Install Windows
If your Vanguard still isn’t running and nothing else appears to be working, try a clean install of Windows. A clean Windows installation is an excellent way to restore your computers to its original state.
By clean installing, you can remove any damaged files or settings that may be causing problems and ensure that the program Riot Vanguard you’re attempting to run functions properly. The procedure is rather easy, and it’s a good idea to perform it occasionally to keep your computer in peak condition.


