How to Fix Voice Chat Not Working in VALORANT (Solved)
Oftentimes, VALORANT voice chat suddenly stops working while playing VALORANT. It mainly happens when the internet connection gets disconnected and then reconnected during a game. It is because VALORANT servers and voice chat servers work separately.
Since the servers are separate, you can connect to the game server when your internet reconnects, but you cannot connect to the voice chat servers.
The voice chat not working problem has also been a bug in VALORANT for a long time, which mainly occurs after updating VALORANT to the latest version or while playing VALORANT normally. To fix this issue, go to audio settings, turn off Team Voice Chat, and turn it on back. Repeat this process 3 to 4 times.
Before you follow the methods, make sure the other Game’s clients, like a League of Legends client is not running in the background because they completely break the VALORANT voice chat according to the users.
1. Check In-Game Audio Settings
The first thing you need to check is your voice chat audio settings because if the input or output device of a Voice Chat is set incorrectly, you won’t be able to hear or talk with your friends or teammates.
Another thing you need to ensure is that you can hear your own voice on VALORANT. For that, you need to run the loopback test, which will ensure that your microphone is working in VALORANT.
If you can hear your voice while testing your mic with the loopback test, that means it is a connection issue that is preventing your voice from reaching the server. But, if you can’t hear your voice, it means it is due to a problem with your Windows Microphone settings. In both cases, follow all of the methods to determine the cause of your problem.
2. Allow VALORANT to access Your Microphone
If you can hear your teammate’s voices or can’t talk in VALORANT, it is most probably due to not having Microphone access to Riot Games.
In Windows, there is a privacy setting that allows users to give access to a desktop or particular application. If this setting is disabled, the application cannot use your microphone, which results in this issue. Therefore, try checking the privacy settings by following the instructions.
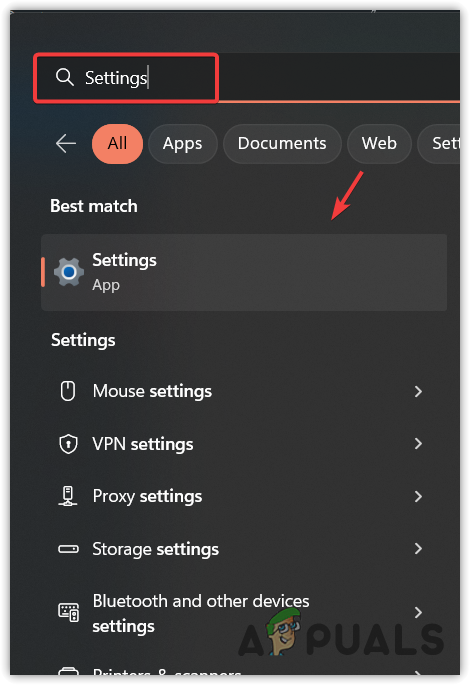
- Press the Windows key and type Settings.
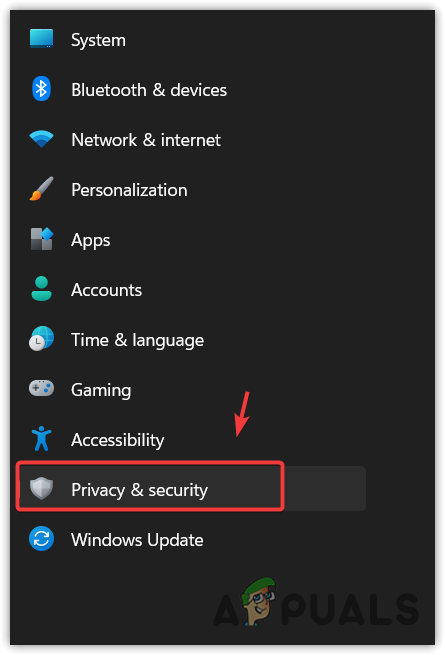
Heading to the Windows Settings - Open the settings and navigate to Privacy & Security from the left pane.
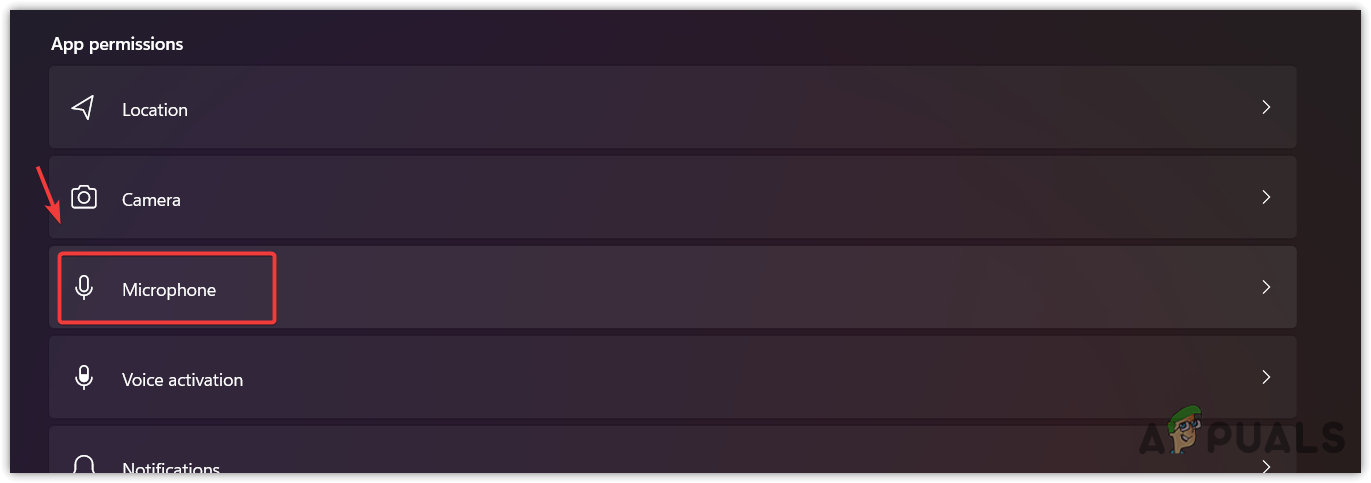
Navigating to Privacy and Security settings - Scroll down to the App Permissions and click Microphone.
Opening Microphone Permissions Settings - Here enable Microphone Access.
- Then, make sure let apps access your microphone is set to enabled.
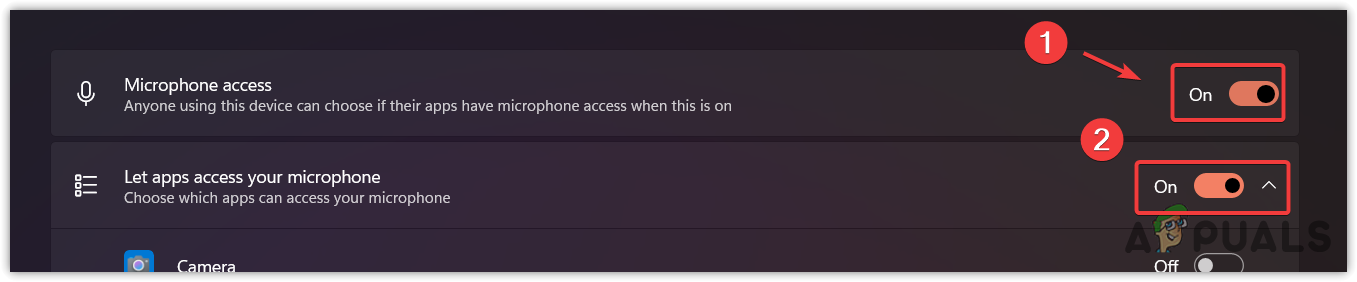
Allowing Apps to access the Microphone - Scroll down to the bottom and make sure Let desktop apps access your microphone is set to enabled.

Allowing Desktop apps to access the Microphone - Once done, check if your microphone is still not working on VALORANT.
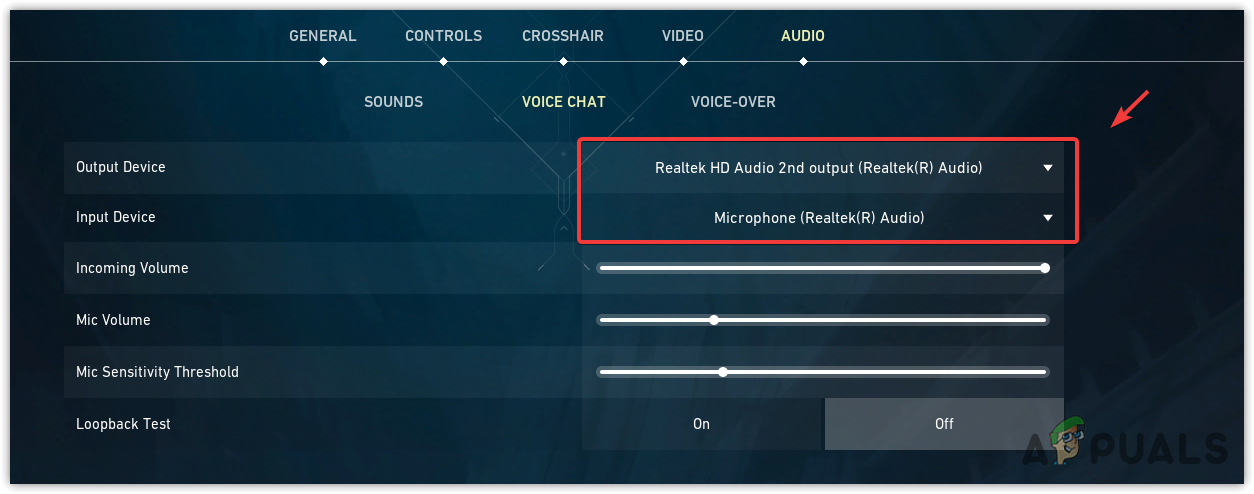
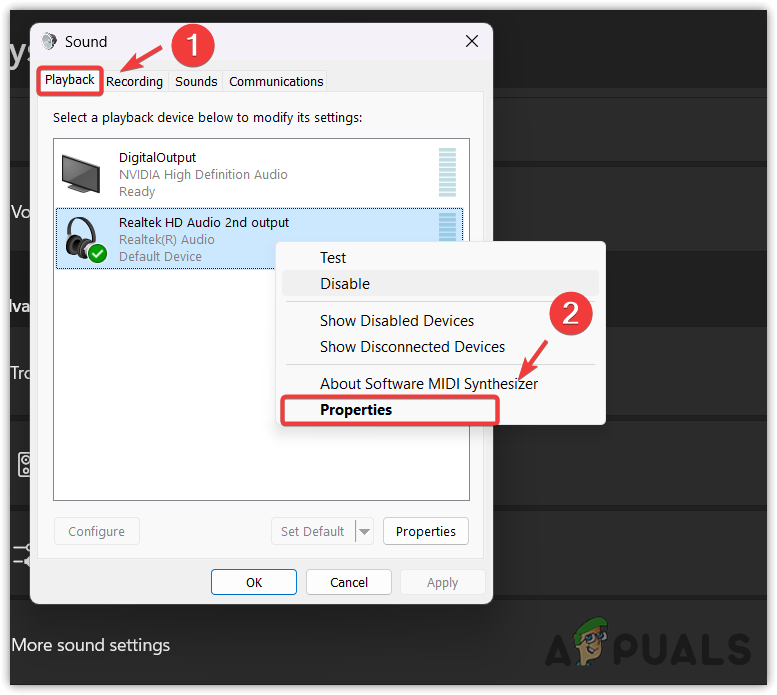
3. Reselect the input and output device from the voice settings
If your output and input devices are set correctly and still facing this issue. Then, it must be a bug. You can try selecting the wrong input and output device and then selecting the correct output and input device that you were using before changing it. This will help VALORANT to re-initialize the input and output device, which can fix this issue.
- To do so, go to Settings > Audio > Voice Chat.
- Here select the incorrect output and input device.
- Once done, select the correct input and output device and check if the problem is resolved or not.
Selecting the correct output and input device in VALORANT
4. Change the Sample Rate of your Headphone
Audio Sample Rates refer to the samples that are taken in one second from audio to digitize for recording and playback. The high sample rate produces better sound quality. However, If you are using a high sample rate that is incompatible with VALORANT voice chat, you won’t be able to hear anyone in VALORANT. Hence, try lower your sample rate to see if the problem persists or not.
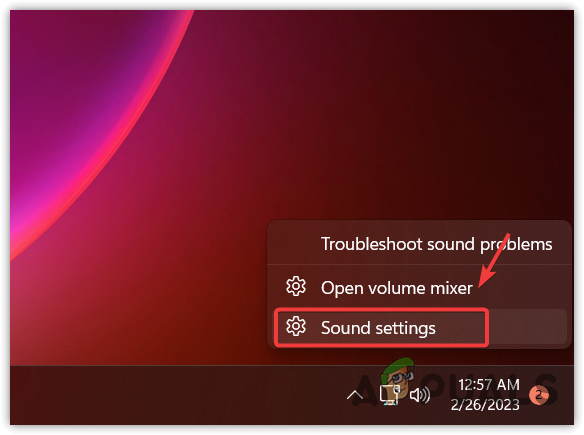
- Right-click the sound icon from the bottom right.
- Select Sound Settings from the options.
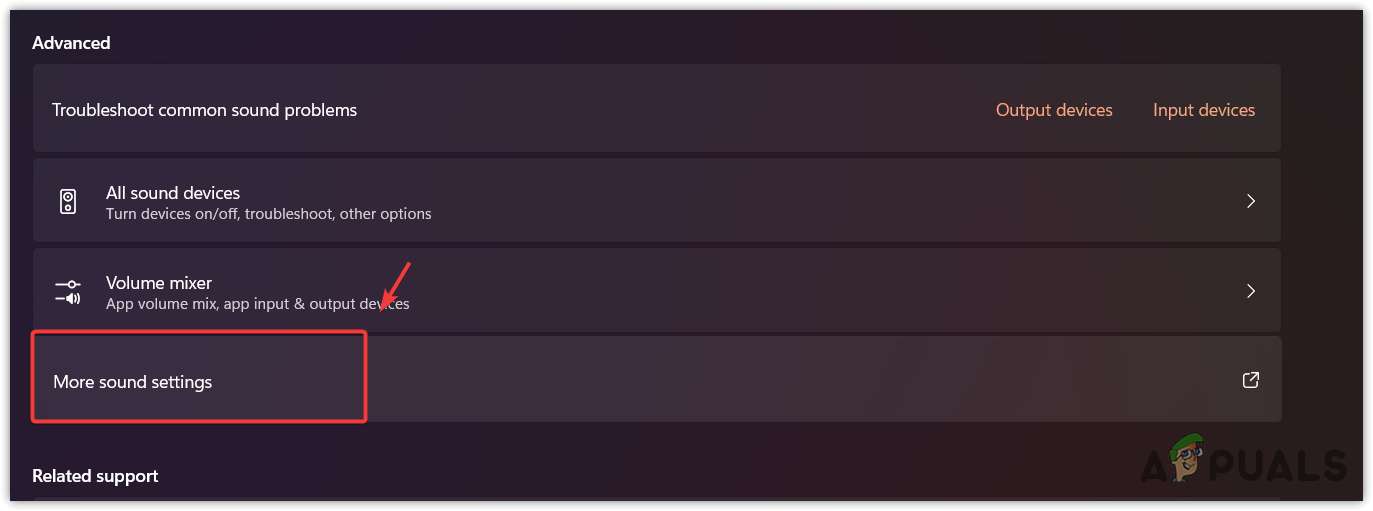
Opening Sound Settings - Scroll down to the bottom and click More Sound Settings to open the advanced sound settings.
Opening More Sound Settings - Right-click on your headphone adapter and select Properties.
Navigating to Headphone properties - Go to Advanced and change the sample rate to 41000 Hz (CD Quality).
- Once done, click Apply and click OK.
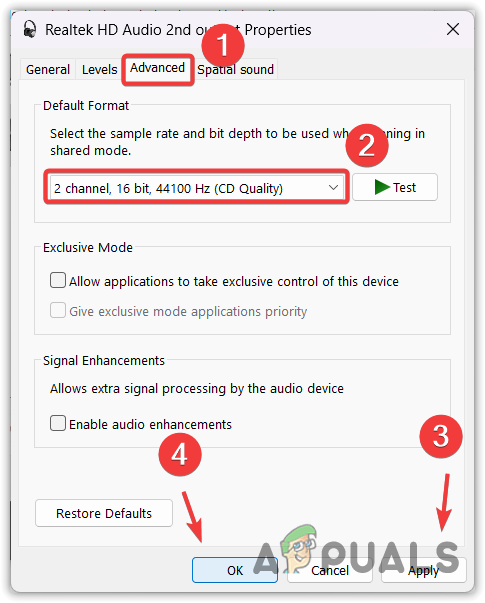
Changing the Sample Rate to low - Once done, launch VALORANT and check if the voice chat is still not working.
5. Configure Realtek Audio settings from the Realtek audio console
If you use the Realtek Audio Console to manage input and output devices, try separating all input jacks as independent devices because it is possible that other input jacks are interfering with your microphone jack, causing VALORANT to not listen your voice through the microphone.
- To configure the Realtek audio settings, open the Audio Console Manager.
- Click Settings from the top and select Separate all inputs jacks as independent input devices.
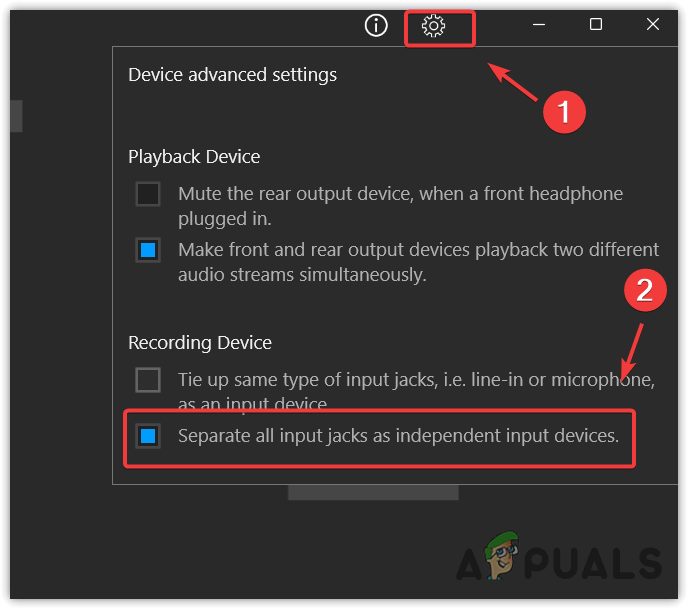
Separating all inputs jacks as independent input devices - Once done, open VALORANT and check if the problem is resolved.
6. Disable IPv6 and use Google DNS
IPv6 is an upgraded version of Internet Protocol that is used to connect devices to the internet using their IP addresses with a space of 128bit. Unfortunately, VALORANT does not support IPv6 as IPv4 is more stable. Hence, most games and applications still use IPv4 to connect users to the internet to communicate with the servers. Therefore, if IPv6 is enabled on your network settings, it can cause a connection problem with the server.
DNS, or Domain Name System, converts human-readable names into IP addresses to resolve the domains to connect to the game servers. When it comes to games, Google DNS is a fast, secure, and more reliable DNS server as compared to other DNS servers.
To fix the connectivity issues to the VALORANT voice chat server, try disabling IPv6 and switching to Google DNS by following the steps:
- Launch the Settings by pressing Win + I together.
- Go to Network and Internet from the left sidebar.
- Click Advanced Network settings from the bottom.
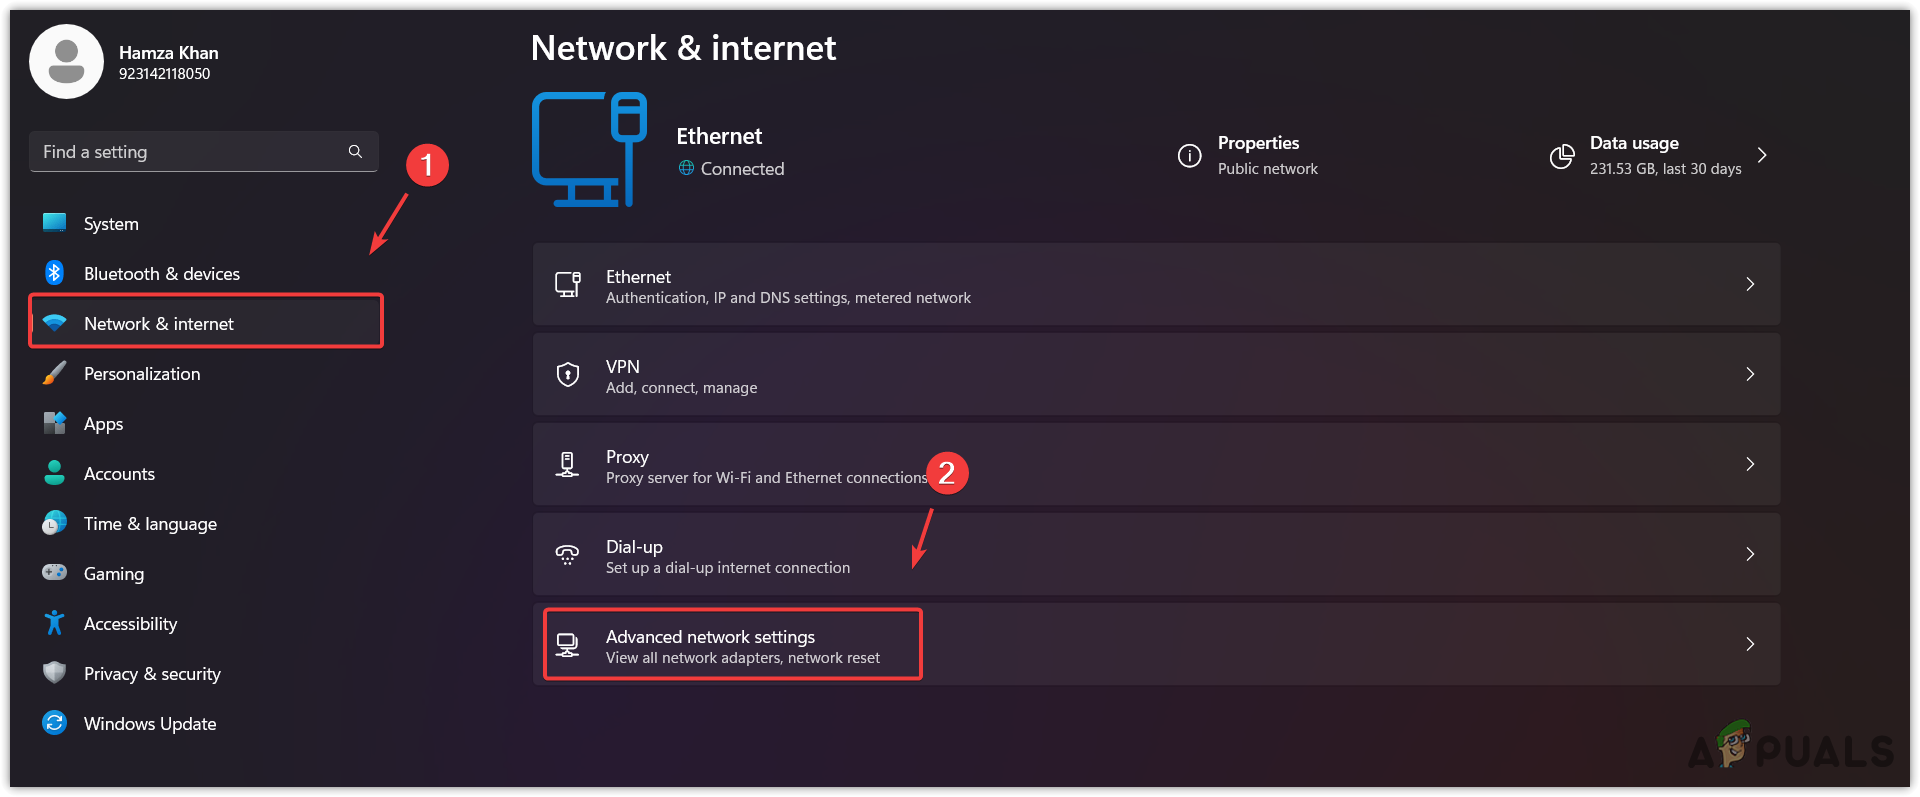
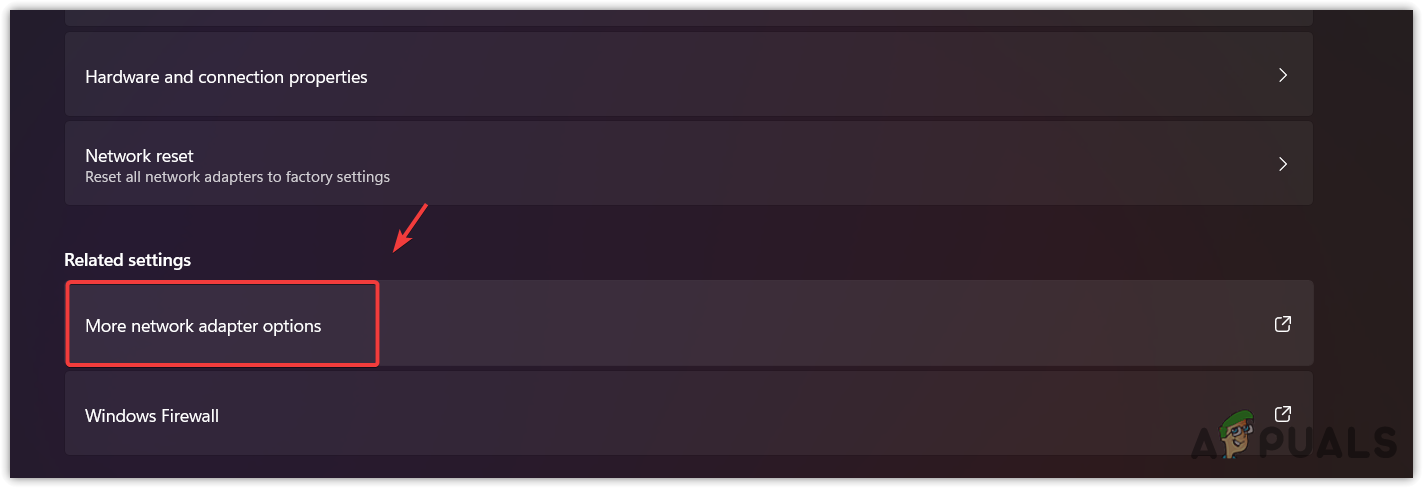
Navigating to Advanced Network Settings - Click More Network Adapter Options under Related Settings.
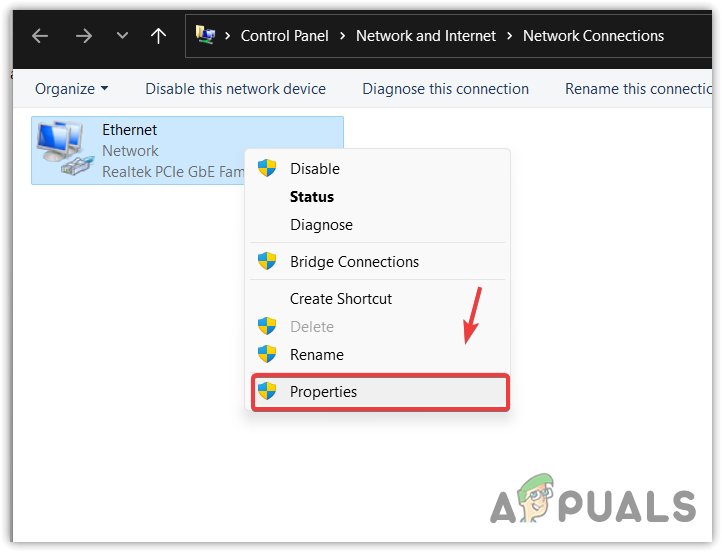
Opening Network Adapter Settings - Right-click the Network Adapter and go to Properties.
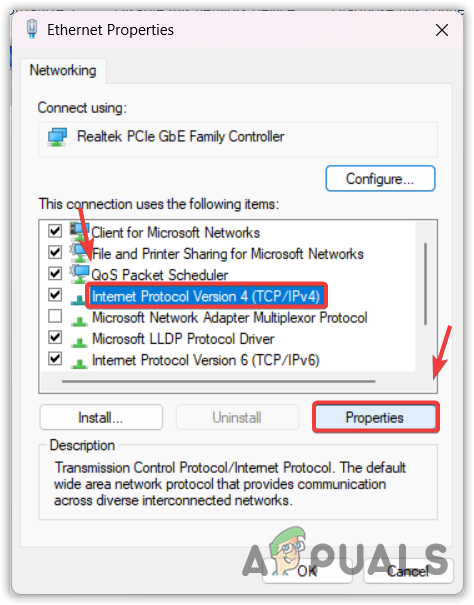
Opening Network Adapter properties - Untick Internet Protocol Version 6 (TCP/IPv6).

Disabling Internet Protocol Version 6 (TCP IPv6) - Then, select Internet Protocol Version 4 (TCP/IPv4) and click Properties.
Navigating to Internet Protocol Version 4 (TCP/IPv4 ) Properties - Select Use the following DNS server addresses and type the Google DNS server address.
Preferred DNS server
8.8.8.8
Alternative DNS server
8.8.4.4

Switching to Google DNS server - Once done, click OK. Again, click OK to save the changes.
- Launch VALORANT and check if your voice chat starts working again.
7. Port forwarding
If your router is blocking access to the VALORANT voice chat servers, you need to apply a Port Forwarding to your router. Port forwarding will allow your devices to become accessible to other devices on the network.
When you open ports for a specific server, your device becomes accessible for the server to communicate with each other for sending and receiving data. Hence, if your device cannot communicate with the VALORANT voice chat server, you won’t be able to hear and talk with your teammates on VALORANT.
To do a port forwarding:
- Press the Windows key and type Command Prompt.
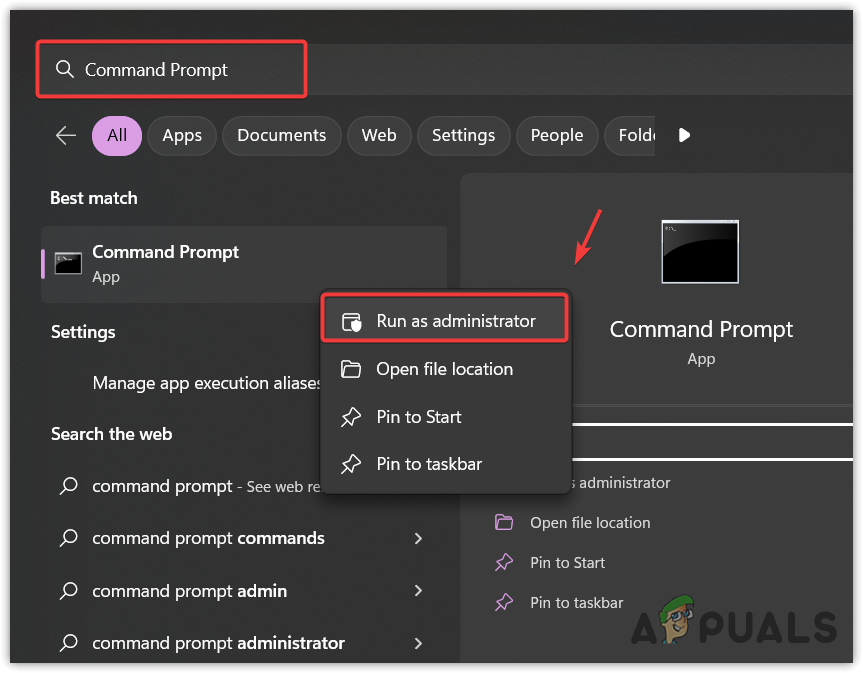
Running Command Prompt as an administrator - Open the terminal and type ipconfig /all, and hit Enter to see Internet Protocol Configurations.
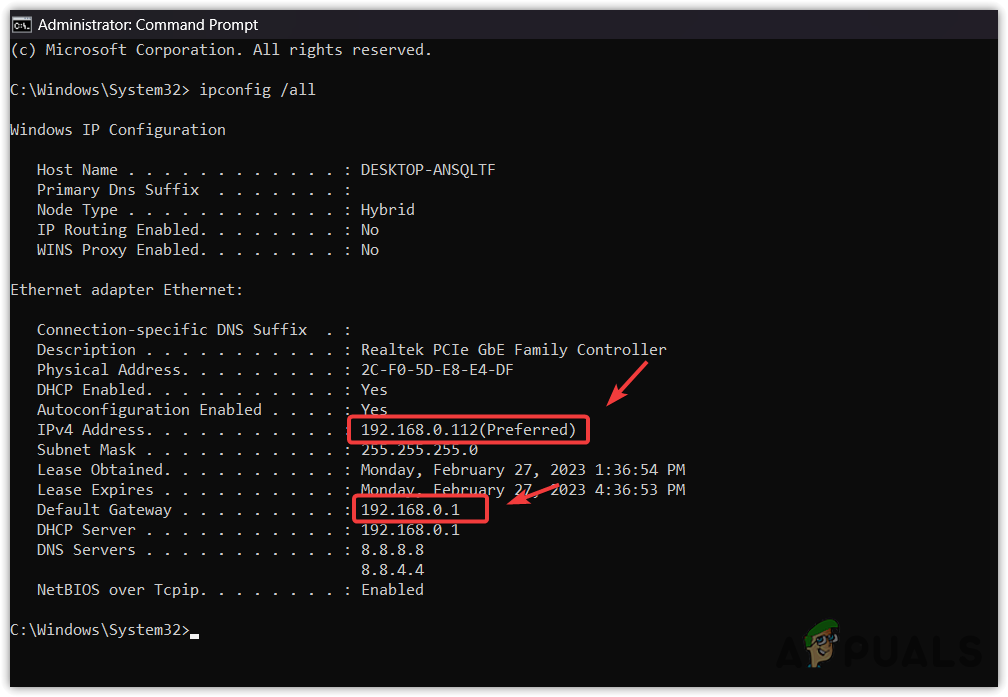
Finding IP Configuration using Command - Here copy the default gateway and paste it into the browser, and hit Enter.
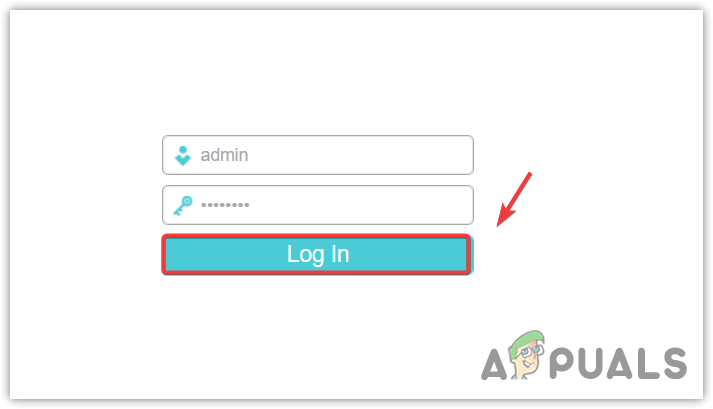
- Now enter the login details for your router. If you don’t know, you can ask your Internet Service Provider.
Authenticating in the router admin panel - Once you have logged in to your router admin panel, find Port Forwarding, Virtual Servers, NAT, or Application. The Port forwarding option can usually be found under Advanced Settings or Advanced Setup.
- Once you find out, click Add New and enter the service port number between 1024-65000.
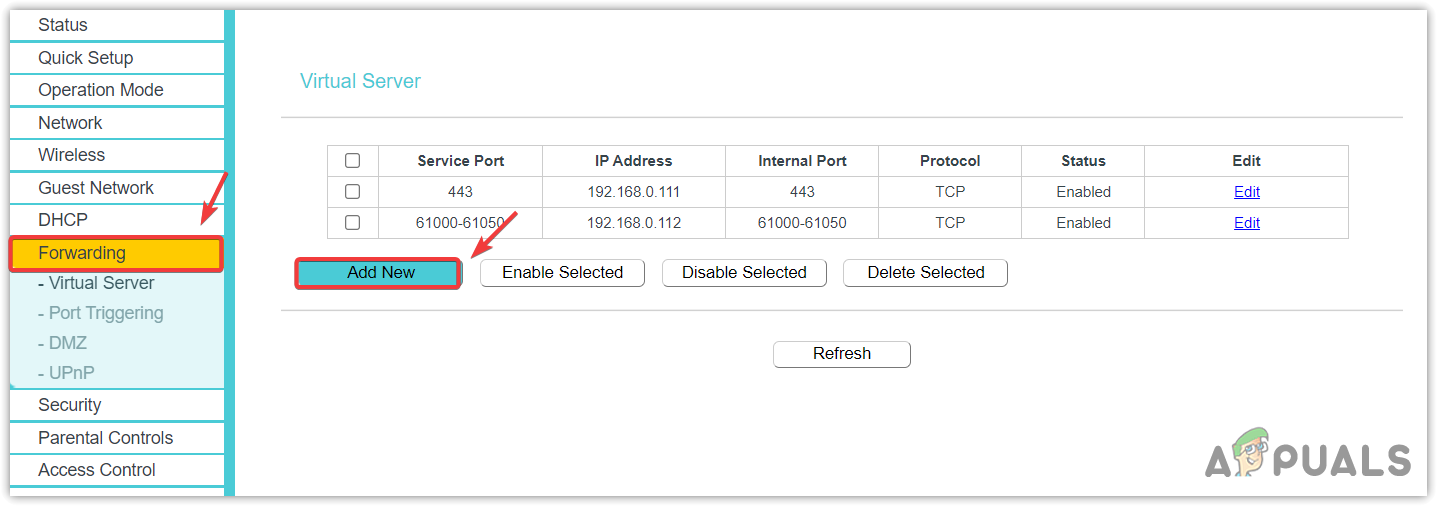
Proceeding to add a Port on the Router admin panel - According to the VALORANT article on Port Forwarding
You do not need to open this entire range, just 50 ports within it. For example, you might forward ports 61000-61050.
- Open CMD and, copy the IPv4 address, paste it into the IP address input box.
- Then, select TCP from the Protocol and click Save.
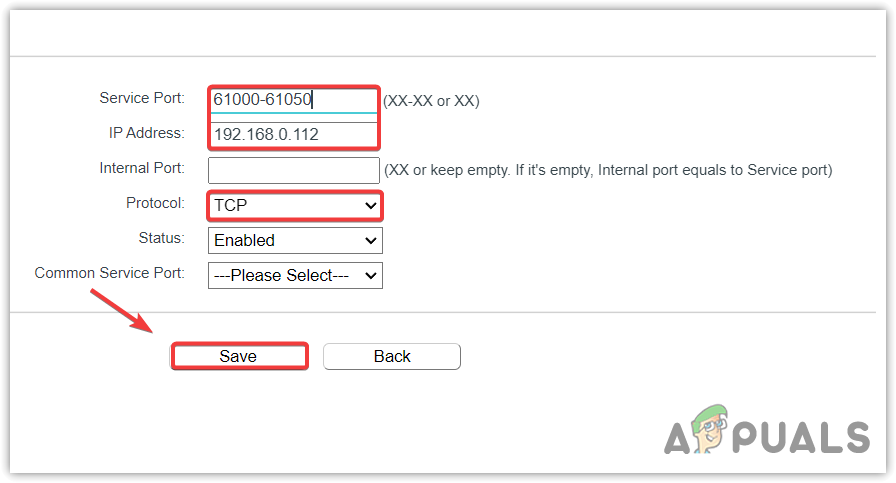
Opening Ports for Voice Chat server - Once done, launch VALORANT and check if the problem persists.
You can visit the article on Port Forwarding from Riot Games to learn Port Forwarding for VALORANT in more detail.
8. Allow VALORANT into Windows Firewall
Windows Firewall can block the VALORANT from communicating with the voice chat servers as it monitors the incoming and outcoming data over the network. Hence, try allowing VALORANT to Windows firewall to ensure whether it is interfering or not.
To allow VALORANT to Windows Firewall:
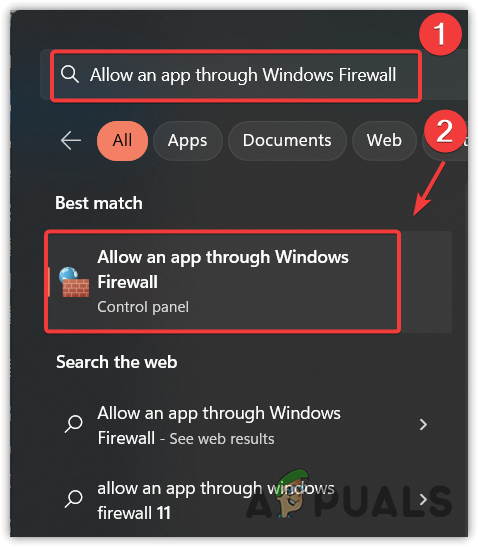
- Press the Windows key and type Allow an app through Windows Firewall.
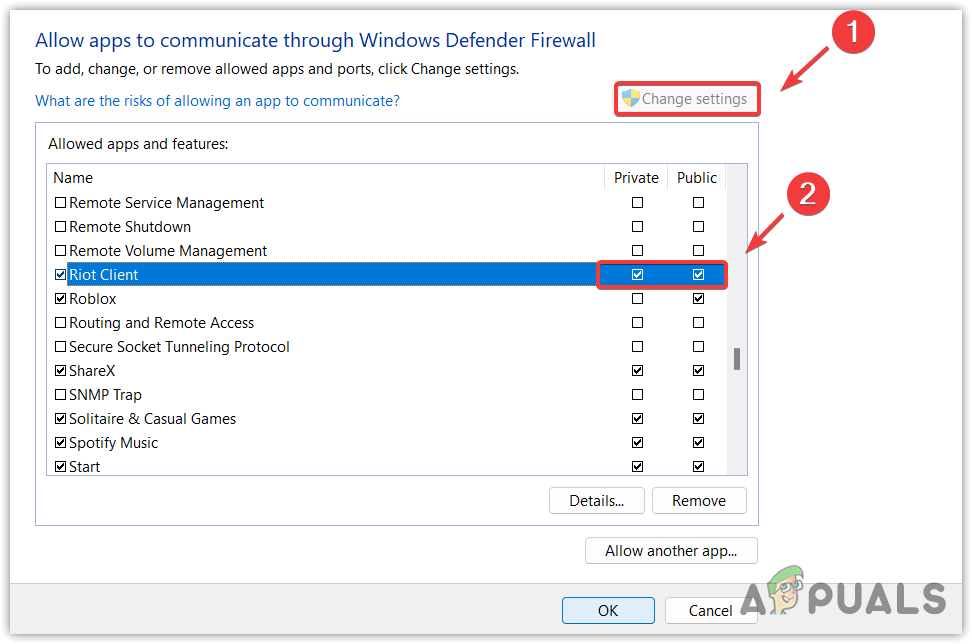
Opening Windows Firewall Settings - Open the firewall settings and click Change Settings.
- Under Allowed apps and features, make sure all the boxes are checked for Riot Client.
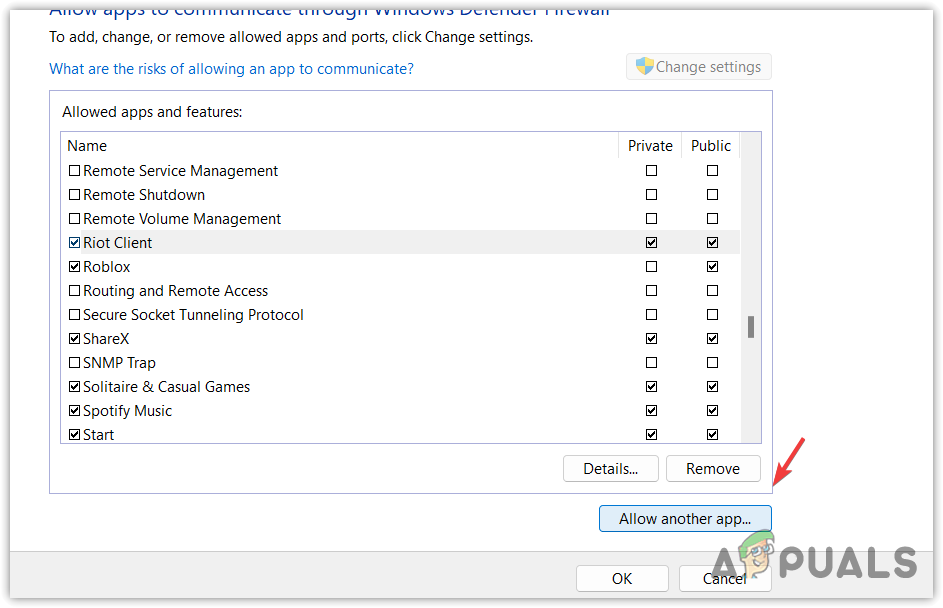
Ensuring Riot Client is allowed from the Windows firewall - If the Riot Client is missing, click Add another app.
Moving on to add another program - Then, click Browse and navigate to the Riot Games folder, then Riot Client to select the RiotClientServices.exe file.
- Then, click Open and click Add.
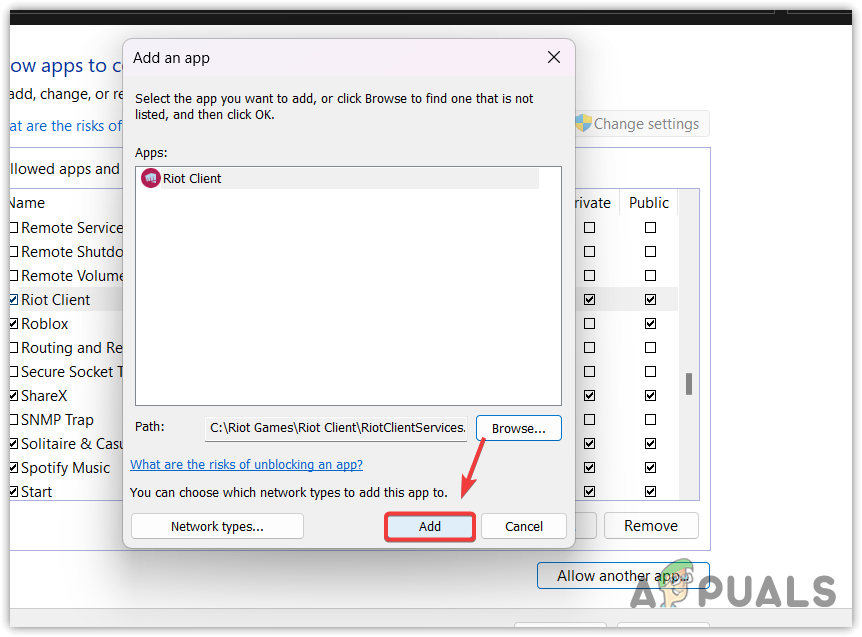 Adding Riot Client to Windows Firewall Settings
 - Once done, check the boxes of Private and Public for Riot Client.
- Now add the VALORANT.exe and Vanguard,exe using the following directories, and make sure to check the boxes of Private and Public associated with them.
C:\Program Files\Riot Vanguard\vgc.exe
C:\Riot Games\Riot Client\RiotClientServices.exe
Adding VALORANT to Windows Firewall Settings - Once done, click OK to close the settings and launch VALORANT to see if the problem persists.
9. Reset Network Settings
Finally, you can try resetting the network settings if the issue persists. Resetting the network settings reinstalls the network adapters and resets the proxy and DNS settings to default. Thus, if you have any bad network adapter installed or have any proxy enabled, causing this issue, resetting the network settings will help fix the VALORANT voice chat not working problem.
To reset the network settings:
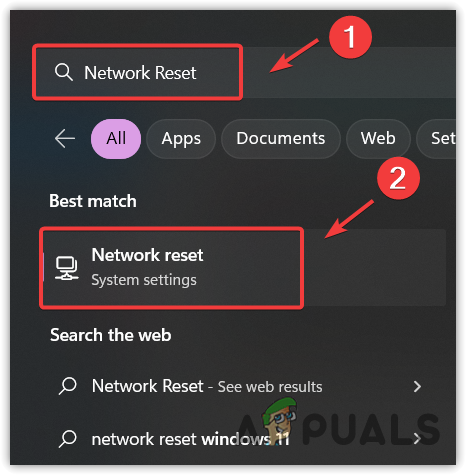
- Click Start Menu and type Reset Network to open the settings.
Opening Network Reset settings by searching it from Start Menu - Then, click Reset Now and wait for your computer to restart.
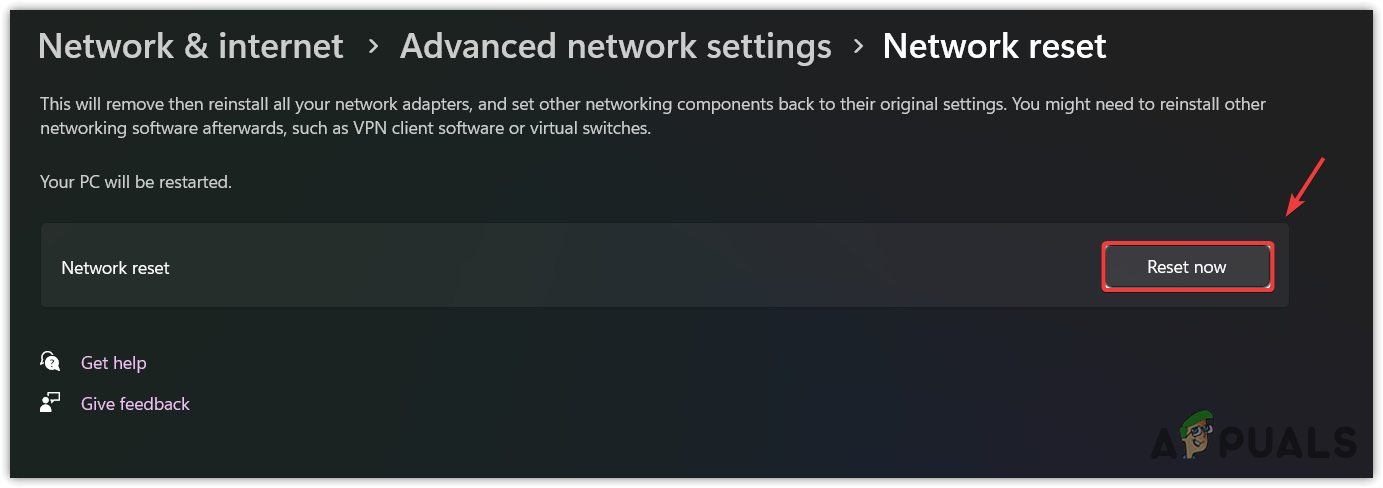
Resettings Network Settings to their default - Once done, launch VALORANT and check if your problem is resolved.
9. Reinstall Microphone and Audio drivers
Since we have tried all the methods, the final solution is to reinstall the Microphone and audio drivers because if they are not working properly, VALORANT cannot utilize them. Hence, reinstall the audio drivers to see if it fixes the VALORNT voice chat.
To reinstall the drivers.
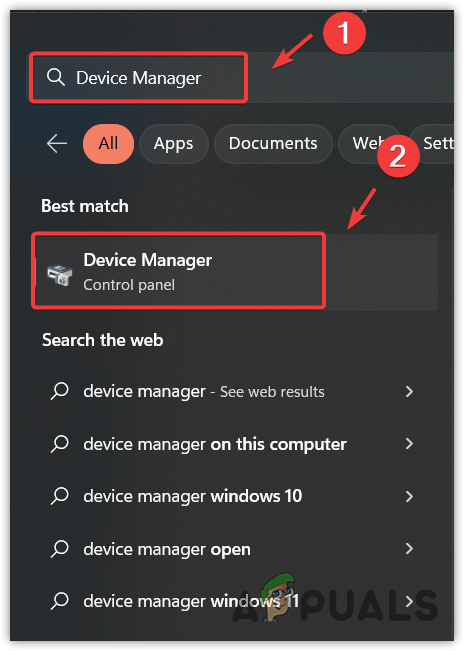
- Open Device Manager by searching from Start Menu.
Opening Device Manager from Start Menu - Expand the Audio inputs and outputs, then right-click the Microphone driver and select Uninstall device.
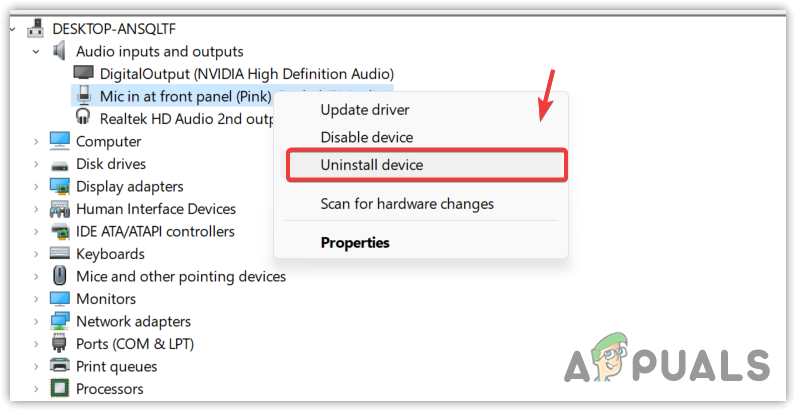
Uninstalling Microphone driver - Again, click Uninstall to confirm.
- Once done, repeat this process with the headphone driver.
- Once you have uninstalled both of them, restart your computer to install the drivers. We recommend downloading audio drivers from the motherboard manufacturer’s website. For that, go to your motherboard manufacturer’s site and search for your motherboard, then download the audio driver from the support section.

Downloading Audio drivers - Once done, install them and check if your Voice chat starts working.
10. Contact Riot Games with the Log Files
Since all the methods have failed to fix your issue, you need to contact riot games with the log files of VALORANT, so they can determine the root cause of your issue.
Before that, we recommend you close every background application, such as lightning software for the keyboard, mouse, headphones, and audio boosting applications. You can also perform a clean boot to start Windows without third-party applications and services. Then check if the issue persists. If it is, then follow the instructions to submit a ticket to riot games.
- Download Riot Client Repair and wait for it to download.
- Once done, double-click on it to install, then click Run as Admin.
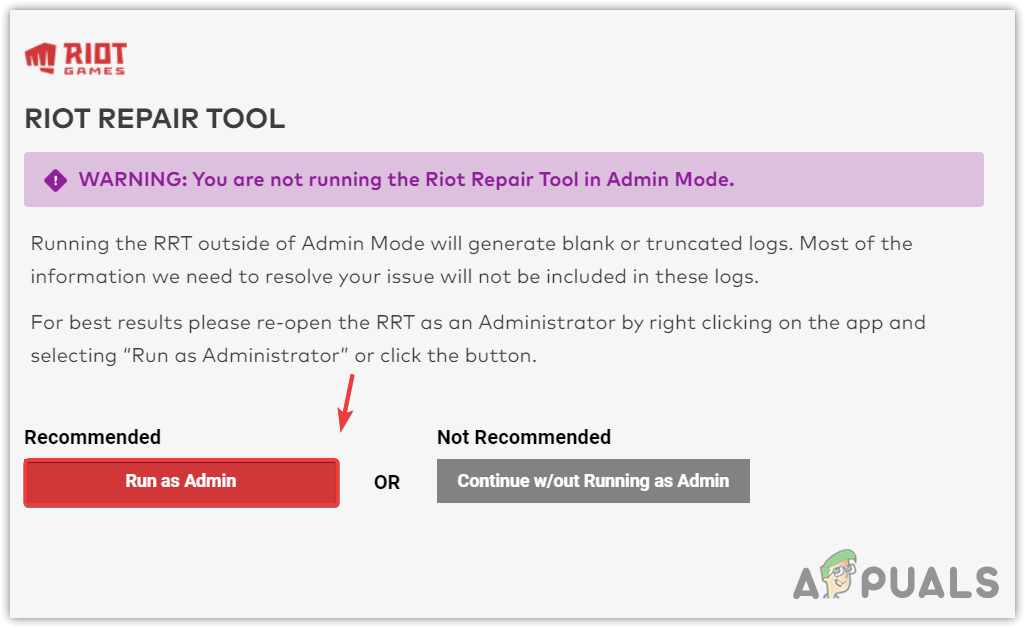
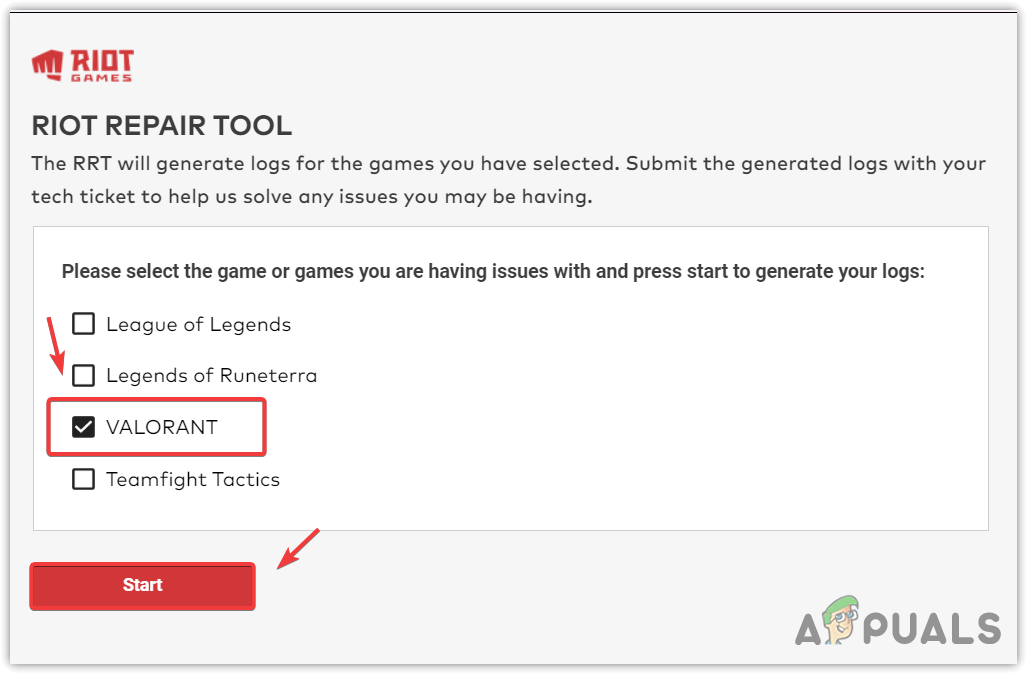
Running Riot Client Repair tool as an administrator - Select VALORANT and click Start to gather VALORANT logs. This will create a logs folder on the desktop.
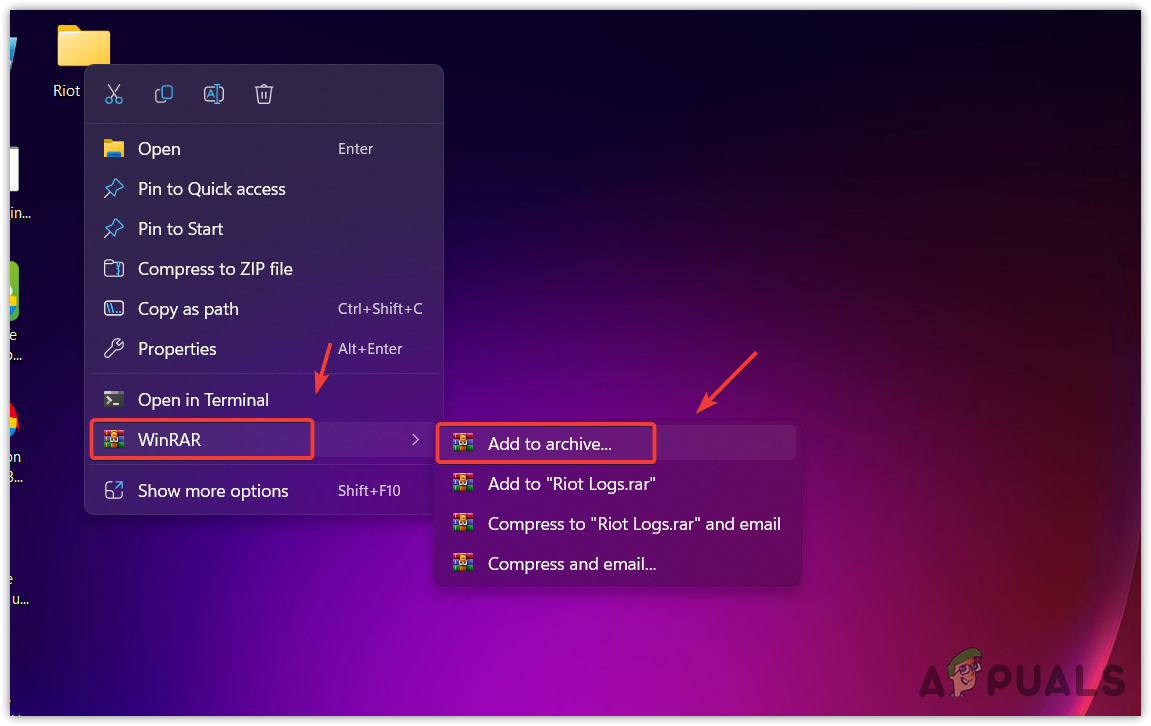
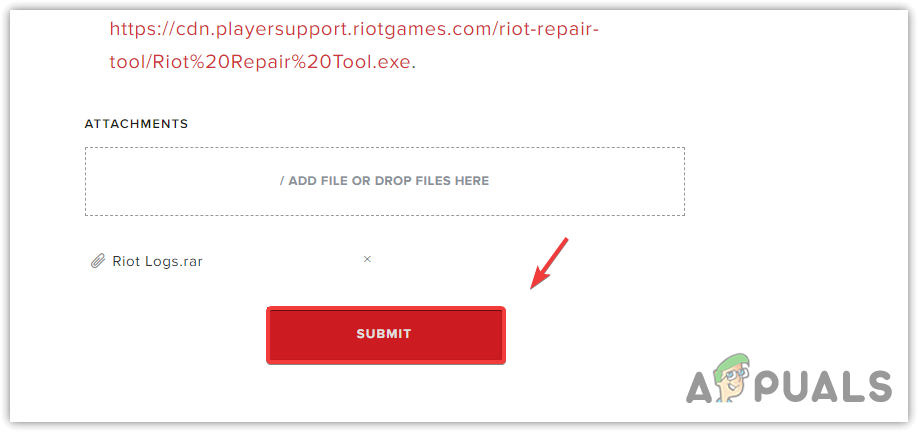
Gathering VALORANT logs files - Once done, right-click the folder and hover WinRar and click Add to archive.
- Click OK to make a ZIP folder.
Converting VALORANT Logs Folder to a ZIP folder - Now go to support-valorant.riotgames.com, sign in to your account, and click Submit a ticket from the top.
- Select Technical Issues: Install, patch, lag, or crashes.
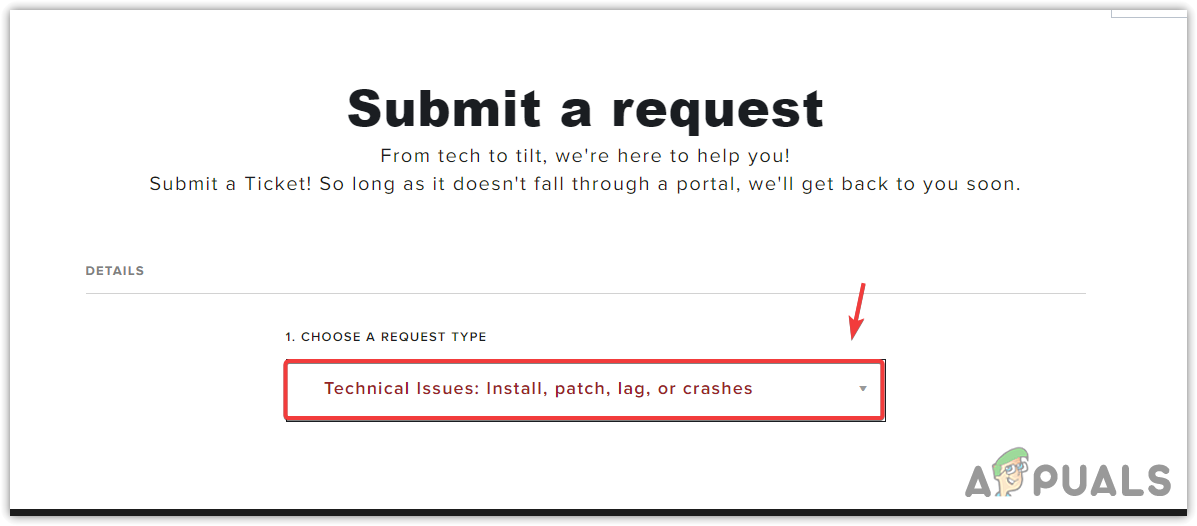
Selecting Request type - On the next page, describe your issue and attach the ZIP file, then click Submit. Just wait for the response from the support team on your mail account, such as Gmail or Yahoo.
Submitting Ticket to VALORANT Riot Games
VALORANT Voice Chat not working- FAQs
If you cannot hear your teammates, make sure that the team voice chat is enabled from the settings. Moreover, you may be in a party with your friends, which is why you cannot communicate through team voice chat. To fix this, leave the party and try communicating with your friends through team voice chat.
Your mic is not working in-game chat because you are in a party. You have to leave the party because party voice chat automatically disables the team voice chat.
If your input and output device are selected correctly, and you can hear yourself with the loopback test, it must be due to a bug or a server issue because VALORANT chat servers are separate from the game servers. You can try turning on and off your game voice chat till the issue gets fixed. You can also use the Google DNS server, which helps you connect to the voice chat server quickly. Also, make sure that you are not in the party because when party voice chat is activated, game voice chat automatically gets disabled.


