How to Fix “The Default Gateway is Not Available” Error?
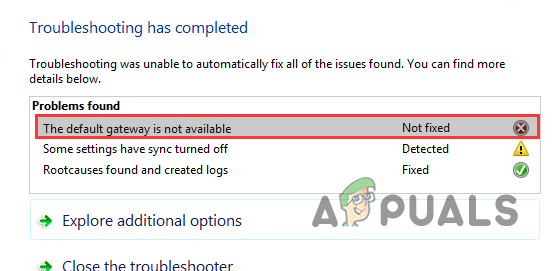
The “Default gateway is not available” error happens when Windows can’t connect to the network router’s gateway. This usually means there’s a problem with the router. Restarting your router often fixes it. If not, the issue might be due to:
- Third-Party Programs: Some firewalls and antivirus programs can block access to your router, causing this error.
- DNS Server: Wrong DNS settings can cause this error.
- Misconfigured Network: Incorrect network settings can change your router’s default gateway, causing this error.
Here are methods to solve this problem.
1. Change Network Adapter Power Settings
To stop Windows from putting the network adapter to sleep, adjust the power settings for your network adapter. This helps keep a stable network connection and avoids interruptions from power-saving mode. Incorrect power settings can cause the network adapter to go into a low-power state, leading to connectivity issues.
- Open Device Manager.
- Expand Network adapters.
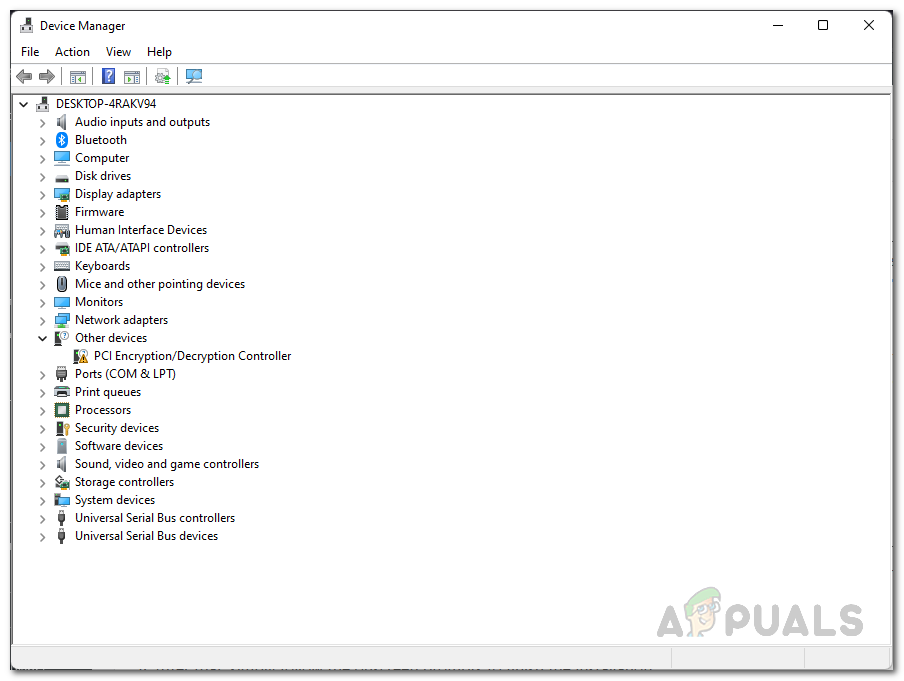
Device Manager - Right-click your network adapter and select Properties.
- Go to the Power Management tab.
- Uncheck Allow the computer to turn off this device to save power.
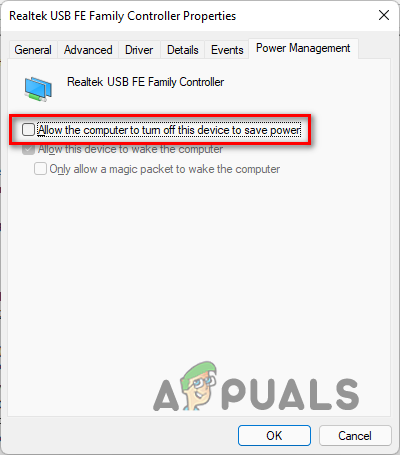
Disabling Power Management - Click OK.
- Check if the issue is resolved.
2. Disable Third-Party Antivirus or Firewall
Third-party security programs can block network access due to their protective measures. They might misinterpret network traffic as suspicious and block it, causing connectivity issues. To troubleshoot this:
- Temporarily disable your third-party antivirus program to see if it resolves the issue.
- If disabling the program solves the problem, consider uninstalling or replacing it for better network connectivity.
3. Reset IP Settings
Resetting your IP settings can fix this issue. Follow these steps:
- Search for Command Prompt and click Run as administrator.
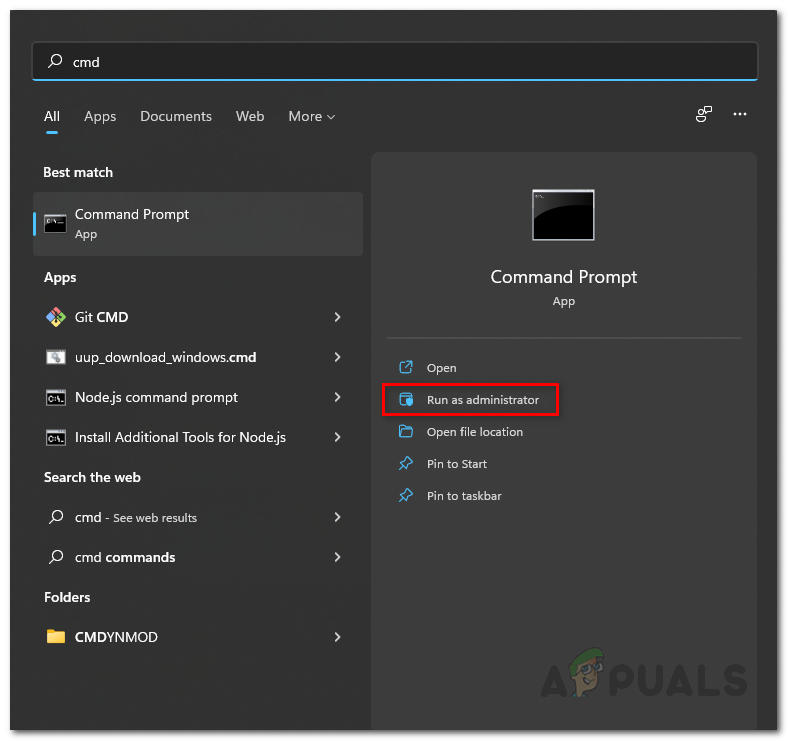
Opening up Command Prompt as Admin - Enter the following commands one by one, pressing Enter after each:
netsh int ip reset C:\resetlog.txt
netsh winsock reset
ipconfig /flushdns
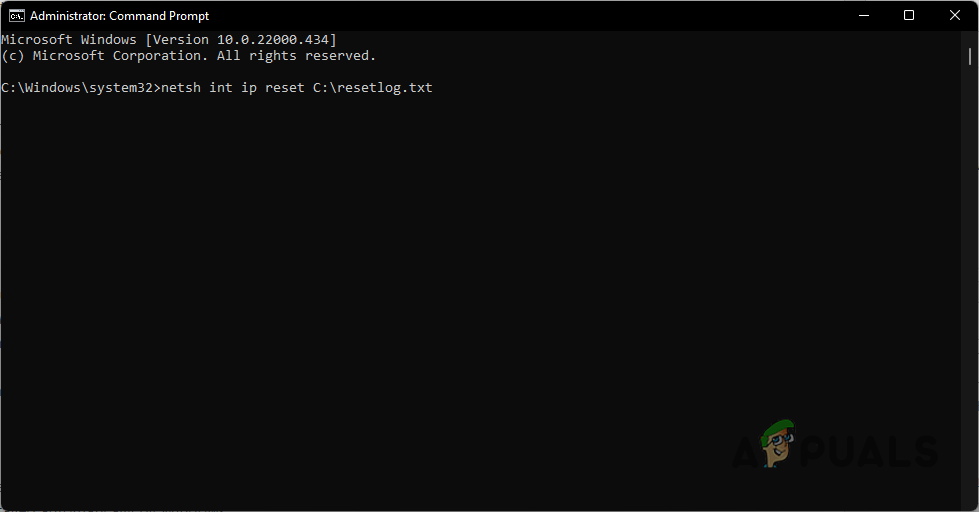
Resetting IP - Close the Command Prompt and restart your computer.
- Check if the problem persists after your PC restarts.
4. Update Network Drivers
Incompatible or corrupted network drivers can cause this issue, preventing your computer from communicating effectively with your router. Updating your network drivers ensures any bugs or issues in old drivers are fixed. To update your network drivers:
- Open Device Manager.
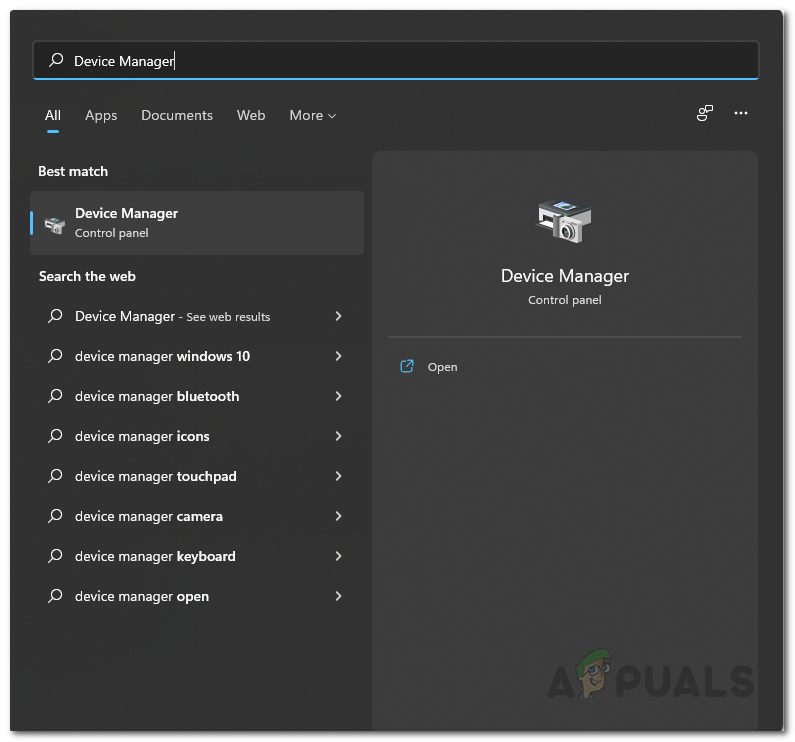
Opening up Device Manager - Expand the Network adapters list.
Device Manager - Right-click on your network adapter driver and select Update driver.
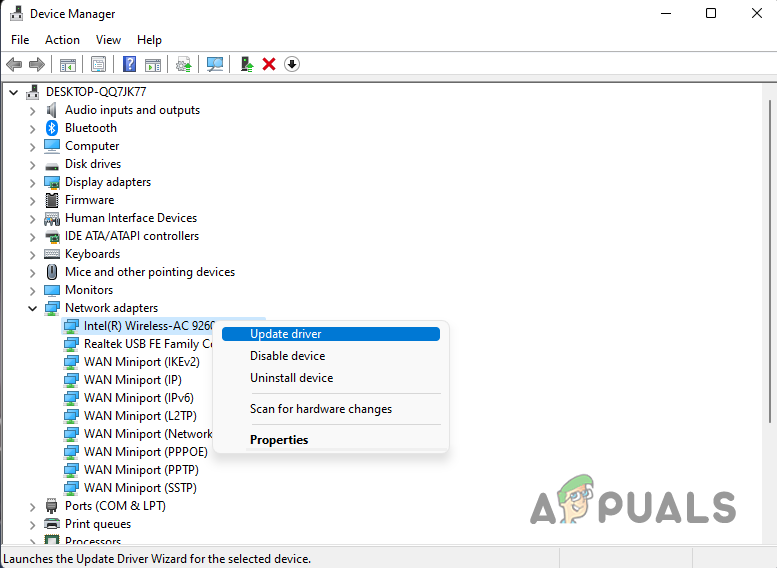
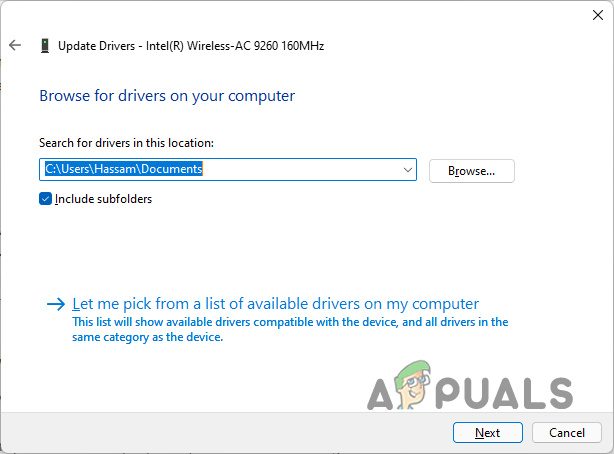
Updating Network Driver - Select Browse my computer for driver software.
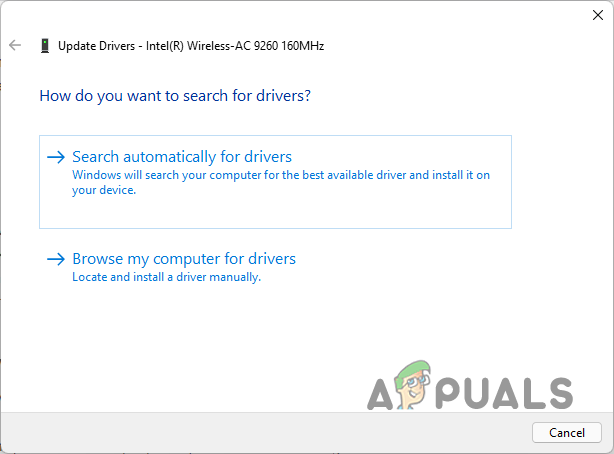
Looking for Driver Locally - Click on Let me pick from a list of available drivers.
Updating Network Driver - Uncheck the Show compatible hardware checkbox.
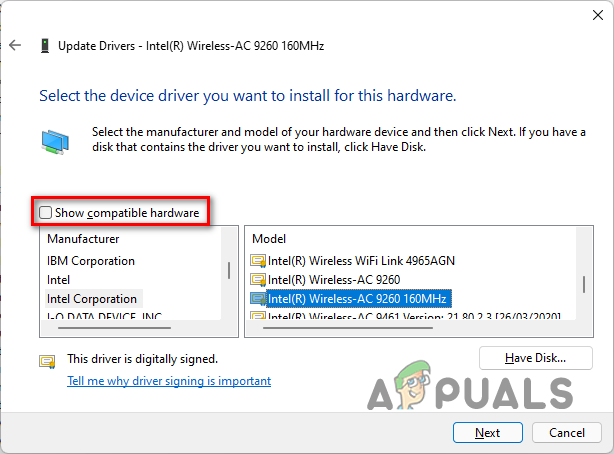
Choosing a different Network Driver - Choose a different driver from the list and click Next.
- After it installs, check if the problem is resolved.
- If not, try reinstalling the network driver.
- Right-click the driver and select Uninstall device.
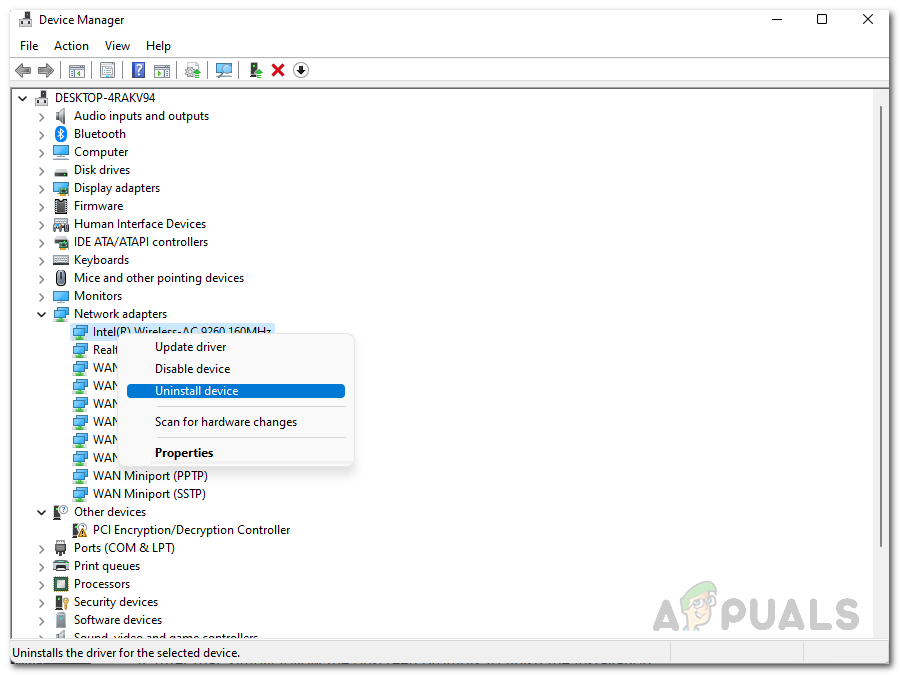
Uninstalling Network Driver - Restart your computer to reinstall it automatically by Windows.
- Check if the error message is gone.
5. Change DNS Server
Changing the DNS server to a more reliable one can help fix connectivity issues. DNS servers translate domain names into IP addresses. Using a reliable DNS service can improve speed and reliability. Popular DNS alternatives include Google’s DNS (8.8.8.8 and 8.8.4.4) and Cloudflare’s DNS (1.1.1.1 and 1.0.0.1). Here’s how:
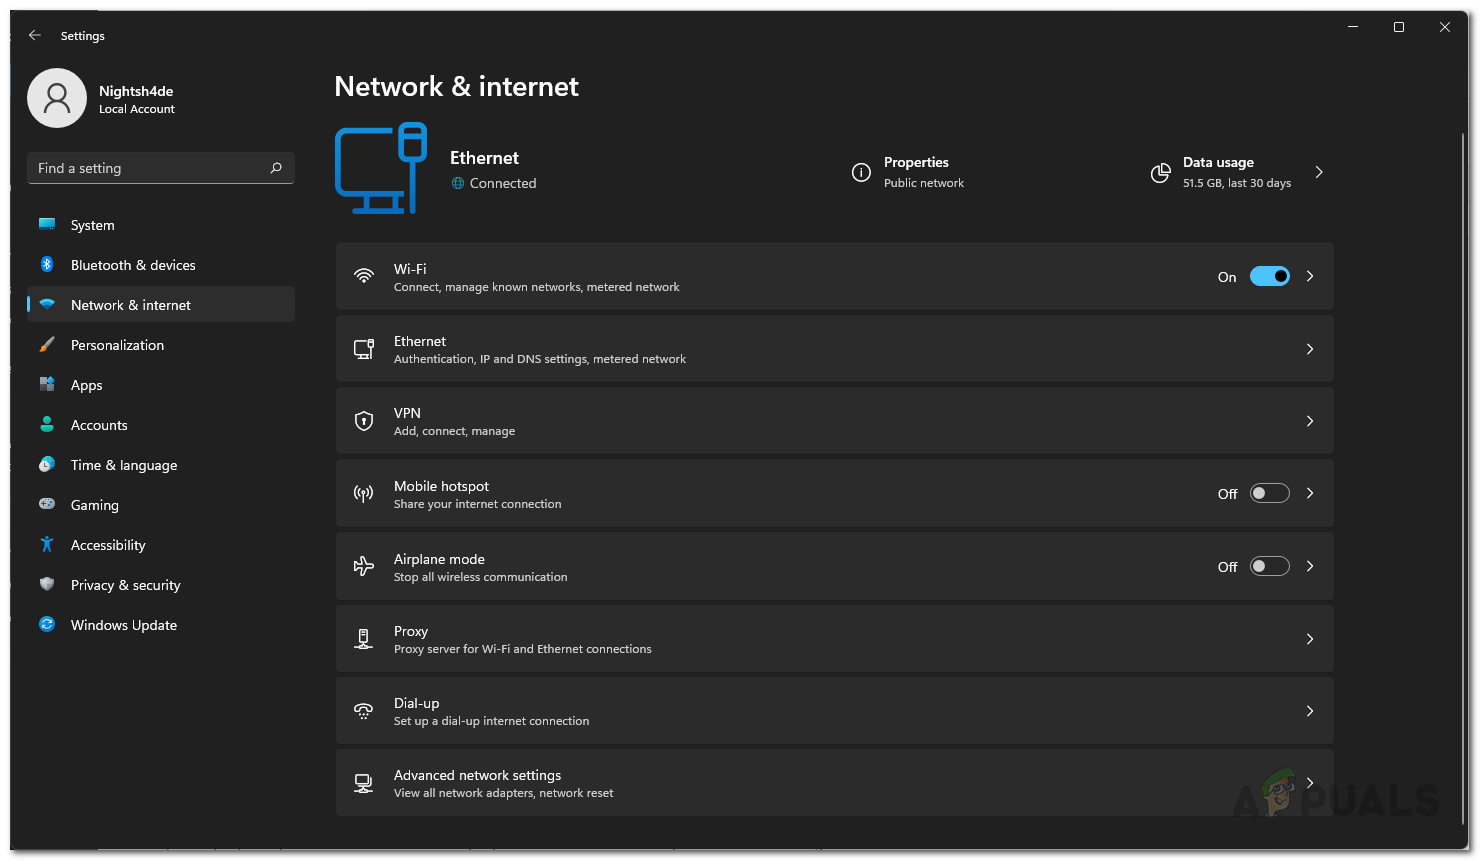
- Right-click on the network icon on your taskbar.
- Select Network and Internet settings.

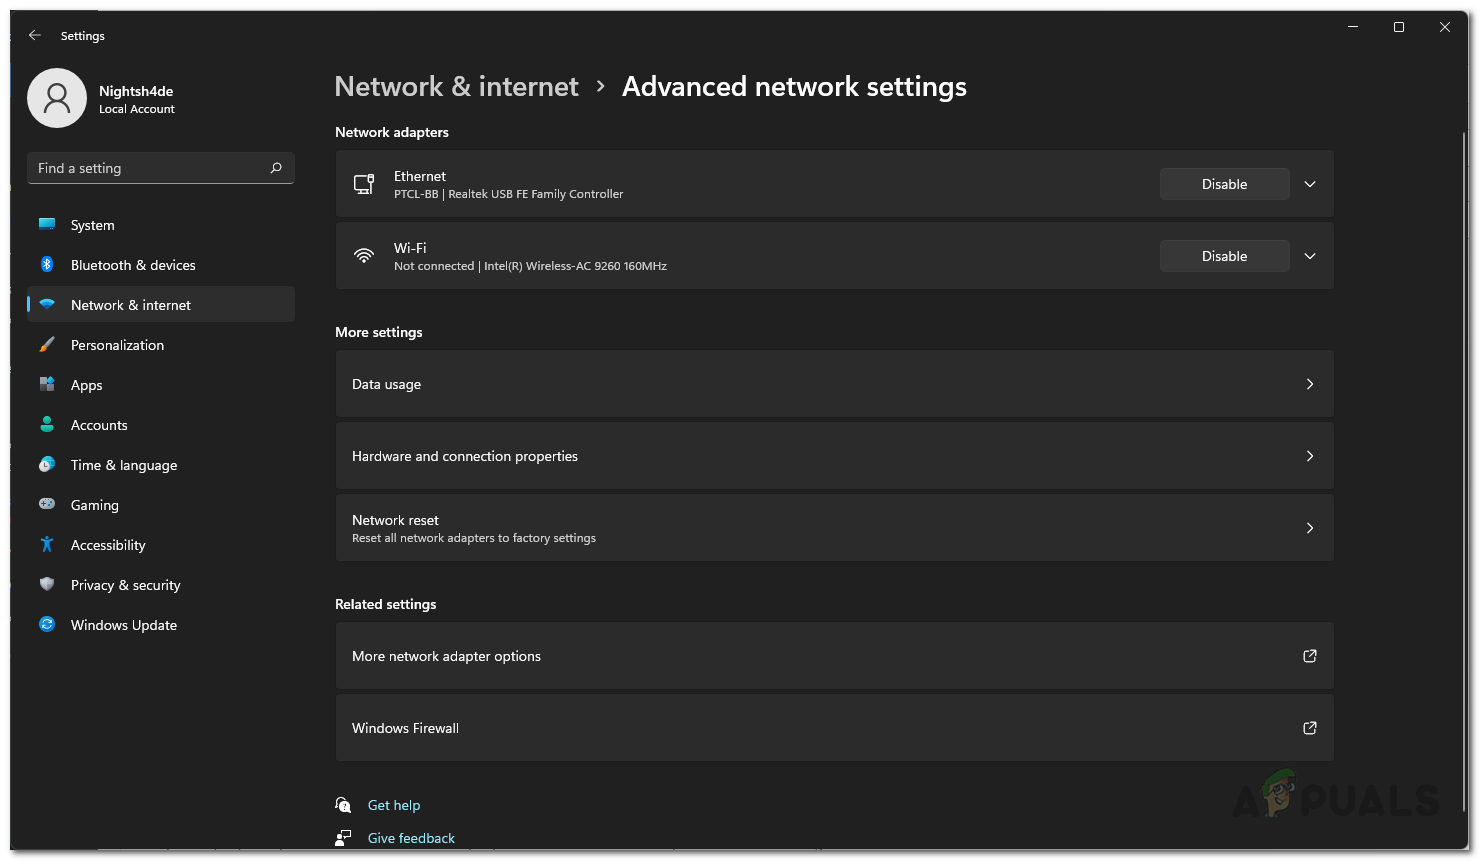
Opening up Network Settings - Navigate to Advanced network settings.
Network Settings - Click More network adapter options.
Advanced Network Settings - Right-click your network adapter and select Properties.
- Double-click Internet Protocol Version 4 (TCP/IPv4).
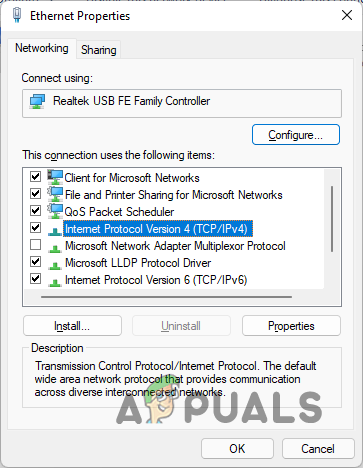
Ethernet Properties - Enter the following DNS addresses (Google or Cloudflare):
Google: 8.8.8.8 8.8.4.4
Cloudflare: 1.1.1.1 1.0.0.1
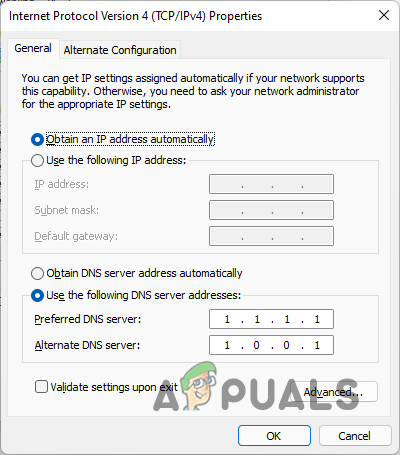
Changing DNS Server - Click OK and check if the issue is resolved.
6. Perform Clean Boot
A clean boot starts Windows with only essential services running, minimizing potential conflicts from third-party applications. This can help identify if a third-party service or application is causing network connection issues.
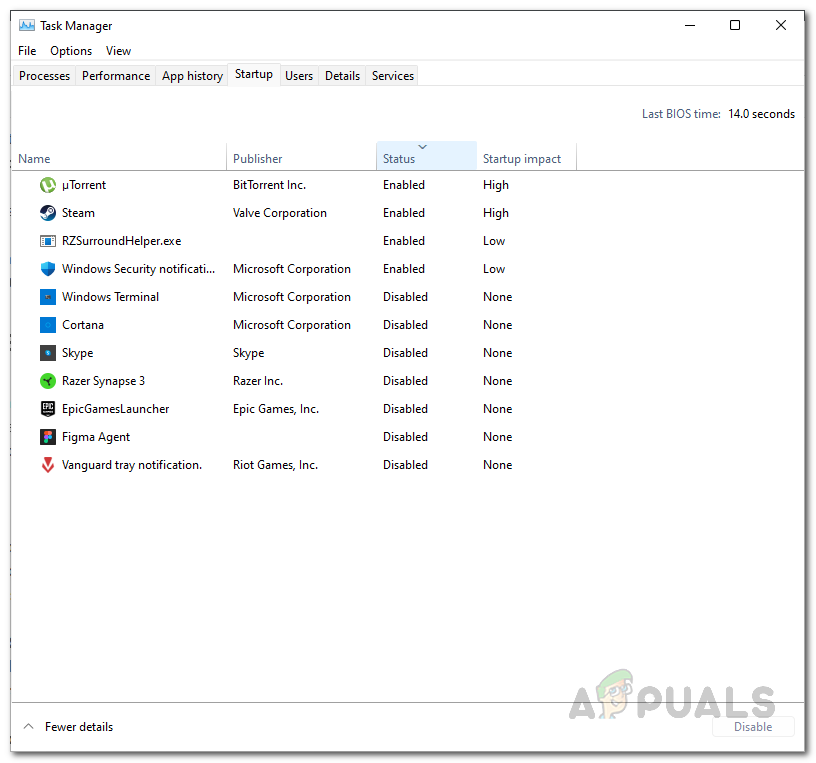
- Press Ctrl + Shift + Esc to open Task Manager.
- Switch to the Startup tab and disable all listed applications by selecting them one by one and clicking Disable.
Disabling Third-Party Apps - Press Windows key + R, type msconfig, and hit Enter.
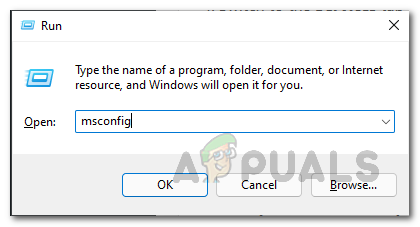
Opening up System Configuration - In the System Configuration window, switch to the Services tab and check the Hide all Microsoft services checkbox.
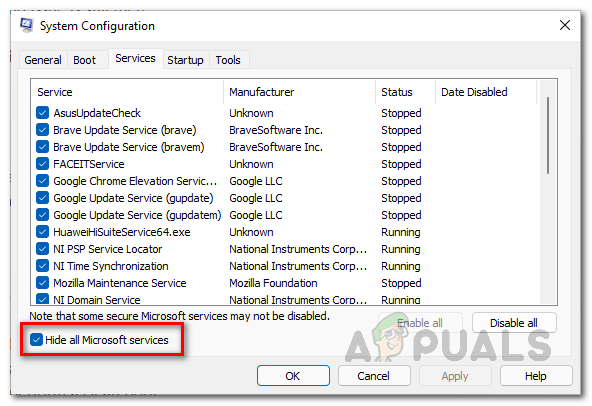
Hiding Microsoft Services - Click Disable all and then Apply.
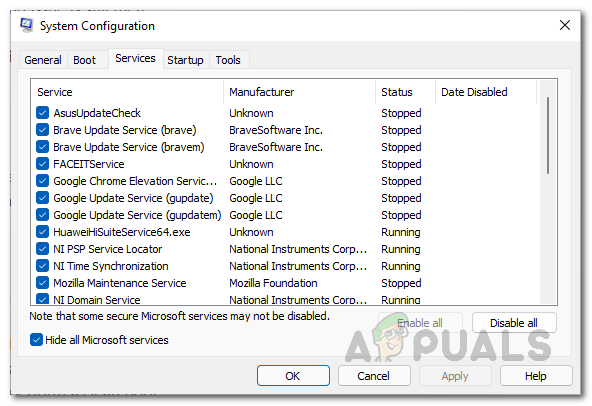
Disabling Third-Party Services - Restart your computer to perform a clean boot and check if the problem is resolved.
THANK YOU! I have spent almost 24 hours straight, upgrading Dell desktop PC Win7 to Win10 only to be perplexed and frustrated by not being able to connect to WiFi; could connect wirelessly to home network but not to Internet. No problem connecting to Internet via Ethernet, but wireless is more convenient. I tried so many different ‘repairs’ but nothing worked until your Solution #5. Dell listed THREE network adapters with three identical names, but evidently something is different about them. Switching to the second adapter now allows a WiFi connection! Bless you for this fix!