Twitch Chat not Showing? Try these fixes
If your Twitch chat is not loading up, it could be triggered due to several reasons. This can be due to the third-party extensions installed on your browser, the browser’s cache, proxy settings and more. This issue pops up when Twitch is not able to connect to the IRC channel due to some interference by one of the extensions, weak internet connectivity, or in some cases, restrictions imposed by your proxy configuration.
In some cases, the issue can occur if you are trying to stream Twitch while connected to a restricted network. A restricted network means it has applied firewalls and does not allow connections on several ports that are often used by third-party services like Twitch. This can be your workspace, university or whatever. Other than that, if you are facing the issue otherwise, the solutions provided below will certainly help you resolve the issue. But, before that, let us first discuss the causes of the issue in more detail.
What causes the Twitch Chat to not Appear and How to Fix it?
We looked into the issue in more detail by browsing through several user reports and here is the list of causes that we compiled. Not all of the reasons listed below will apply to your case. Nonetheless, your culprit will certainly one among the following:
- Page Script didn’t Execute: This is the first probable reason for the said issue. At times, the scripts which are required to retrieve the IRC session do not run properly or are stopped by mistake. Refreshing the tab mostly gets rid of the issue.
- Browser Extensions: Another cause of the issue can be the third-party extensions that you have installed on your browser especially Adblock. Such extensions usually stop scripts from executing which they detect as ads and hence certain websites do not function properly.
- Browser Cache: The browser cache stores your most frequently visited sites, however, corruption in the browser cache can usually cause different issues with various websites. Clearing the cache usually fixes several issues.
- Proxy Settings: In several scenarios, your proxy configuration can cause different issues. In this case, the issue occurs when the remote host cannot be resolved due to various constraints applied by your proxy settings.
Now that you are aware of the possible causes of the error message, we can continue with providing solutions that will help resolve the issue. So, let us get to it.
Solution 1: Refresh the Page
As it happens, in certain situations, some scripts do not execute properly which as a result, affects the functionality of the website. Such issues can be easily resolved by simply reloading the web page so that the requisite scripts can run properly. So, go ahead and reload the tab by right-clicking the tab and then selecting Reload Tab.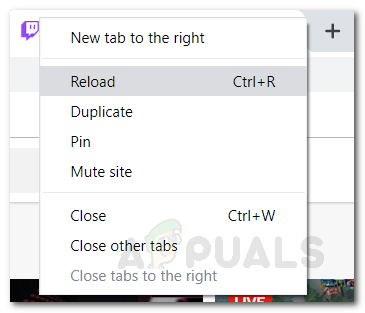
Alternatively, you can simply press the shortcut key i.e. Ctrl + F5 which will refresh the webpage for you. See if it resolves the issue.
Solution 2: Switch to the Incognito Mode
As we have mentioned, the issue can also occur due to one of the extensions installed on your browser. However, if you have installed multiple add-ons on your browser, locating the culprit can be a bit tiresome. But, before you go ahead and remove all of the add-ons installed on your browser, you should first verify that the extensions are causing the issue.
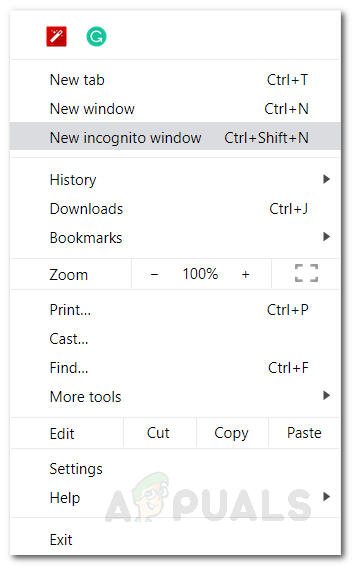
To do this, you just have to switch to the Incognito Mode and then try visiting into a Twitch stream. By default, your browser won’t allow any extension to run in incognito mode unless you have changed the settings manually. If you have done so, revert it so that no extensions are run in incognito mode.
To switch to incognito mode, just press the shortcut key Shift + Ctrl + P on Firefox and Shift + Ctrl + N on Google Chrome. If you are using any other browser, you can simply switch to a private window via the Menu.
If the issue does not repeat itself in incognito mode, that means one of your add-ons is causing it. The course of action here would be to remove or disable your extensions one by one and figure out the culprit. Also, if you are using Adblock or any other ad blocker for that matter, make sure to whitelist Twitch or just configure it to not run on Twitch.
Solution 3: Clear Browser Cache
As it turns out, corruption in the browser cache can also cause various issues and make several websites malfunction. Browser cache is used to store your most visited websites and other data so that it can be retrieved later on much faster should the user need it. This concept helps speed up various processes. However, it also has its cons like everything else. Nonetheless, clearing the browser cache fixes multiple issues.
For this purpose, please refer to the ‘How to Clear Cache for One Site?’ article published on our site. The pro here is that you will be able to clear the cache for Twitch only while the rest of the sites will not be affected. Otherwise, if you clear the whole browser cache, it removes everything which is not needed for this situation.
Solution 4: Check your Proxy Settings
Proxy configuration can cause different issues due to the restrictions imposed. If you are using a proxy, it could be that your proxy settings are causing the issue for you. This happens when your connection blocks connectivity on various ports and hence, as a result, stops you from establishing with the IRC channel. To fix this, you can try disabling it in the browser’s network settings. Here’s how to access the browser’s proxy settings:
Firefox:
- On Mozilla Firefox, click on the Menu button on the top-right corner.
- From the drop-down menu, choose Preferences which will open up a new tab.
- Now, scroll to the bottom of the General section, and then click Settings under the Network Settings heading.
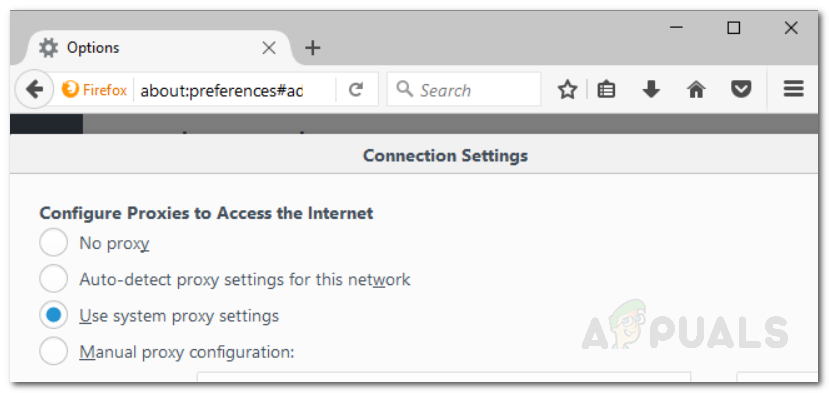
Firefox Proxy Settings - Here, you can change your proxy configuration. The recommended option is to use your system’s proxy. You can also try switching to no proxy and then check if it fixes the issue.
Google Chrome:
- On Google Chrome, click on the Menu option on the top-right corner.
- From the drop-down menu, select the Settings option.
- Now, scroll down and click on the ‘Advanced’ option to expand the advanced settings.
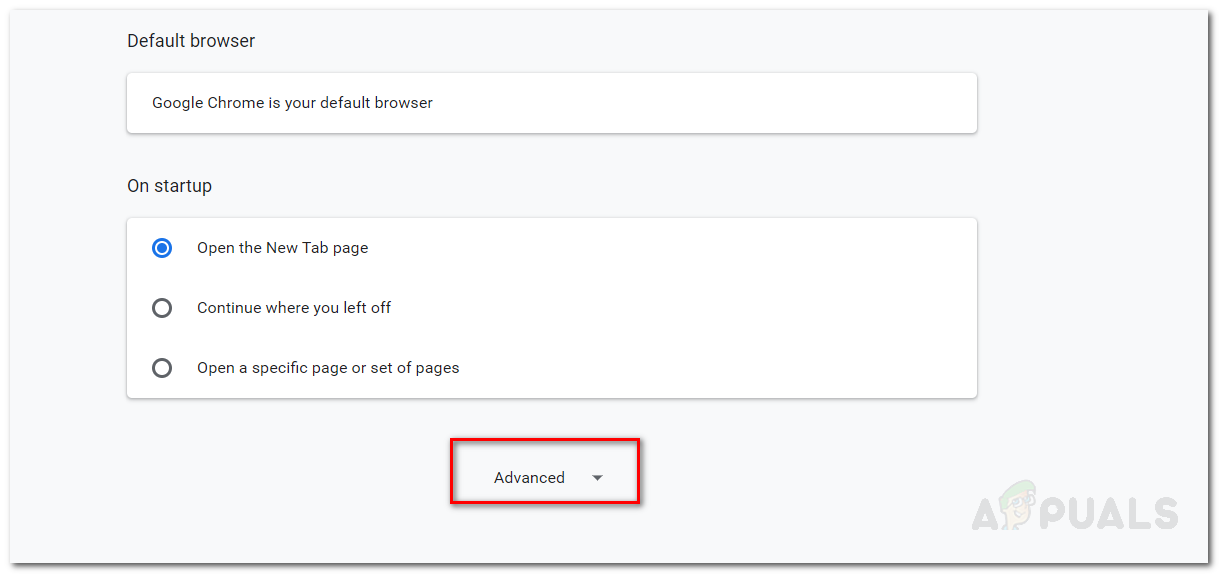
Chrome Advanced Options - Afterward, in the Network section, click on the ‘Change proxy settings’ option.
Solution 5: Restart your Router
If your issue persists even after trying all of the above solutions, then it could be due to an IP conflict that can happen if you do not have a static IP address. In such a case, you can just reboot your router which will change your IP address and then you can see if the issue persists. Restarting your network will most probably fix the issue for you if the above solutions failed to do so.
Once your router restarts, check if the issue has been resolved or not. That is all.