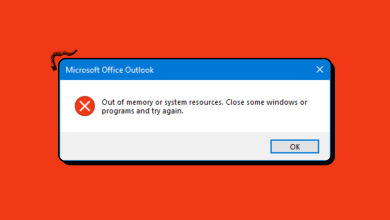
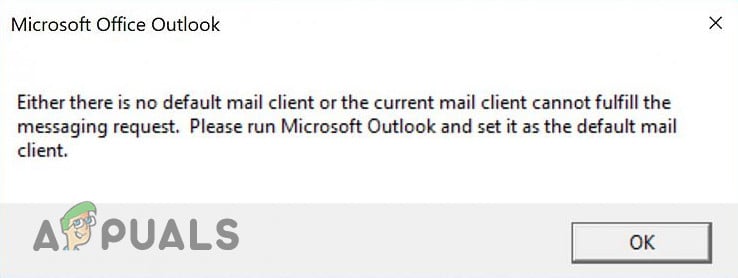
Fix: The Current Mail Client Cannot Fulfill the Messaging Request
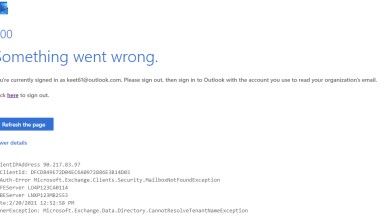
You may encounter the Outlook mail client error if the mail client of your system is not properly configured or its settings are missing essential information. Moreover, corrupt office installation may also cause the error at hand. The issue arises when the user boots his system or tries to send an email using another application.
Before moving on with the solutions to fix the no default mail client issue, make sure you have a mail client installed (Outlook or Thunderbird just not the Mail app). Moreover, you can try an SFC scan. Also, check if clean booting your system resolves the issue. You can also create a different Outlook profile to check if the corrupt profile was causing the issue.
Solution 1: Set the Default Mail Application
You may encounter the mail client issue if the default mail application is not set or recognized by your system. In this scenario, setting the default mail application may resolve the problem.
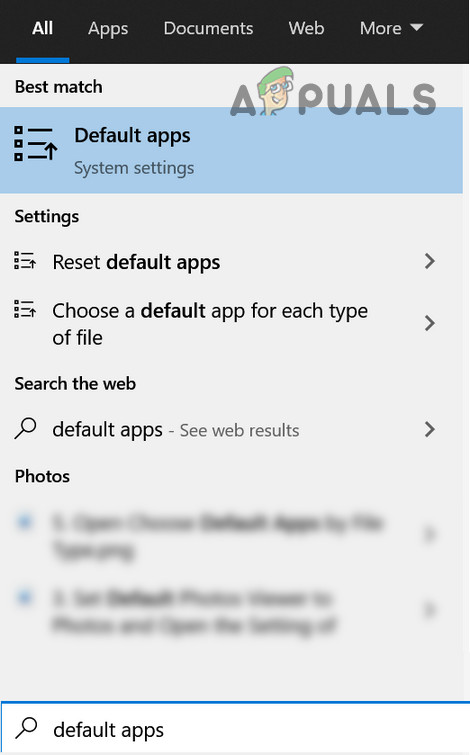
- Hit the Windows key & type Default Apps. Then select Default Apps.
Open Default Apps - Now check if the default Email application is set to Outlook. If not, then click on the Application & select Outlook as the default, & reboot your PC to check if the issue is resolved.
- If, at step 2, the default application is already Outlook, then click on it & change the default application to another application & reboot your PC. Upon reboot, revert the Email default to Outlook & check if the issue is resolved.
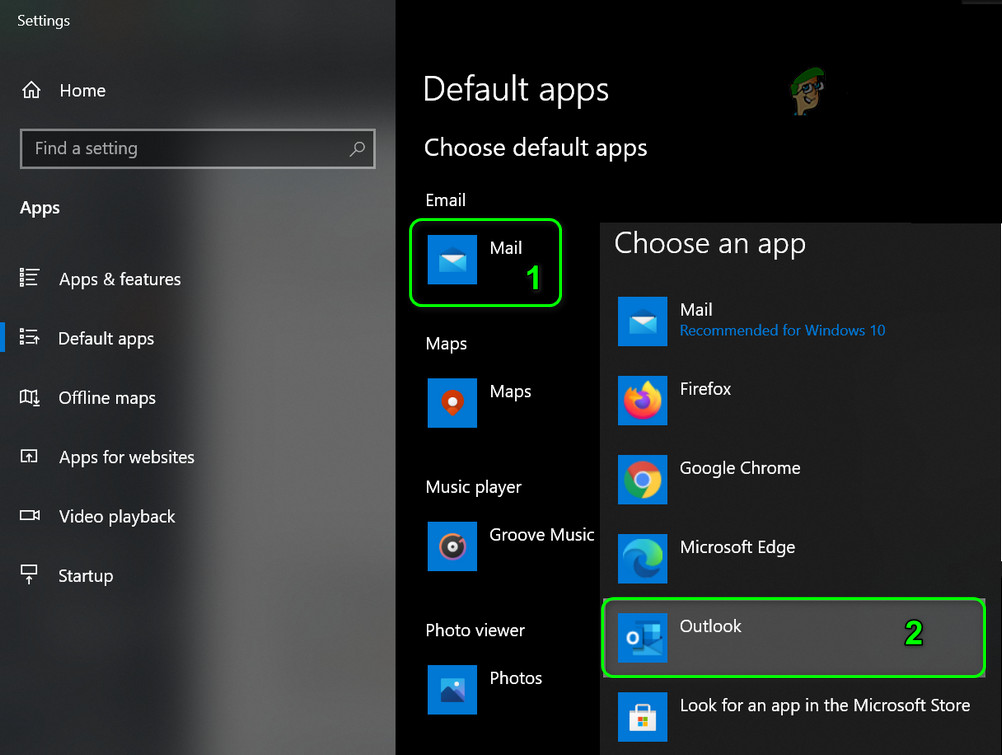
Set Outlook as The Default Email Client - If not, then launch Outlook & open its Options.
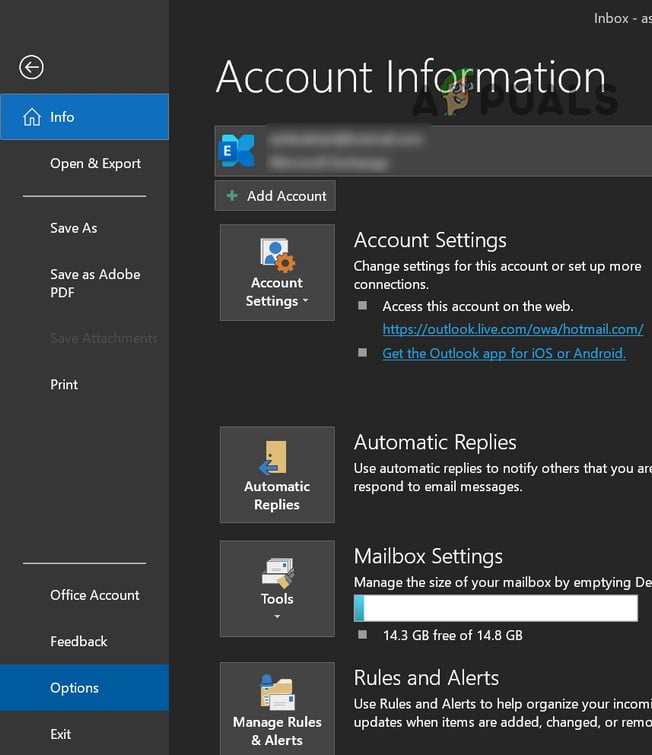
Open Outlook Options - Now, in the General tab, check-mark the option of Make Outlook the Default Program for Email, Contacts, and Calendar (if the said option is already checked, uncheck & recheck it).
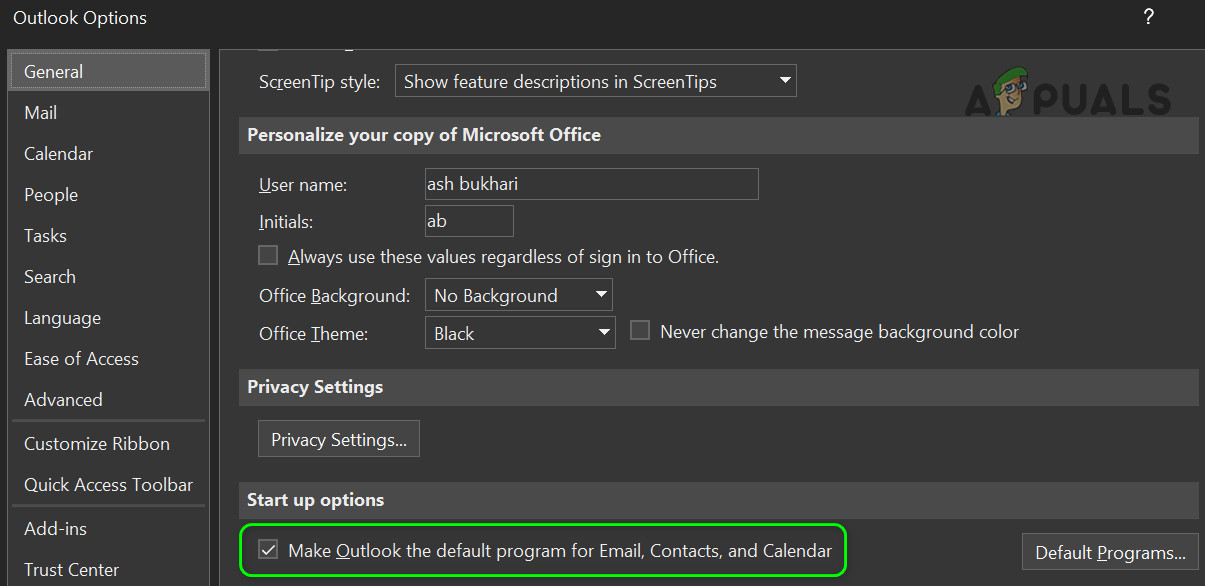
Enable Make Outlook the Default Program for Email, Contacts, and Calendar - Now click on OK & reboot your PC.
- Then check if the system is clear of the mail client issue.
- If not, open Default Apps (step 1) & hit Reset (near the bottom of the screen).
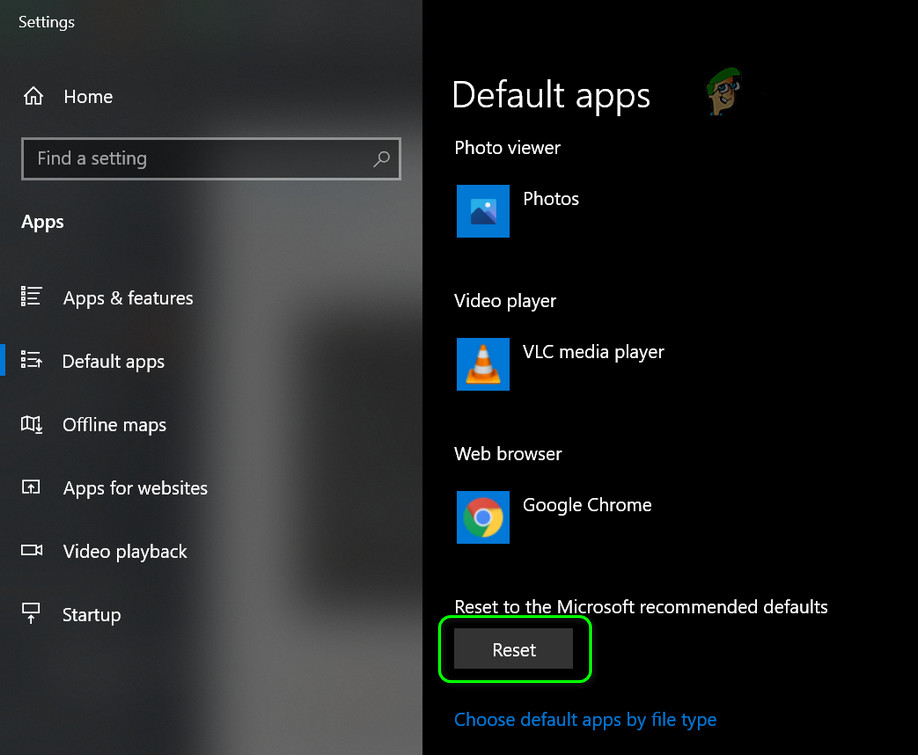
Reset the Defaults Apps - Now, check if the mail client issue is resolved.
If the issue is initiated due to another application e.g., Adobe Acrobat, then changing that application preferences may solve the problem (we will discuss the process for Adobe Acrobat, you may have to make it work for the problematic application).
- Launch Adobe Reader & open Edit.
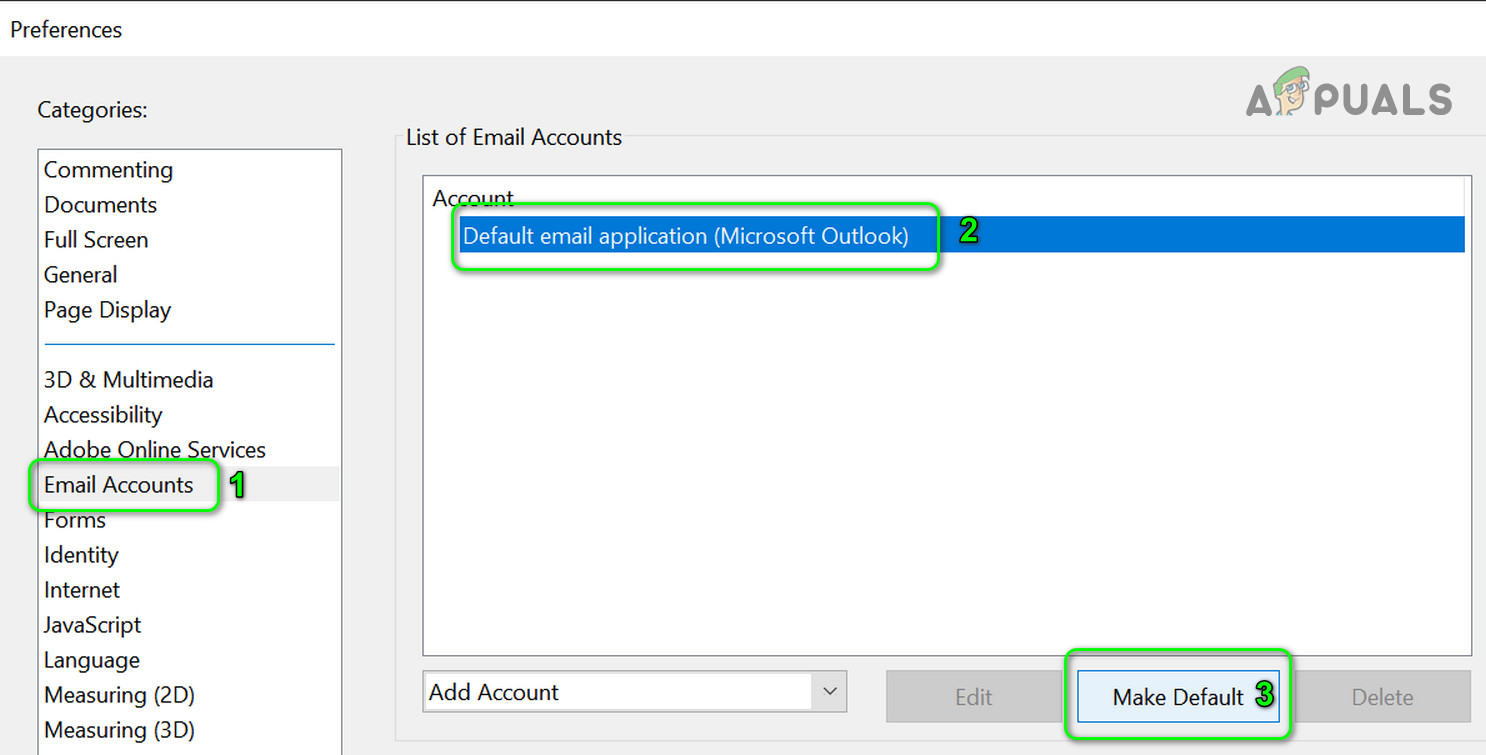
- Now select Preferences & in the left pane, choose Email Accounts.

Open Preferences of Adobe Reader - Then, in the right pane, select Outlook/Outlook account & click on Make Default.
Set Outlook as Default in Adobe Reader - Now check if the mail client issue is resolved.
- If not, repeat steps 1 to 2 to open the Email Accounts tab.
- Then expand the dropdown of Add Account & add one of the email accounts (but not Outlook).
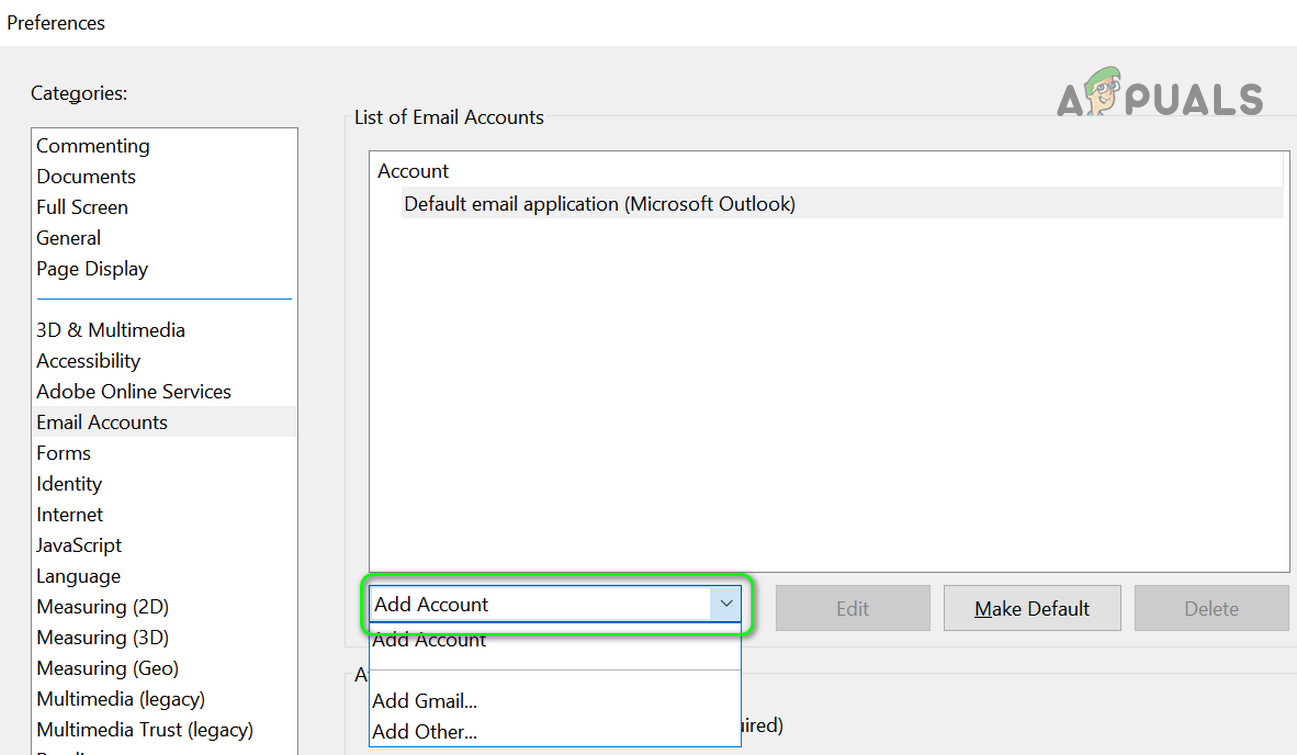
Add Email Account to the Adobe Acrobat - After adding an email account, make it default & check if the mail client problem is solved.
Solution 2: Perform a Repair of Office Installation
You may encounter the mail client issue if the installation of Microsoft Office is corrupt. In this context, performing a repair of the office installation may solve the problem.
- Press the Windows + X keys & select Apps & Features.
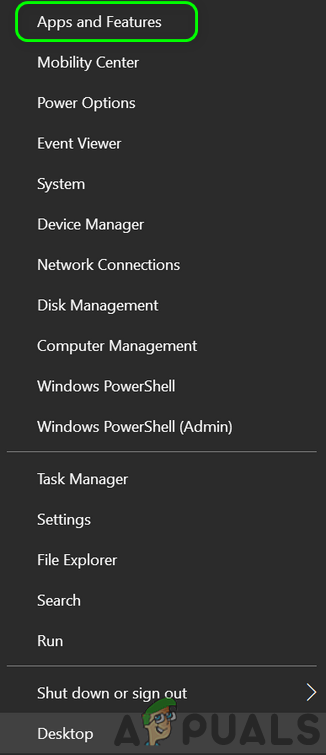
Open Apps & Features - Then expand your office installation & click on Modify.
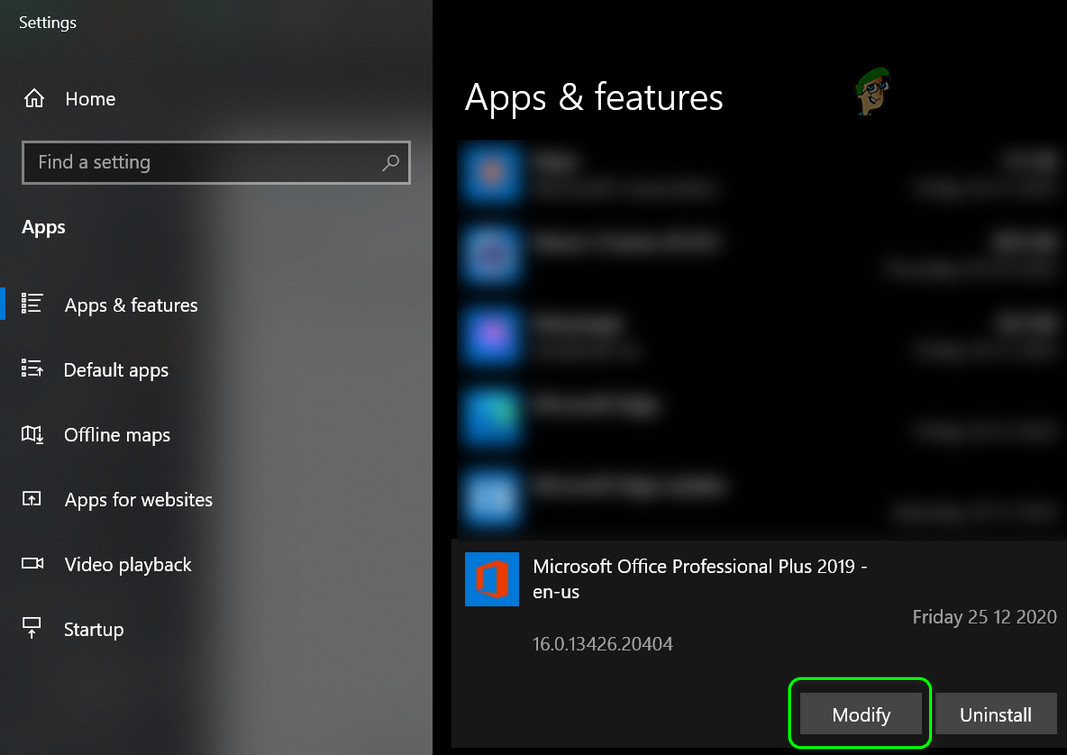
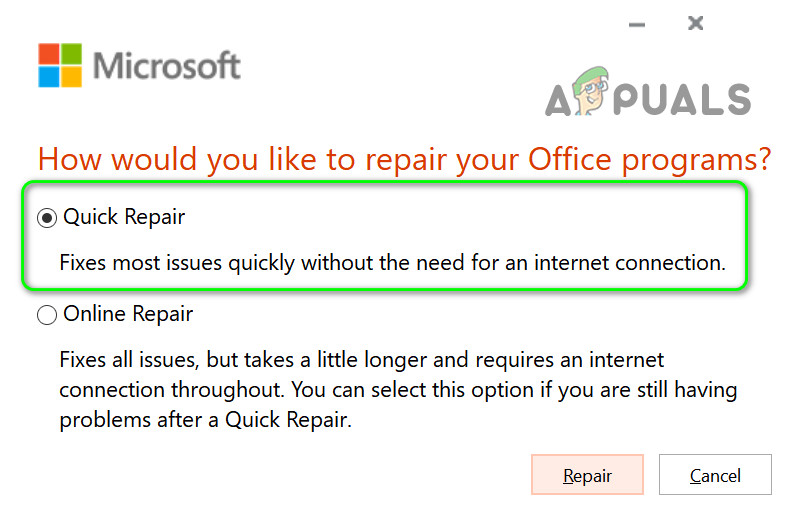
Modify the Office Installation - Now select Quick Repair & follow the prompts to complete the process.
Quick Repair Office - Then check if the mail client issue is resolved.
- If not, repeat steps 1 to 2 but select Online Repair (not Quick Repair).
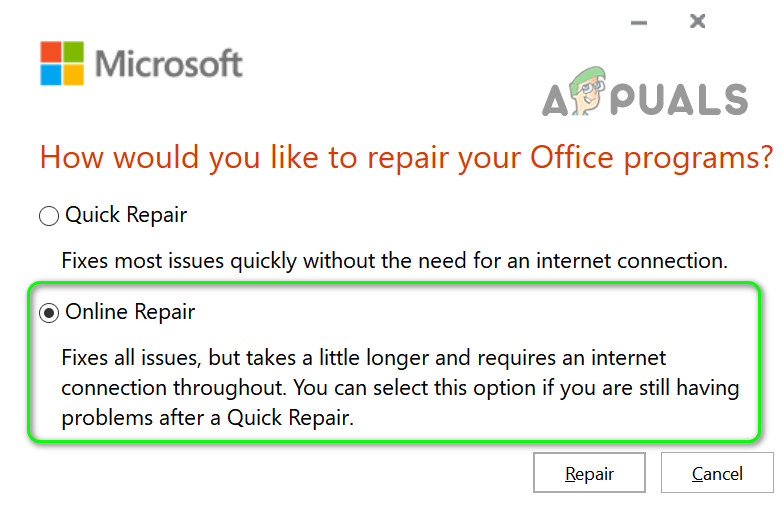
Online Repair Office - Then follow the prompts to complete the office repair.
If the issue is still there, then copy the VCRuntime140_1.dll (C:\Windows\System32\vcruntime140_1.dll) from a working computer and see if this resolves the issue.
If that did not resolve the problem, then you may have to reinstall the office/problematic application (but do not forget to reboot the system before reinstallation). If you are using more than one version of Office, then remove all versions & install only one (if the problematic application is the 32-bit, then check if installing the 32-bit version of Office resolves the issue). You may try the Microsoft Office Uninstall Support tool to remove Office.
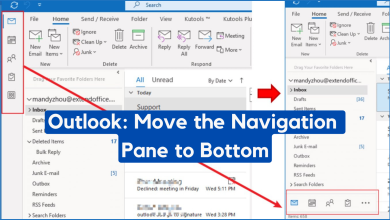
If you do not want to use a 32-bit Office, then check if disabling the Preview Pane.
Solution 3: Manage the Conflicting Applications
The mail client issue can be triggered by any of the applications on your system. In this context, managing the conflicting applications (changing the application’s settings, disabling it, or removing it) may solve the problem.
The first step should be to identify the application causing the error. To do so, when the mail client message is shown, right-click on its icon on the Taskbar of your system & it will show you which application is causing the error message. You can also check the Task Manager of your system for the application causing the issue.
Following solutions for the relevant applications are reported by the users to solve the problem.
Check Your Antivirus
Some users reported that interference from their antivirus was causing the issue. For example, Avast Cleanup is reported to cause the issue if your Office application is added to the sleep settings of the Avast. Also, you may have to remove McAfee (if being used) as it is reported to cause the issue. You can confirm by temporarily disabling your antivirus (but be careful & at your own risk as disabling antivirus may expose your system to threats)
Remove Outlook Add-in
- Launch Outlook & open its File menu.
- Now select Options & then, in the left tab, choose Add-ins.
- Then click on Go (make sure COM Add-ins are selected in the Manage dropdown).
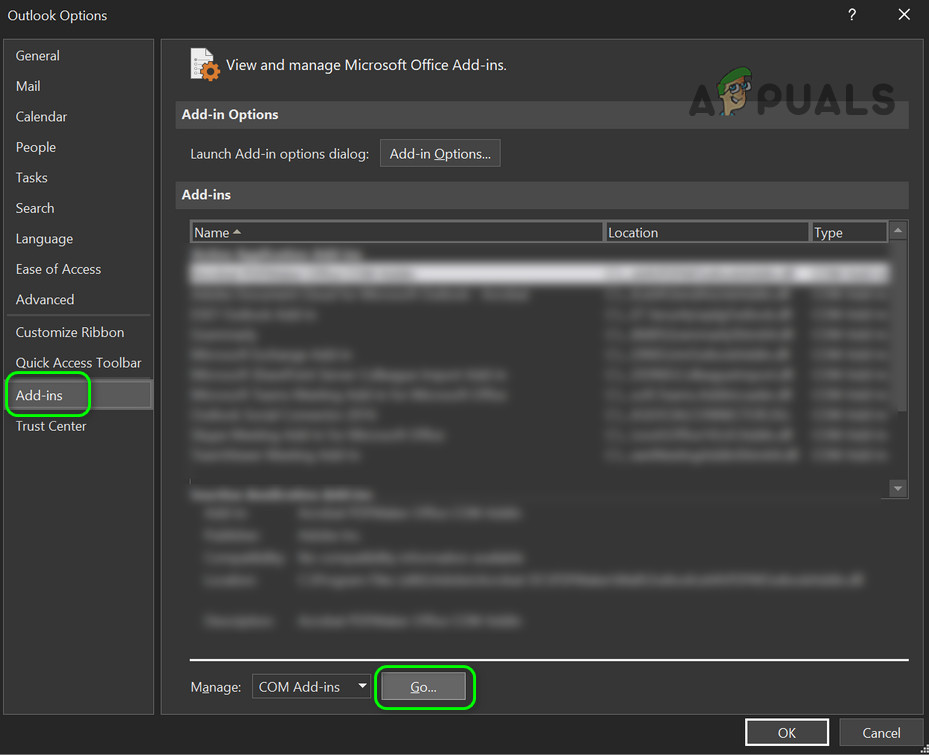
Manage COM Add-Ins in Outlook - Now uncheck the iCloud add-in & check if the mail client issue is resolved.
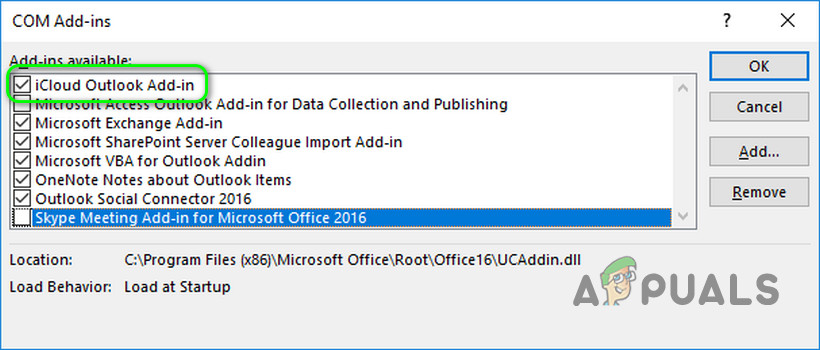
Disable iCloud Outlook Add-in - If not, then disable the Change Notifier Outlook Add-in (the iTunes add-in for Outlook) & check if the mail client issue is resolved.
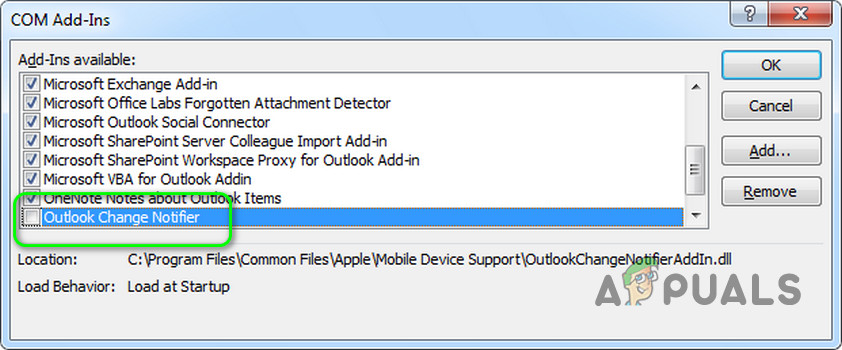
Disable Change Notifier - If that does not solve the problem, then you may have to uninstall the iCloud application.
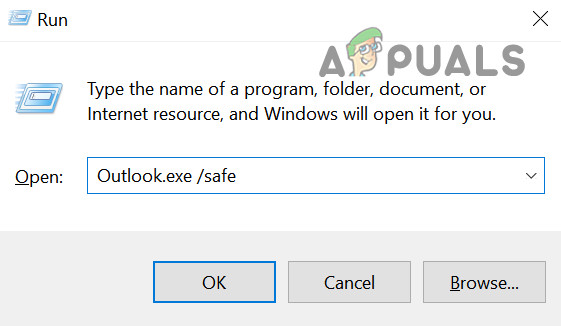
If the issue is still there & to confirm if any of Outlook’s add-ins is causing the issue, right-click on the Windows button & choose Run. Then execute the Outlook.exe /safe & check if the system is clear of the mail client issue. If so, then enable add-ins one by one till you find the problematic add-in.
Disable Cortana
- Hit the Windows key & in the Windows Search bar, type Cortana. Then right-click on Cortana (in the results) & choose App Settings.

Open App Settings of Cortana - Now, under Runs at Log-in, toggle the Cortana switch to off.
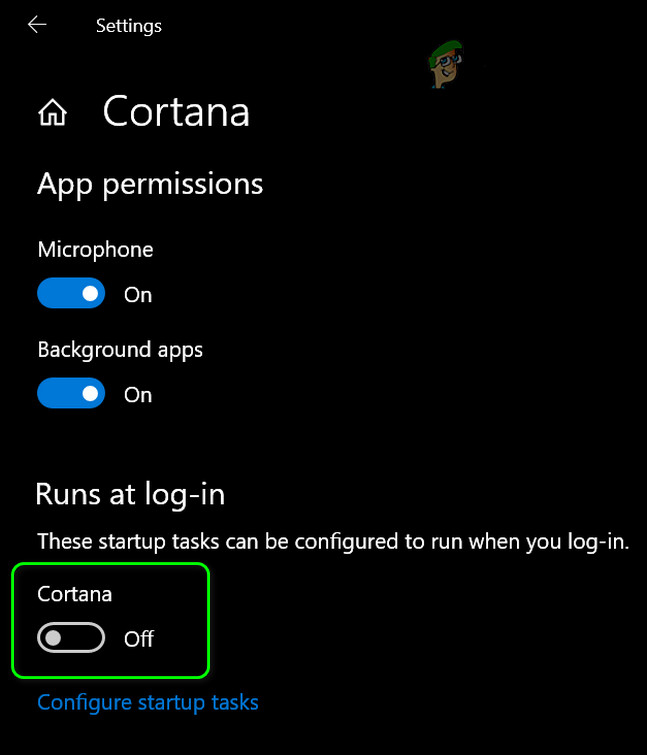
Disable Cortana at Login - Then right-click on the Windows button to open the Quick Access menu & choose Task Manager.
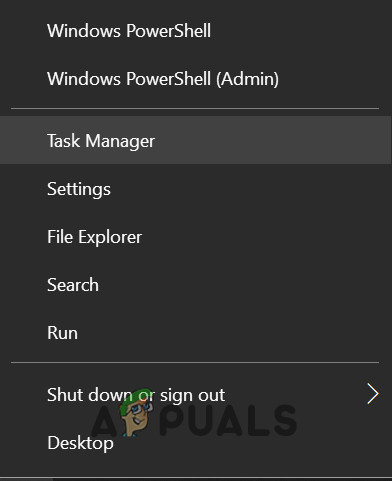
Open the Task Manager from the Quick Access Menu - Now steer to the Startup tab & right-click on Cortana.
- Then select Disable & check if the system is clear of the mail client issue.
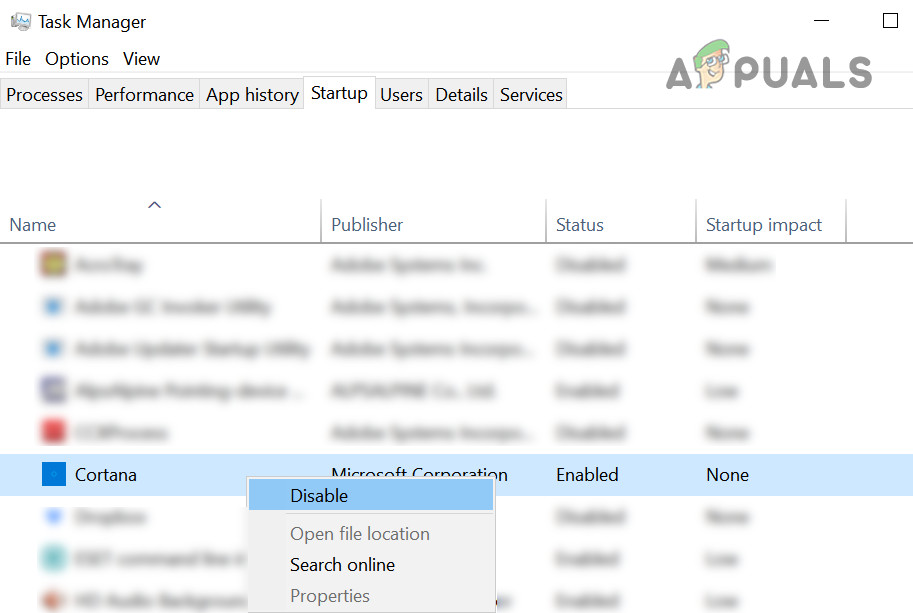
Disable the Cortana Application in the Startup Tab of the Task Manager
Delete the Dynamics CRM Leftovers
Many users reported that they encountered the issue due to leftovers of the previous installation of Dynamics CRM.
- Right-click on the Windows button & choose Run.
- Now navigate to the following:
\Program Files
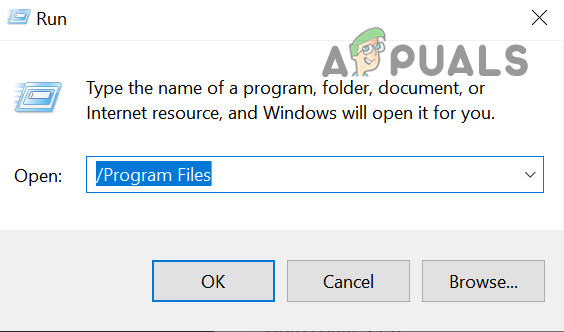
Open Program Files from Run - Then check if there is a Dynamics folder, if so, delete it.
- Then open the Run command & navigate to the following:
\Program Files (x86)
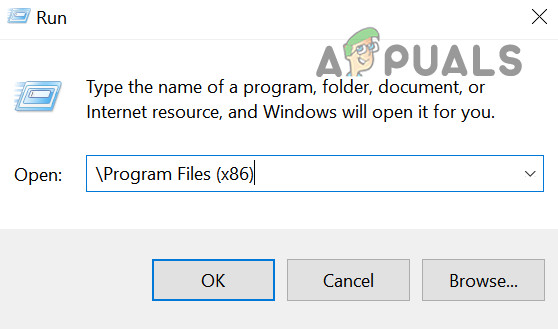
Open Program Files (x86) From Run - Now check if there is a Dynamics folder; if so, delete it & then reboot your system.
- Upon reboot, check if the mail client issue is resolved.
If the issue is still there, then you can use any of the process explorer applications to find out the problematic application.
Solution 4: Use the Registry Editor
If the issue is still there, then some registry edits may let a user get rid of the problem. But before moving on, make sure to create a backup of your system’s registry.
Warning:
Proceed with extreme caution & at your own risk as editing the registry of your system requires a certain level of proficiency & if not done properly, you may cause everlasting damage to your PC/data.
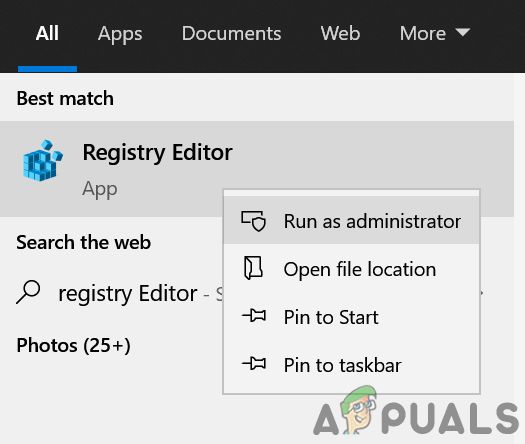
Launch the Registry Editor as Administrator & use the following registry edits one by one to check if that resolves the mail client issue.
Set the Default Key to Microsoft Outlook
- Navigate to the following:
Computer\HKEY_LOCAL_MACHINE\SOFTWARE\Clients\Mail
- Now, double click on the Default key (in the right pane).
- Then set its value to Microsoft Outlook & reboot your PC.
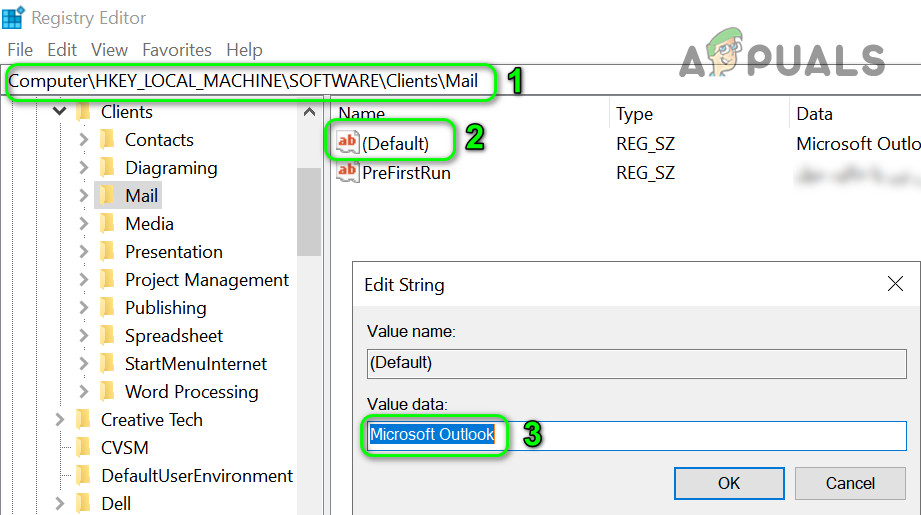
Set Default Mail Key to Outlook in Registry
Rename the PreFirstrun Key
- Navigate to the following key:
Computer\HKEY_LOCAL_MACHINE\SOFTWARE\WOW6432Node\Clients\Mail\
- Now, in the right pane, right-click on the PreFirstRun key & select Rename.
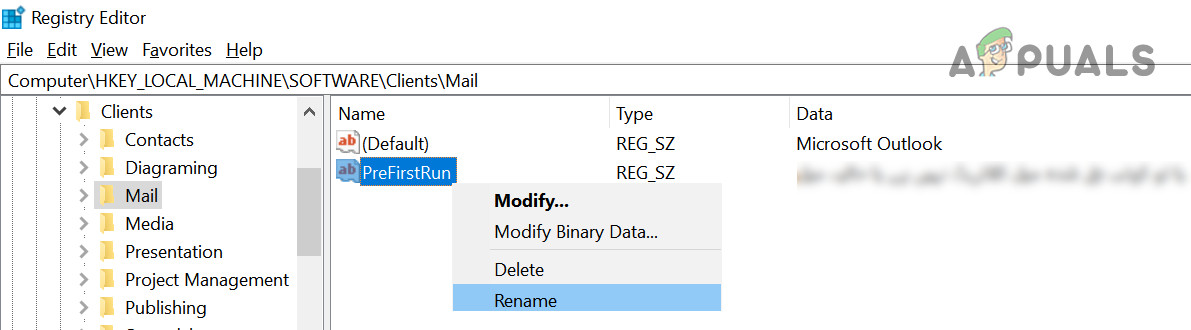
Rename the PreFirstRun Key - Then rename the key (e.g., PreFirstRun.old).
- Now reboot the system after exiting the Registry Editor.
Add the Bitness String Value
- Navigate to the following:
Computer\HKEY_LOCAL_MACHINE\SOFTWARE\WOW6432Node\Microsoft\Office\
- Now, in the left pane, expand the folder with a digit number as per your Outlook version (e.g., for Outlook 2016, it will be 16.0) & then click on Outlook.
- Now, in the right pane, right-click in the white area & choose New>>String Value.
- Now name it as Bitness & set its value X64.
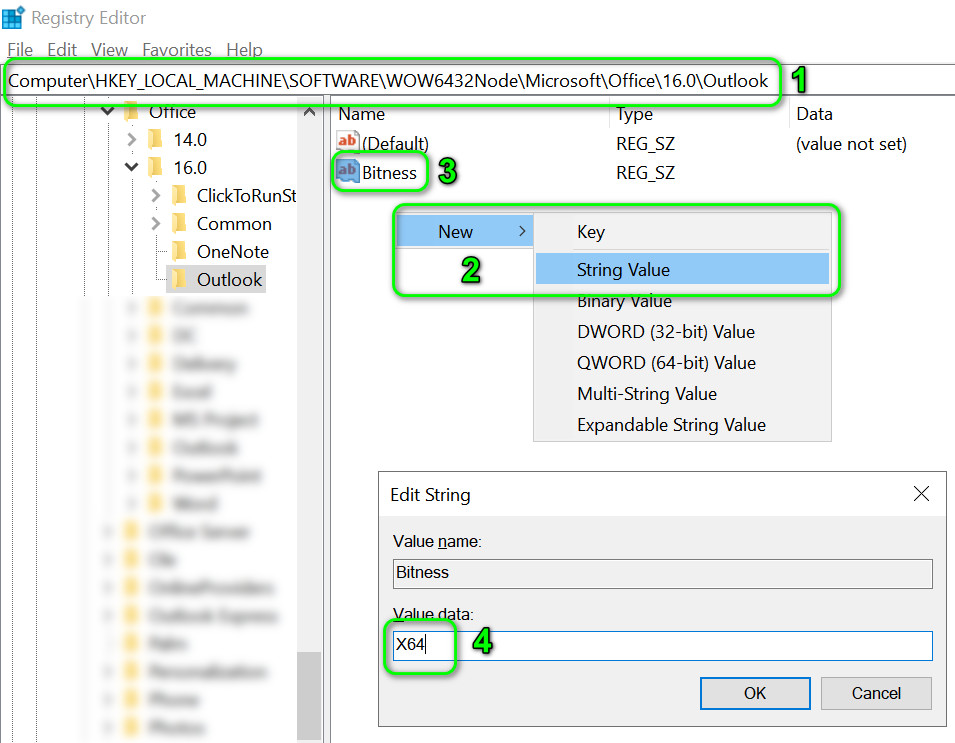
Set Bitness Key Value to X64 - Then reboot your PC after exiting the Registry Editor.
Rename the Sub-Key of Components
- Navigate to the following:
Computer\HKEY_CLASSES_ROOT\Installer\Components\F1291BD604B860441AB89E60BDEE0F9C
- Then right-click on the F1291BD604B860441AB89E60BDEE0F9C key (in the right pane) & select Permissions.
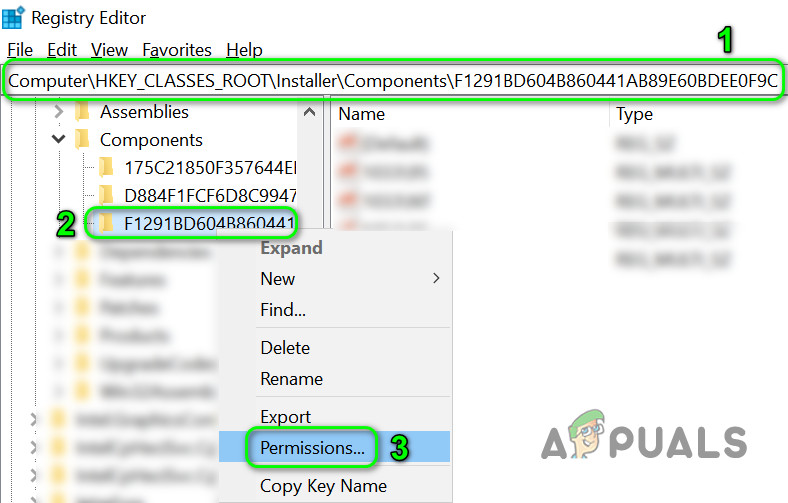
Open Permissions of Components Sub-Key - Now click on Add & then on Advanced.
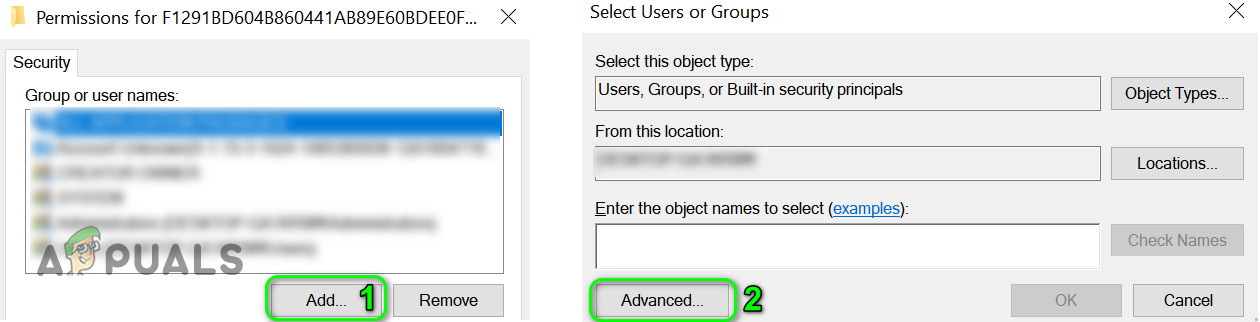
Open the Advanced Permissions Menu - Then click on Find Now & double-click on Everyone.
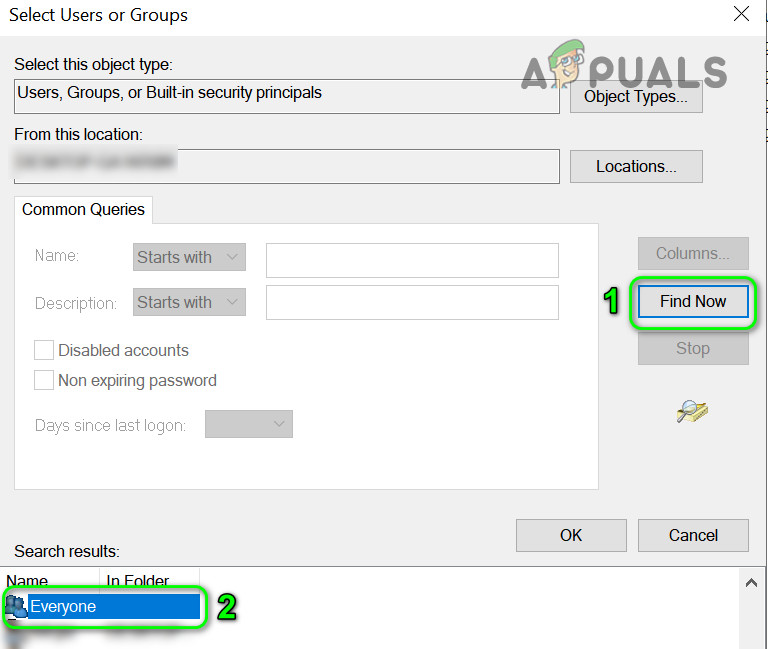
Add Everyone to the Permissions - Now click on OK & then click on the Read checkbox.
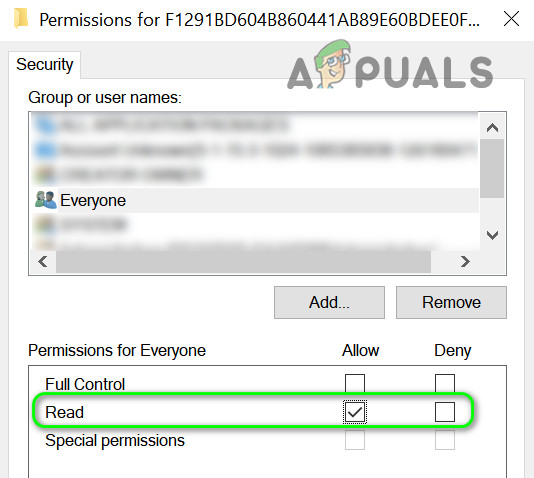
Give Everyone the Read Permissions - Then exit the Registry Editor after applying your changes & reboot your PC.
Add the DLLPath & DLLPathEx keys
- Navigate to the following:
Computer\HKEY_LOCAL_MACHINE\SOFTWARE\Clients\Mail
- Now right-click on the Mail (in the left pane) & select New>>Key.
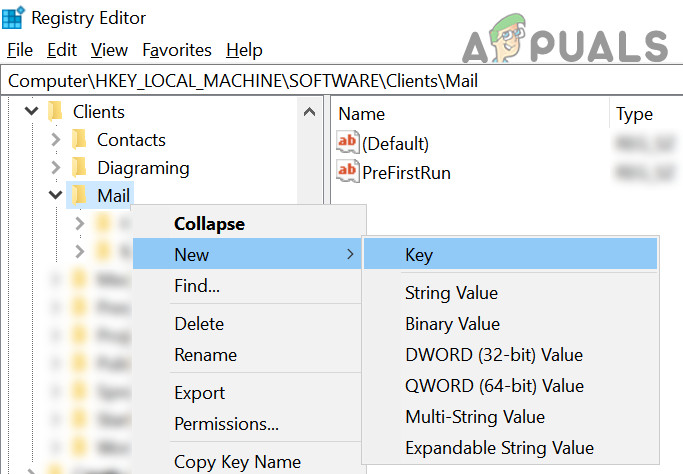
Create New Mail Key - Then name the key as Outlook64Bridge & then, again in the left pane, right-click on the Outlook64Bridge.
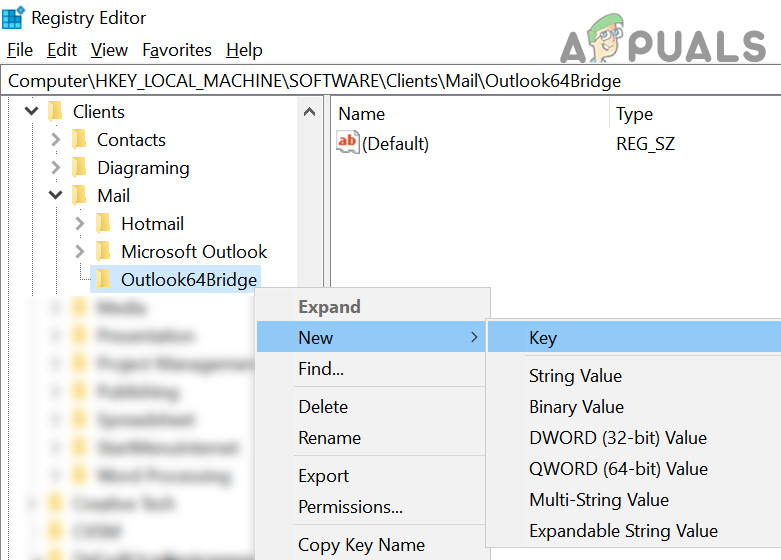
Create New Sub-Key for Outlook64Bridge - Then choose New>>Key & name it DLLPath.
- Now create another Key & name it DLLPathEx.
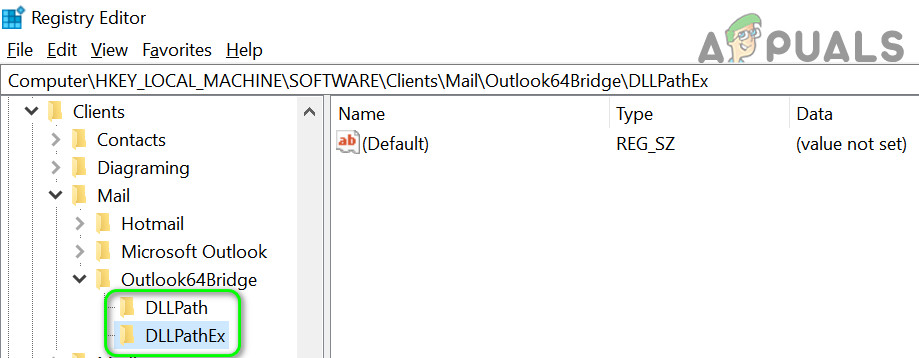
Create DLLPath & DLLPathEx Sub-Keys - Then find the path of MAPI32.dll in your system. Usually, it is:
C:\WINDOWS\system32\mapi32.dll
- Now, in the Registry Editor, navigate to the DLLPath key (created at step 5) & then double click on Default (in the right pane).
- Now, in the Value field, paste the MAPI32.dll file path (with quotation marks). Usually, the following:
“C:\WINDOWS\system32\mapi32.dll”
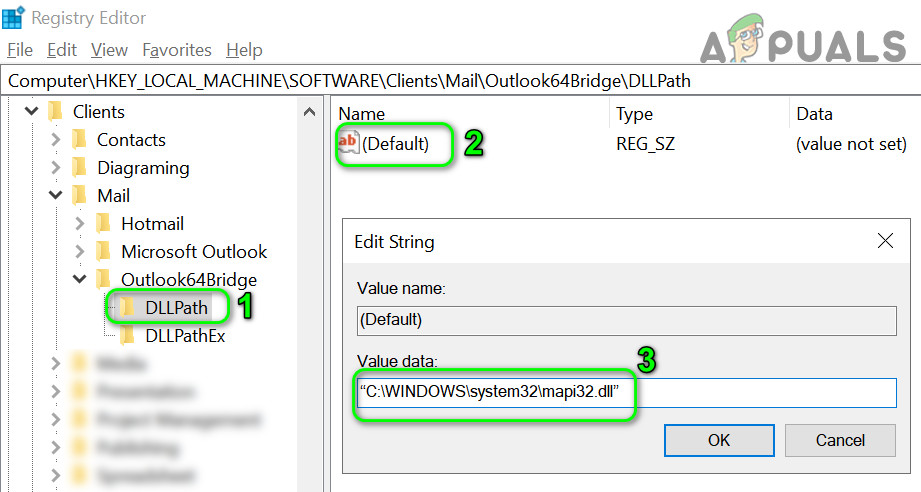
Set the DLLPath Default Value to MAPI32 File Location - Now click on OK & repeat the same for DLLPathEx.
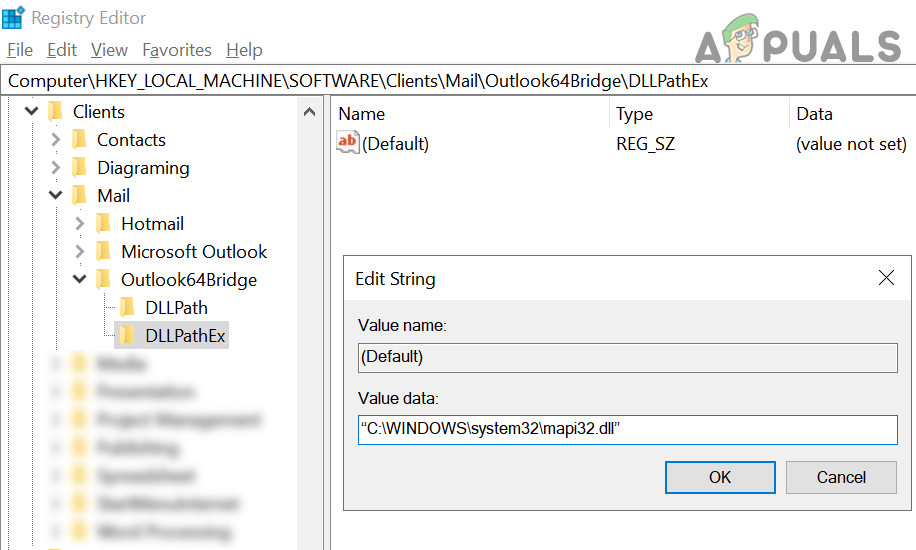
Set DLLPathEx to the MAPI32 File Location - Then navigate to the following:
Computer\HKEY_LOCAL_MACHINE\SOFTWARE\Clients\Mail
- Now, in the right pane, double-click on Default & change its value to the following (with quotation marks):
"Outlook64Bridge"
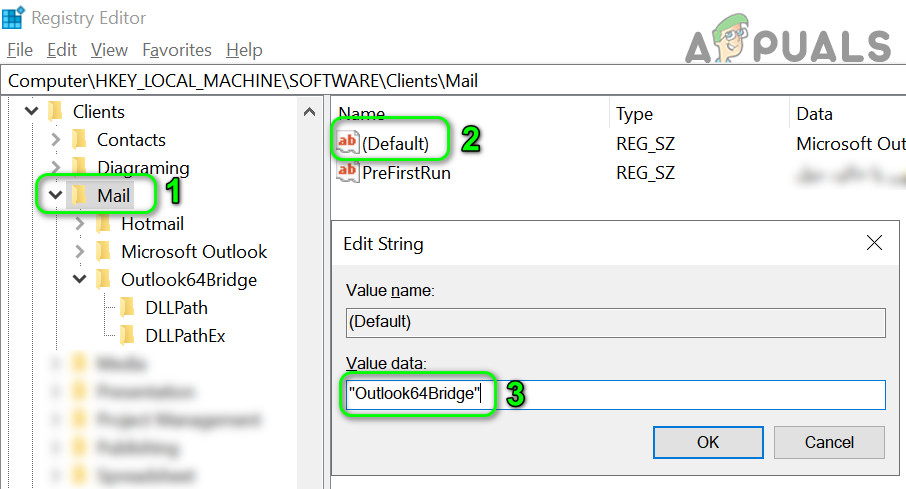
Set the Mail Default Key to Outlook64Bridge - Now click on OK & reboot your PC after exiting the Registry Editor.
- Upon reboot, check if the mail client issue is resolved.
- If it still isn’t working, navigate to the following:
Computer\HKEY_LOCAL_MACHINE\SOFTWARE\Clients\Mail\Microsoft Outlook
- Then in the left pane, right-click on Microsoft Outlook and select Delete.
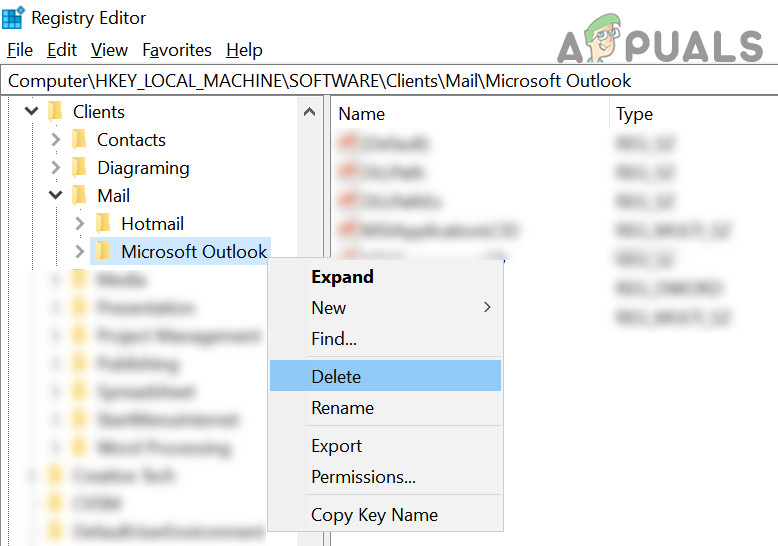
Delete the Microsoft Outlook Key - Now confirm to delete the key & reboot your PC after closing the Registry Editor.
- Upon reboot, repair office as discussed in solution 2.
Delete the Mail Key
- Navigate to the following as per your OS:
For 32-bit: Computer\HKEY_LOCAL_MACHINE\SOFTWARE\Clients\Mail

For 64-bit: Computer\HKEY_LOCAL_MACHINE\SOFTWARE\WOW6432Node\Clients\Mail\
- Now, right-click on the Microsoft Outlook key (in the left pane) & select Delete.
- Then reboot your PC & check if your system is clear of the mail client issue.
- If not, then check if deleting the Mail key (in the left pane) of the keys mentioned in step 1 & repair the office installation (solution 2).
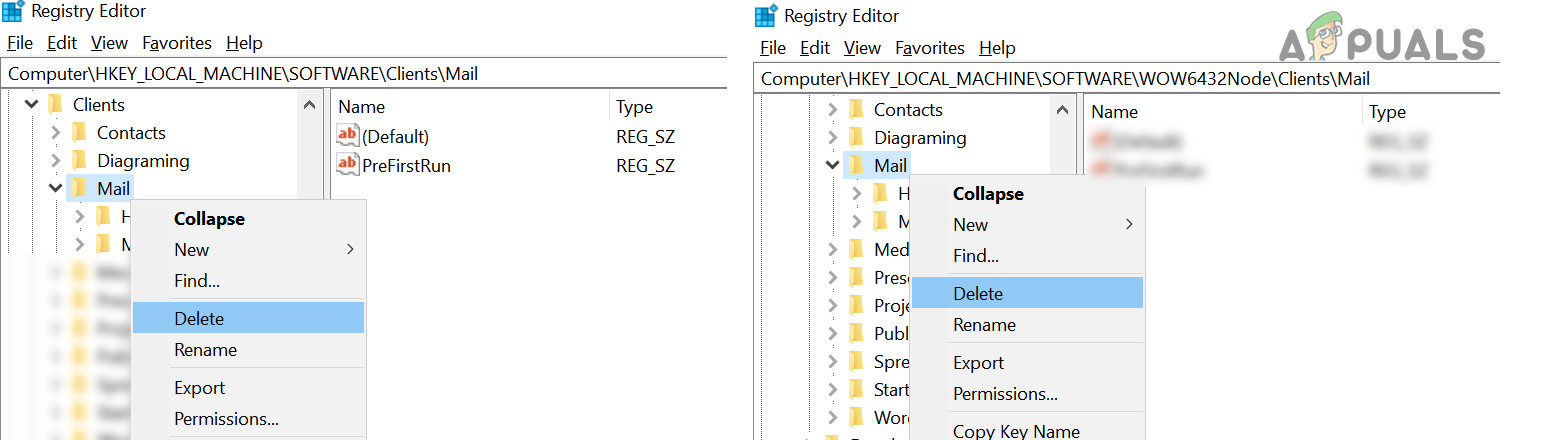
Delete the Mail Key in the Registry
If the issue is still there, then try a 3rd party application (like Thunderbird) or a cleaning application like PatchCleaner to solve the problem. If the issue started after a Windows update, then check if removing that update solves the problem. If the issue persists & you are desperate enough, then either try to perform a system restore or clean installation of Windows may resolve the issue.