How to Fix SysInfoCap.exe High Memory on HP Computers?
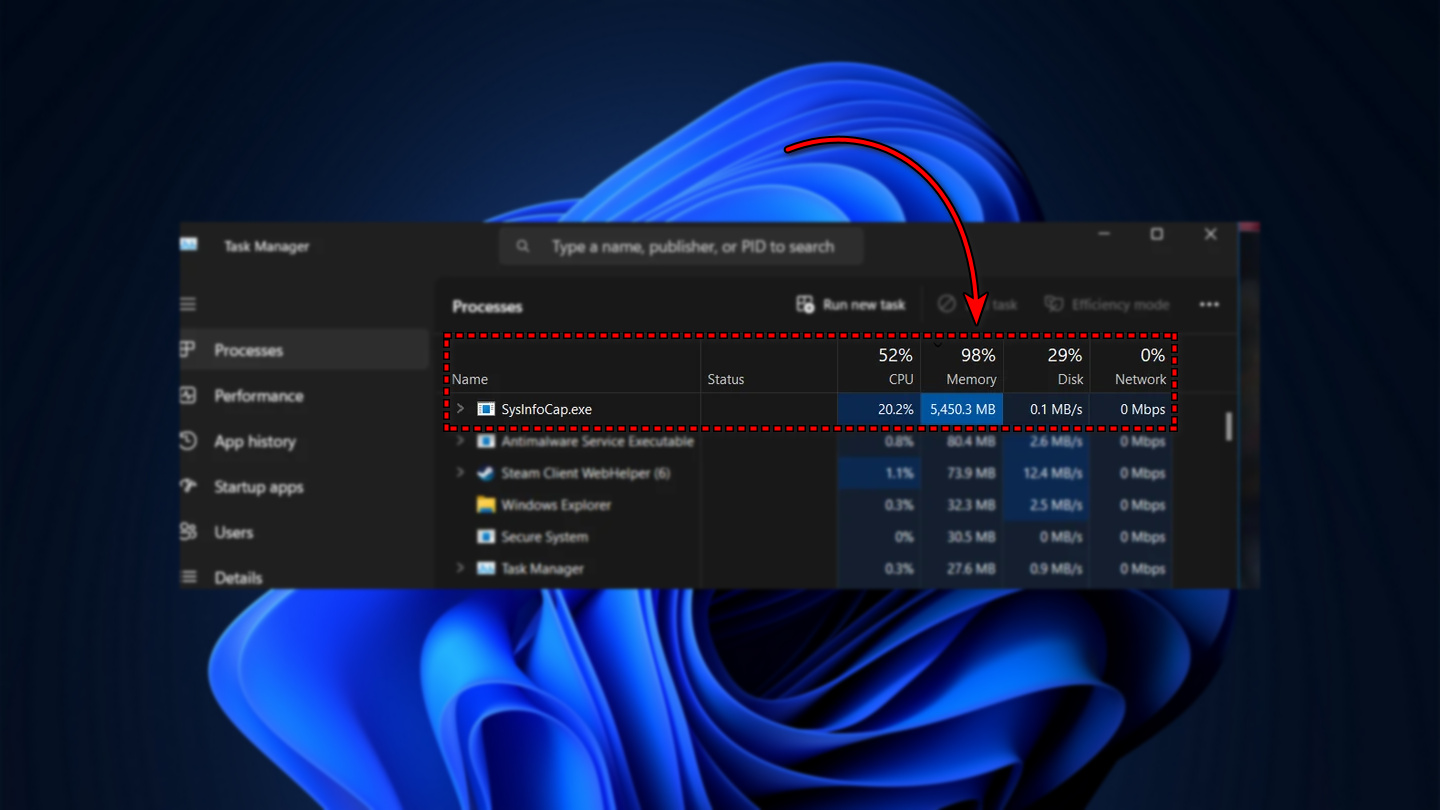
The “SysInfoCap.exe High Memory” error is widely reported on HP laptops and desktops, particularly when the system becomes slow or unresponsive during everyday use. SysInfoCap.exe is a legitimate background process developed by HP to collect hardware and system information for diagnostic and support purposes.
Under normal conditions, the process runs silently in the background. It enables HP tools to monitor system health, track performance data, and support troubleshooting without affecting system performance.
When the process stops functioning correctly, for example if it gets stuck in a loop, depends on outdated services, or encounters corrupted components, it can begin consuming excessive memory and CPU resources. This often results in system lag, overheating, or unexpected restarts.
This guide explains what SysInfoCap.exe does, why it may consume excessive memory, and how you can fix the issue using proven and practical solutions.
Why SysInfoCap.exe Uses High Memory?
Several underlying factors can cause SysInfoCap.exe to use more resources than it should:
- Outdated or malfunctioning HP background services – The process depends on HP background services. If these are outdated or broken, it may fail to release memory properly, leading to constant resource usage.
- Corrupted system files or telemetry components – Damage to telemetry or diagnostic files can trigger repeated background operations, consuming more memory than intended.
- Execution loop issues – In some cases, SysInfoCap.exe can get stuck in a loop while collecting data, continuously using resources without completing its task.
- Conflicts with HP Support Assistant or similar tools – Overlapping operations from other HP utilities can interfere with SysInfoCap.exe, increasing memory load.
- Limited system resources on older hardware – On older laptops and desktops, even normal activity from this process can strain limited RAM or CPU capacity.
Now that you know the root causes behind the high memory usage, let’s move on to practical troubleshooting steps to fix the problem.
Solution 1. Restart Your Computer
When Windows runs for an extended period, certain background services and processes can remain stuck in memory or fail to release system resources properly. This includes HP services tied to SysInfoCap.exe, which may continue to occupy memory even when they are idle. Restarting the system clears these stuck processes, resets service states, and refreshes memory allocation. If the high memory usage is caused by a temporary glitch or an unresponsive service, a simple reboot can often restore normal performance without requiring advanced troubleshooting.
Solution 2. Run SFC and DISM Scans
Corrupted or missing system files can cause SysInfoCap.exe to behave abnormally, especially when it depends on Windows components to handle background services and memory allocation. If these files are damaged, the process may get stuck in a loop or fail to release memory properly, resulting in high resource usage.
Running SFC (System File Checker) and DISM (Deployment Image Servicing and Management) scans repairs corrupted system files and restores critical Windows components. Once these dependencies are fixed, SysInfoCap.exe can function normally, which often resolves the high memory usage issue without disabling services or uninstalling utilities.
- Press Windows + S and type cmd in the search bar.
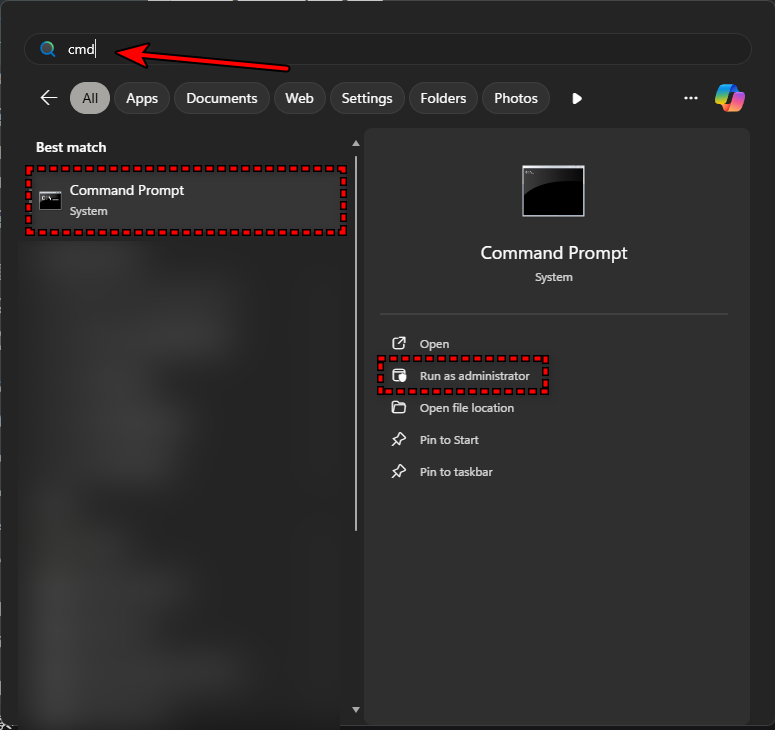
- Right-click on Command Prompt and select Run as administrator.
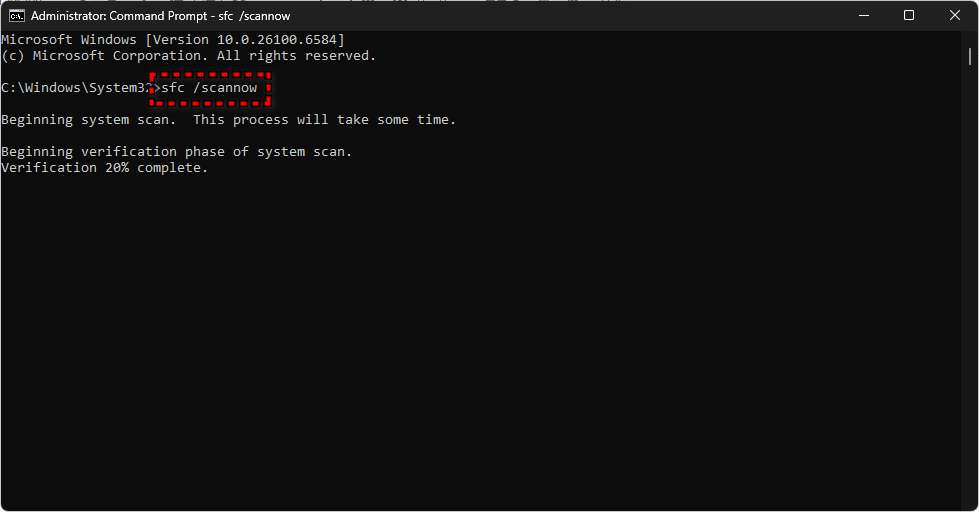
- In the Command Prompt window, type the following command and press Enter:
sfc /scannow
This will start the System File Checker scan and automatically repair any corrupted files it finds
- Once the scan is complete, restart your PC.
- If the problem persists, reopen Command Prompt as administrator and run the following DISM commands one by one:
DISM /Online /Cleanup-Image /RestoreHealth
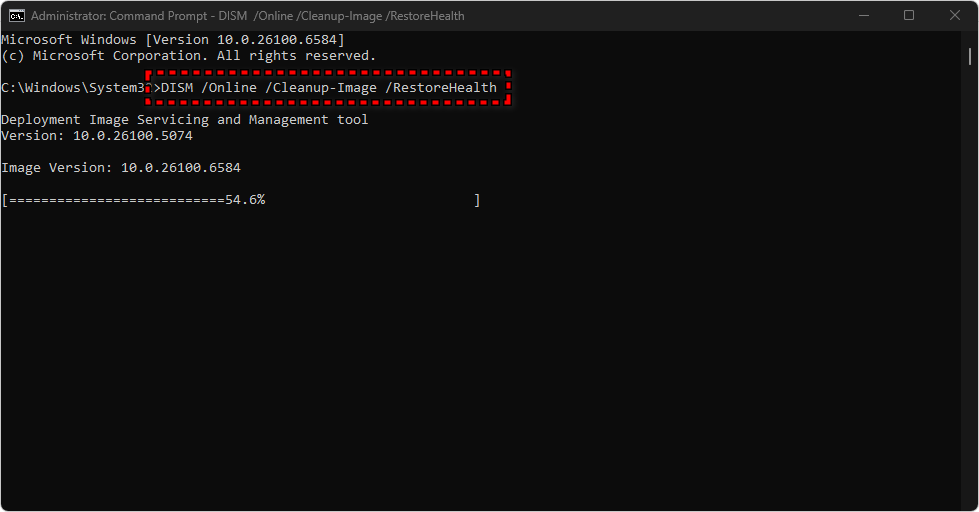
- These commands will check the health of the Windows image, scan for issues, and repair them automatically.
- After the DISM scan finishes, restart your computer again.
Once both scans are complete, SysInfoCap.exe should stop consuming excessive memory if the issue was caused by system file corruption.
Solution 3. Disable the HP System Info / HSA Service
Disabling the HP System Info or HSA service through services.msc stops the process from launching automatically during startup. This prevents SysInfoCap.exe from running unnecessarily and eliminates the loop that causes high memory consumption.
This solution is particularly effective if SysInfoCap.exe consistently reappears in Task Manager after every reboot, since disabling the service cuts off its background trigger entirely.
- Press Windows + R, type
services.msc, and press Enter to open the Services console.

- In the Services list, scroll until you find HP System Info HSA Service.
- Right-click on that service and select Properties.
- In the Properties window, under the General tab:
- Change the Startup type to Disabled (or Manual if you later want to re-enable it manually).
- If the service is currently running, click the Stop button.
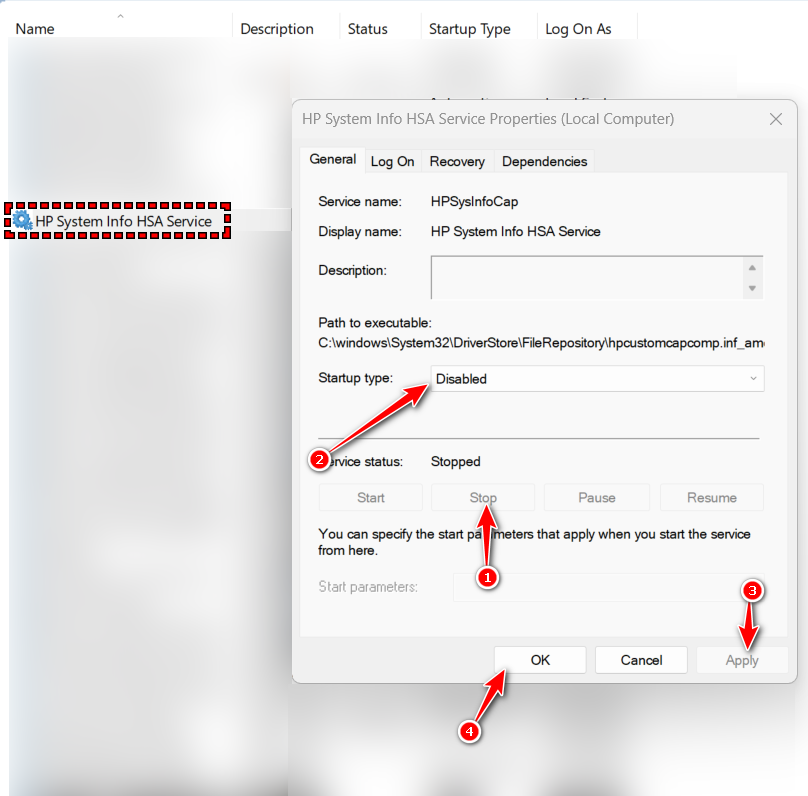
- Click Apply and then OK to save the changes.
- Restart your computer to ensure the change takes effect and the service no longer launches automatically.
After reboot, check Task Manager to see if SysInfoCap.exe no longer runs with high memory usage. If it still appears, double-check if another HP service or process is enabling it again on startup.
Solution 4. Remove Unnecessary HP Bloatware (Advanced Users Only)
Some users prefer to completely remove all non-essential HP software to prevent SysInfoCap.exe from running in the background. Many of these HP apps and utilities are not required for normal system operation and are responsible for triggering telemetry services, diagnostics, and background processes that can lead to high memory usage.
This can be achieved using a community PowerShell script available on GitHub Gist. The script automates the removal of most bundled HP applications and related background services.
What the Script Removes
The script targets and removes:
- HP pre-installed applications (e.g. HP Support Assistant, HP System Information, HP JumpStarts, HP QuickDrop, HP Privacy Settings)
- HP telemetry and diagnostic tools
- HP security solutions such as HP Wolf Security, HP Sure Click, and related components
- Background services and utilities like HP Connection Optimizer, Notifications, Power Manager, and more
By removing these apps, the script cuts off the background dependencies that can trigger or keep SysInfoCap.exe running unnecessarily, which in many cases completely eliminates the high memory issue.
How to Use the Script
- Download the PowerShell script from the official GitHub Gist.
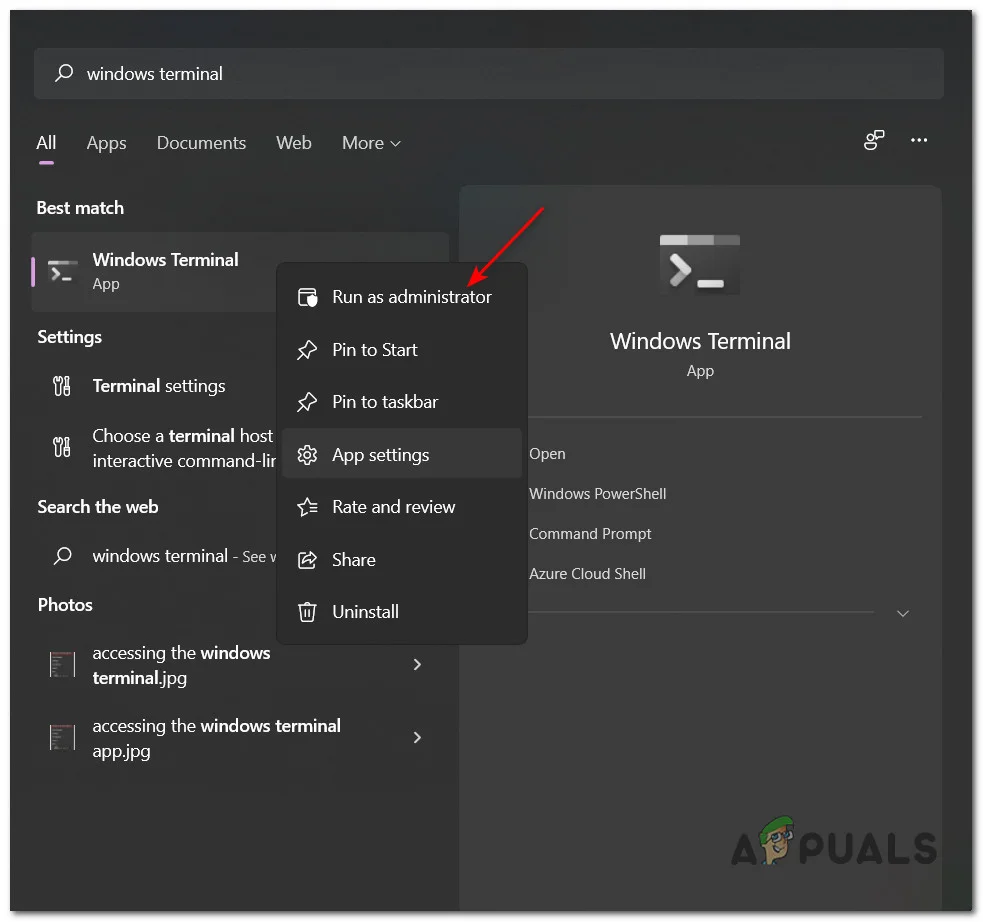
- Press Windows + X and select Windows Terminal (Admin) or PowerShell (Admin).
- Navigate to the folder where the script is saved:
cd C:\Users\YourUsername\Downloads
- Run the script with:
.\Remove-HPBloatware.ps1
- Wait for the process to complete, then restart your PC.