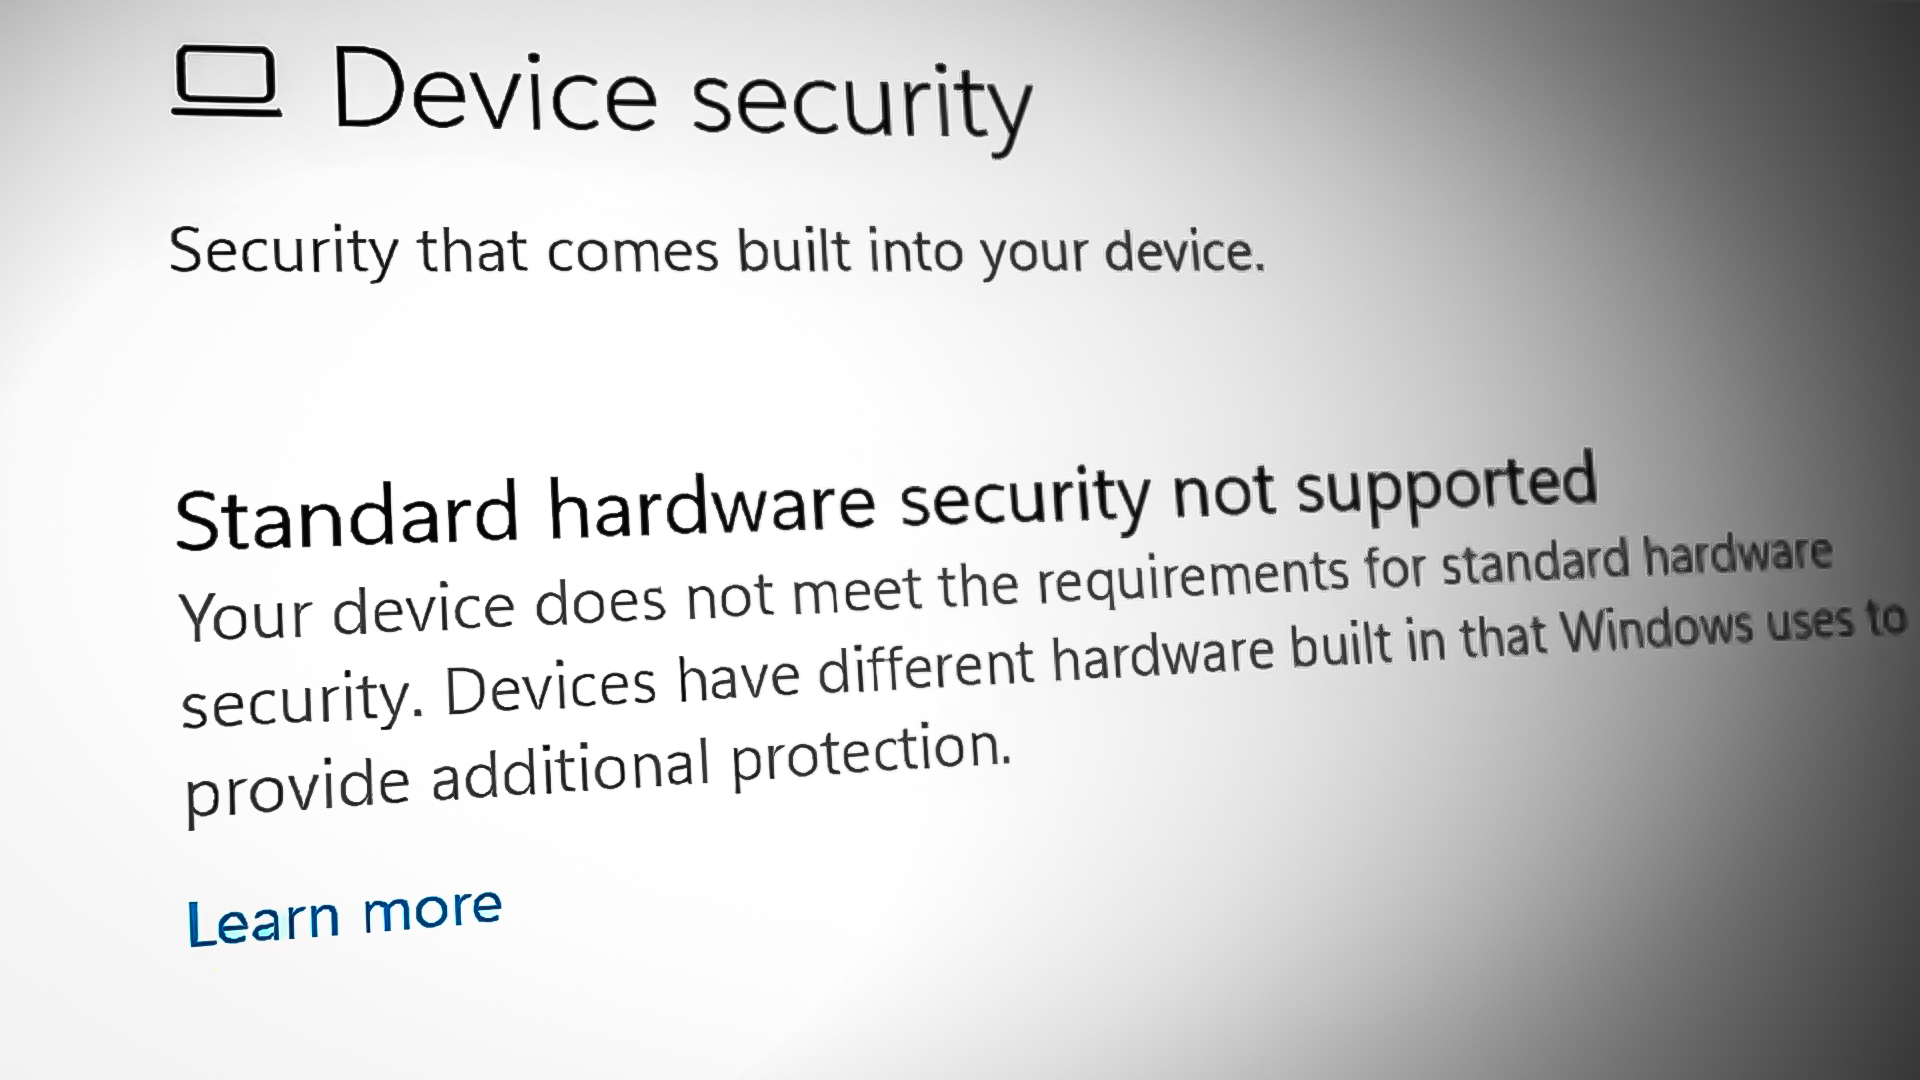
3 Solutions for Error: ‘Standard hardware security not supported’
Windows displays the ‘Standard hardware security not supported’ error when the device does not meet all the requirements for standard hardware security. However, in some cases, the error can also be caused by a glitch within the system.
This problem can occur in both Windows 10 and 11 but has recently been appearing frequently in Windows 11 after the 22H2 update. In this guide, we will take a look at the possible causes of this issue and the troubleshooting methods to try and fix the problem in no time.
1. Check the Standard Hardware Security Requirements
The first thing you should do is check if your system can meet the requirements of the standard hardware security if you have not done so already.
Ideally, your system must have memory integrity, core isolation, TPM 2.0 (also known as your security processor), UEFI MAT, DEF, and Secure boot enabled. If any of these are disabled or not working, you will face the problem at hand.
To check if your PC meets these requirements, head over to the Windows Security dialog and click on Device Security in the left pane. Check if the Core isolation, Security processor, and Secure boot features are enabled. If all these features are enabled, then you can make some changes in the UEFI settings to help fix the problem.
Almost all prebuilt PCs and laptops, such as Dell and Samsung, support standard or enhanced hardware security without any configuration by the end user. However, if you build your own PC, you’ll likely see an error message that says “Standard hardware security isn’t supported”.
Here is how you can change the UEFI settings to fix this problem. Before proceeding, please note that different devices may have different settings or procedures to enable the above-discussed features. You can search for information about this on Google.
- Open the Settings app by pressing the Win + I keys together.
- Navigate to System > Recovery
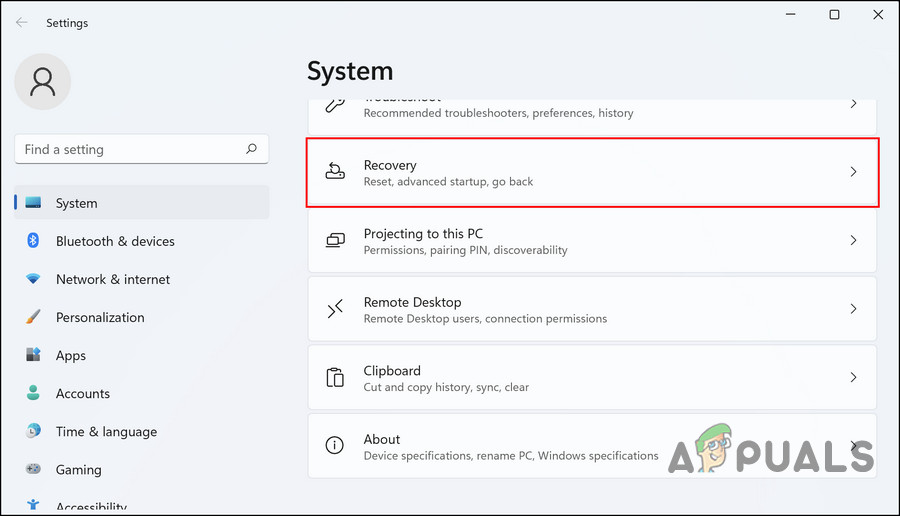
Click on Recovery - In the following window, move down to the Recovery options section and click on the Restart now button for Advanced startup.
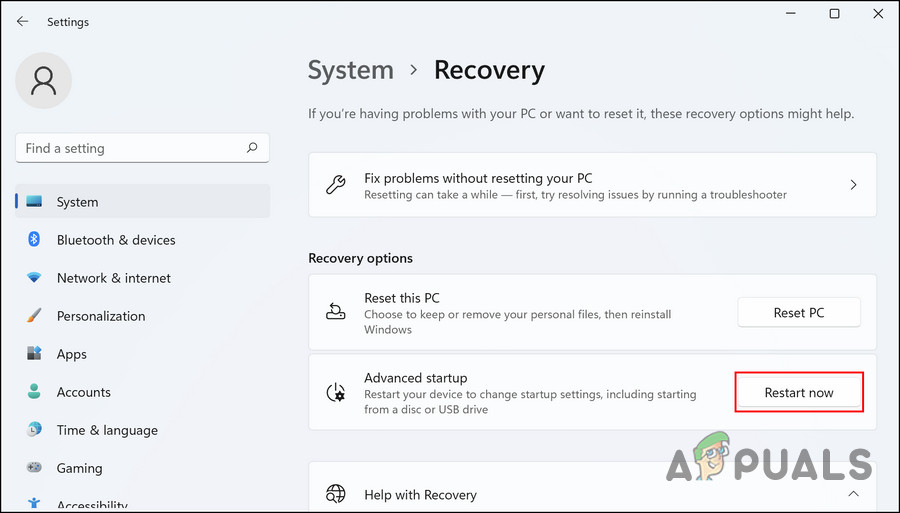
Click on the Restart now button - In the confirmation dialog, click on the Restart now button again to proceed.
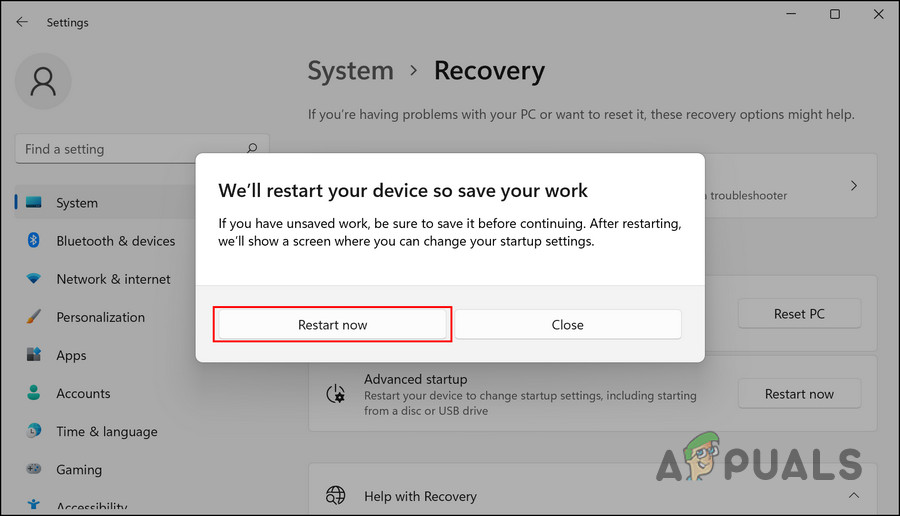
Click on the Restart now button - Once Windows 11 restarts, it will boot into the Recovery menu. Choose Troubleshoot from there.

Click on Troubleshoot - Now, head over to Advanced options > UEFI Firmware Settings.
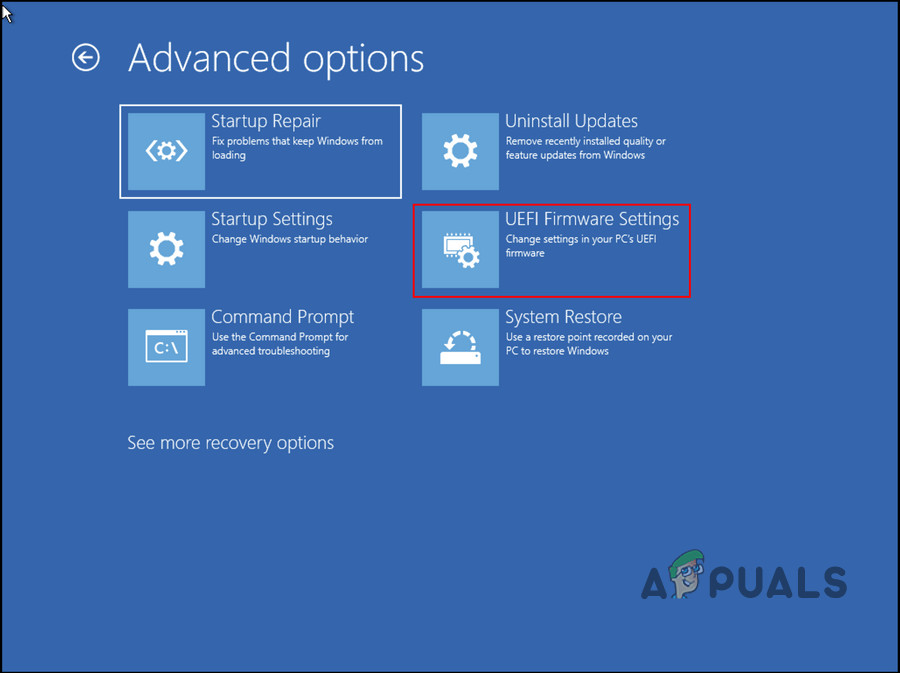
Access the UEFI Firmware Settings option - Click on the Restart button.
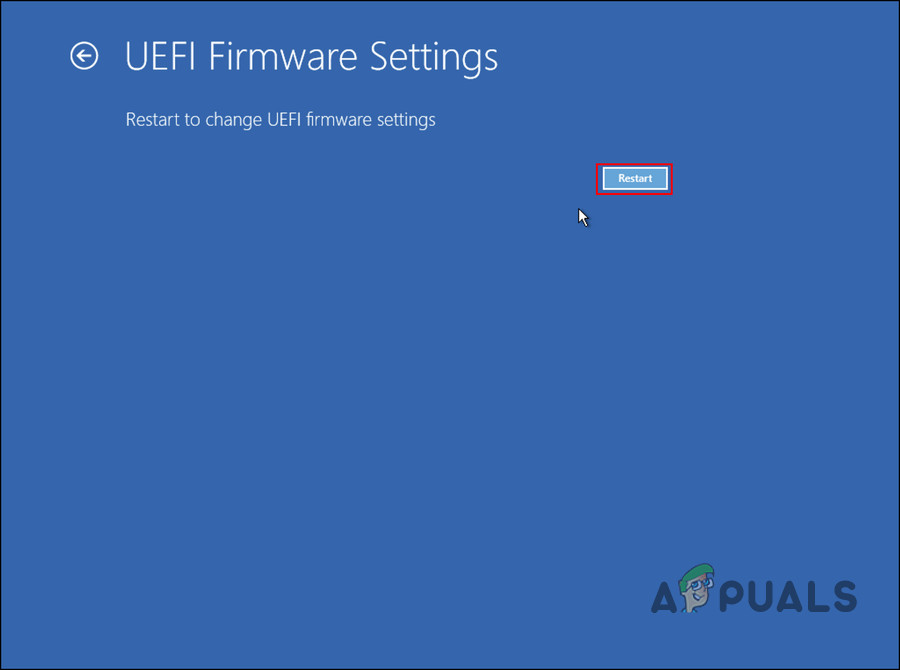
Click on the Restart button - Wait for the PC to reboot. Upon restart, the UEFI firmware settings will be launched.
- Now, choose Expert mode if your motherboard’s UEFI UI has both EZ mode and Expert mode.
- Head over to System Configuration or CPU settings and enable Virtualization Technology, VT-x, AMD-V, or SVM from there. This will enable the Core isolation feature.
- Now, head over to System Agent Configuration/North Bridge Configuration and enable VT-d or IOMMU. This should enable the Memory Integrity feature.
- Next, enable Platform Trust Technology (PTT) to turn the Security processor in Windows Security on.
- Then, head over to the Secure boot section and choose Install default Secure Boot keys.
- Select Windows UEFI mode for the OS type. This should enable Secure boot.
Press F10 to save and exit. That’s it! This should fix the ‘Standard hardware security not supported’ error in no time.If you are missing UEFI Settings button, it’s possible that your system doesn’t support UEFI mode for Windows. Please refer to, “How to Fix UEFI Firmware Settings Missing?“
2. Uninstall the Latest Update (If Applicable)
It is not uncommon for the latest system updates to contain bugs and cause system stability problems. A number of users found that the recently installed updates were causing security problems, and they resolved the issue by uninstalling them.
We recommend uninstalling these updates if they are also installed on your computer. Here is how you can do it:
- Press Win + R to open Run.
- Type control in the text field of Run and click Enter.
- Select Programs from the list of options in the following window.
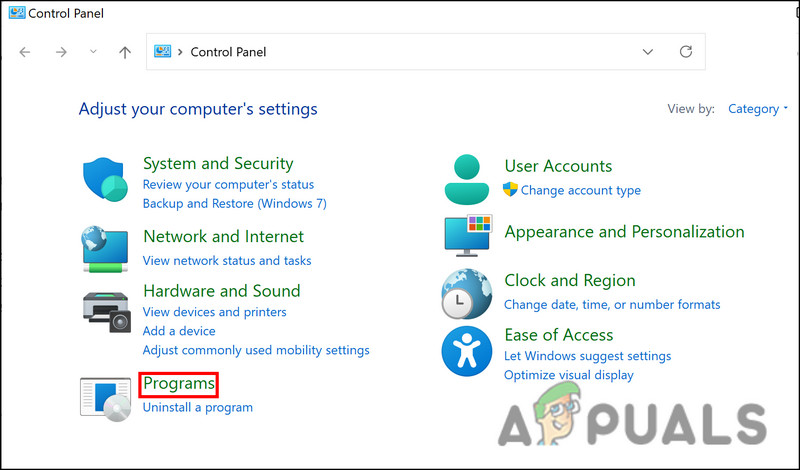
Choose Programs in the Control Panel - Click on View installed updates under Programs and Features.
- Your computer should now show a list of all installed updates. Locate the most recently installed updates and right-click on them.
- Choose Uninstall and follow the on-screen instructions to fix the problem.
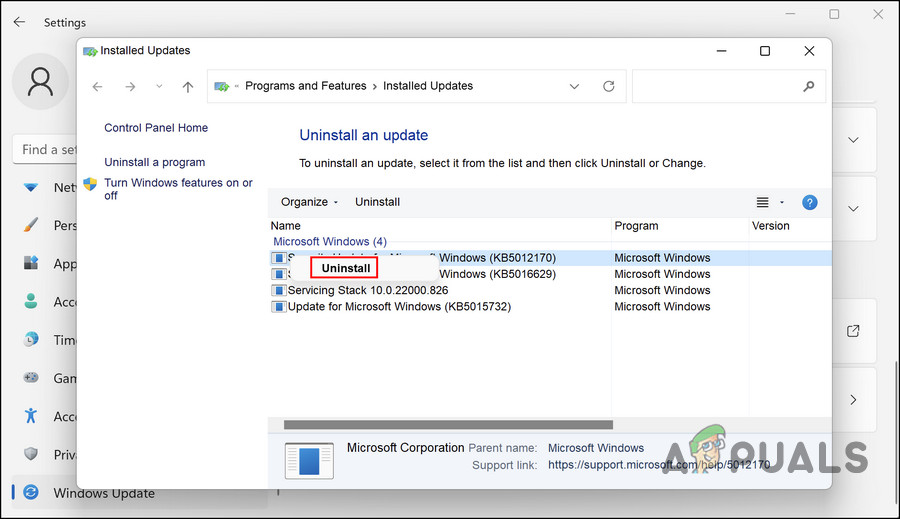
Click on the Uninstall button
3. Clean Install Windows 11
The troubleshooting methods may not work for you, so you may need to clean install Windows 11 from scratch in that case.
This method uses the ISO file available on Microsoft’s official website to clean install Windows 11. The process will take some time, so we recommend proceeding only when you have the time.


