Spotify Keeps Crashing? Solutions for Android, iOS & Windows
Your Spotify app can crash for several reasons, mainly due to a bad network connection or a server problem from the back-end side. You can search for this issue on the Spotify community to see whether it is a server problem.

If you see many complaints about your issue, that means the problem is from the server side, which will likely be fixed soon. However, if that’s not the case, you can follow the proven methods to fix your issue.
| 🚫Occurs When: | Spotify is running |
| ✅Best Solution: | Solution 5 |
| 🔍Cause: | Hardware acceleration Interferes |
| 👾Symptoms: | Spotify crashing again and again |
1. Restart your Device
The first solution you need to try is to restart your device because it helps eliminate background apps, clear data from RAM, and restart all the essential background services, including the network services. Since this issue does not occur due to a particular cause, restarting the device is the best way to start.
2. Turn off Gapless playback (Android/iOS users)
Gapless playback is a feature that skips the gap between songs which helps listen to songs with a smooth transition. Although it is a good feature, it has been accused of causing an issue where multiple songs get skipped automatically after listening to 1 or 2 songs. Therefore, turning off gapless playback will help fix this issue.
Android/iOS
- To turn off Gapless playback, go to Settings from the top.
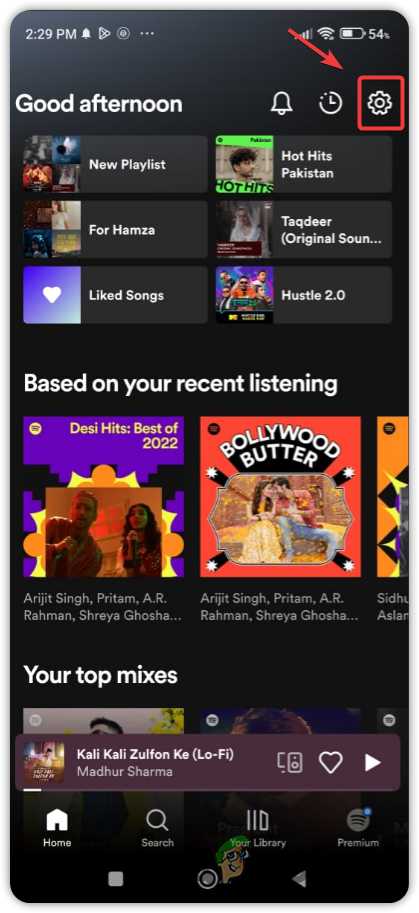
Opening Spotify settings - Here disable Gapless playback by toggling off the button.
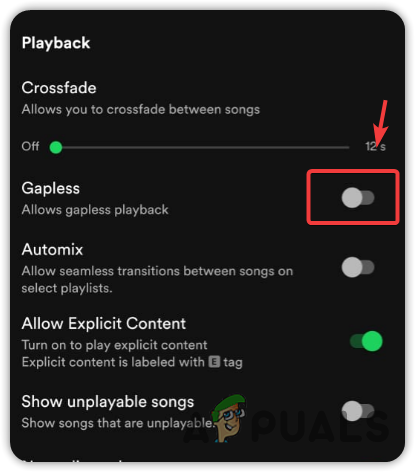
Turning off Gapless playback
3. Check Spotify servers
Another important factor that should be checked is Spotify servers that might be down and causing lag while playing songs. If you have not checked the Spotify servers yet, we recommend you go to Downdetector to check whether the servers are down or not. If they are down, you will need to wait till the servers return to a stable status.
4. Reset Network settings
A stable internet connection also matters in playing Spotify songs without lag and crashes. If you have a bad internet connection, you will encounter problems while listening to songs. In this case, first, check your internet connection on another device. If it’s working properly, then try resetting the network settings.
Resetting the network settings will revert all the configurations applied to your network. If you accidentally misconfigure your network settings, Spotify won’t play songs smoothly and will crash. Therefore, try resetting these settings to fix this issue.
Windows
- On Windows, click Start Menu and type Settings.
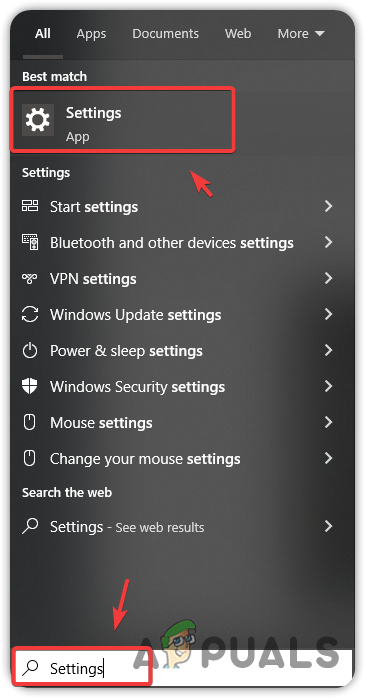
Opening Windows Settings - Open settings and go to Network & Internet.
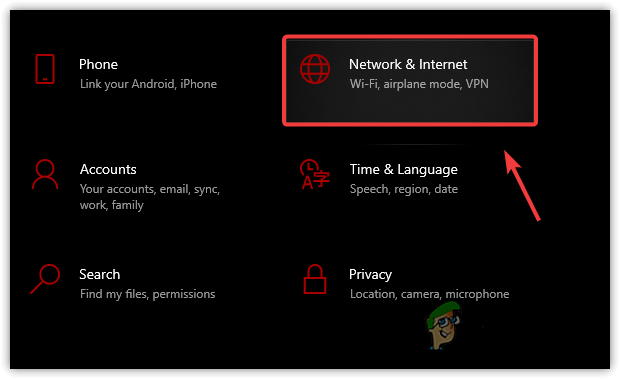
Navigate to Network & Internet - Click Network reset and then click Reset Now.

Resetting Network Settings
Android
- Open Settings and tap on Connection & Sharing.
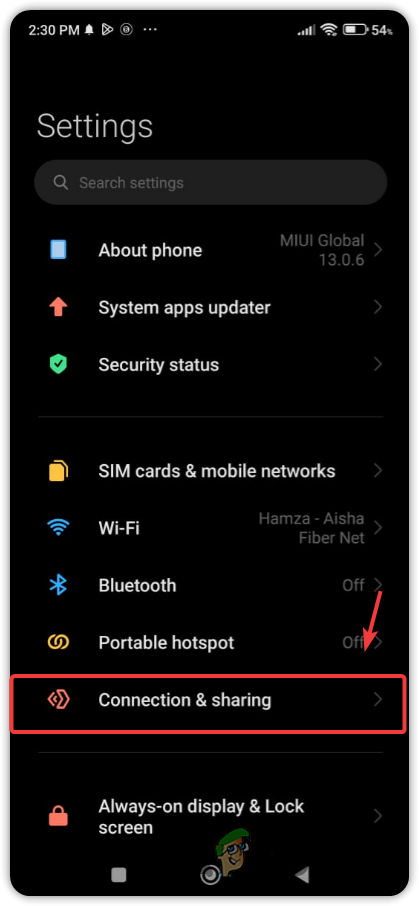
Navigating to connection & sharing - Scroll down to the bottom and navigate to Reset WIFI, mobile networks, and Bluetooth.
- Tap on Reset settings from the bottom.
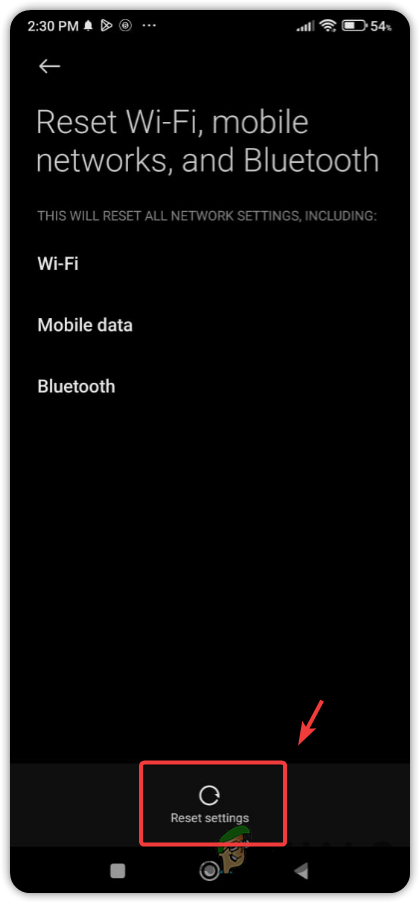
Resetting mobile network settings - Tap OK to confirm the reset action.
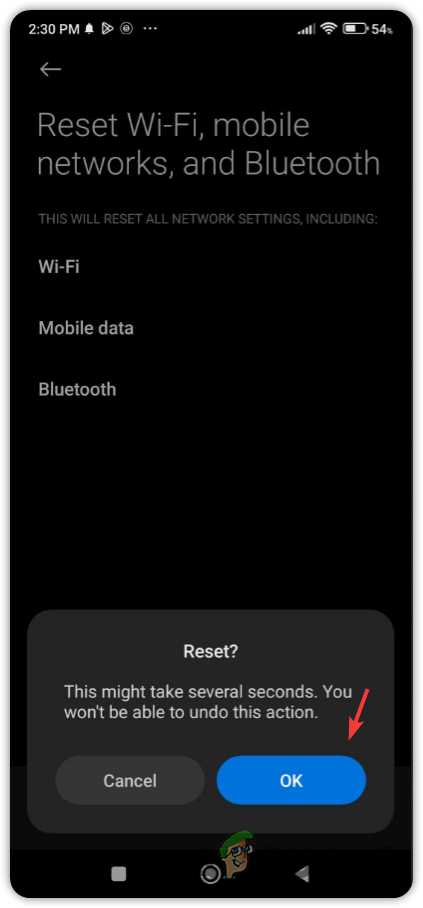
Confirming to Reset Network Settings
iOS
- From Home, tap Settings.
- Go to General > Transfer or Reset iPhone > Reset.
- In the end, tap Reset Network Settings.
macOS
- Click the Apple icon from the top left.
- Go to System Preferences.
- Under Preferences select Network.
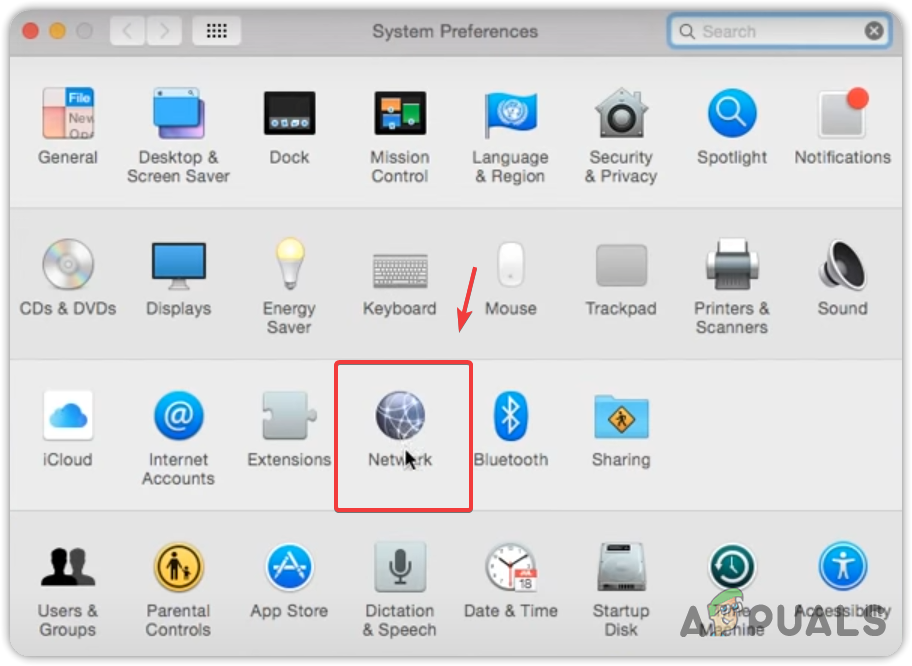
Opening Network settings on mac - In the next Window, select the connected WIFI.
- Then, click Settings and select Make Service Inactive.
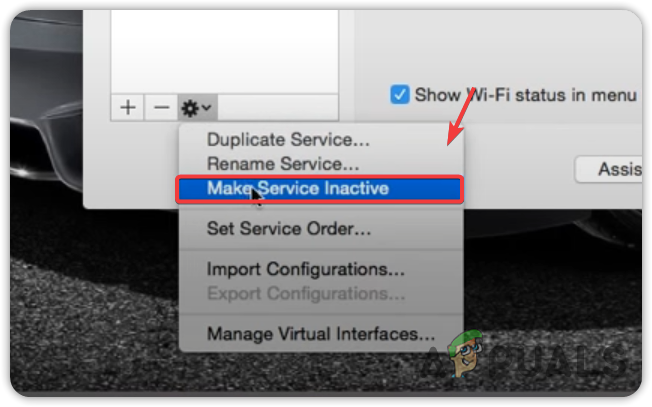
Making a WIFI Network Service Inactive - Click the Plus icon to make a new WIFI service.
- Select WIFI from the Interface dropdown.
- Name the service.
- Then, click Create.
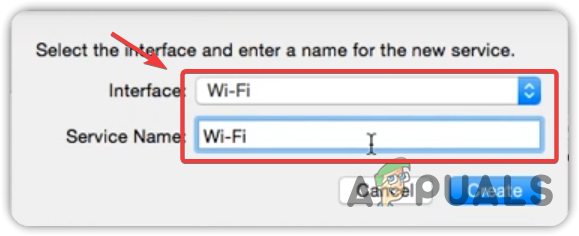
Creating a new WIFI service - Once the new WIFI service is created, click Apply.
- Once complete, your Network Settings have been reset. Open Spotify and check if your issue is resolved.
5. Disable hardware acceleration
Hardware acceleration is a process of shifting certain tasks to a dedicated component to help complete them faster. For instance, if you run an application with hardware acceleration, it will assign the majority of the tasks to dedicated hardware instead of running it via CPU.
In this case, hardware acceleration will let you use dedicated audio hardware on your device to encode/decode and process music. This frees the CPU up, allowing it more time to spend on additional tasks assigned to it. Although hardware acceleration is a useful feature, it causes songs to stop, freeze and skip occasionally.
Furthermore, if your device doesn’t have the necessary components, enabled hardware acceleration will cause Spotify to crash.
To disable the hardware acceleration:
Windows
- To disable the hardware acceleration, open Spotify and click on three dots.
- Hover the mouse on View and untick the Hardware Acceleration option.
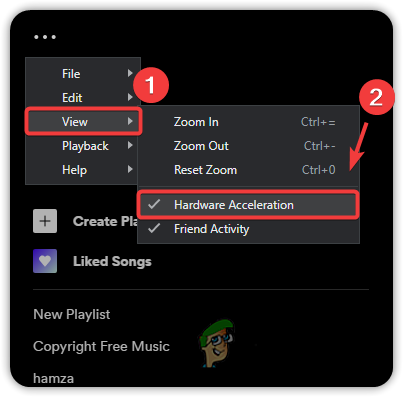
Disabling Hardware Acceleration on Spotify - Click OK to apply the settings.
macOS
- Open Spotify and click Spotify from the top.
- Untick Hardware Acceleration from the list of options.
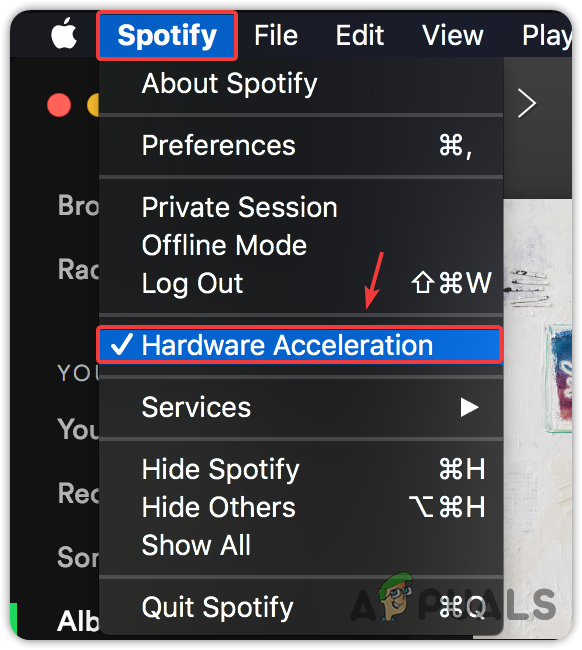
Disabling Spotify Hardware Acceleration on Mac
6. Run Spotify in a compatibility mode
Compatibility mode runs an application/game with an earlier version of Windows, which fixes many problems if the compatibility settings with the latest version cannot run the application smoothly.
If Spotify is crashing, freezing, or lagging on your current compatibility settings, you can try running that application with the earlier version of Windows, like Windows 8. However, if that solution fails, revert the compatibility settings as it can cause issues later.
Windows
- To run Spotify in compatibility mode, right-click Spotify and go to Properties.
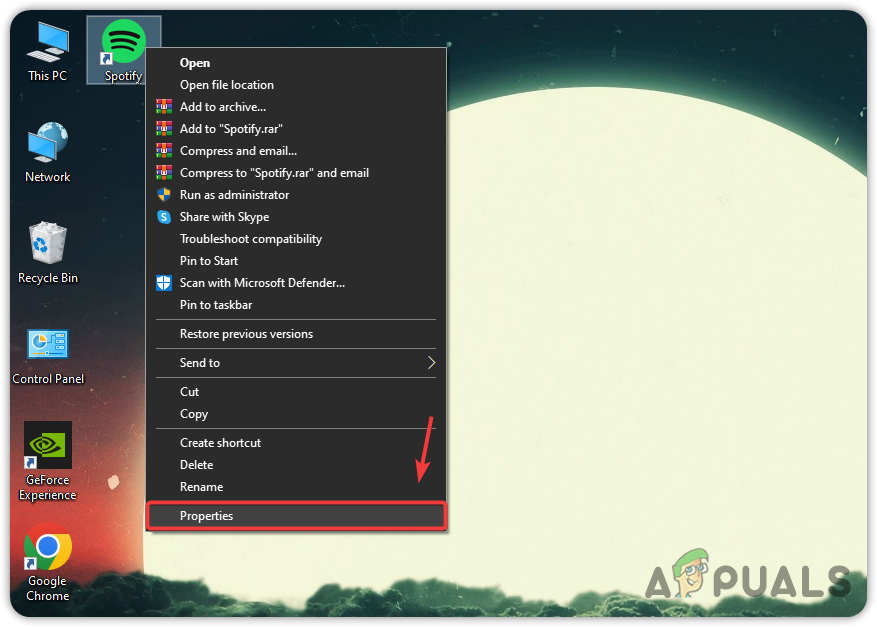
Opening Spotify Properties - Then go to the Compatibility tab and tick Run this Program in compatibility mode for:
- Then, select Windows 8 from the menu.
- Then, click Apply and click OK.
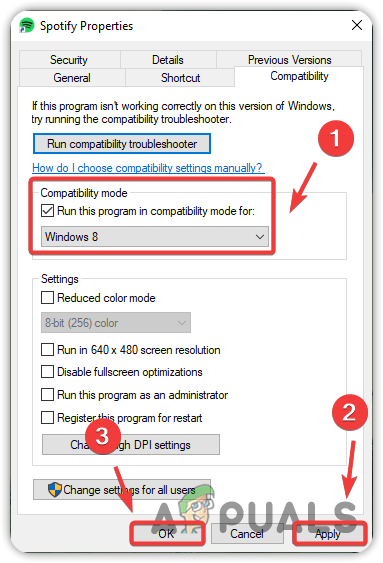
Running Spotify in a Compatibility mode - Once done, launch Spotify and check if the issue is fixed.
7. Check for updates
If none of the steps has worked so far, and servers are not down, then we recommend you check for updates. Using an older version of Spotify can lead to unusual app behavior, including freezing and crashing. When a new update is available, the users will get the Update option. Once they click on it, the Spotify app will update to the latest version.
Windows
- Open Spotify and click on the drop-down menu.
- If the update is available, you will see Update Available. Restart Now. Click on it to update Spotify to the latest version.
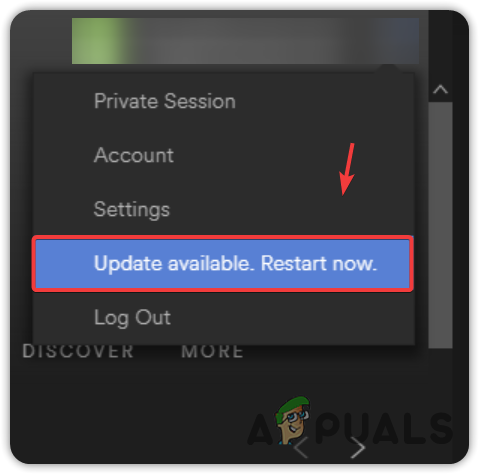
Updating Spotify desktop app
iOS
- Open the App Store, and tap on your Apple account logo on the top right.
- Find Spotify and tap Update. If you cannot find Spotify here, it means you are on the latest version.
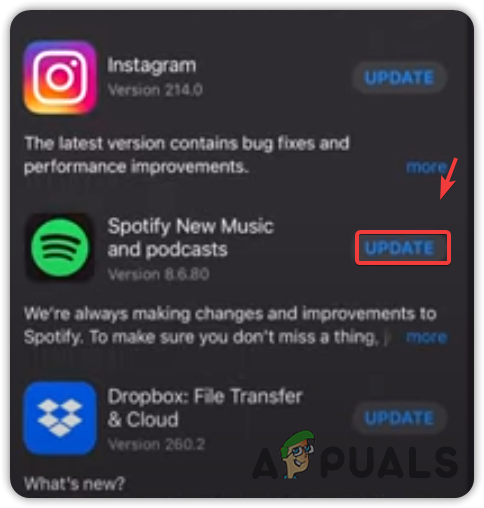
Updating Spotify app on iOS or iPod
Android
- Go to Google Play Store, search Spotify and tap on Update. If the Update option is not available, you are on the latest version.

Updating the Spotify app on Android
8. Clear Spotify Cache and AppData
Cache files are temporary files, also called junk files, which can be created by the application to improve performance. In contrast, the App data is the application data, such as settings, account information, etc. If you delete the cache data, the application will not affect, but if you delete the App Data, it resets the application like it is newly installed.
To clear the app data and cache files:
Windows
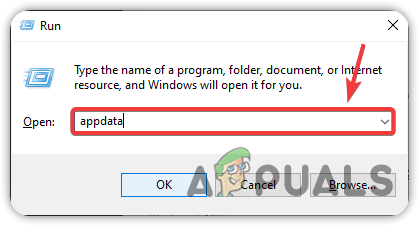
- Press the Windows + R keys together to launch Run Window.
- Type AppData in the search box and click OK to navigate into the AppData folder.
Opening Appdata folder - Go to Local > Packages > SpotifyAB.SpotifyMusic_zpdnekdrzrea0 > LocalCache.
- Then right-click the Spotify folder and click Delete from the options.
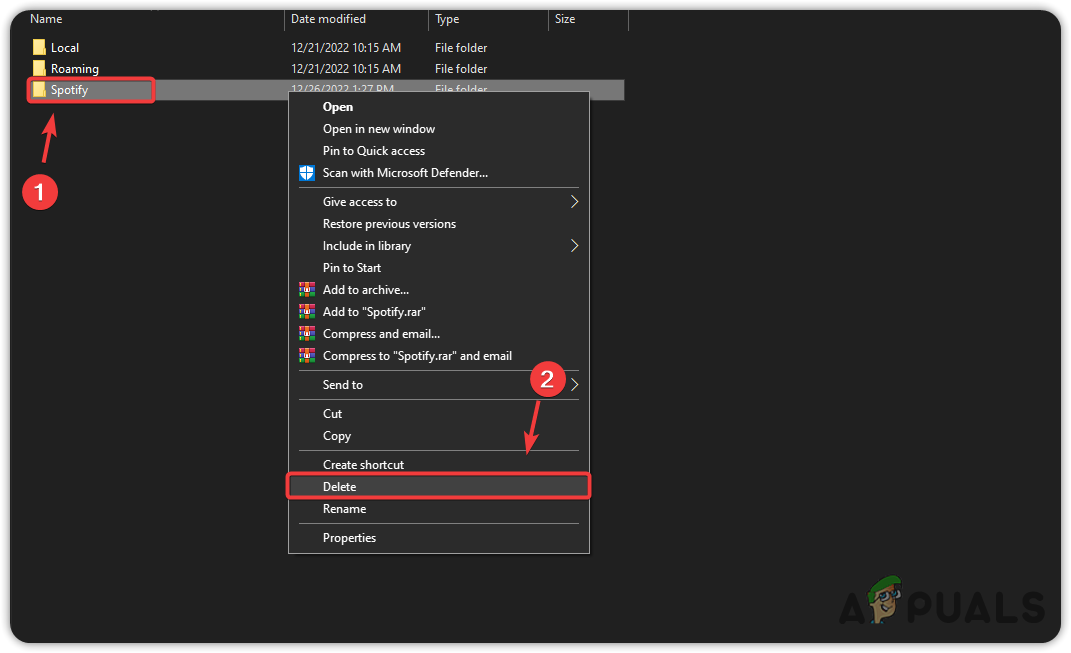
Deleting Spotify folder - Once done, launch Spotify and check if the problem is fixed.
Android
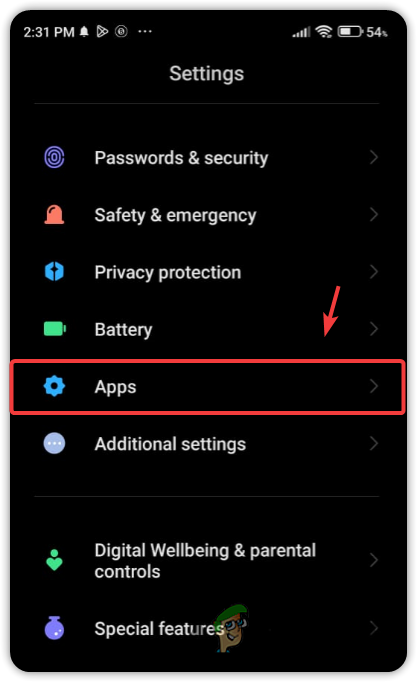
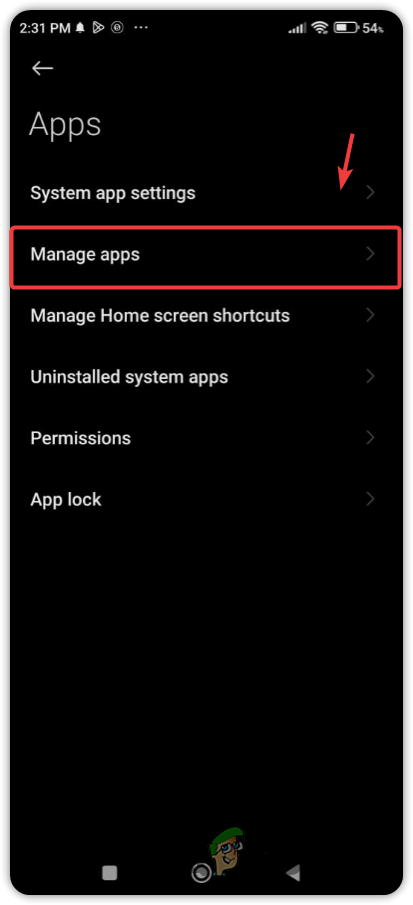
- Open Settings and go to Apps.
Navigating to Apps - Tap on Manage Apps.

Navigating to Manage Apps settings - Search for the Spotify app, then tap on it.
- In the end, tap Clear data.
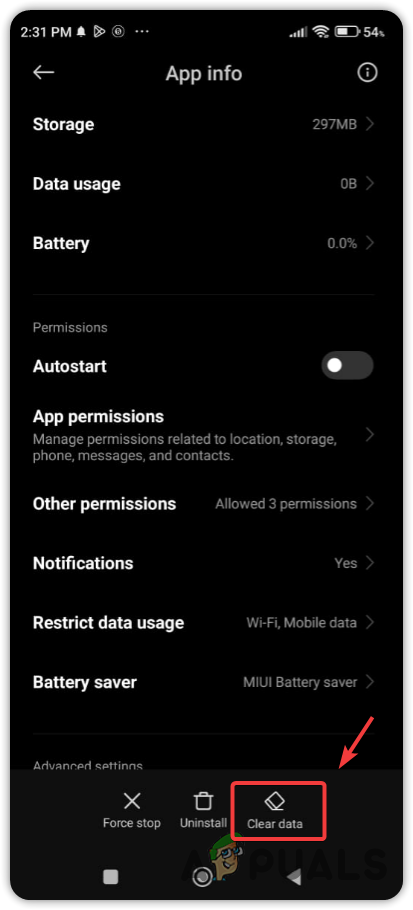
Tapping Clear data - Then, tap Clear all data and Clear cache one by one.
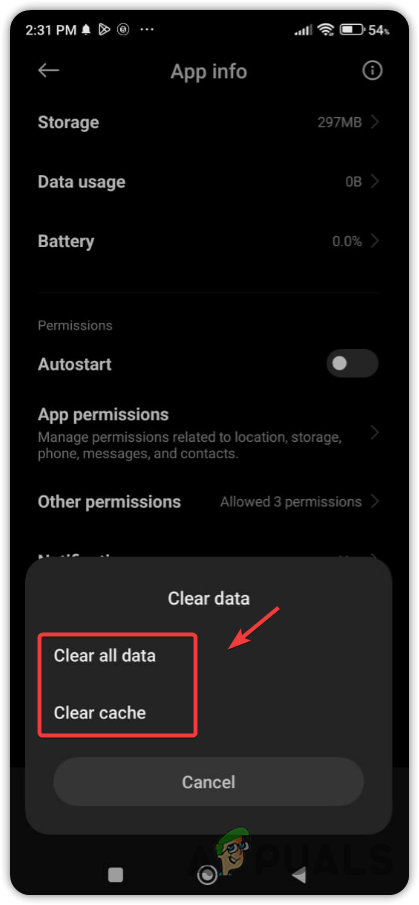
Clearing Spotify cache and data - Tap OK to confirm.
iOS
You cannot clear the Spotify app data on ios devices as there is no option for that, but you can clear its cache from Settings. However, if you want to clear the app data, you can try reinstalling the Spotify app by following the last method.
- To do so, open Spotify and go to Settings by tapping the Settings icon from the top right.
- Now Scroll down until you find the Storage option.
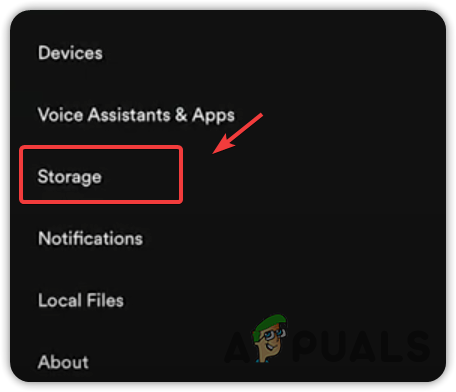
Navigating to Storage - Tap on it and then tap Delete cache.
- Again tap on Delete cache to confirm the action.
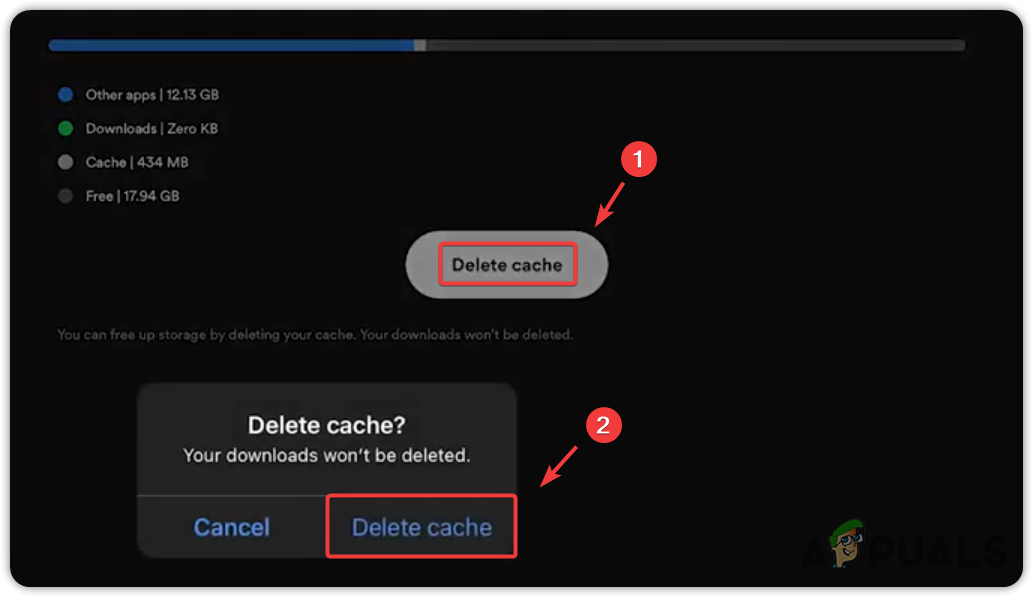
Deleting Spotify Cache
macOS
- Open Finder and click Go from the top.
- Then, click Computer from the options.
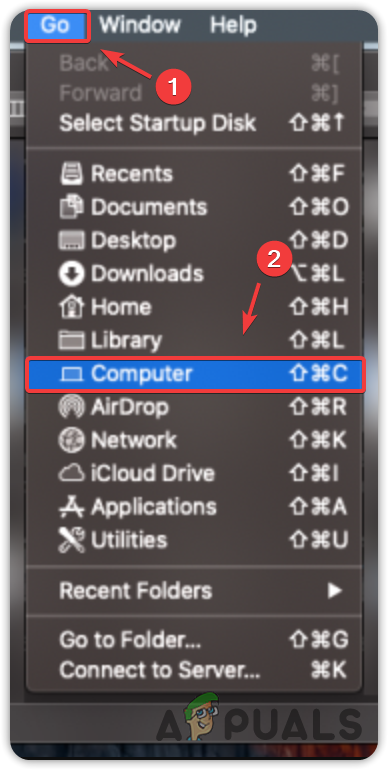
Navigating to Computer - Double-click the Macintosh and go to Users then select the profile for which you want to clear the cache.
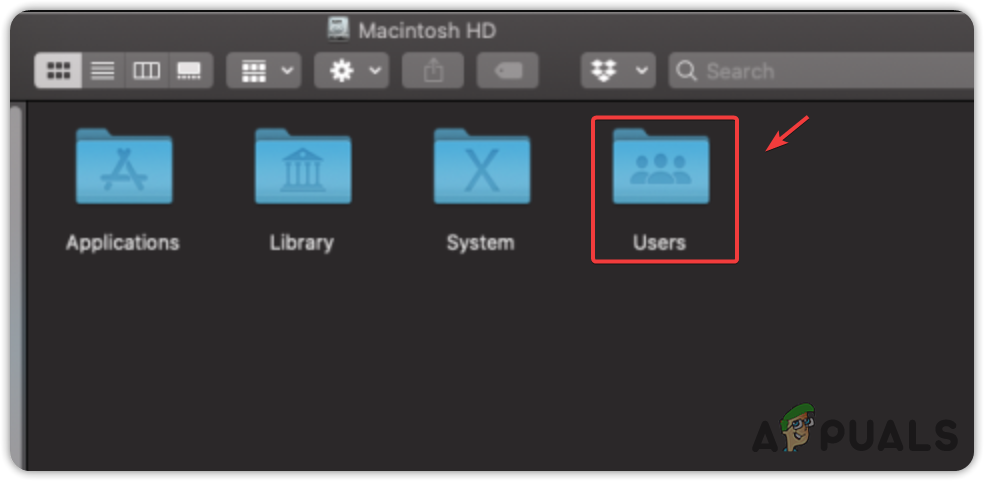
Navigating to the Users folder - Then go to the Library folder then open the cache folder and delete the com.spotify.client folder.
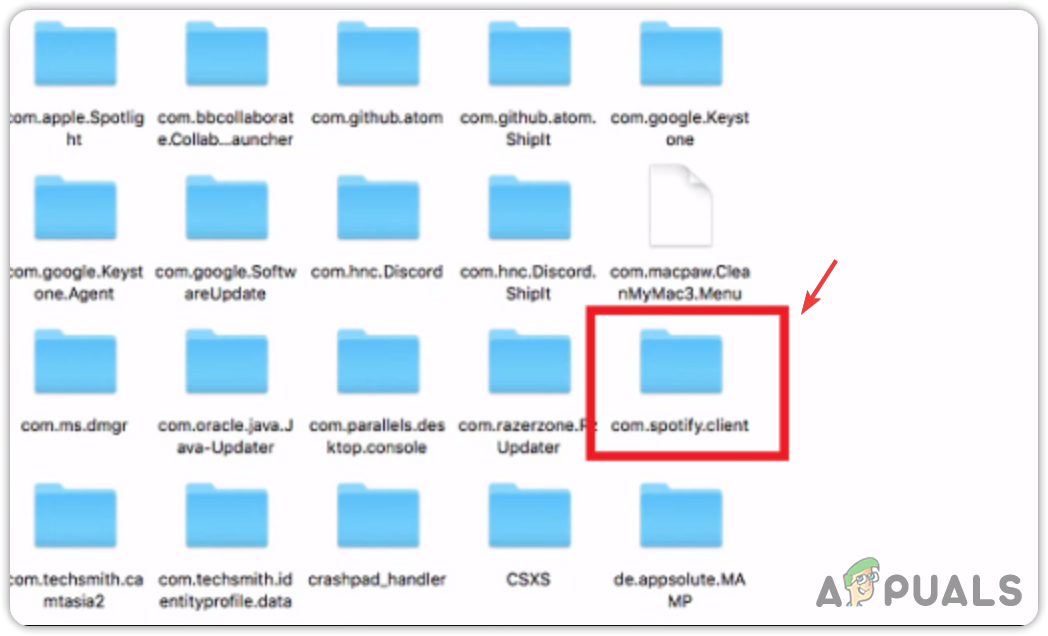
Deleting Spotify Cache on mac - Once done, launch Spotify and check if the problem is resolved.
9. Reinstall Spotify App
If an update is not available and the problem still occurs, the last solution you can try is to reinstall the Spotify app. If the issue is due to a problem with the Spotify app, reinstalling the app will fix it.
iOS
- From home, tap and hold Spotify.
- Then tap Remove App then Delete App.
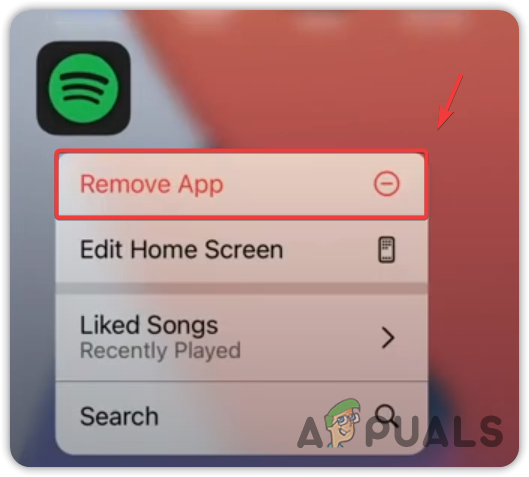
Tapping Remove App - Again tap Delete to delete the app.
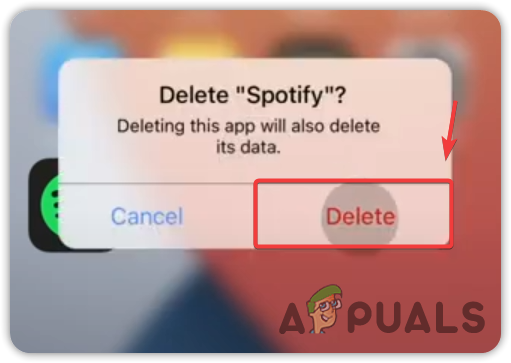
Deleting Spotify App
Windows
- Right-click the Start Menu and select Settings.
- Once Settings is opened, go to Apps & features.
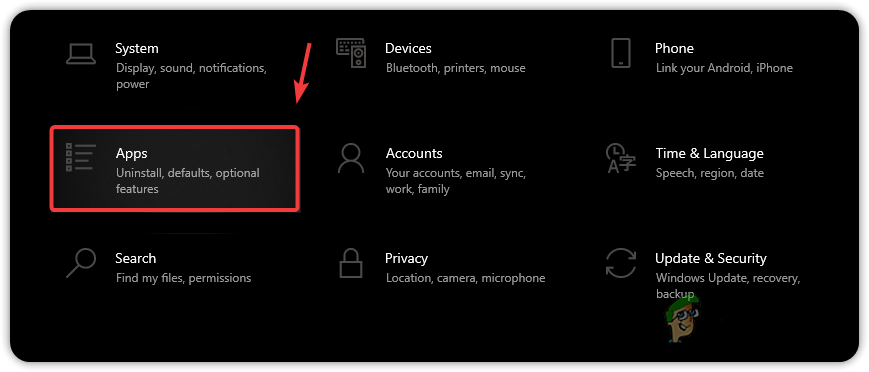
Navigating to Apps and features - Find and select Spotify and then click Uninstall.
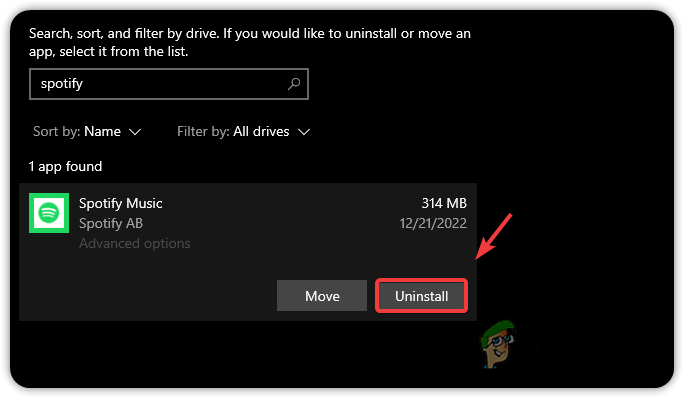
Uninstalling the Spotify app from Windows - Again click Uninstall to confirm.
- Once you have uninstalled it, download Spotify again from the website or Microsoft Store.
- Once reinstalled, check if your issue is resolved.
Android
- Go to Settings, then scroll down to the Apps and navigate into it.
- Tap Manage Apps, then search for Spotify, and then tap on it.
Navigating to Manage Apps settings - Tap Uninstall from the bottom.
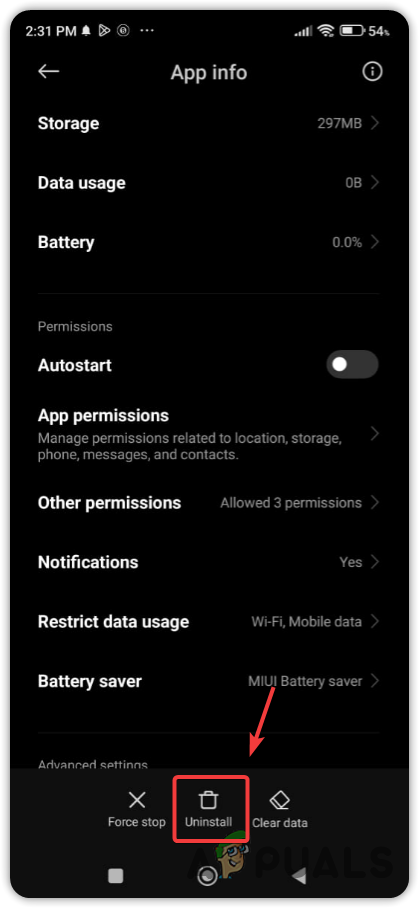
Uninstalling Spotify App - Tap OK to uninstall Spotify.
- Once done, go to the Play store and install Spotify from there.
- Once done, check if the issue is fixed.