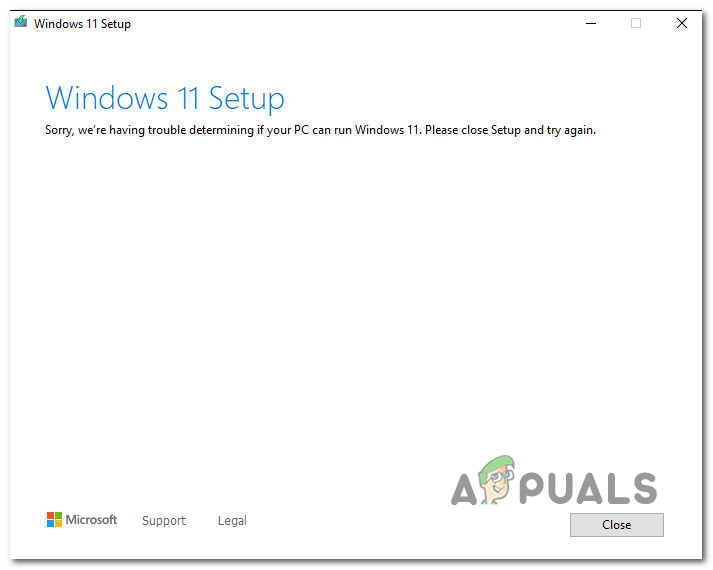
Fix: “Sorry, We’re Having Trouble Determining If Your PC can Run Windows 11”
Some Windows 11 are reportedly getting the ‘Sorry, we’re having trouble determining if your PC can run Windows 11‘ error when attempting to upgrade to Windows 11. This issue is reported to occur when upgrading to the Home, Pro, and Enterprize versions of Windows 11.
After investigating this issue thoroughly, it turns out that there are several underlying scenarios that might lead to the apparition of this error. Here’s a shortlist of potential culprits that you should be aware of:
- Windows partition is not marked as active – If you’re currently using a dual-boot system, chances are you’re experiencing this issue because a different partition (than the one holding the current Windows installation) is marked as the active one. You can rectify this issue easily by using the Disk Management utility to mark the correct partition as the active one.
- TCM is disabled – Another fairly common scenario that might cause this problem is when TCM (Trusted Platform Module) 2.0 is disabled at a software level or under the BIOS settings. As long as TCM is supported by your PC, you can resolve this issue by using the TPM management suite to enable this component and ensure that it’s also enabled from your BIOS settings.
- Windows Update inconsistency – If you’re experiencing this issue while attempting to upgrade to Windows 11 once you’re prompted by a Windows Update, you might actually be dealing with a partially corrupted WU component (typically the case if other pending updates fail as well). In this case, you can fix the issue by running the Windows Update troubleshooter and applying the recommended fix.
- Corrupted BCD data – Another potential culprit that you should investigate is a scenario in which the upgrade is essentially being prevented by some type of corruption that currently affects the boot configuration data. To resolve this issue, you’ll need to run a series of commands (from an elevated CMD prompt) in order to fix the corrupted BCD data.
- 3rd party interference with the upgrading process – As it turns out, there are several 3rd party programs that might interfere with the upgrading process to Windows 11 (especially if you’re using the Upgrade assistant app). In this case, you can perform a clean boot procedure before attempting the upgrading process once again.
- System File Corruption – Under certain circumstances, system file corruption can also be responsible for the apparition of this error code. Since there are a lot of different system files that are prone to break, you should be able to fix the issue by performing a repair install procedure prior to deploying the upgrade to Windows 11 once again.
Now that you are familiar with every potential reason why you might be experiencing the ‘Sorry, we’re having trouble determining if your PC can run Windows 11‘ error when upgrading to Windows 11, let’s go over the most common fixes for being successful in repairing this weird Windows 11 upgrade glitch.
1. Mark the partition as active
If you’re getting this error message while trying to upgrade to Windows 11, the first thing you should do is check whether the Windows partition is marked as the active one.
This shouldn’t be a problem with a single boot setup, but if you’re using a dual boot configuration, there’s a real possibility that your Windows partition is not marked as the active one which will trigger the ‘Sorry, we’re having trouble determining if your PC can run Windows 11‘ error when you attempt to upgrade.
If you find yourself in this particular scenario, you can fix the issuer by using the Disk Management tool to make the Windows partition (most likely the C: drive) the active one.
Follow the instructions below for a complete step-by-step guide on how to do so:
- Press Windows key + R to open up a Run dialog box. Next, type ‘diskmgmt.msc’ inside the text box and press Enter to open up the Disk Management window.
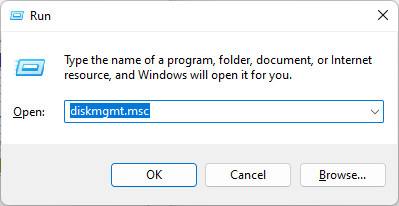
Open up the Disk Management menu - When you’re prompted by the User Account Control window, click Yes to grant yourself admin access.
- Once you’re inside the Disk Management tool, simply right-click on your OS partition and click on Mark partition as Active from the context menu that just appeared.
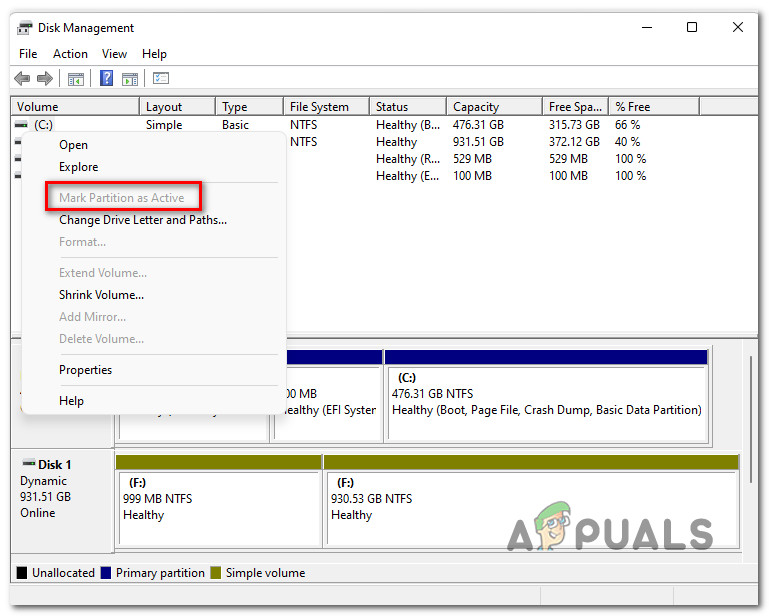
Mark partition as active Note: If you’re not exactly sure what’s your Windows partition, look directly under it and see which partition contains the Boot, Page File, Crash Dump, and Basic Data Partition.
- Once you’ve ensured that your OS drive is marked as the active partition, reboot your PC, then attempt to initiate the upgrade once again and see if you are able to complete the process.
In case the upgrade to Windows 11 is still being interrupted by the ‘Sorry, we’re having trouble determining if your PC can run Windows 11’ error, move down to the next potential fix below.
2. Enable TPM (if applicable)
Another potential culprit that you should investigate is a scenario where TPM 2.0 (Trusted Platform Module) is disabled even though your PC is equipped with the technology to support it.
If the issue is TPM-related, there are two possible scenarios:
- TPM 2.0 is not supported by your hardware
- TPM 2.0 is disabled from your BIOS or UEFI settings
If you’re not sure if your PC supports TPM 2.0, you can follow the instructions below to use the Trusted Platform Module Management tool and figure out if TPM is supported, unsupported or disabled on your PC:
- Press Windows key + R to open up a Run dialog box. Next, type ‘tpm.msc’ inside the text box and press Enter to open up the Trusted Platform Module (TPM) Management app.
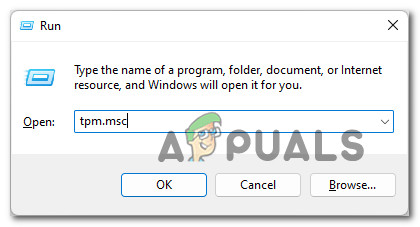
Open up the Trusted Platform Module menu - If you’re prompted by the User Account Control, click Yes to grant admin access.
- Once you’re finally inside the TPM Management app, check the current status (right-hand section of the TPM menu)

Status of TPM module - Depending on the TPM status, there are 3 possible scenarios:
- TPM is ready to use – This means that TPM 2.0 is already enabled, so no further action is required. In this case, skip the remaining steps and move directly to the next method below.
- TPM is not supported – This means that your motherboard doesn’t support TPM 2.0. In this case, you should abandon the idea of installing Windows 11 conventionally. But you might be able to bypass the Windows 11 requirements by following this guide instead.
- Compatible TPM cannot be found – If you see this message, it means that TPM is supported but disabled from your BIOS or UEFI settings. In this case, follow the remaining instructions to make sure that you enable TPM.
- Start your PC (or restart it) and press the Setup key (BIOS key) once you see the initial screen appearing.
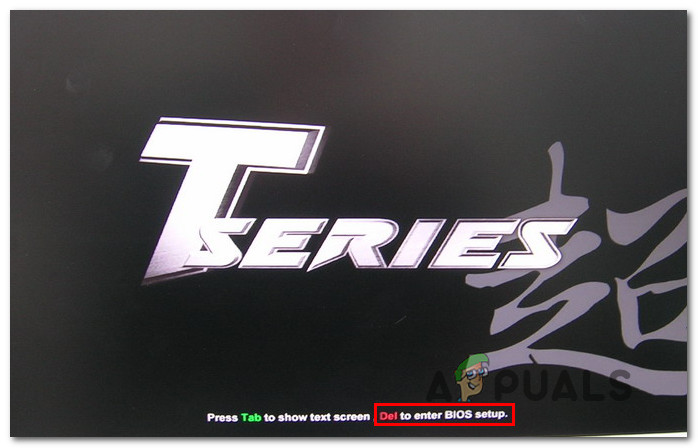
Press the Setup key - Once you’re inside the main BIOS / UEFI menu, access the Security tab from the list of options available.
- Inside the Security tab, look for an entry named TPM or Trusted Platform Module and set it to Enabled (or On) depending on the BIOS type that you’re using.
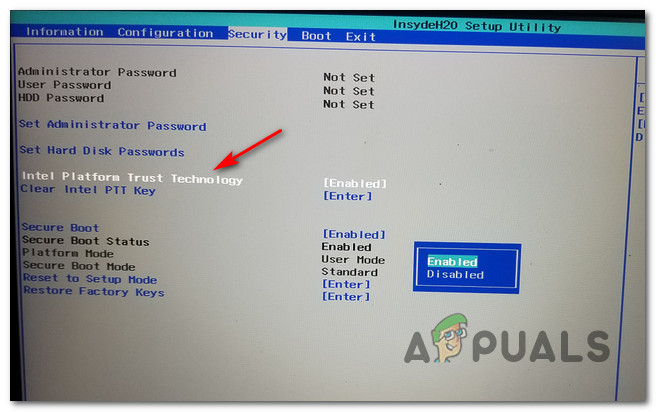
Enable the TPM Note: The screen you’re seeing might be entirely different depending on your motherboard manufacturer.
- Once you’ve ensured that TPM is enabled, reboot your PC normally, then attempt to upgrade to Windows 11 once again and see if the problem is now fixed.
In case you’re still seeing the same ‘Sorry, we’re having trouble determining if your PC can run Windows 11‘ error when attempting to upgrade to Windows 11, move down to the next method below.
3. Run the Windows Update Troubleshooter (if applicable)
Keep in mind that in case you’re seeing the ‘Sorry, we’re having trouble determining if your PC can run Windows 11‘ error when you attempt to upgrade to Windows 11 after being prompted to do so via Windows Update, chances are you’re dealing with a corrupted dependency.
Since there are several different possible culprits, our advice is to start by running the Windows Update Troubleshooter to see if your operating system is not actually capable of fixing the issue automatically.
In case the issue at hand is already covered by an automated fix that Microsoft already developed, this tool will be able to fix the issue for you
Follow the instructions below to run the Windows Update Troubleshooter on your Windows PC:
- Open up a Run dialog box by pressing Windows key + R. Next, type ‘control’ and press Enter to open up the classic Control Panel interface.
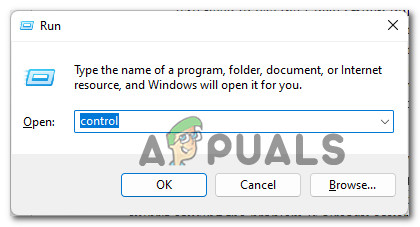
Accessing the Control Panel Interface - Once you’re inside the classic Control Panel menu, use the search function (top-right corner) to search for ‘troubleshoot’ and press Enter.
- From the list of results, click on Troubleshooting.
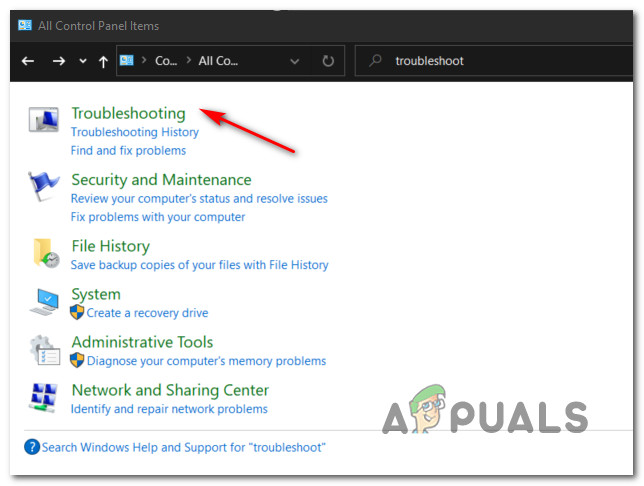
Accessing the Troubleshooting tab - From the main Troubleshooting tab, go under System and Security and click on Fix problems with Windows Update.

Accessing the Windows Update Troubleshooter - Once you get to the first prompt, click on Next and wait for the initial scan to complete.
- If a viable fix is identified, click on Apply this fix and wait until the recommended fix is automatically enforced.
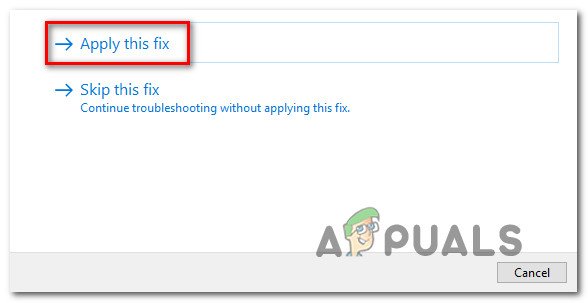
Apply the recommended fix Note: Depending on the fix that will get recommended by the Windows Update Troubleshooter, you might also need to perform a series of manual steps to get the job done. Just follow the on-screen instructions and you’ll be fine.
- Once the recommended fix is successfully applied, reboot your PC and attempt to do the upgrade once again after the next startup is complete.
If the upgrade to Windows 11 is interrupted by the same ‘Sorry, we’re having trouble determining if your PC can run Windows 11’ error, move down to the next method below.
4. Rebuild the BCD data before upgrading
Keep in mind that corrupted BCD (Boot Configuration Data) can also be responsible for this error that you get every time you use the Windows Upgrade utility to make the leap to Windows 11.
Keep in mind that even though the new OS is installed over this existing one, their setup will still take the time to check the integrity of the MBR and BCD files – in case an inconsistency is found, you can expect to see the Sorry, we’re having trouble determining if your PC can run Windows 11 error as the installer interrupts the upgrading operation abruptly.
Fortunately, if you find yourself in this case, you can most likely fix this issue by opening an elevated CMD prompt and running a series of bootrec commands in order to fix every potentially corrupted MBR and BCD file.
Here’s what you need to do:
- Press Windows key + R to open up a Run dialog box. Next, type ‘cmd’ inside the text box and press Ctrl + Shift + Enter to open up an elevated CMD prompt with admin access.
- When you’re prompted by the User Account Control, click Yes to grant admin access.

Opening CMD with admin access - Once you’re inside the elevated CMD prompt, type the following commands in the same order and press Enter after each command to effectively fix the potentially corrupted MBR and BCD data:
bootrec /fixmbr
bootrec /fixboot
bootrec /scanos
bootrec /rebuildbcd
Note: Running these commands might take over 30 minutes, so wait patiently and don’t interrupt the process even if the CMD prompt looks like it frozen. In case you see the ‘Access it denied’ error, follow these instructions to fix the bootrec access problem.
- Once all the commands mentioned above have been runner successfully, close the elevated CMD prompt and reboot your PC once again.
- After your PC boots back up, repeat the upgrade to Windows 11 attempt and see if the error is now fixed.
If you’re still seeing the same kind of error even after you’ve ensured that your MBR and BCD data is not corrupted, move down to Method 5 below.
5. Clean Boot when Upgrading (if applicable)
In case you’re experiencing this issue when attempting to use the Windows 11 Upgrade Assistant, you also need to ensure that there’s not any 3rd party process or service that is interfering with the Windows 11 setup.
Since there are literally hundreds of potential culprits that are known to cause this behavior, the best course of action is to clean boot your Windows PC and perform the upgrade while you’re certain that no 3rd party program is interfering.
Note: A clean boot procedure will ensure that only the bare essential Windows processes and startup items are permitted to run. This way you can exclude the possibility of a 3rd party inteference.
Once you have successfully managed to clean boot, attempt to upgrade once again and see if the problem is now fixed.
In case the problem is still not fixed, move down to the final method below.
6. Perform a Repair install before Upgrading
If you’ve come this far without a working solution, is almost clear that you’re dealing with some kind of system file corruption that you won’t be able to fix yourself.
In cases like this one, the only option that will spare you from having to clean install is a repair install procedure.
Note: This operation will allow you to essentially replace every Windows component without losing access to our personal files (even if they’re stored on the OS drive). You get to keep personal media, games applications, and documents.
After you repair your PC, attempt to make the upgrade to Windows 11 once again and see if the ‘Sorry, we’re having trouble determining if your PC can run Windows 11’ error is fixed.