Fix: Sony WH-H910N Headphones not Recognized
Your Sony WH-H910N h.ear headphones may not be recognized as an Audio Device if the Bluetooth services of your system are in an error state. Moreover, a corrupt pairing profile on the headset or system may also cause the error under discussion.
The issue arises when a user pairs his WH-H910N headphone with the system but the system does not show the device as audio but is shown under other devices.
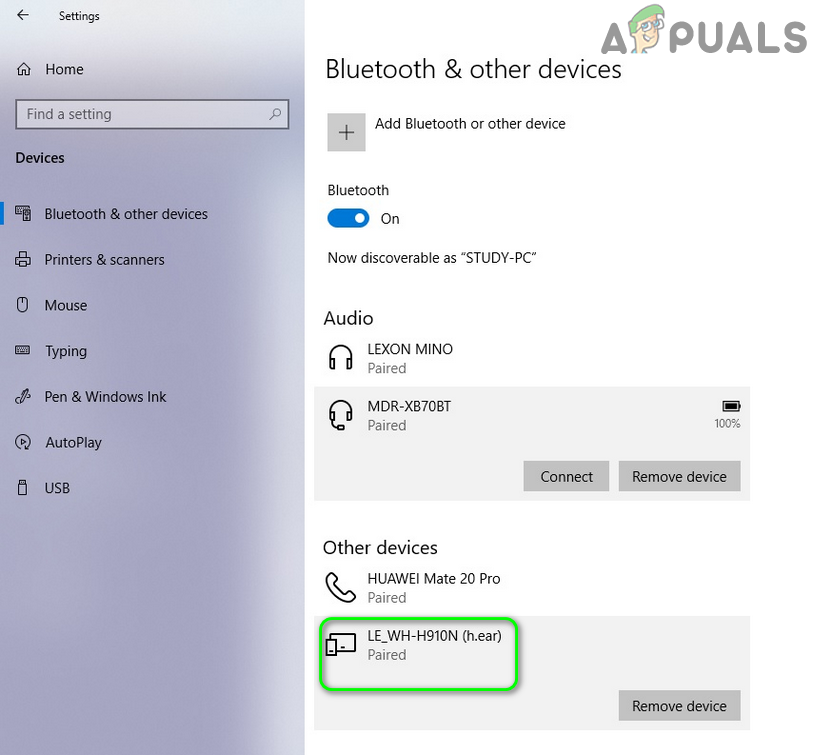
Before moving on with the solutions to successfully connect/pair WH-H910N, make sure that the headset and system are not paired with any other Bluetooth device. Moreover, check if the headset works fine with another system or phone.
Solution 1: Enable the Headset in the Playback Devices
You may encounter the error under discussion if your headset is disabled in the playback devices. In this context, enabling the headset in the playback devices may solve the problem.
- Make sure that the devices are paired and then right-click on the volume icon in your system’s tray.
- Now, in the menu displayed, select Sounds and navigate to the playback devices.
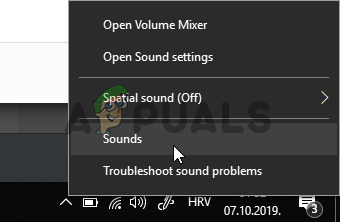
Opening Sounds from the system tray - Then check if the headset is listed there. If not, then right-click on the white blank area of the window and choose Show Disabled Devices.
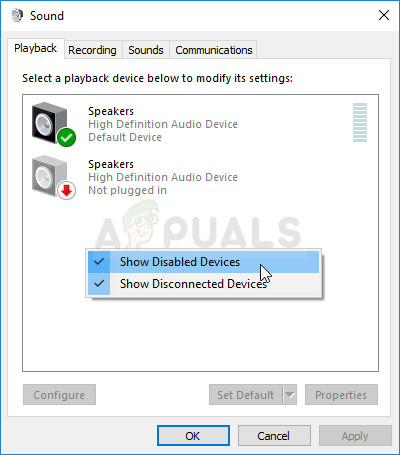
Show disabled devices in the Playback tab of Sounds - Now, check if the headset is shown as a disabled device, if so, then right-click on it and choose Enable.
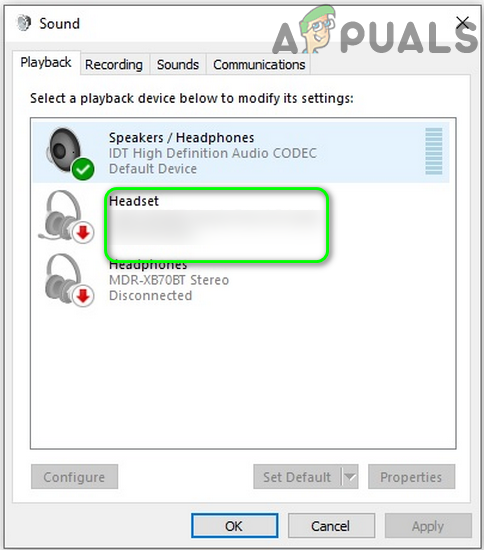
Enable the Headset - Once again, right-click on the headset and select Set as Default Device.
- Now, check if the headset is operating normally.
Solution 2: Restart the System Services Related to Bluetooth
You may encounter the error under discussion if the services related to Bluetooth are in an error state or stuck in the operation. In this context, restarting the said services may solve the problem.
- Unpair the headset and your system.
- Then, open the Cortana Search by pressing Windows + S keys and search for Services. Now, in the results pulled by the search, right-click on Services and then choose Run as Administrator.

Open Services as Administrator - Now, right-click on the Bluetooth Audio Gateway Service and select Properties.
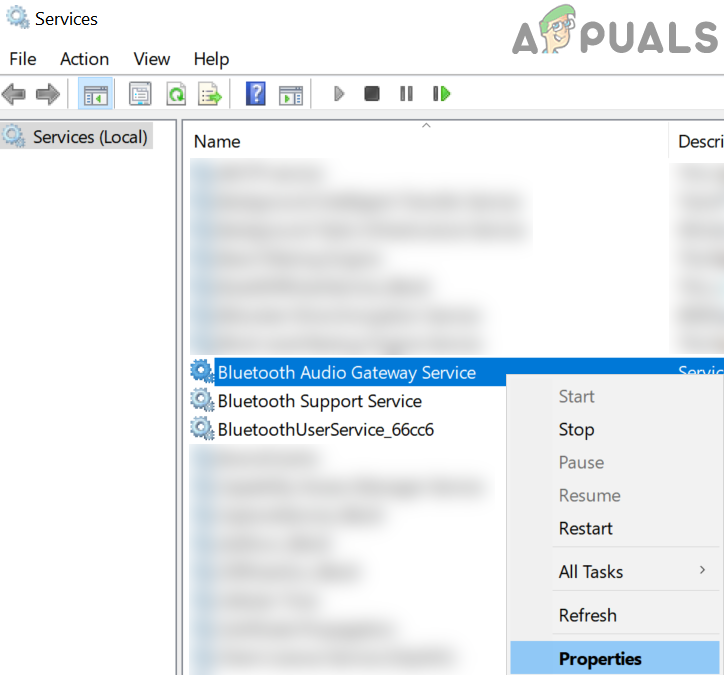
Open Properties of Bluetooth Audio Gateway Service - Then open the dropdown of Startup type and select Automatic.
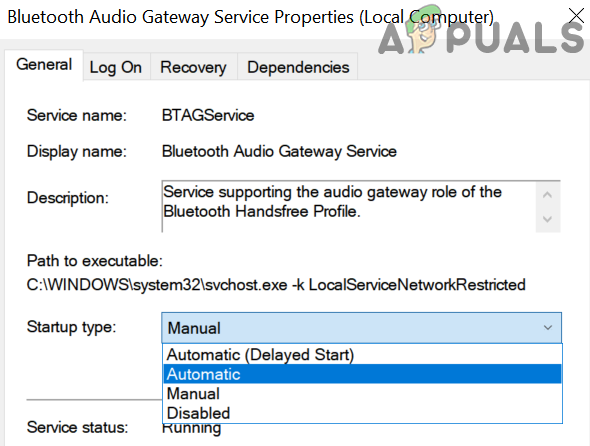
Change Startup Type of Bluetooth Audio Gateway Service to Automatic - Now click on Apply/OK buttons and then re-pair the devices to check if the headphone is working fine.
- If not, open the Services window (step 2) and right-click on the Bluetooth Audio Gateway Service, and select Restart.
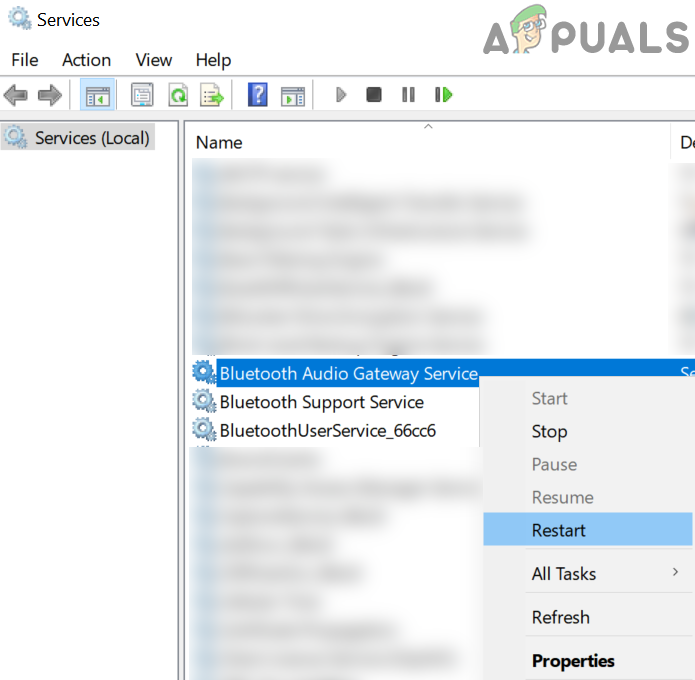
Restart Bluetooth Audio Gateway Service - Then repeat the same to restart all the Bluetooth services, usually the following services (some of these services may not be present on your system depending on the Windows 10 version):
Bluetooth Support Service

Bluetooth Handsfree Service

BluetoothUserService_8c55026
- Now, re-pair the headset and system to check if the headphone issue is resolved.
Solution 3: Unpair and Re-pair the Headset and Your System
The current headphone issue could be a result of a temporary glitch of the communication modules of the devices. The glitch can be removed by unpairing and re-pairing the devices.
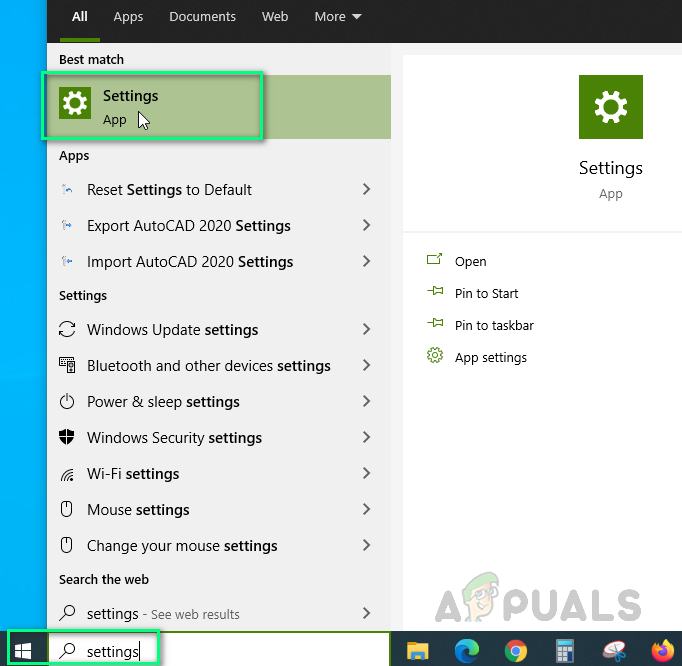
- Open the Windows menu by clicking on the Windows button and then search for Settings. Then, in the results pulled by the search, choose Settings.
Opening Windows Settings - Now open Devices and then select the problematic Bluetooth headset (under Bluetooth) and click on Remove Device.
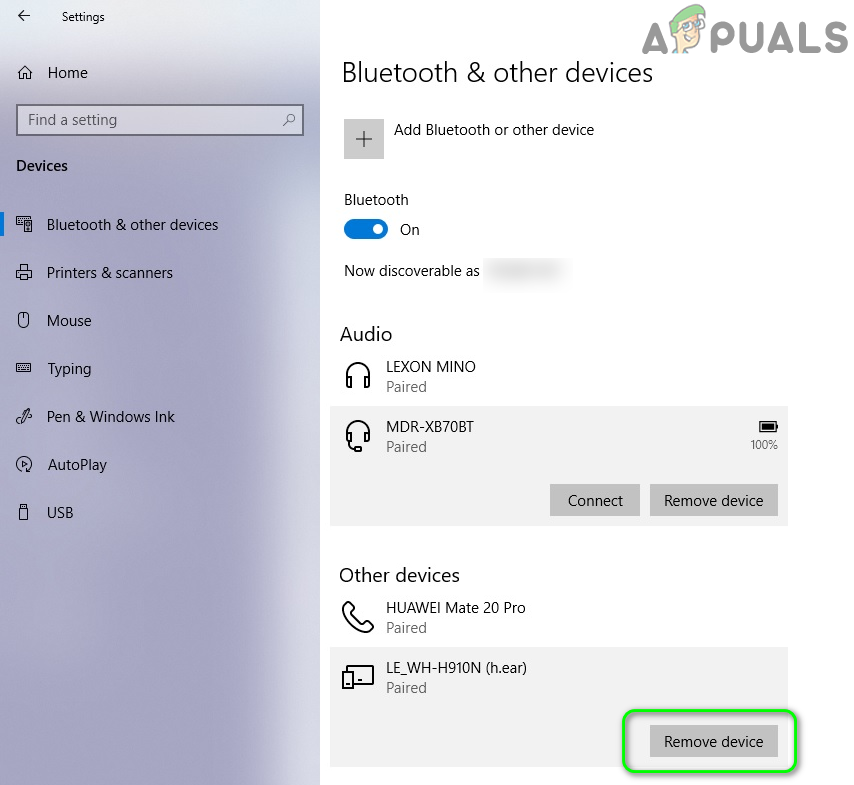
Remove WH-H910N Headset - Now, confirm to remove the device and then restart your system.
- Upon restart, click on the Action Center icon (in the system’s tray) and select Connect.
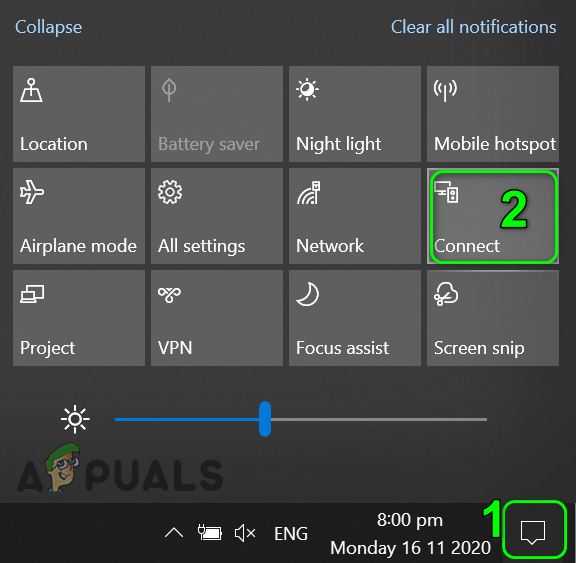
Open Connect in the Action Center - Now, click on your headset and then follow the instructions (if any) on your device and system to complete the pairing process.
- After successfully pairing the devices, check if the headphone is working as an audio device.
- If not, unpair the devices by following steps 1 to 3 and then press the power button of the headset for 7 seconds to put it in the pairing mode (you may get a notification to power off/on the device but keep the power button pressed for 7 seconds).
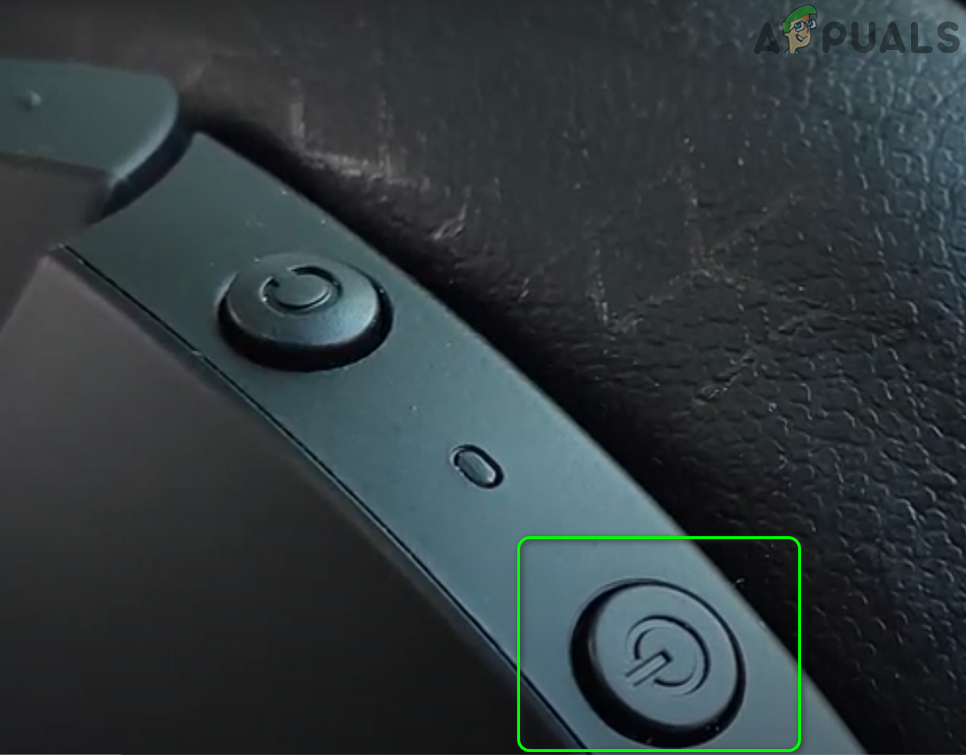
Press the Power Button for 7 Seconds to Put WH-H910N in Pairing Mode - Now, click on the Action Center icon (in the system’s tray) and select Connect.
- Now repeat steps 5 to 6 to pair the devices but do not connect when the device shows LE_WH-H910N (h.ear) but wait till the device says WH-H910N (h.ear) with a headphone icon and then check if the headphone issue is resolved.
Solution 4: Reset Headset to the Factory Defaults
You may encounter the error under discussion if the headset itself is in an error state or its firmware is corrupt. In this case, resetting the headset (which will reset volume settings, etc. to the factory defaults, and all the pairing information will be erased) to factory defaults may solve the problem.
- Unpair the device and system. Moreover, remove the device from Bluetooth devices of your system as discussed in solution 3.
- Then, make sure that the USB Type-C cable is not connected to the headset.
- Now, simultaneously press and hold the power and C (custom) buttons of the headset for at least 7 seconds.
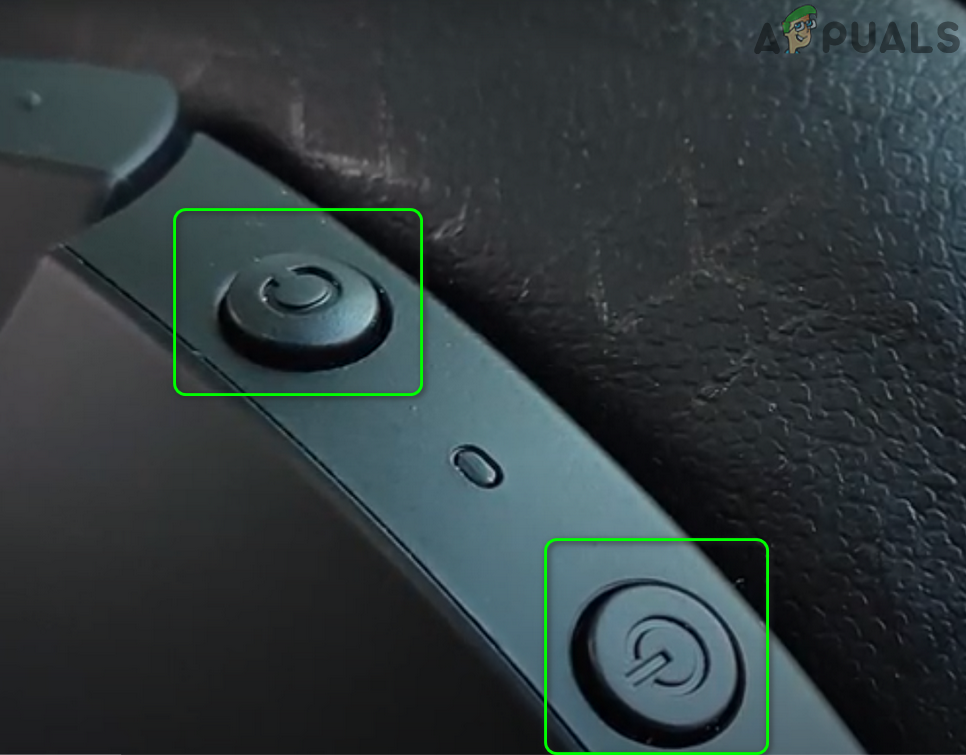
Factory Reset the WH-H910N Headset - Then, the blue indicator will flash 4 times and your headset will be initialized.
- Now, pair the devices again and check if the headset is working fine.
Solution 5: Update/Reinstall Bluetooth Drivers
Your headset may not be recognized as an audio device if its drivers are outdated or corrupt. In this context, updating and reinstalling the drivers may solve the problem.
- Update Windows and your system drivers to the latest build. Also, visit the manufacturer’s website to download the latest Bluetooth driver for your system. If you are using the manufacture utility (like Intel Driver & Support Assistant or Dell Support Assistant), then use the utility to update the driver.
- Now, check if the headset issue is resolved.
- If not, press the Windows key to open Windows Menu and search for Device Manager. Then, in the results shown by the Cortana Search, choose Device Manager.
- Now, expand Bluetooth and right-click on the headset.
- Then, in the menu shown, click on Update Driver and then select Search Automatically for Drivers.
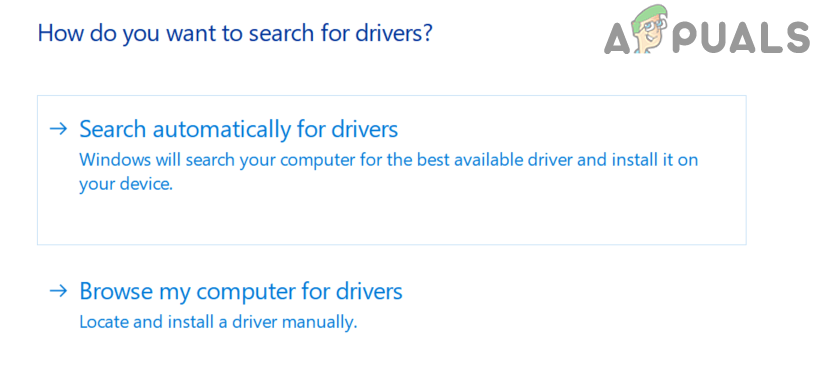
Search Automatically for Drivers - Now, wait for the driver to be updated and then restart your system.
- Upon restart, re-pair the devices and check if the headset is working fine.
- If not, open the Device Manager (step 3) and expand Bluetooth.
- Now, right-click on the headset and then select Uninstall Device.
- Then, check the checkbox of Delete the Driver Software for This Device and click on Uninstall.
- Now, wait for the uninstallation of the Bluetooth device and then restart your system.
- Upon restart, reinstall the Bluetooth driver & re-pair the devices as discussed in solution 3 and hopefully, the headset issue is resolved.


Awesome Kevin , uninstalling the driver did the trick for me thanks