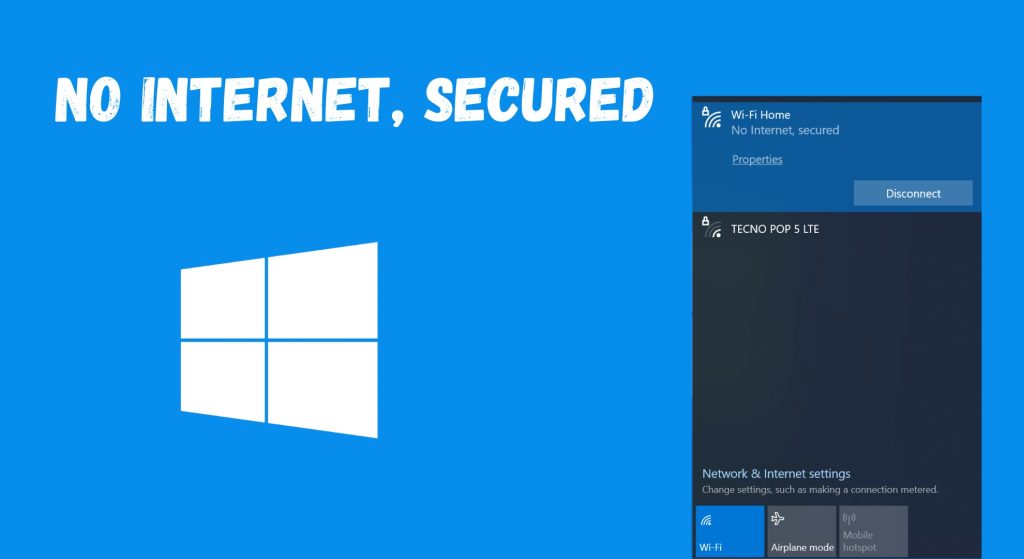
Fix: “No Internet, Secured” Wi-Fi Network Connection Error
Encountering internet issues is common, even for experienced users. On Windows 10 or 11, “No Internet, secured” means your computer connects to a private network but can’t access the internet. This often happens with distant Wi-Fi or other issues.
In this guide, we’ll explain this message and provide solutions to restore your internet connection, focusing on why your computer might be linked to your home network (LAN) yet not receiving data from the broader internet (WAN). Identifying the disruption can help resolve this connectivity problem.
↪ Causes Behind the “No Internet, Secured” error
- Misconfigured network settings: Sometimes, settings for your router, IP, or DNS may not be configured correctly.
- Driver issues: Your network drivers, which facilitate your computer’s internet connection, could be outdated or malfunctioning.
- Third-party interference: Programs like firewalls, anti-virus software, or VPNs might interfere with your internet connection.
- Router problems: Issues with your router, such as software bugs, hardware flaws, or misconfigured settings, could trigger this error.
- IPv6 compatibility: Your router may have trouble with IPv6 settings (a type of internet address format), resulting in issues.
- IP address conflict: This happens when multiple devices on the network use the same IP address, leading to connection issues.
Now that you know the causes, let’s discuss the solutions.
↪ Pre-solutions
- Restart your computer and router: Often, simply restarting both devices can resolve the issue. This action can clear temporary glitches, and when your devices power back on, the problem might be resolved.
- Disconnect other devices: Devices like phones, when connected to your computer, might impact your internet. Disconnect them to see if it helps resolve the network issue.
If these simple steps don’t fix the problem, you can proceed with the more detailed solutions listed below.
1. Reset your connection
Resetting your network connection can often resolve the “No Internet, secured” issue.
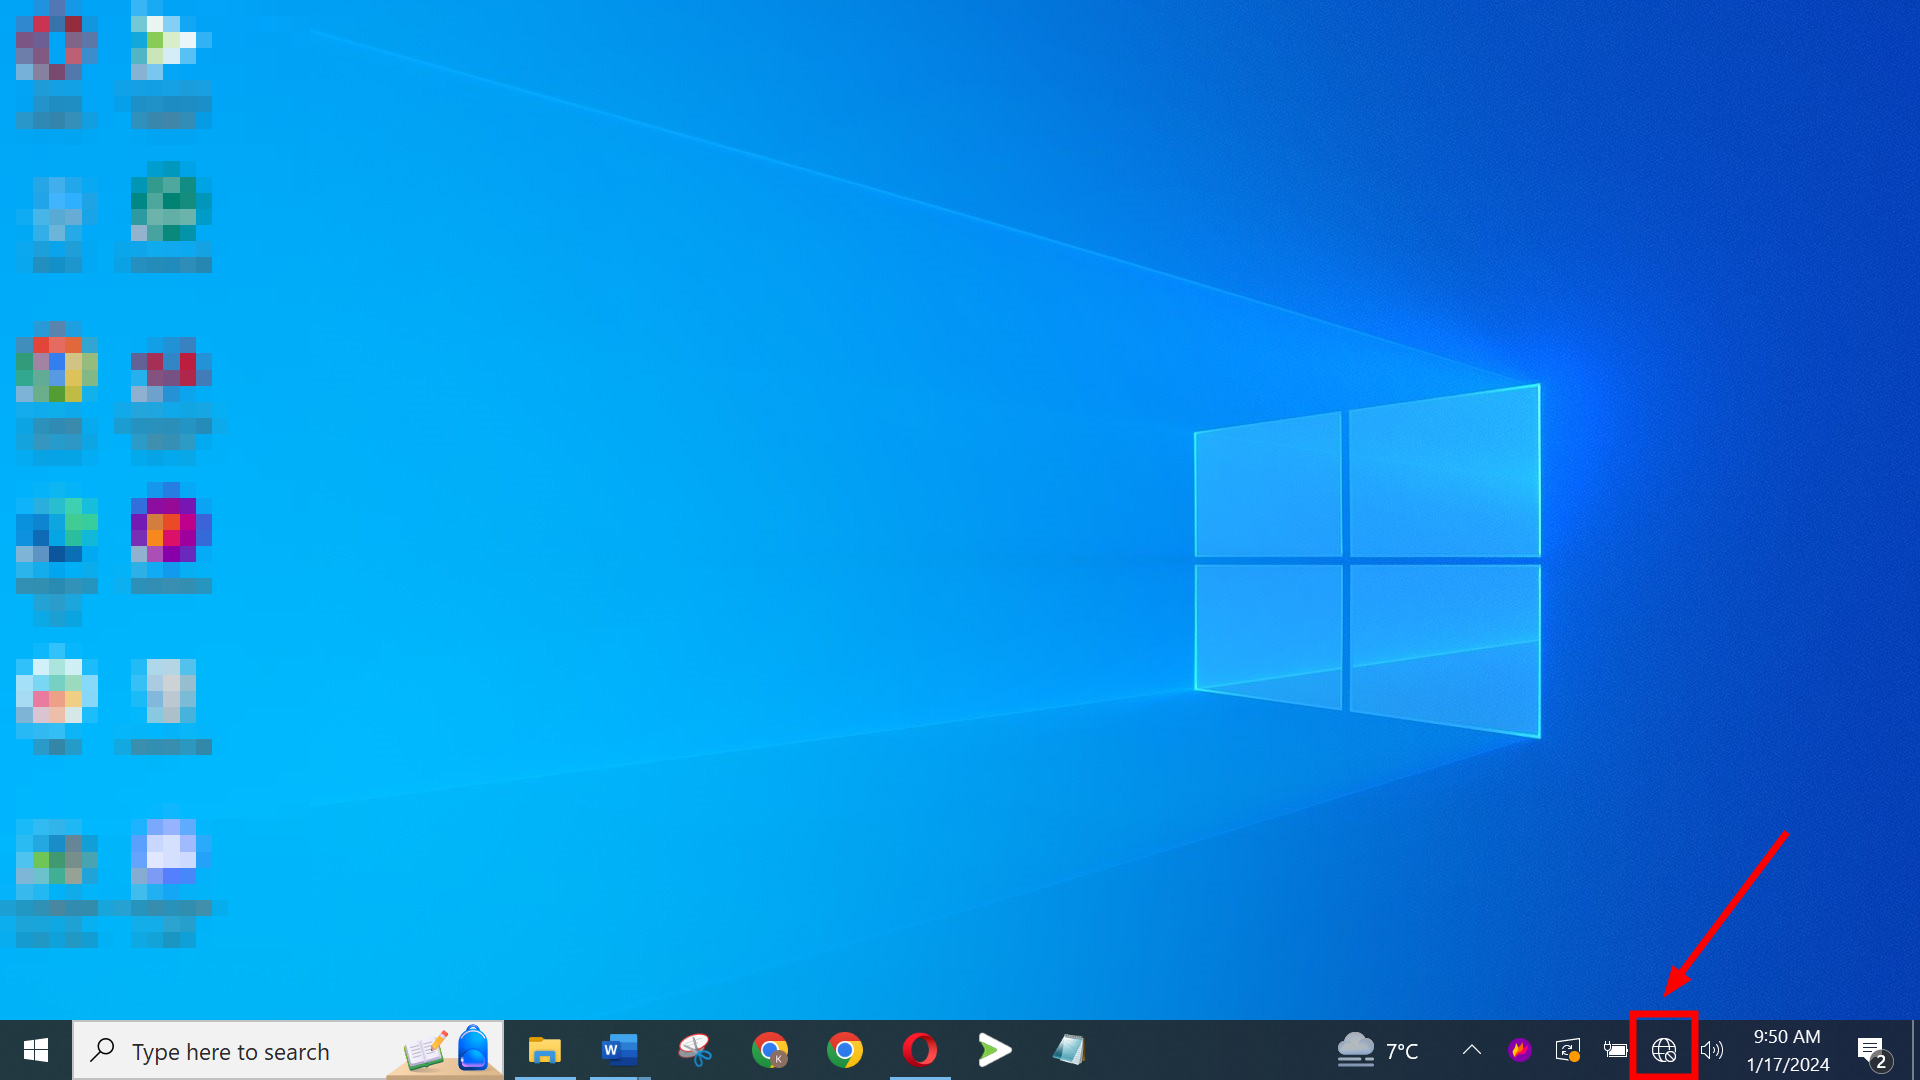
- Click on the internet symbol in your taskbar, then choose the network that displays the “No Internet, secured” message.
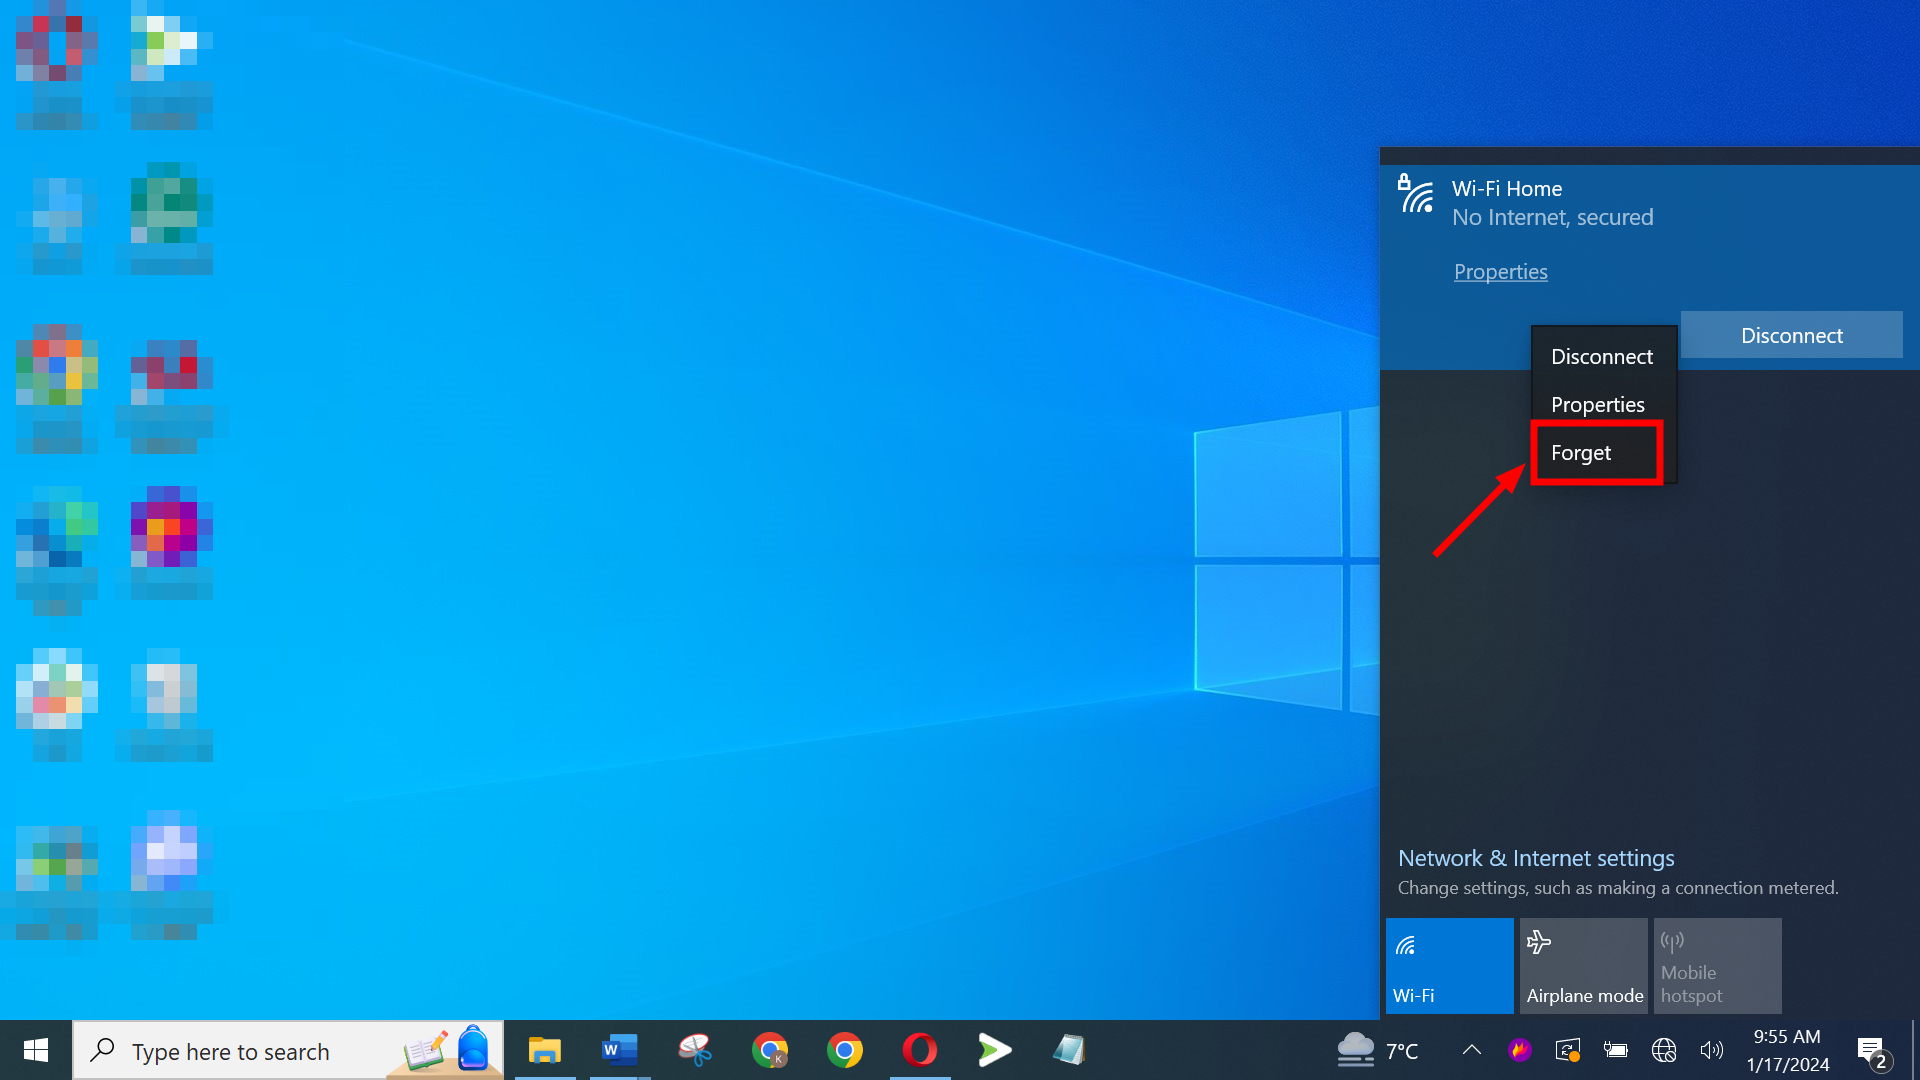
Click on the internet symbol in your taskbar - Right-click on this network. You’ll see an option to “Forget” this network—click on it. If connected via an Ethernet cable, unplug it from your computer.
Click on Forget - Activate “Airplane” mode on your device, then restart it.
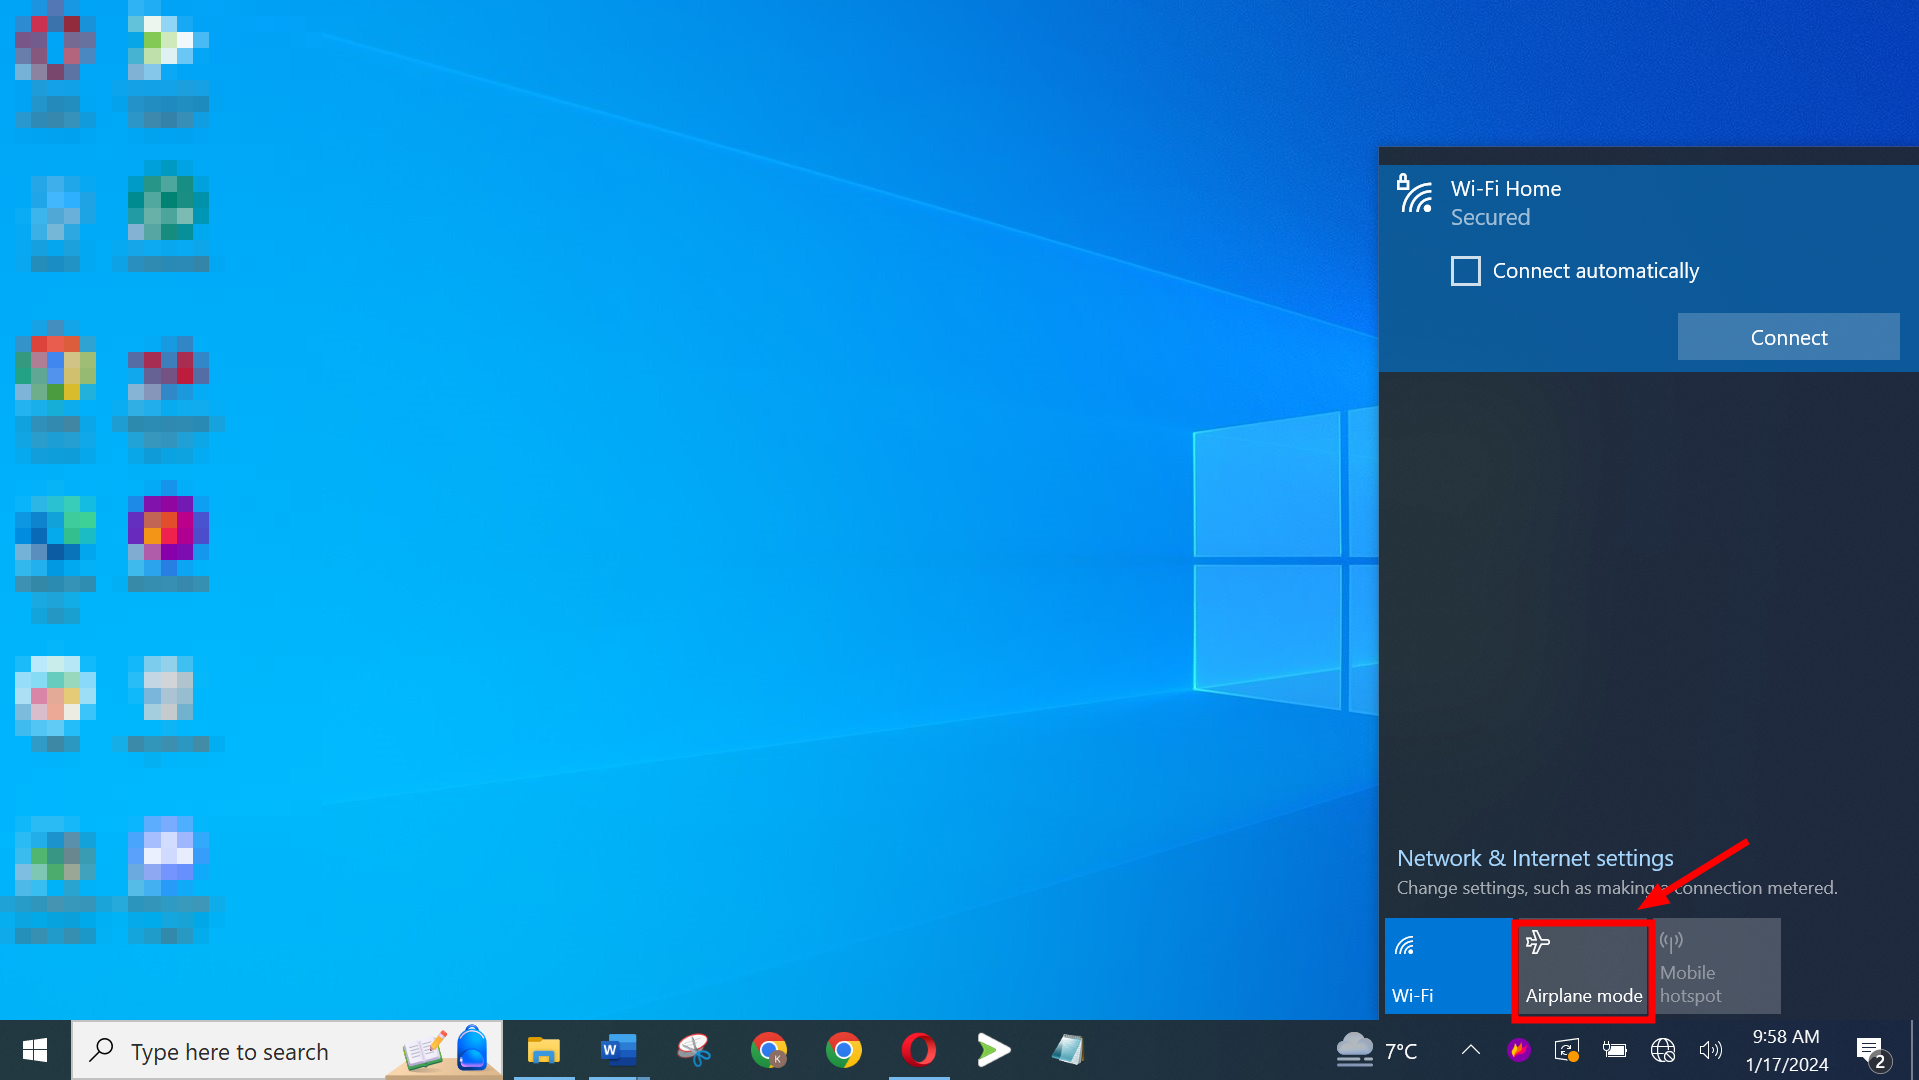
Turn on Airplane mode - Once your device is back on, deactivate Airplane mode.
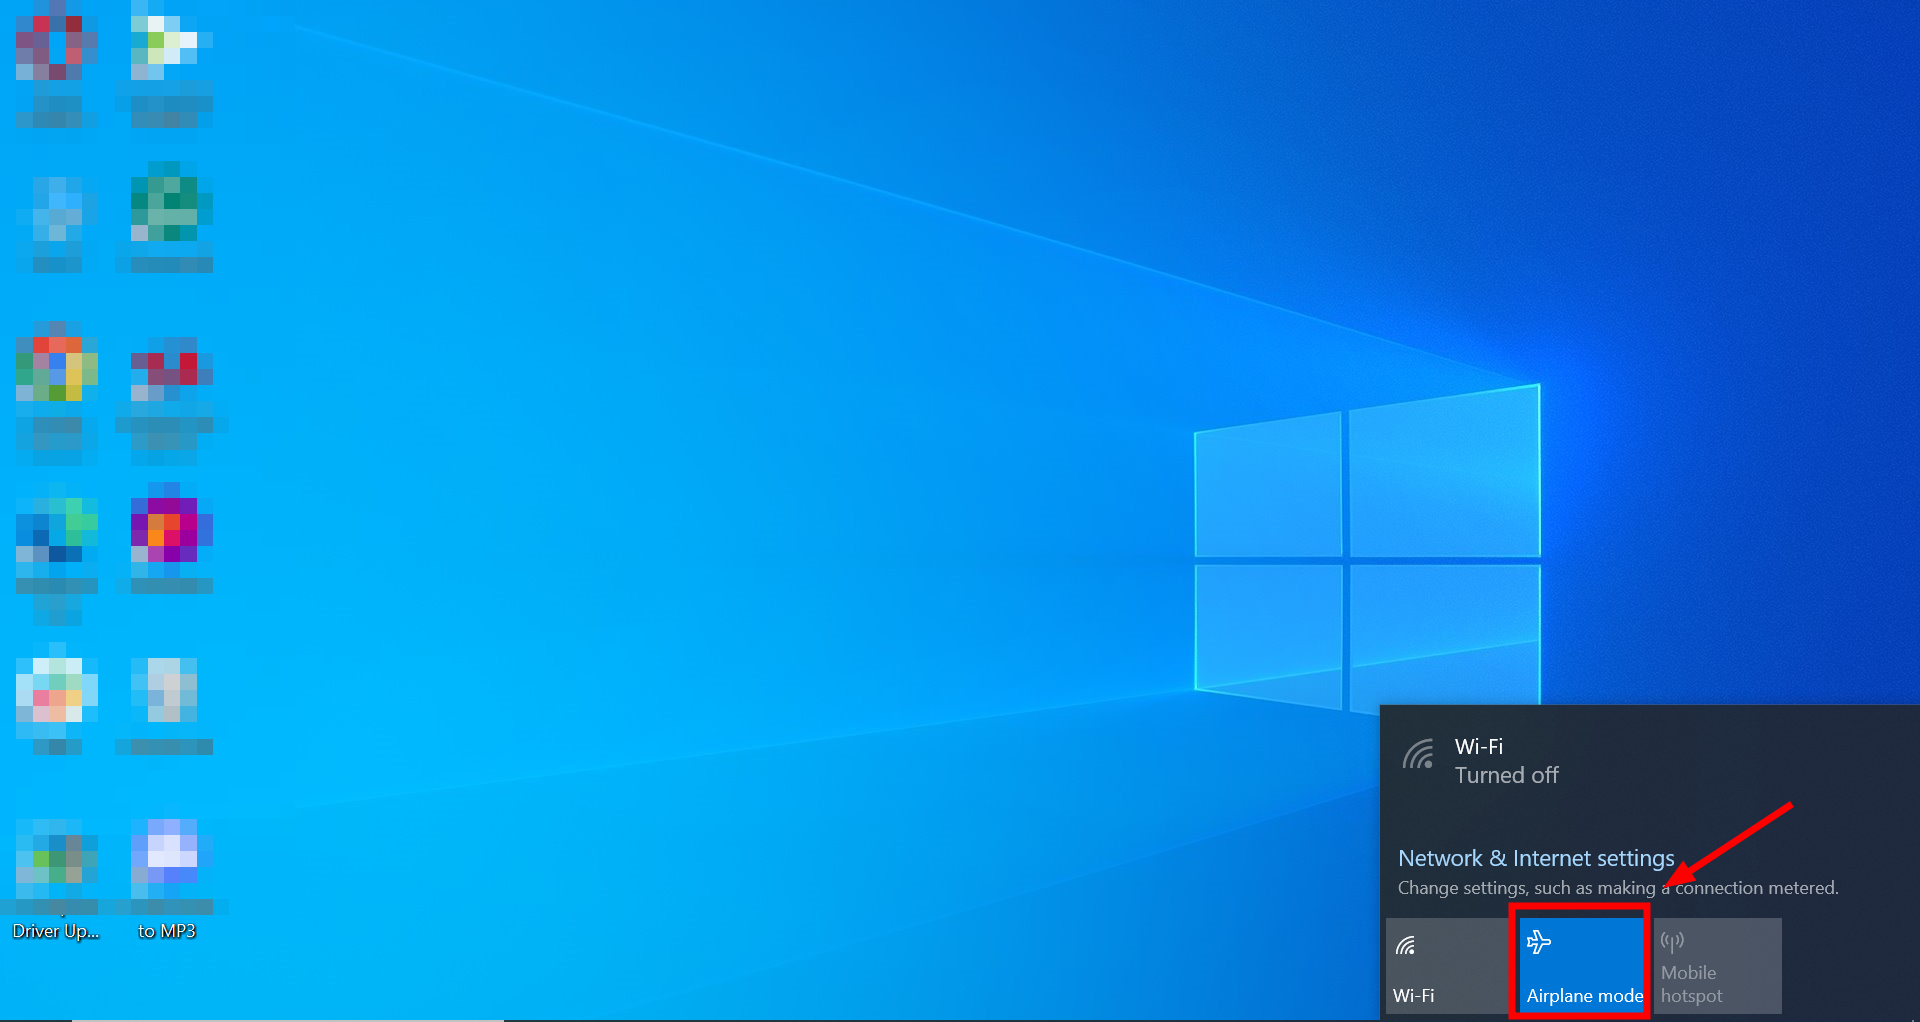
Switch off Airplane mode
Try connecting to your network again and check if the “No Internet, secured” message persists.
2. Reset your Windows 10 network configuration
Next, we’ll clear any network setting issues to fix the “No Internet, Secured” error.
- Right-click on the “Start” menu and open “Windows PowerShell (Admin)” or “Command Prompt (Admin).”
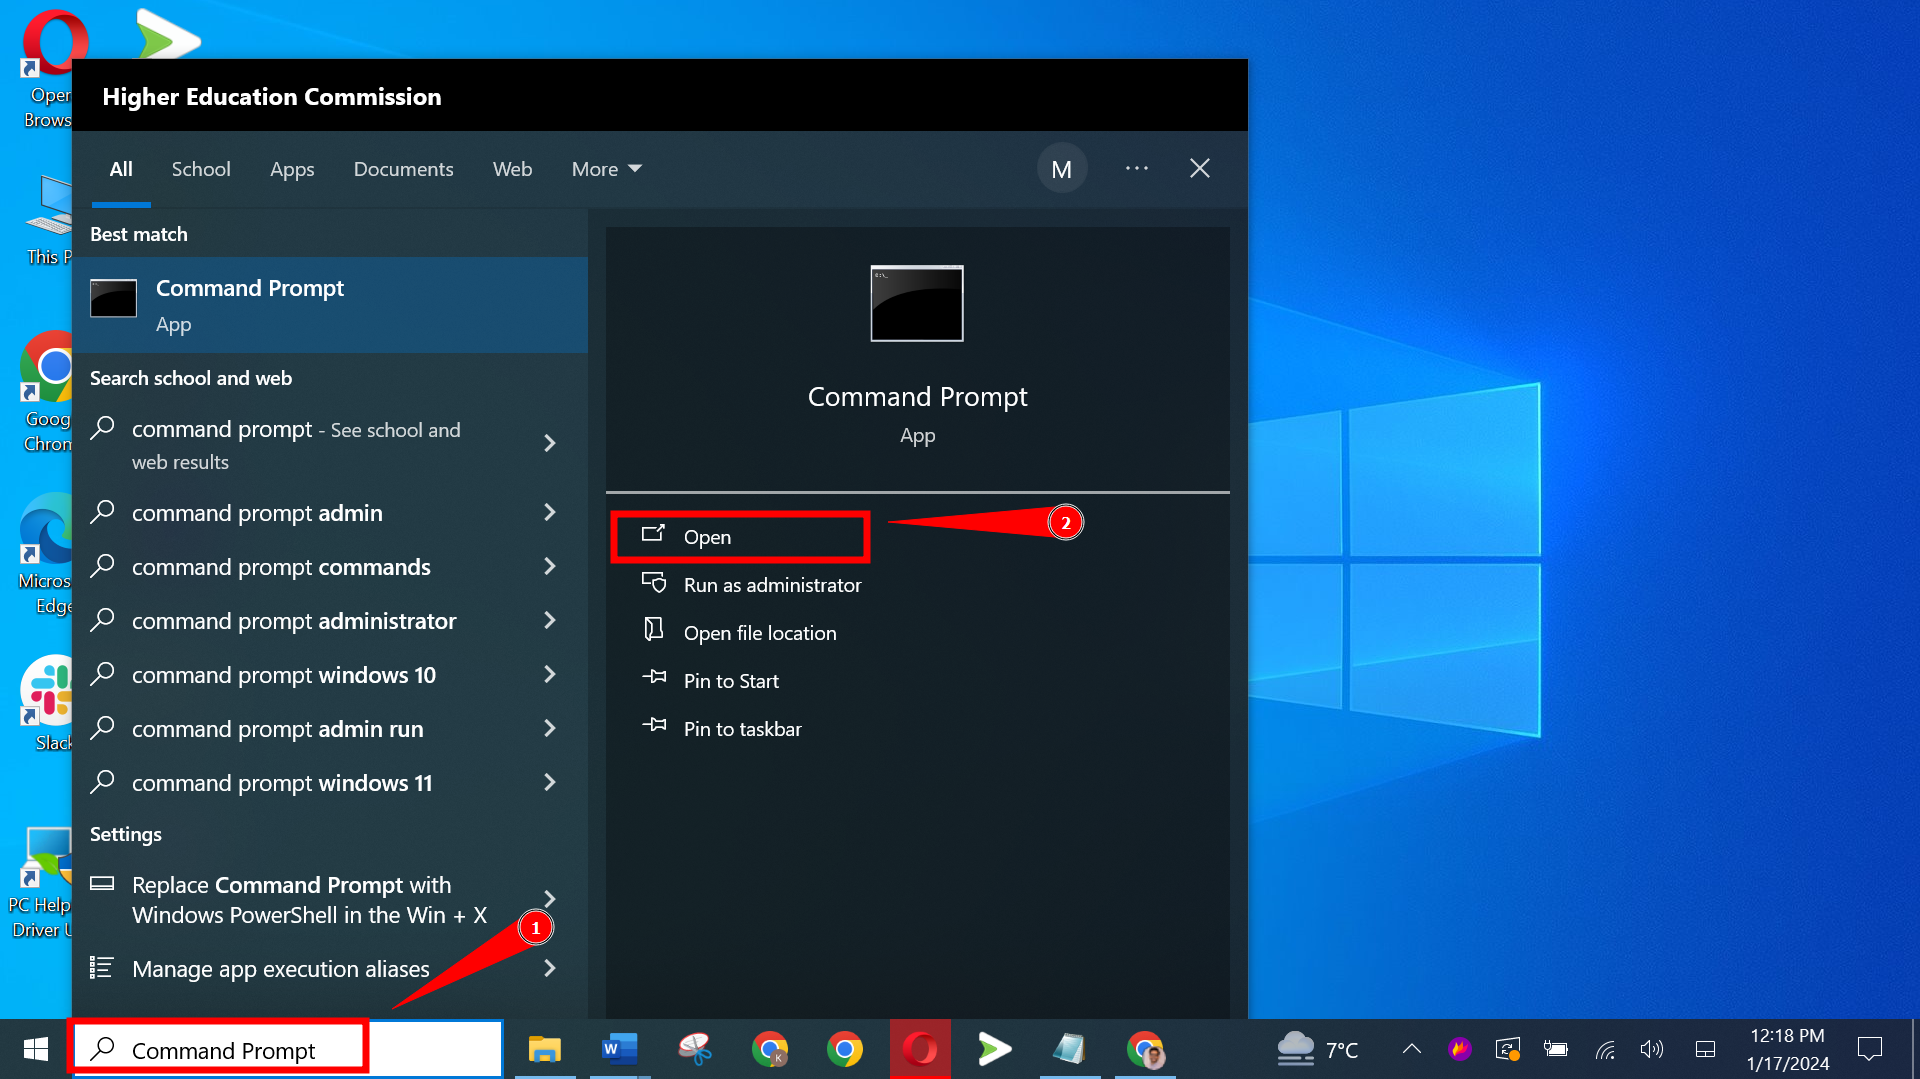
Open Command Prompt - Type in these commands one by one, pressing Enter after each:
- ipconfig /flushdns (This clears the DNS cache.)
- ipconfig /release (This disconnects your computer from its current network.)
- ipconfig /renew (This reconnects your computer to the network.)
- netsh winsock reset (This resets the network adapter’s software.)
- netsh int ip reset (This refreshes the IP)
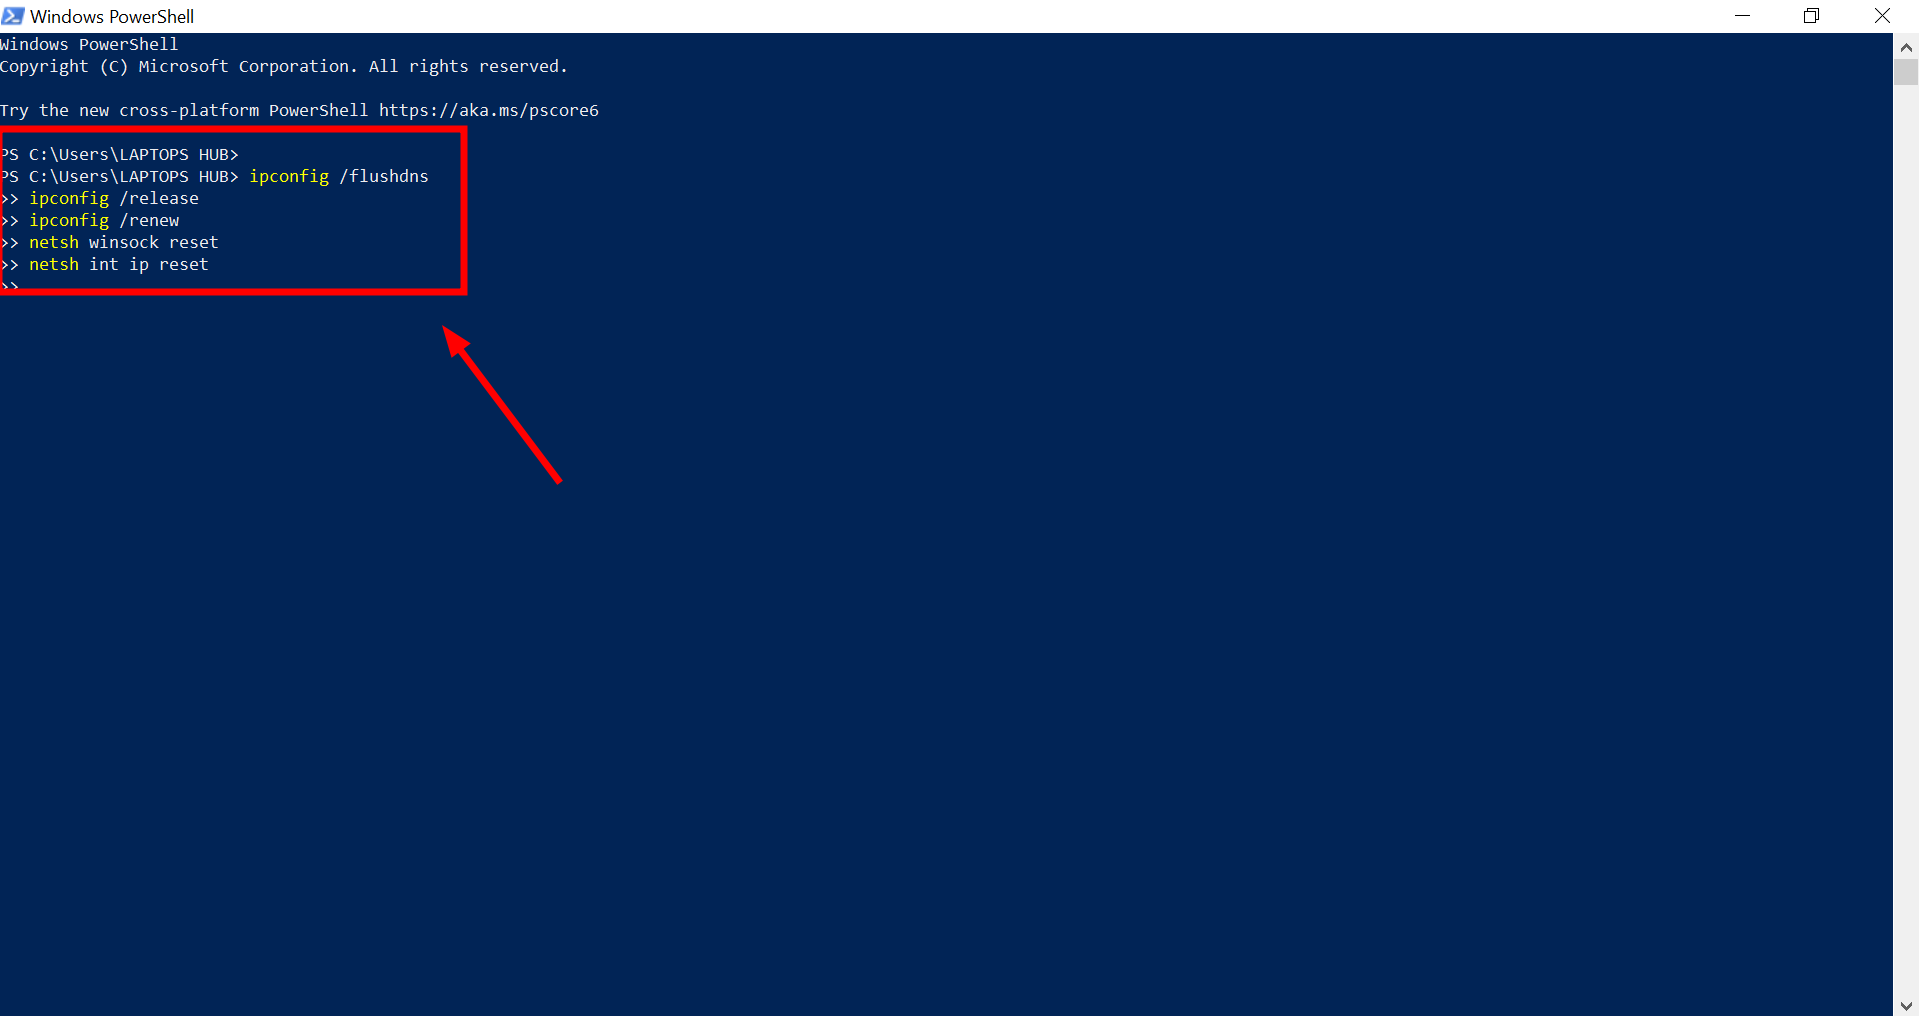
- After entering all the commands, reboot your computer and check if the internet works.
3. Reset your computer’s network settings
Restoring your computer’s internet settings to their original state can sometimes resolve the “No Internet, secured” error and other network problems.
↪ If your PC runs Windows 11
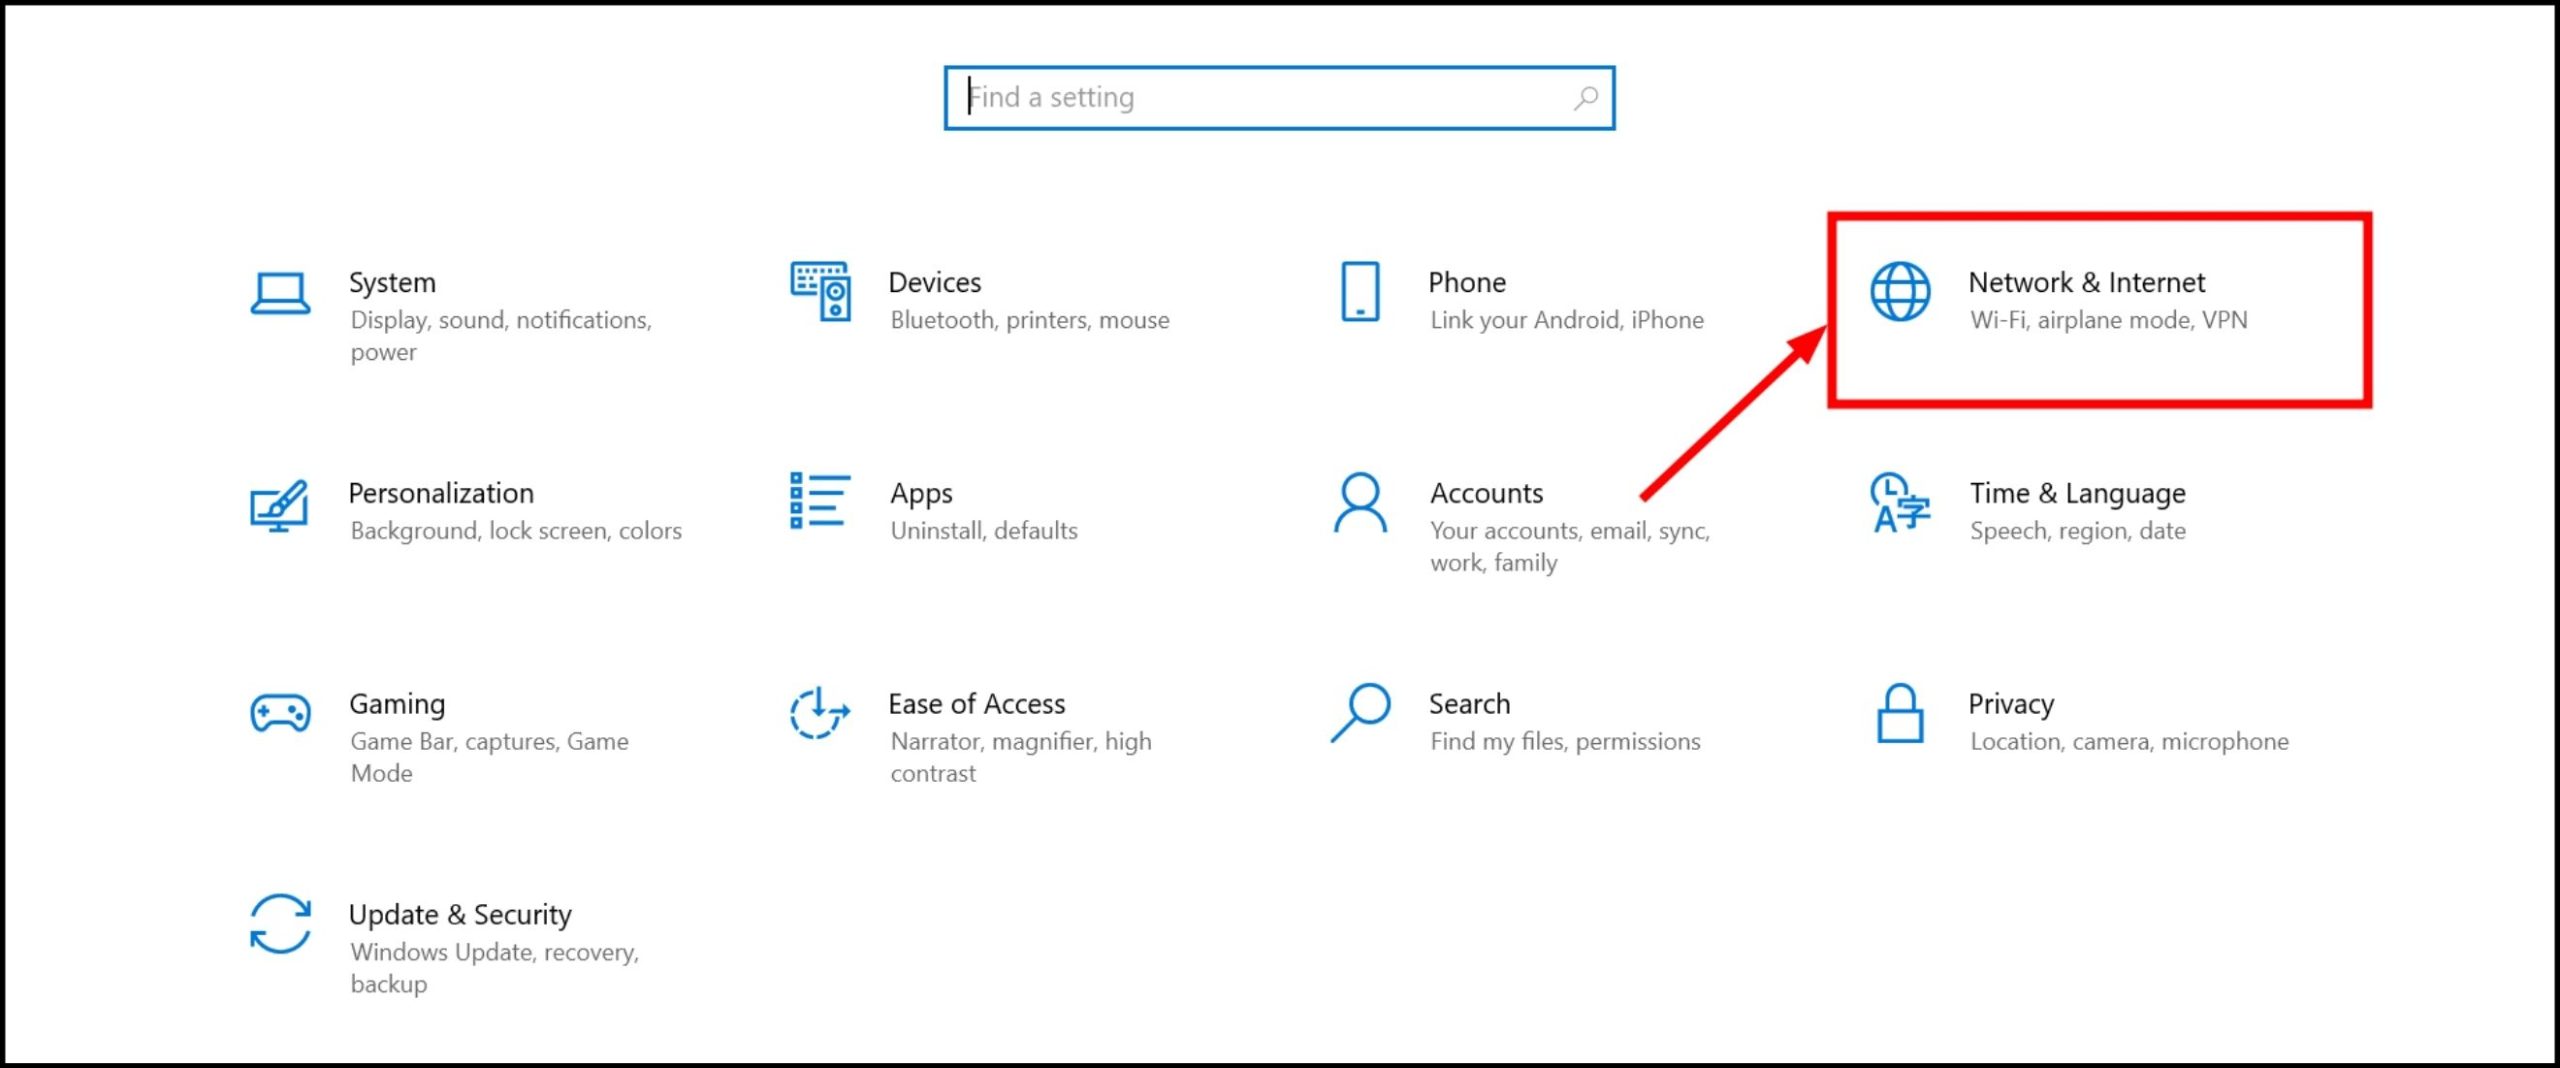
- Open “Settings” and click on “Network & Internet.”
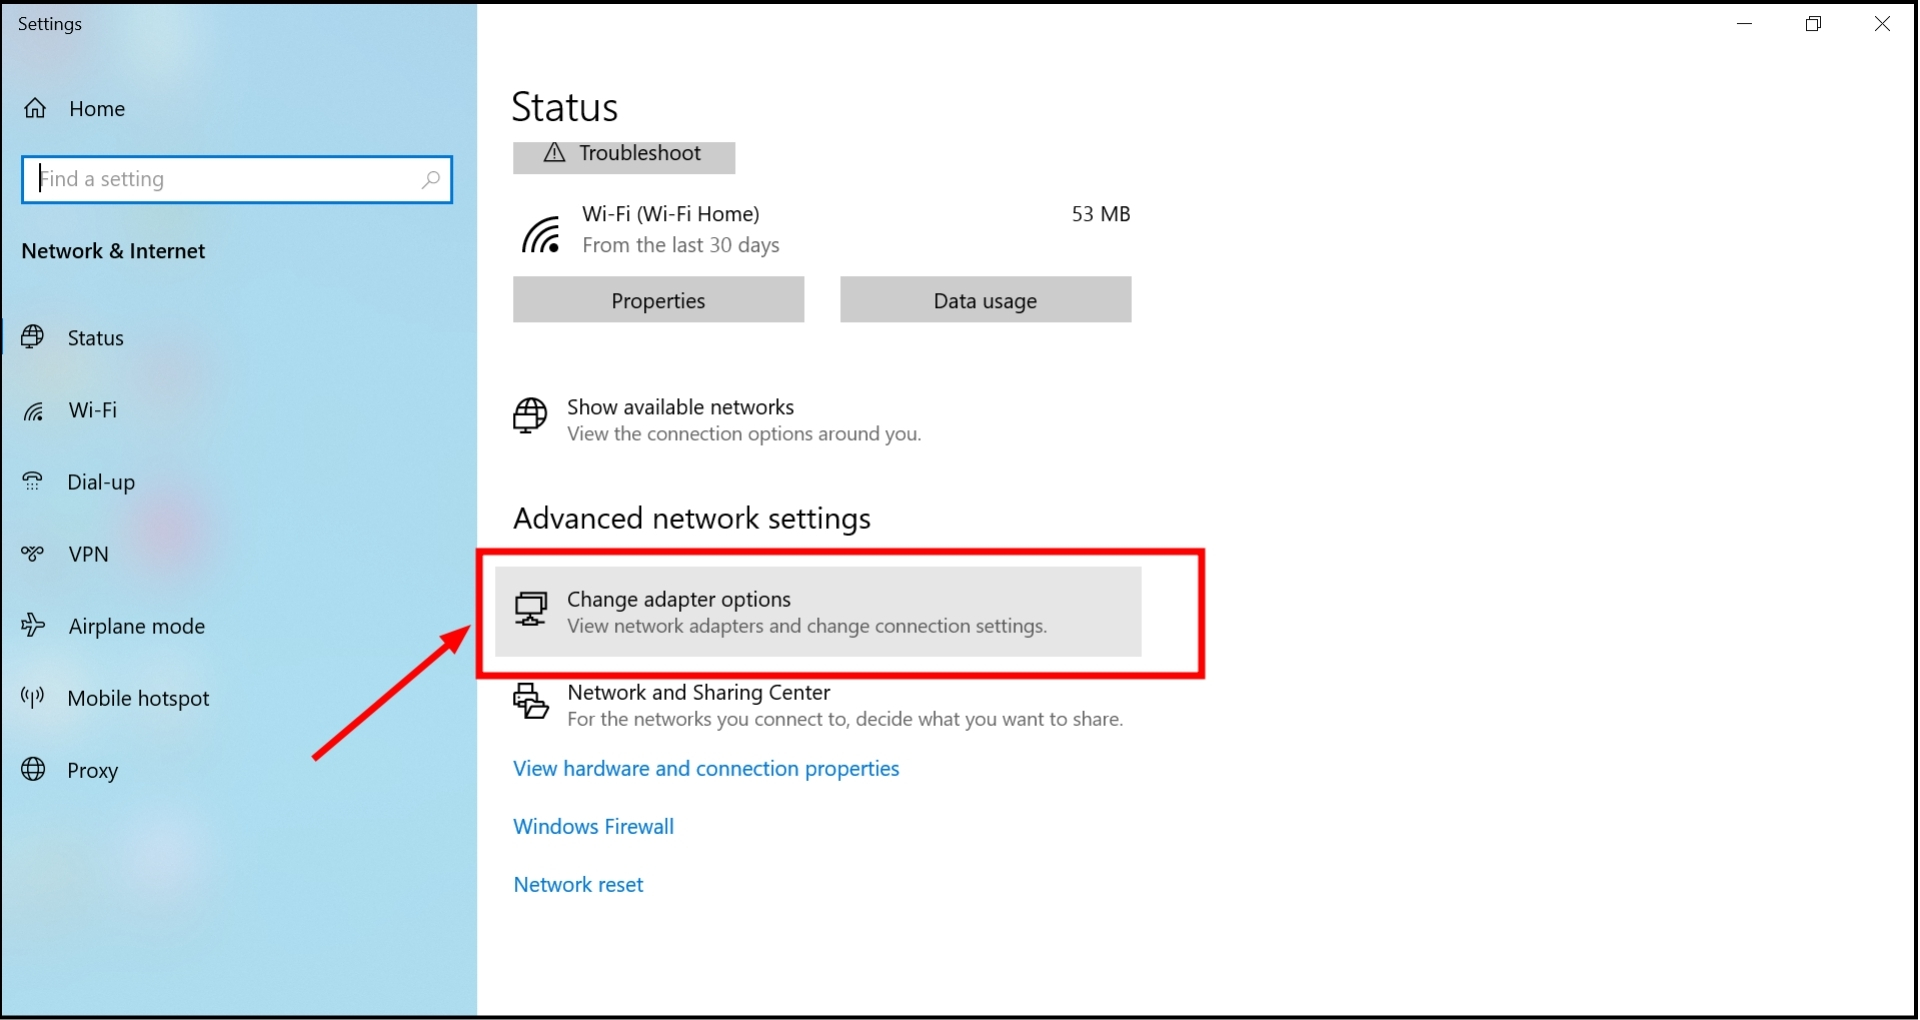
Click on Network & Internet - Choose “Advanced network settings.”
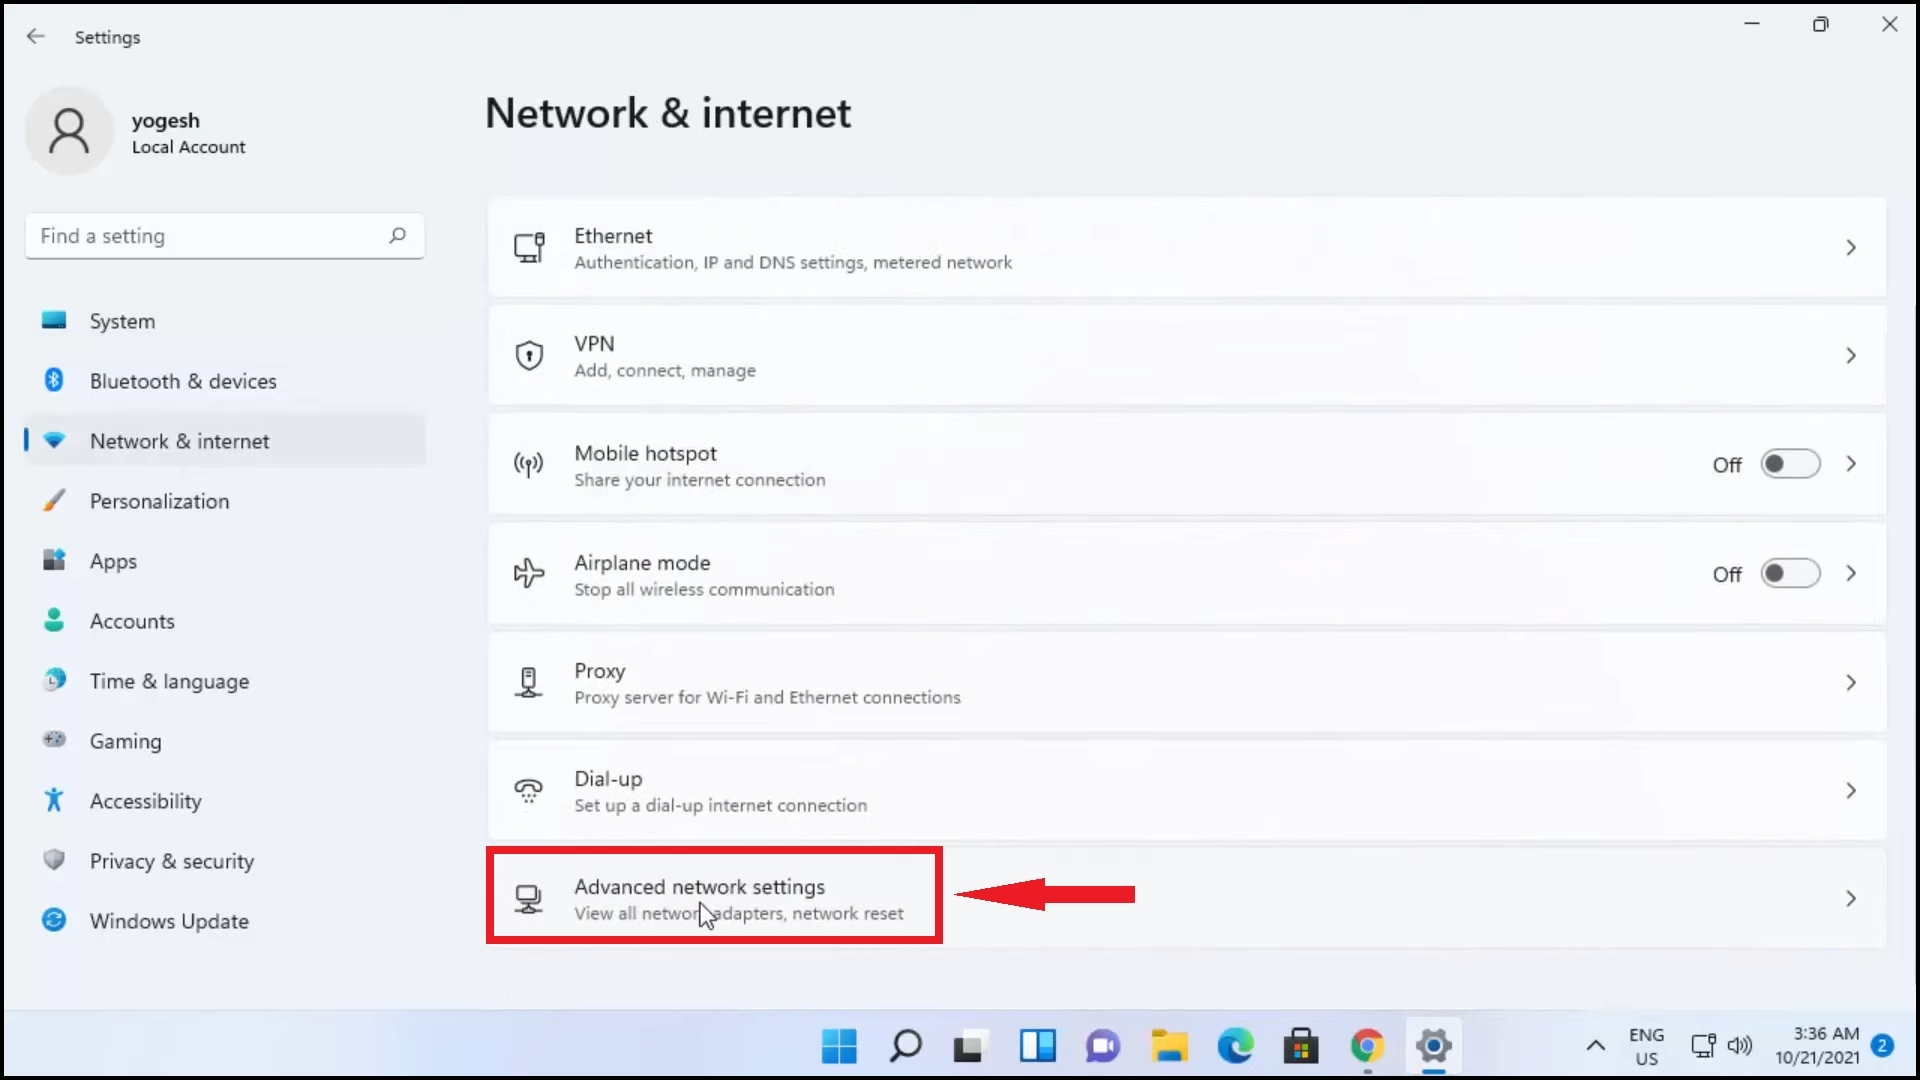
Click Advanced network settings - Find and click on “Network reset.”
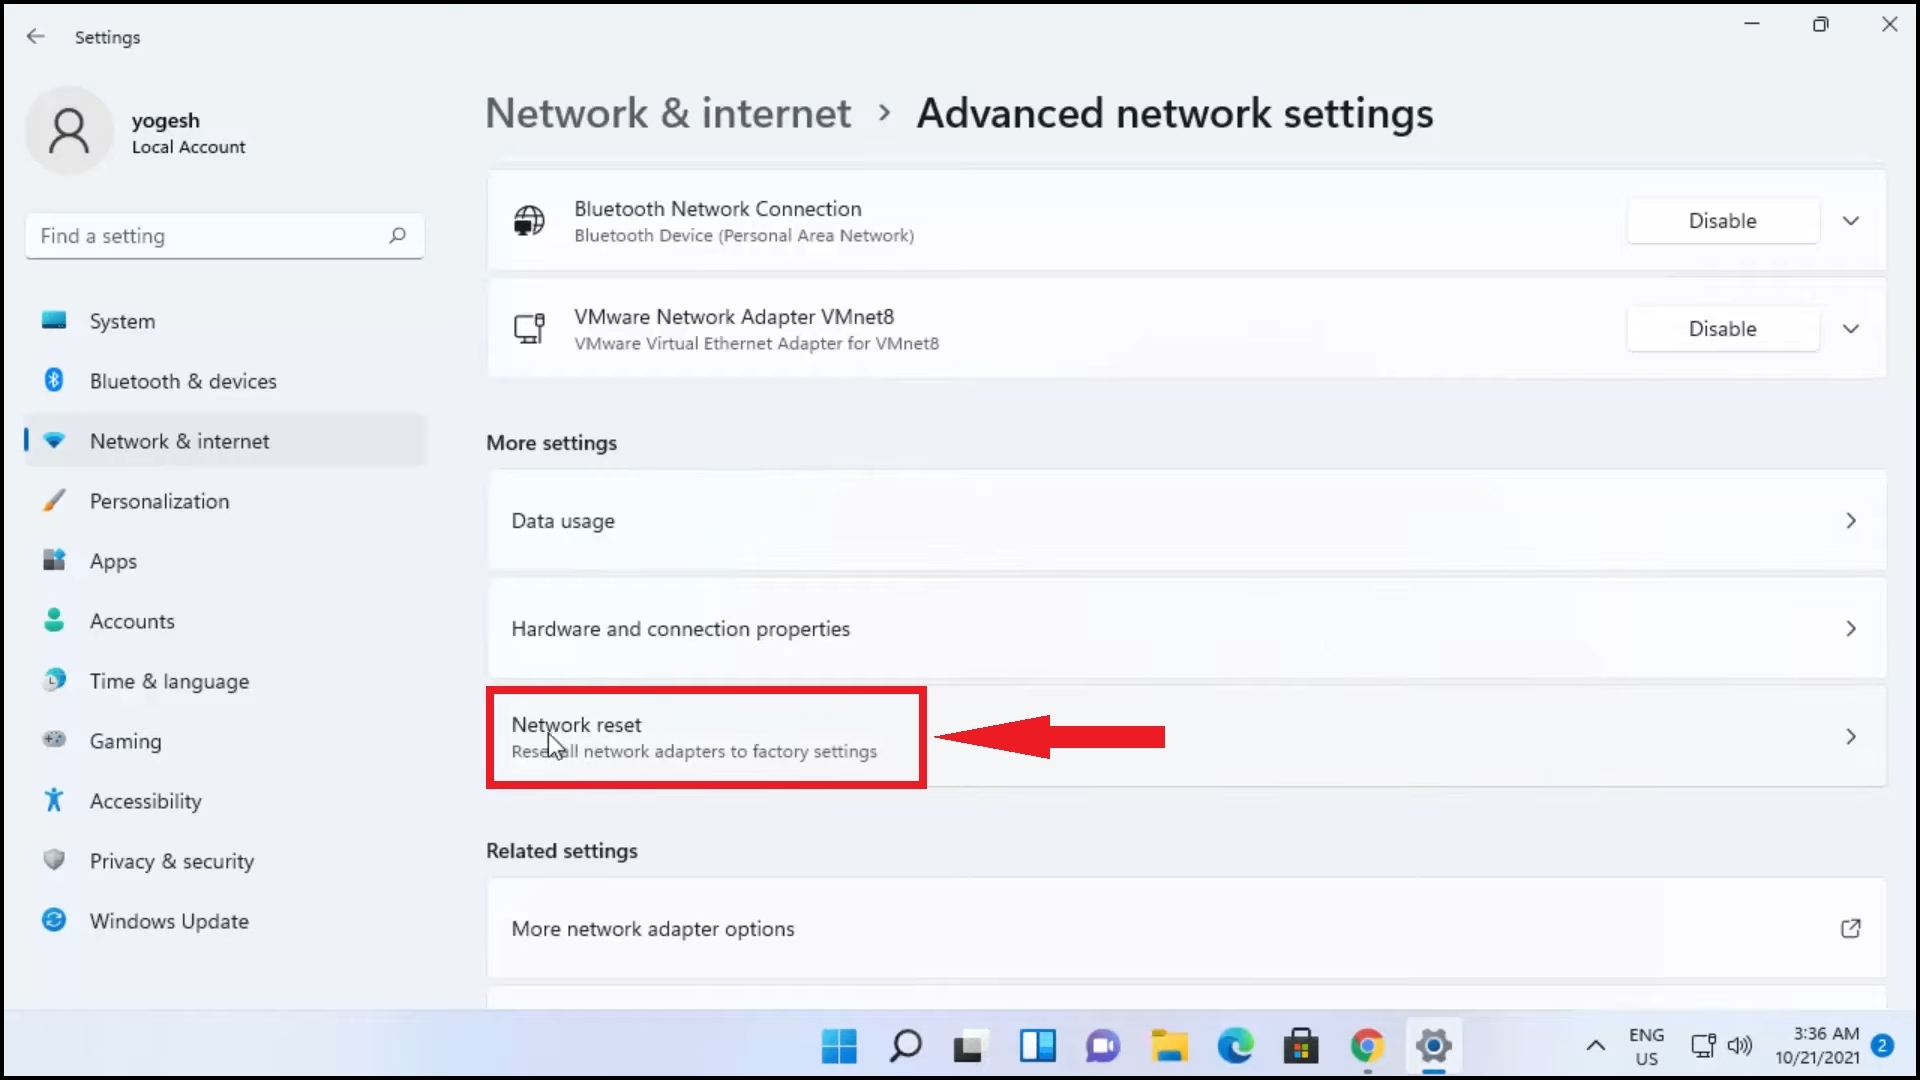
Click on “Network reset.” - Click “Reset now.”
[caption id="attachment_392169" align="aligncenter" width="1920"]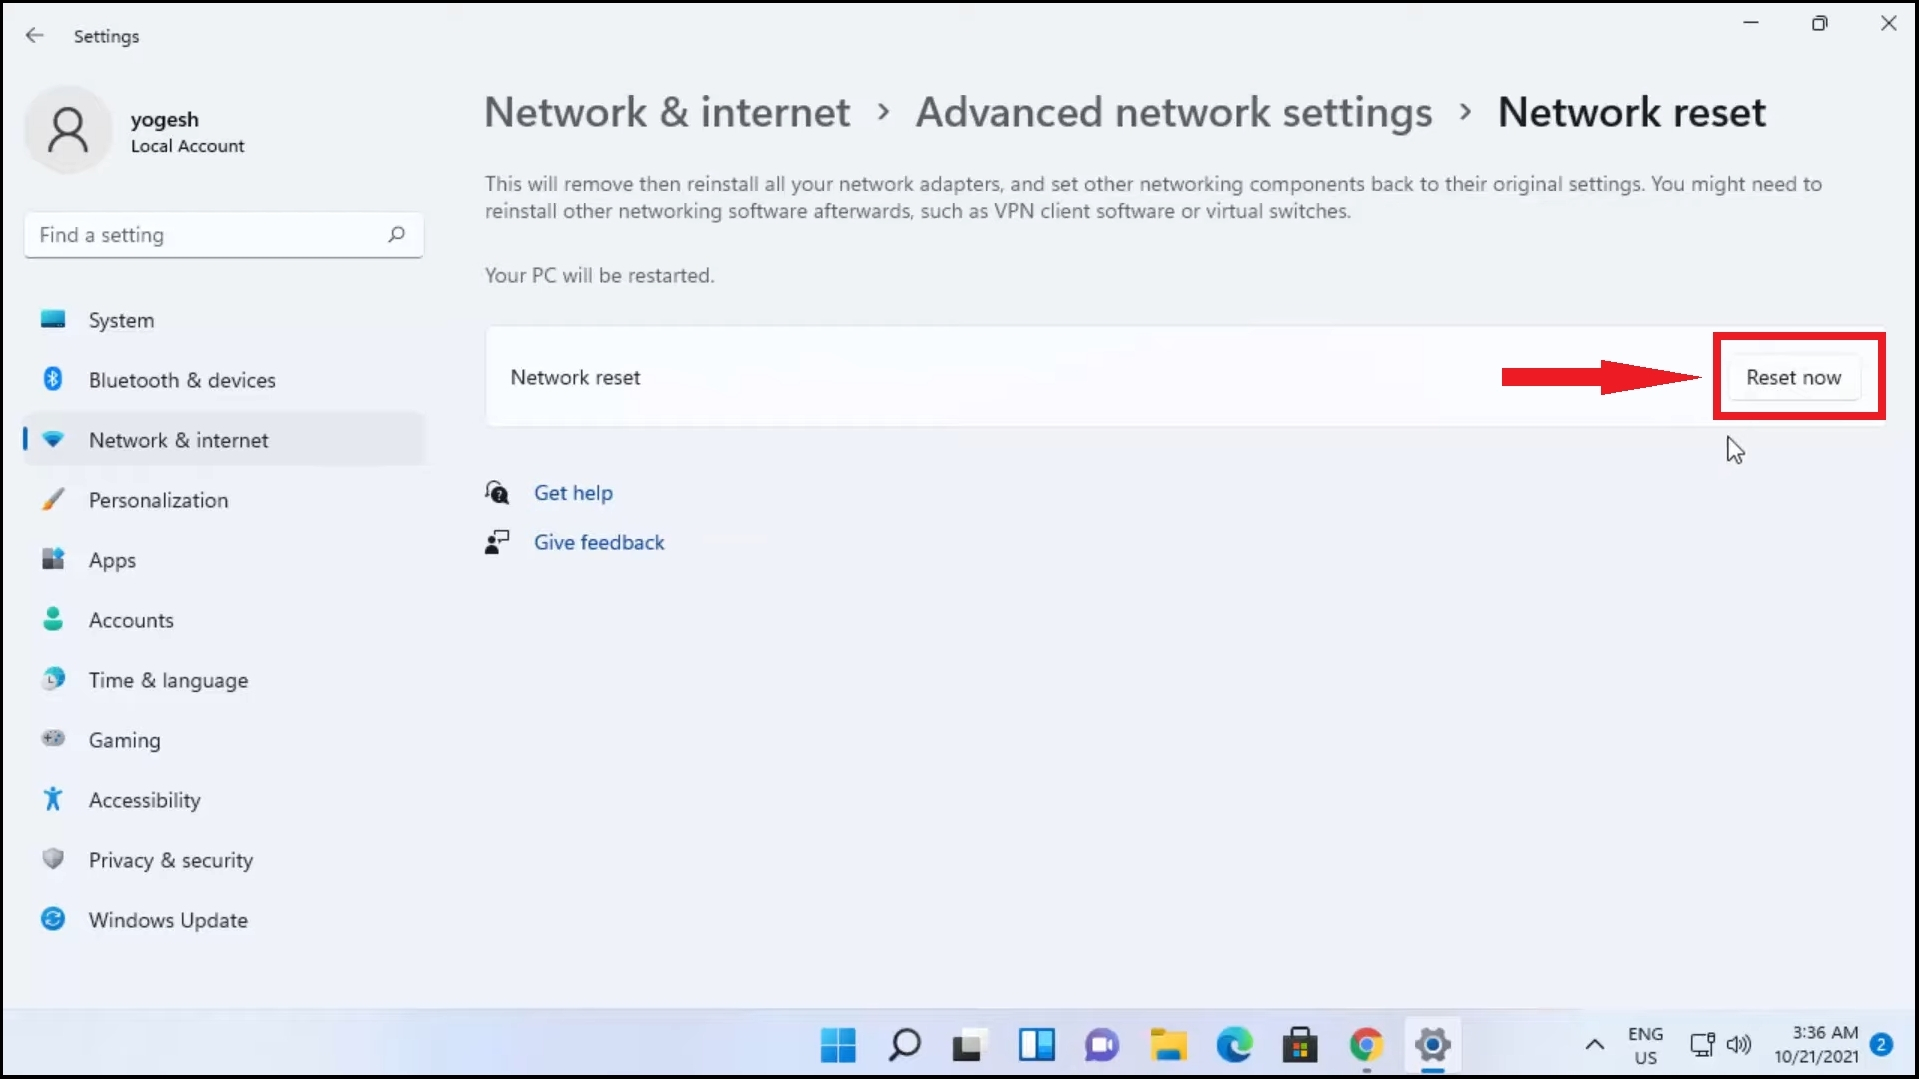 Click Reset now
 - Click “Reset now.”
↪ In Windows 10
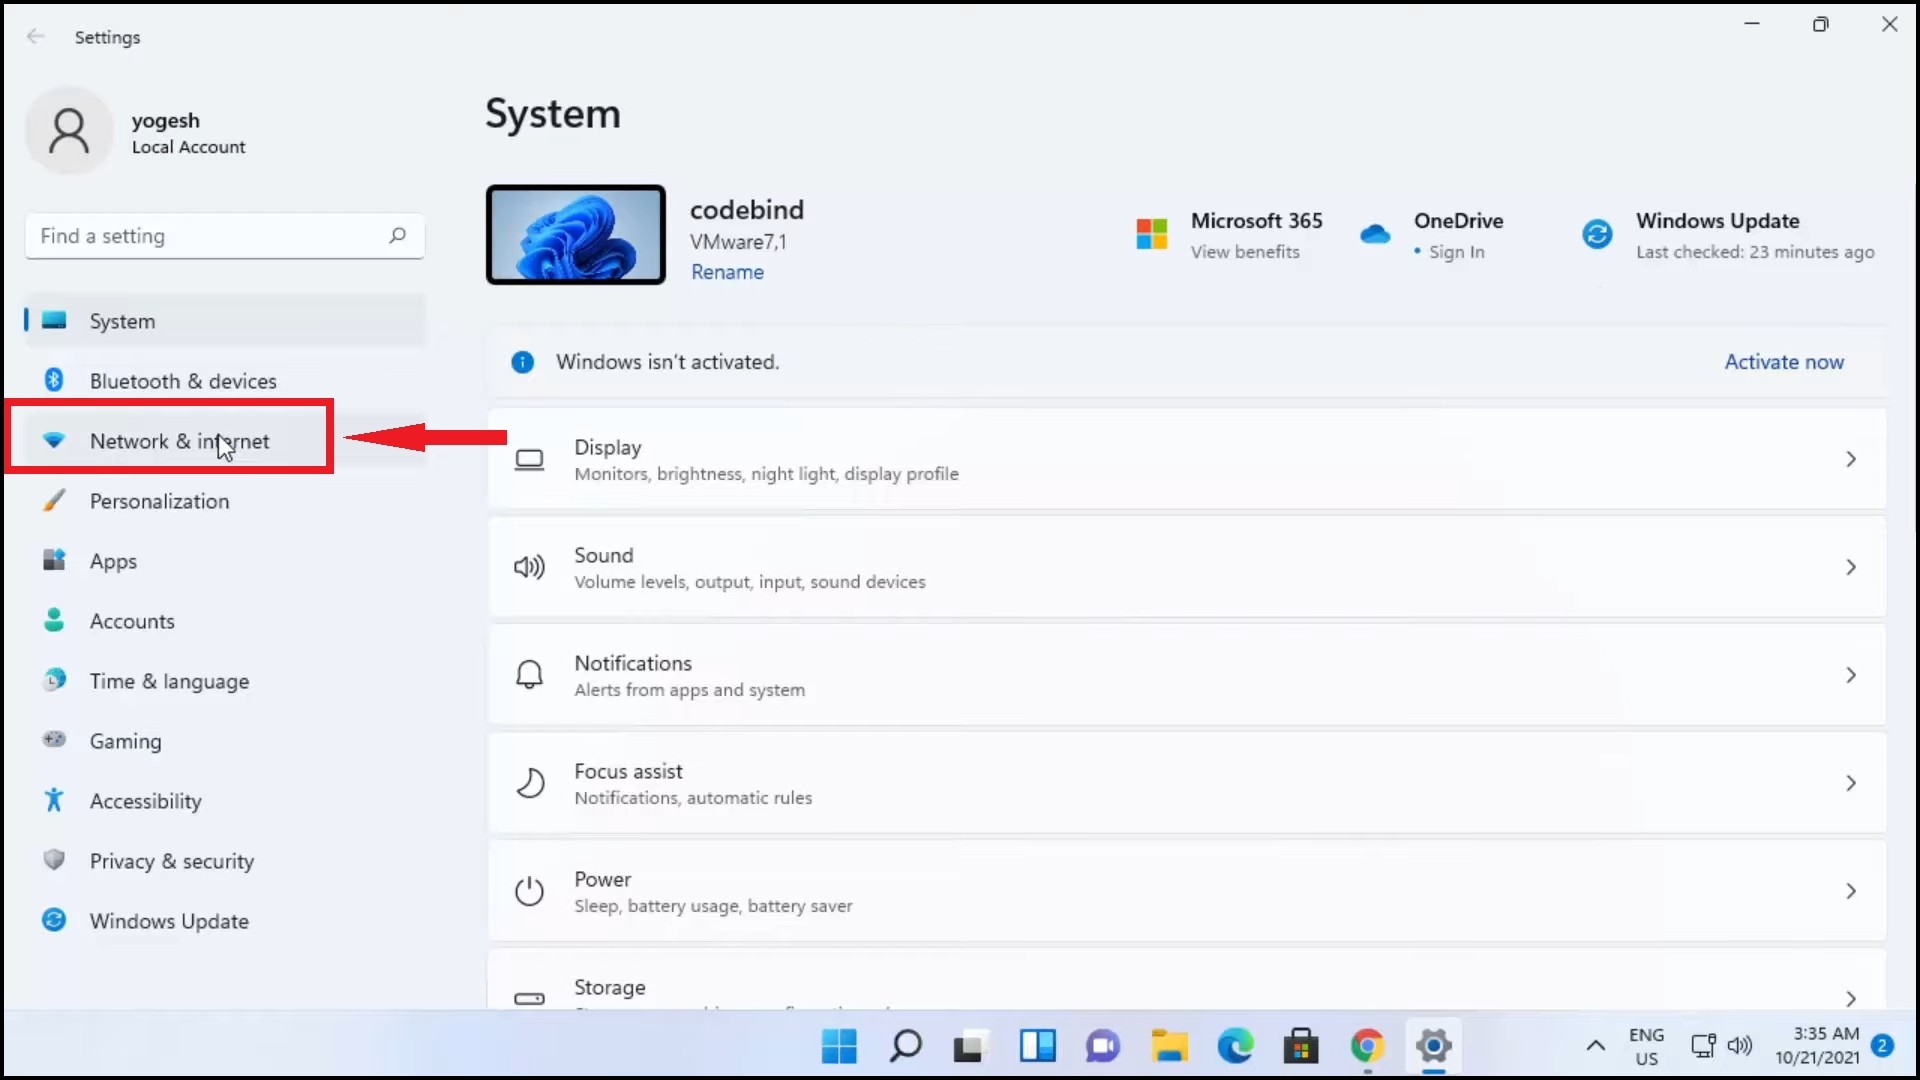
- Go to “Settings” and select “Network & Internet.”
Select Network and Internet - Click on “Status.”
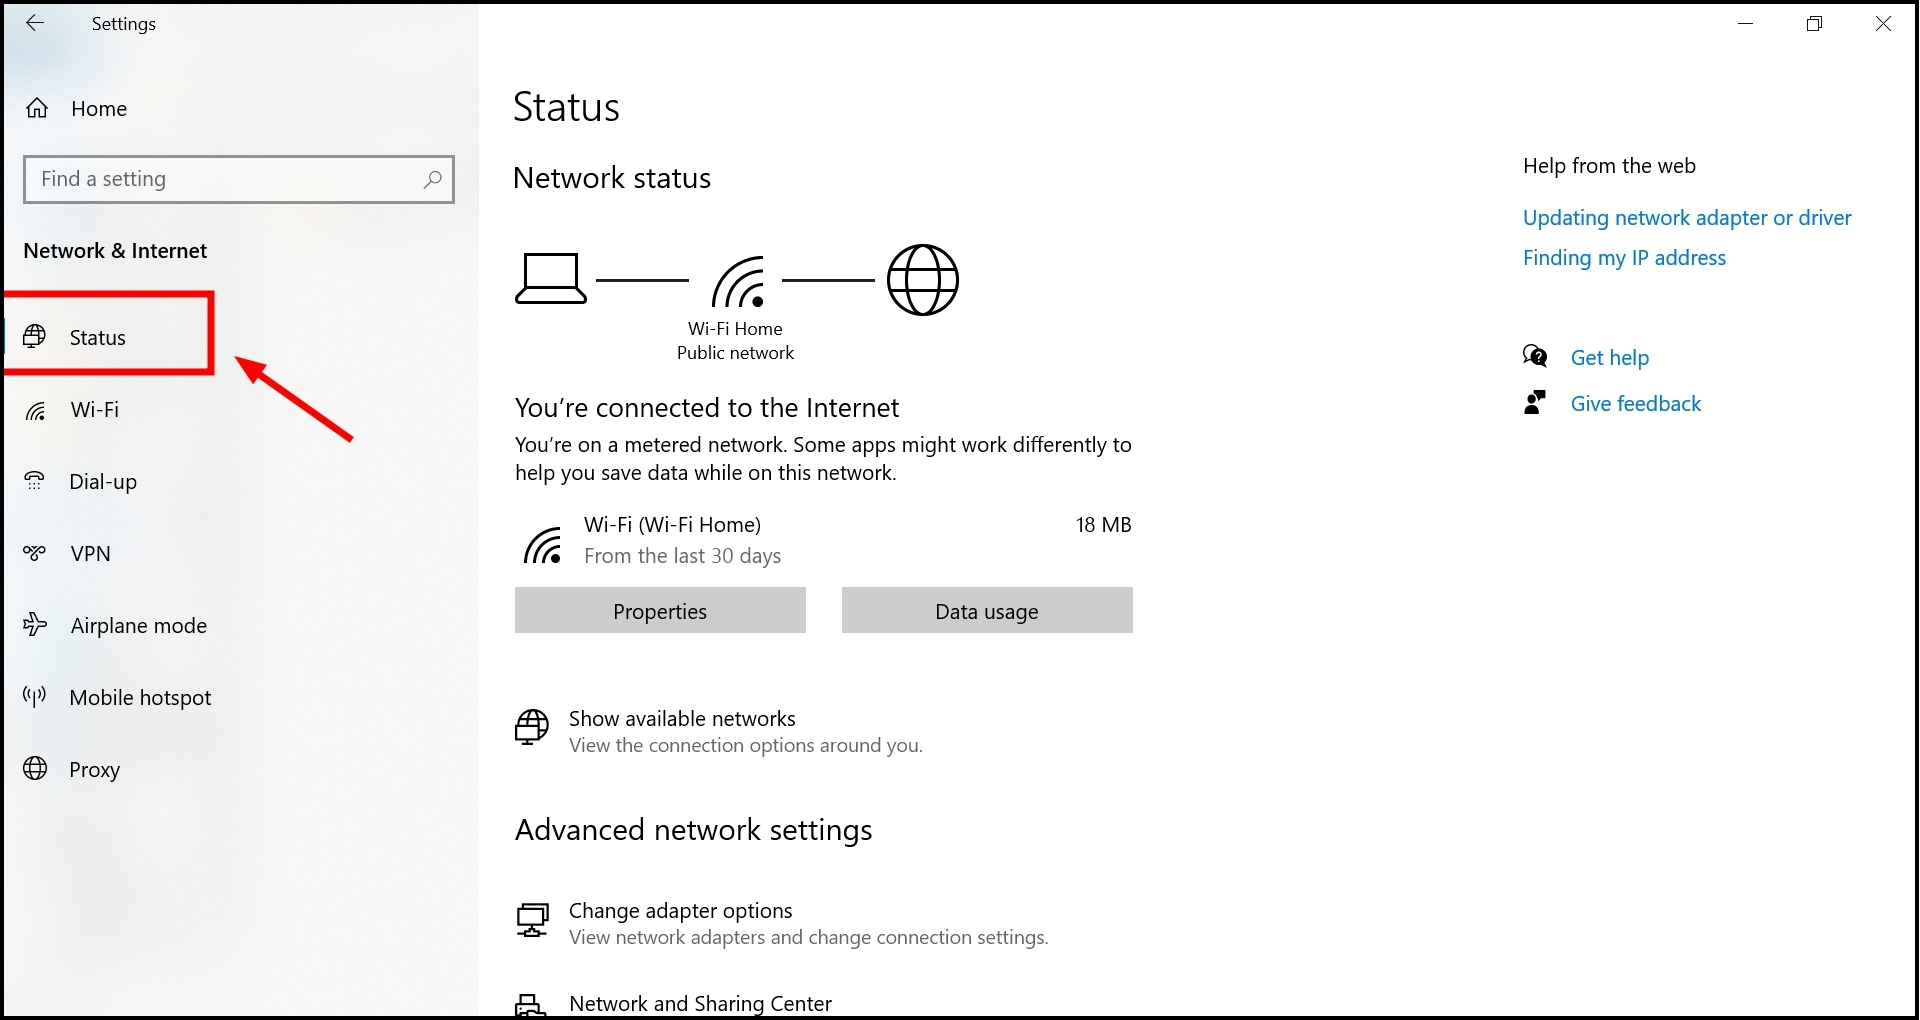
Click on Status - Scroll down to find “Network reset” and click on it.
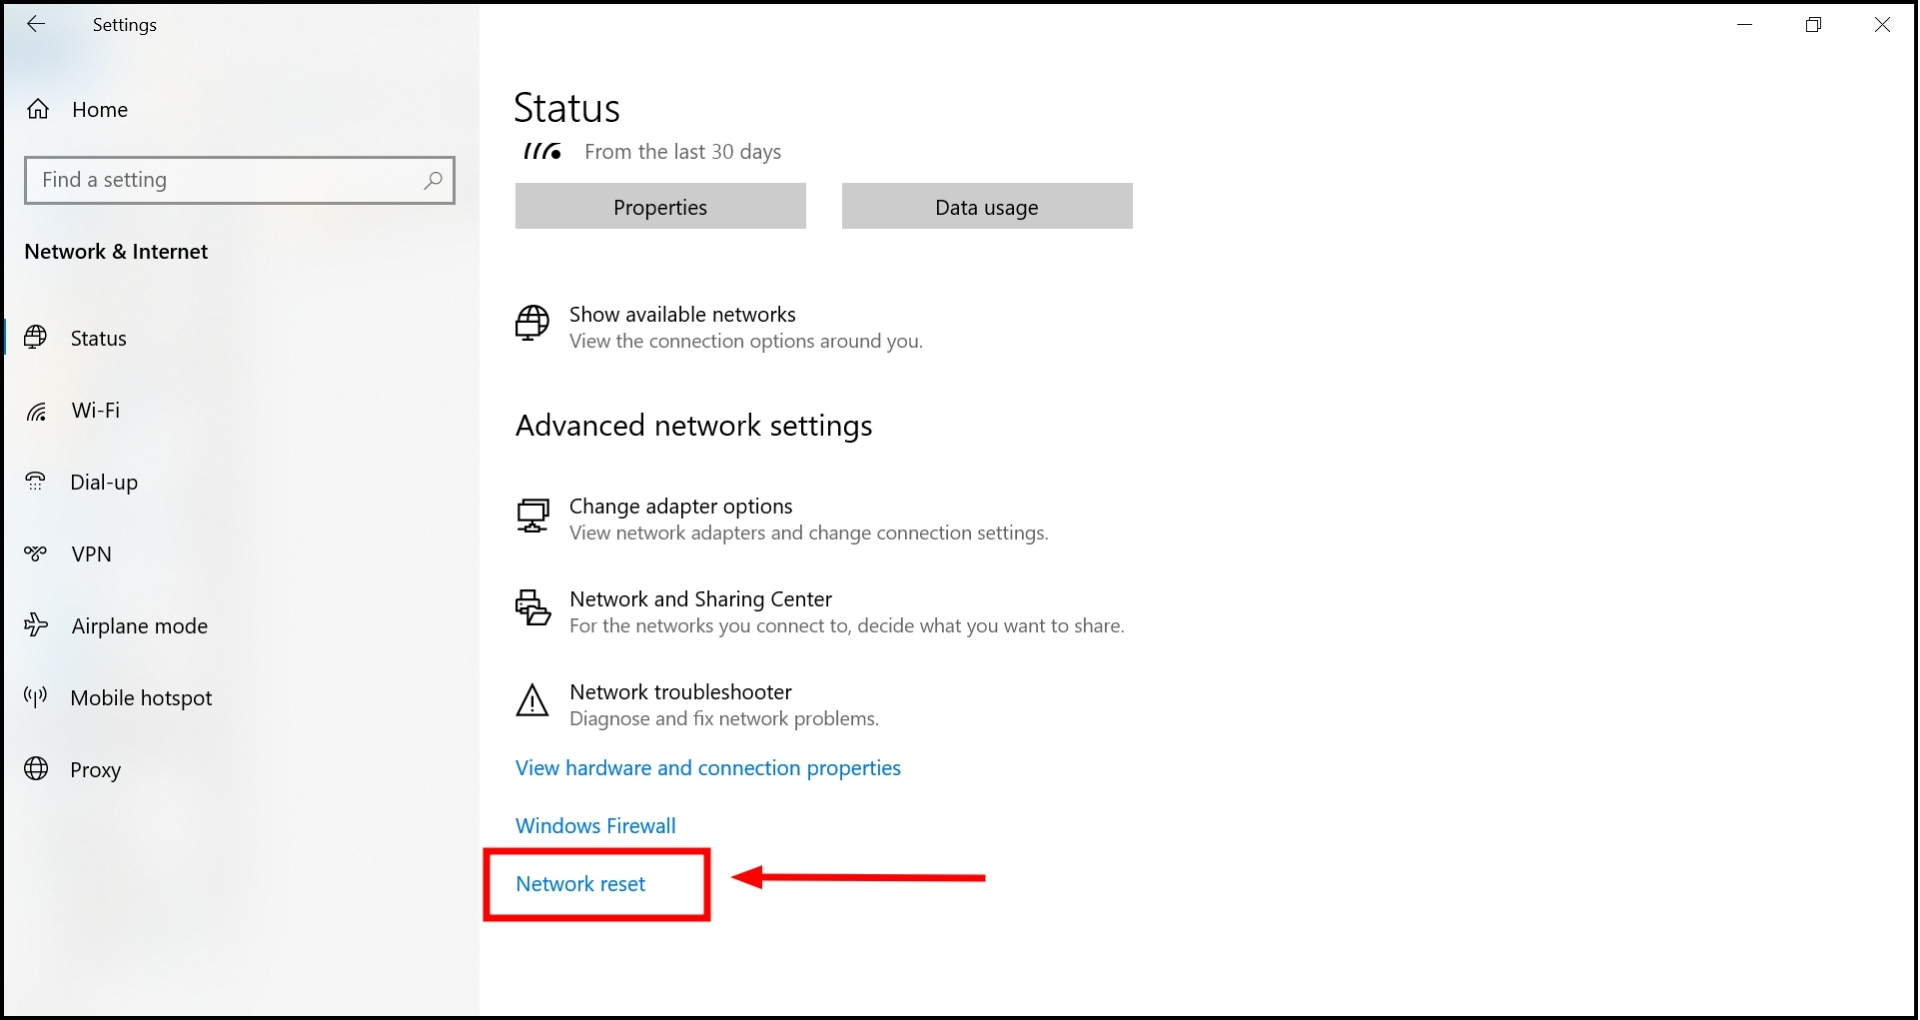
Click on Network reset - Then click “Reset now.”
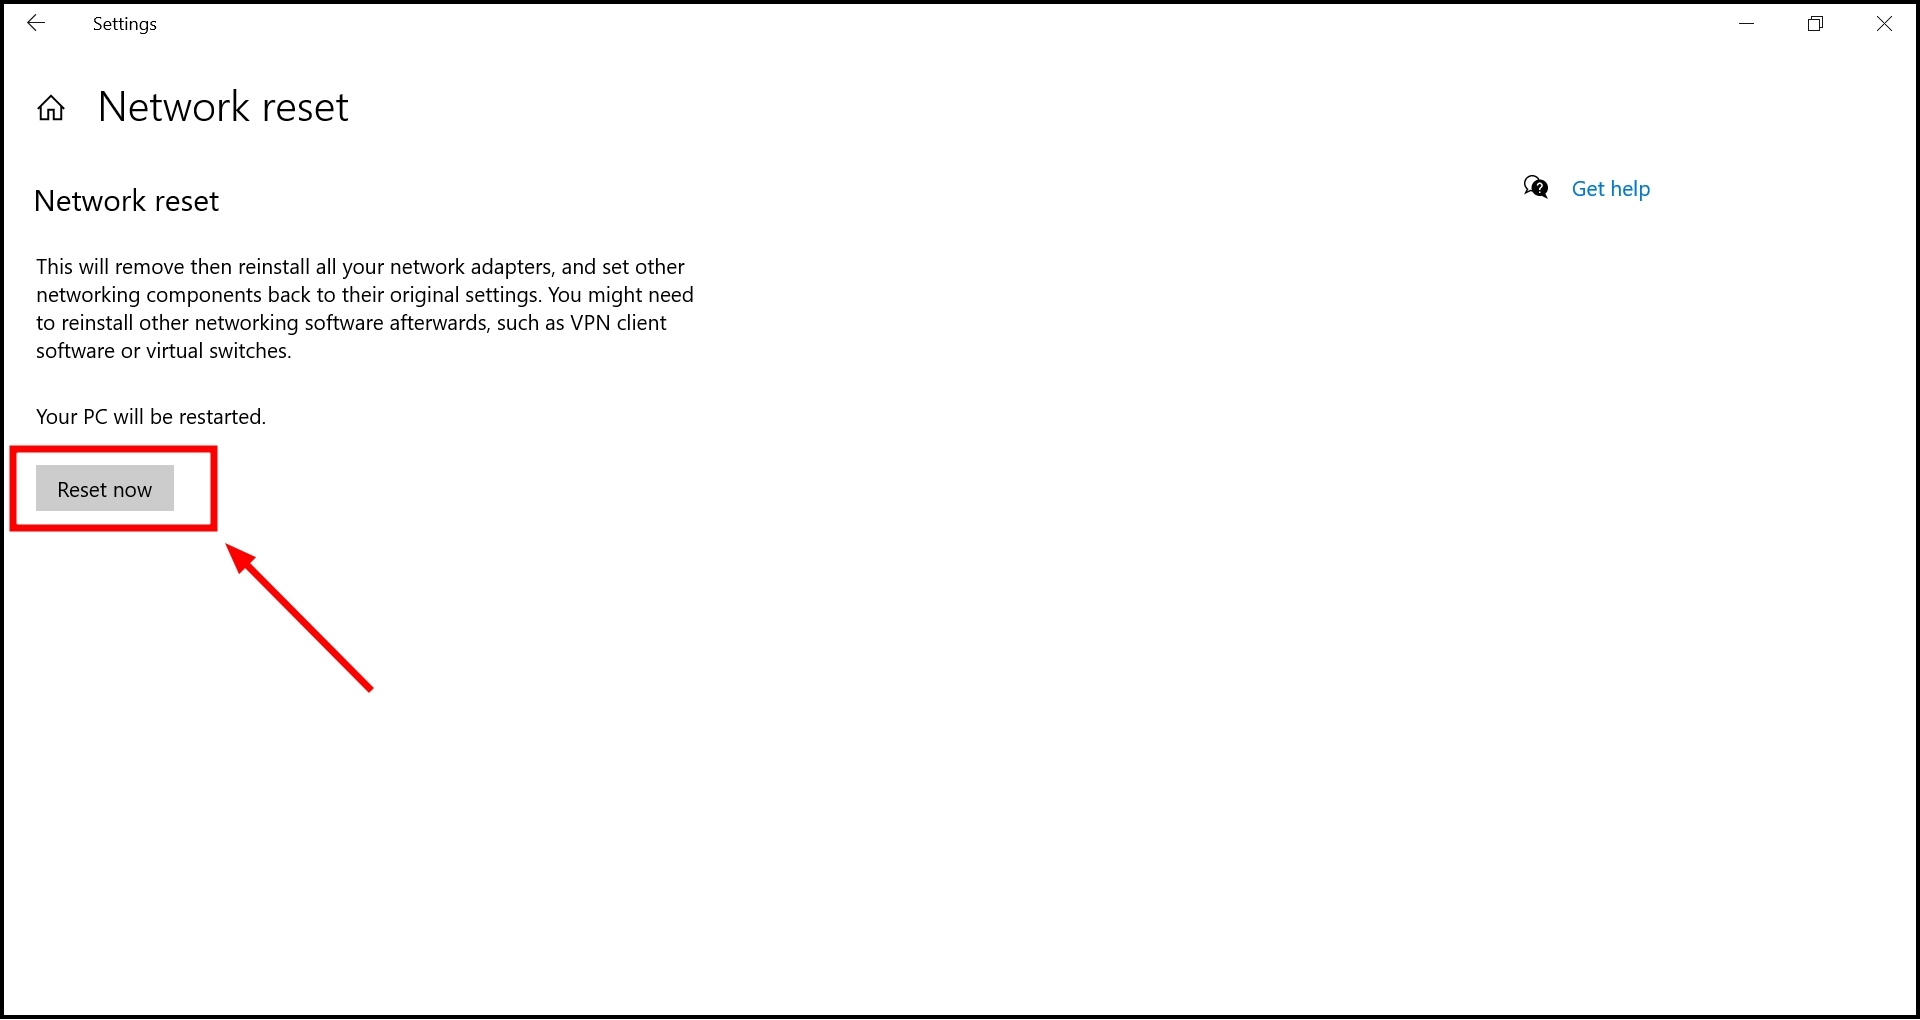
Click on Reset now
After this, Windows will restart your computer. Once it’s back on, reconnect to your Wi-Fi network and check if you can access the internet.
4. Turn off your VPN
VPNs are great for maintaining online privacy, but they can sometimes interfere with your internet connection, resulting in slowed internet speeds or even “No Internet” errors.
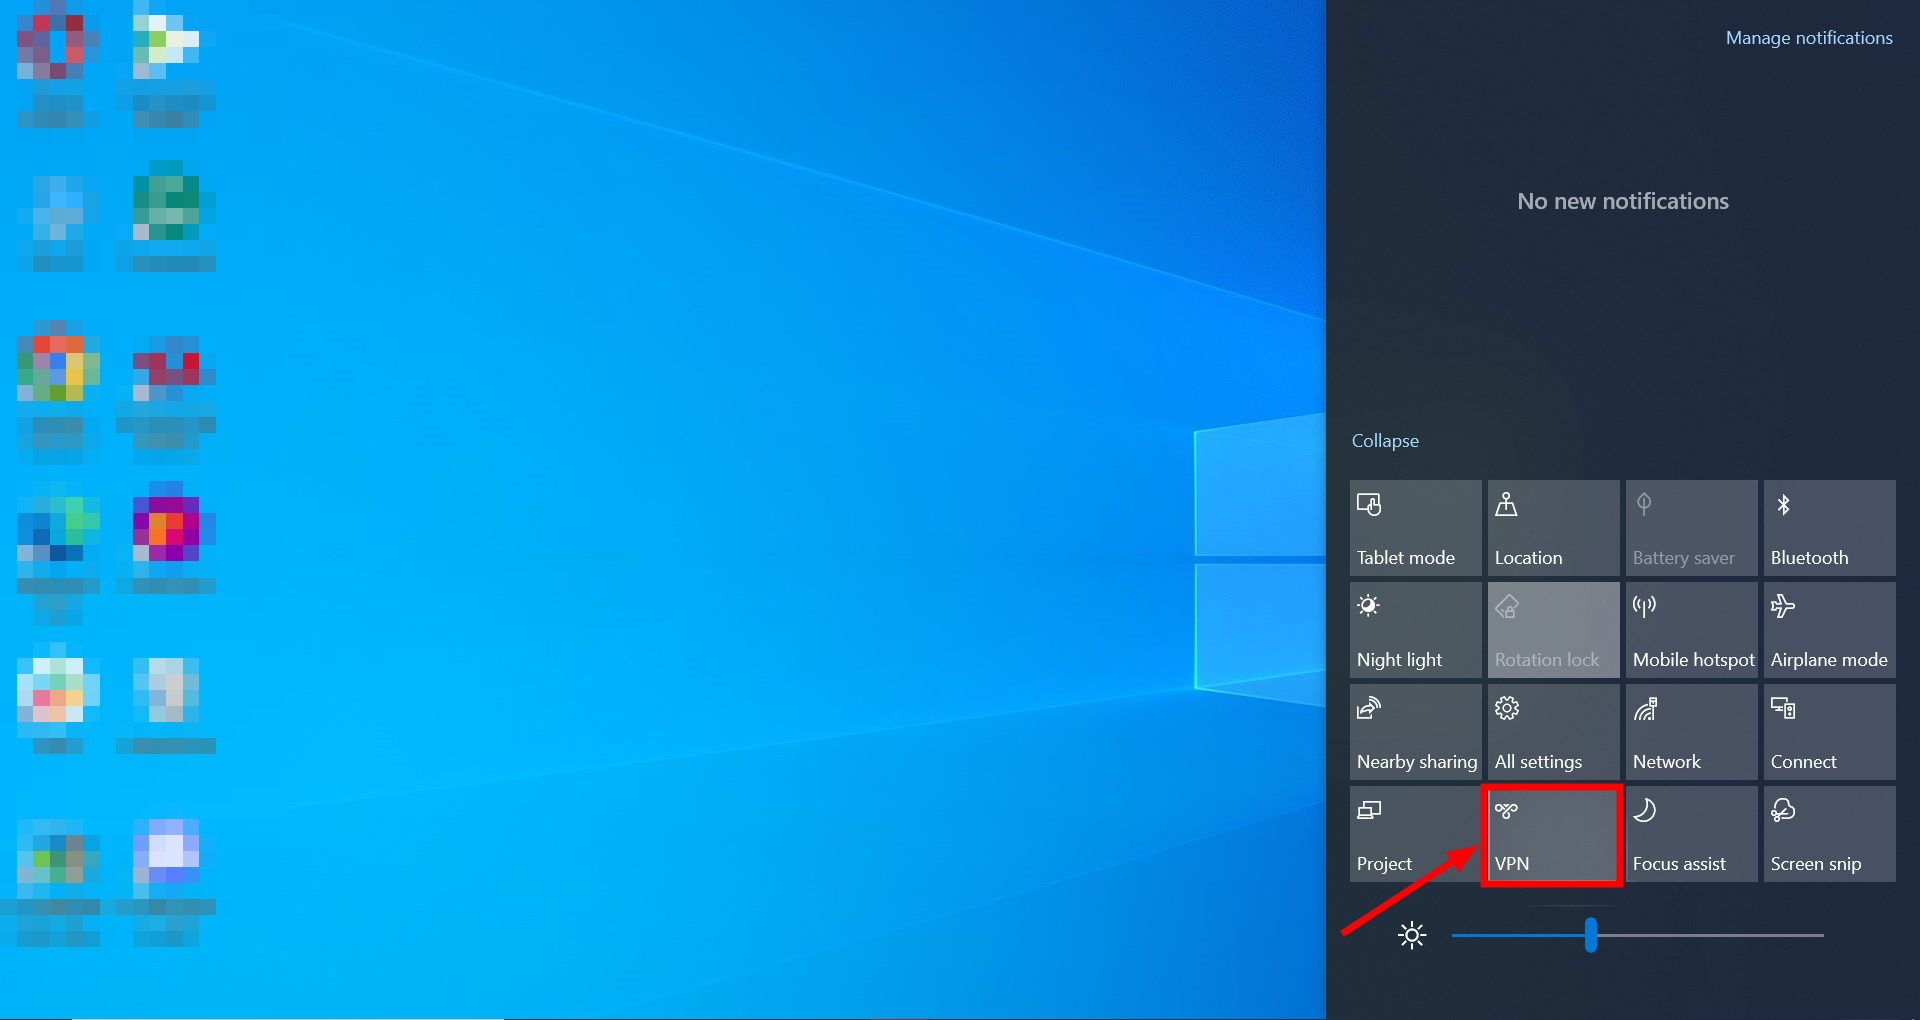
If you’re using a VPN and your internet stops working, try disabling the VPN. If turning it off restores your internet to normal, the VPN might be causing the issue. You can adjust its settings or consider switching to a different VPN service to see if that resolves the problem.
5. Change networking settings
While Microsoft generally advises against disabling the Internet Protocol version 6 (IPv6), doing so might help resolve connection issues.
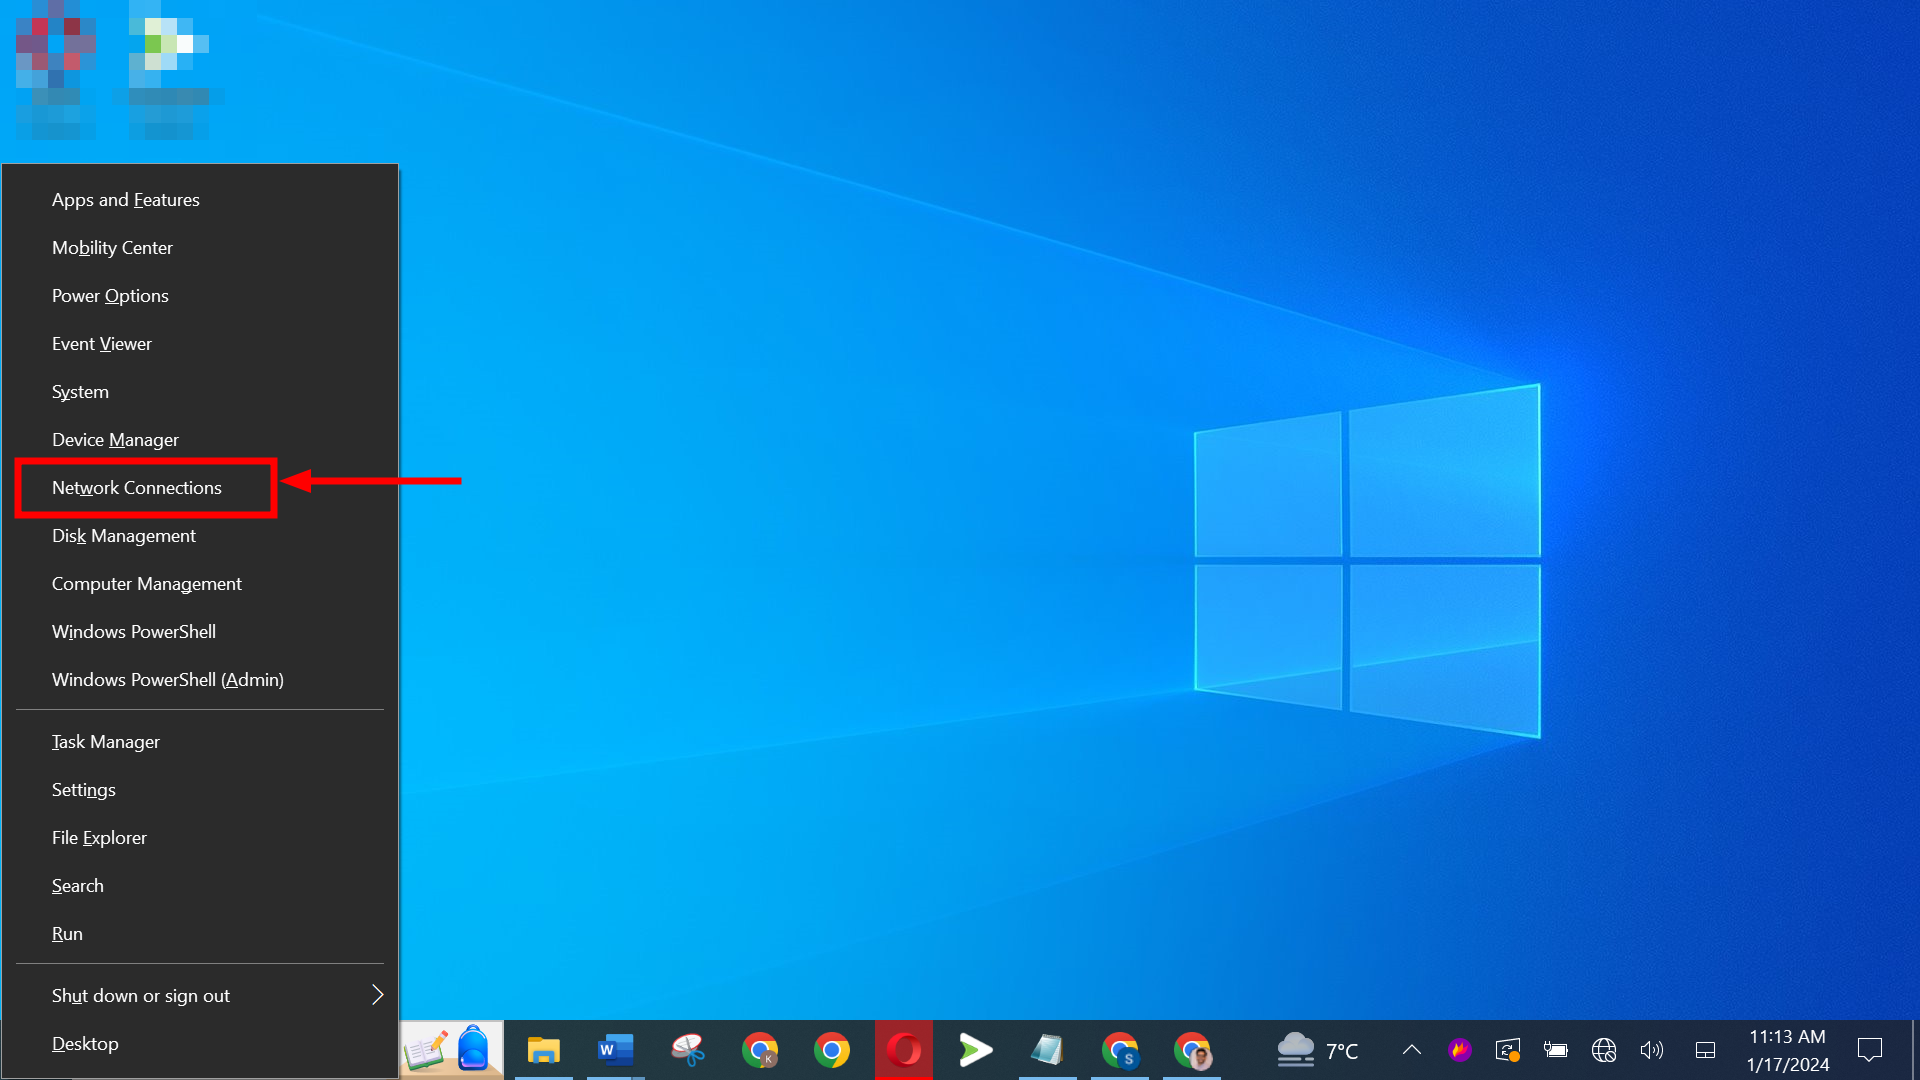
- Press the “Windows key + X” and select “Network Connections.”
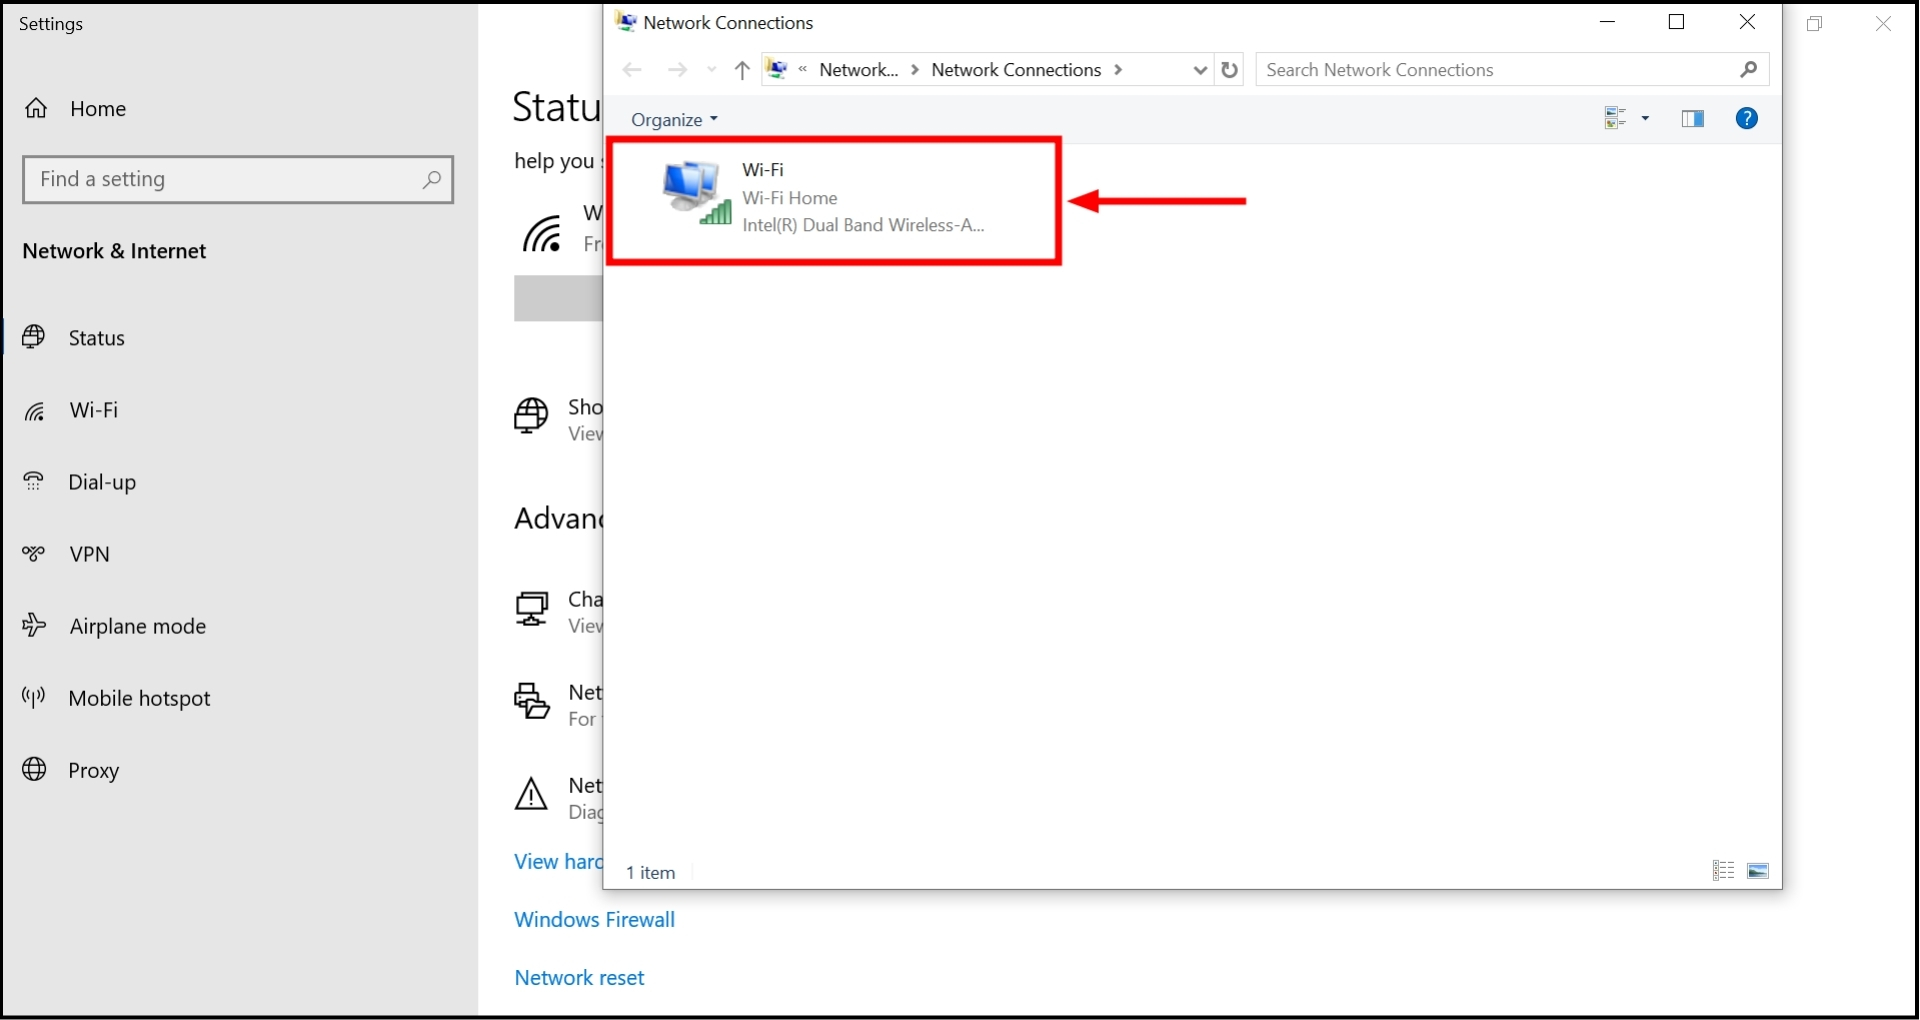
Choose Network Connections - Under “Advanced network settings,” click on “Change adapter options.”

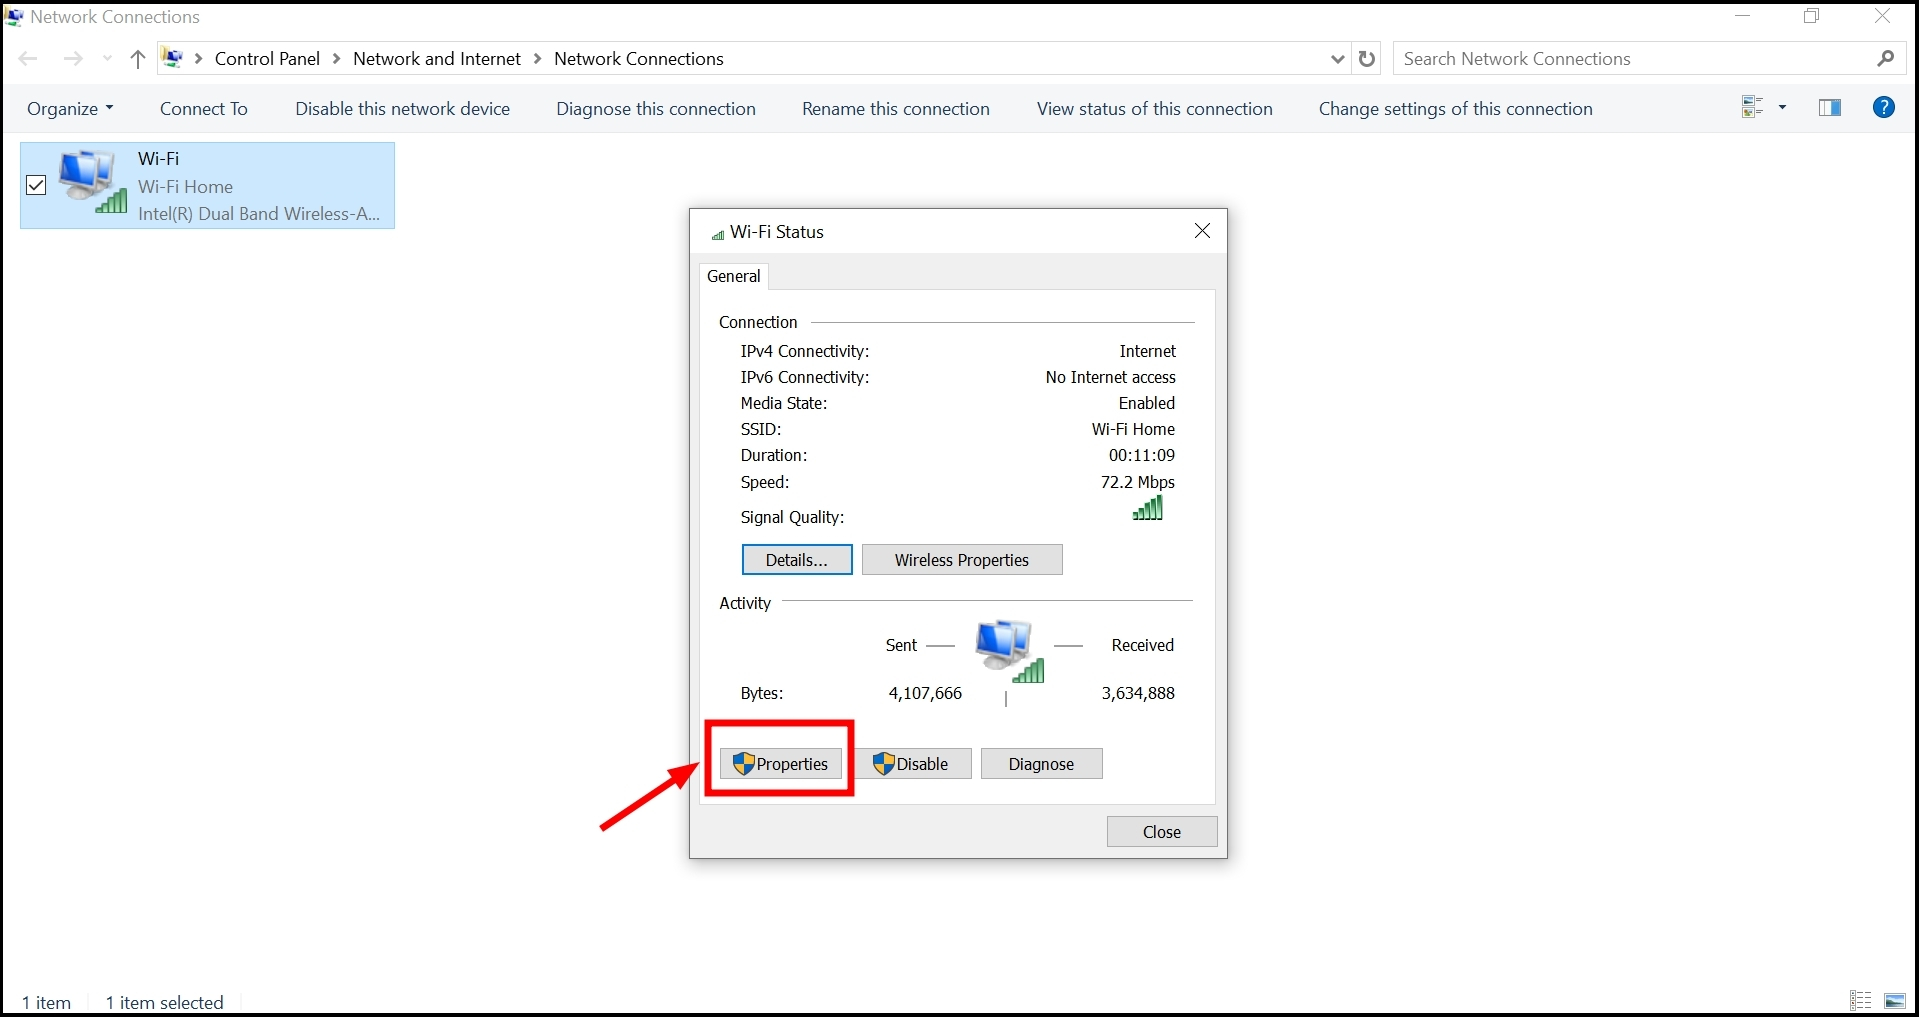
Click on Change adapter options - Double-click on the wireless network showing the “No Internet, secured” error.
Double-click on the wireless network - Click on “Properties” to access the settings for your wireless adapter.
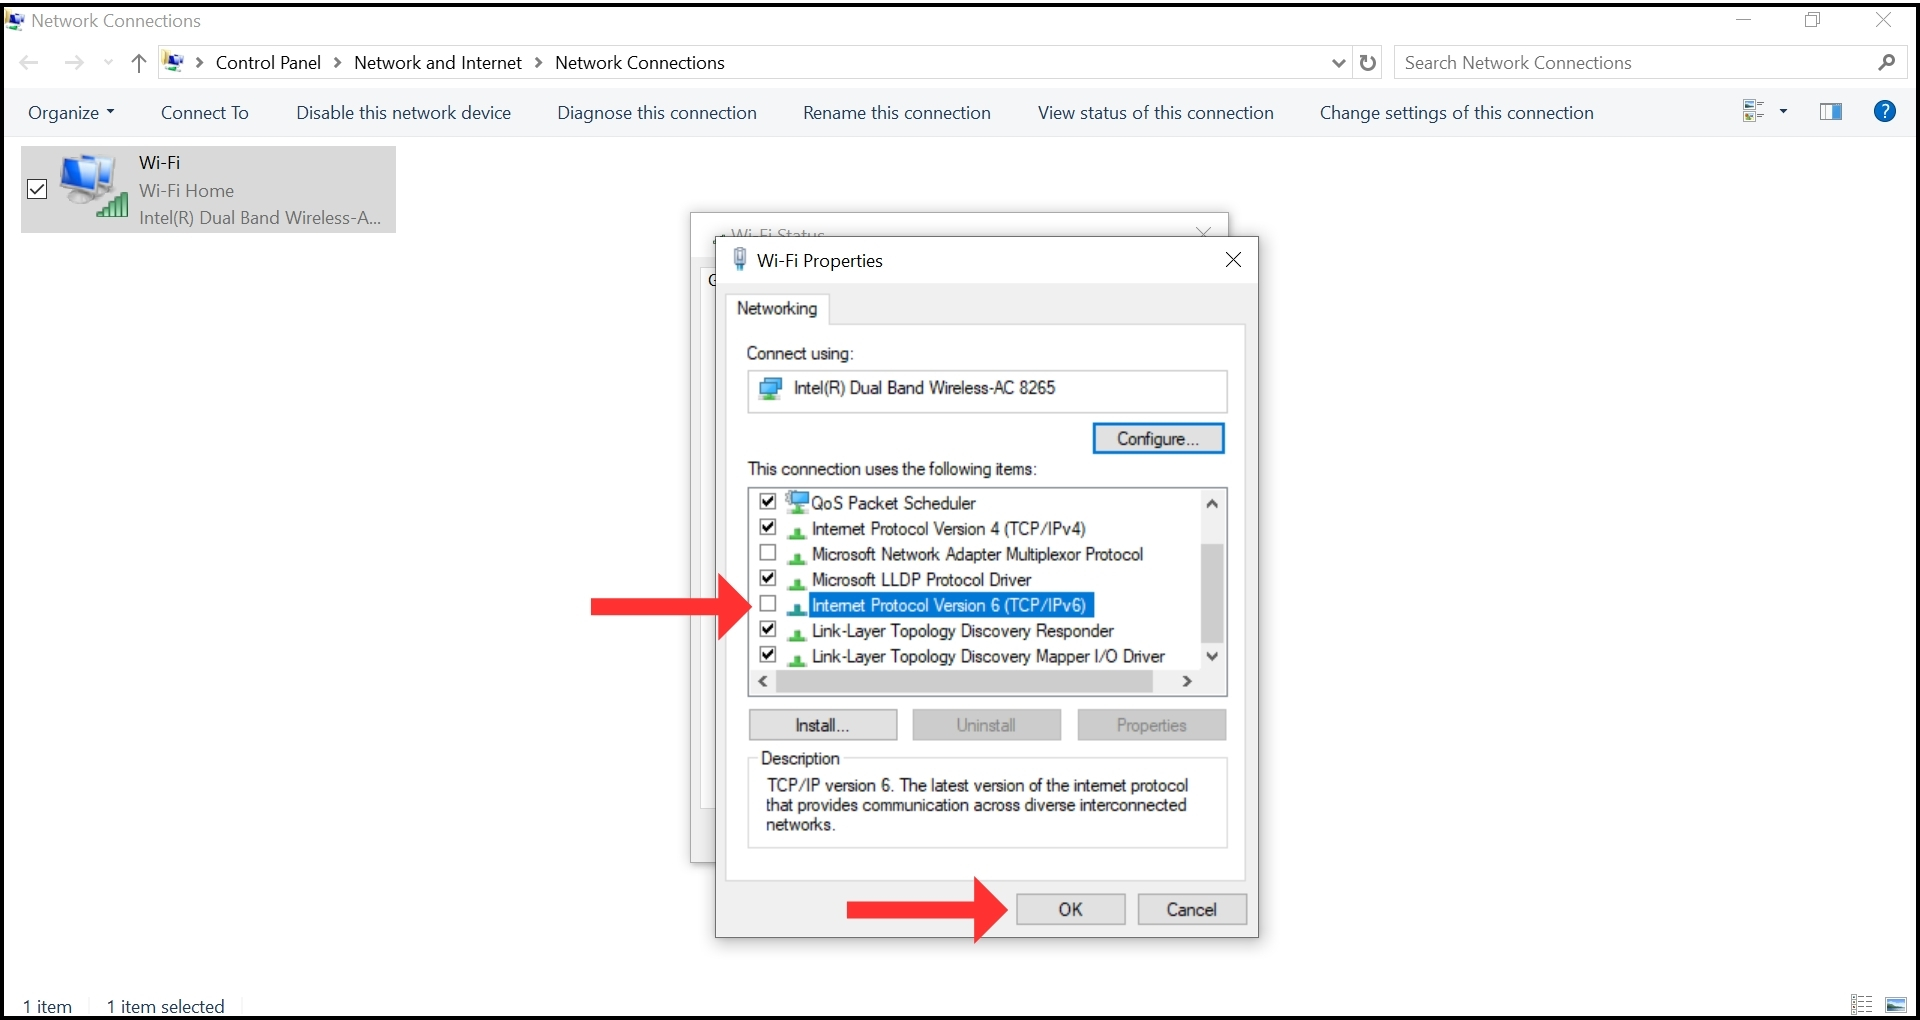
Click on Properties - In the connection properties window, uncheck the box next to “Internet Protocol Version 6 (TCP/IPv6).” Ensure “Internet Protocol Version 4 (TCP/IPv4)” remains checked. Click “OK” to save your choice.
Uncheck the box of IPv6
If the problem persists or other features of Windows start having issues, you should reactivate IPv6.
6. Use Windows’ internet Troubleshooter
Windows 10 and 11 are complex systems running multiple processes simultaneously, which can occasionally cause glitches or errors. To address this, Microsoft includes automatic troubleshooting tools in these versions of Windows. These tools are designed specifically for common issues like internet connectivity problems.
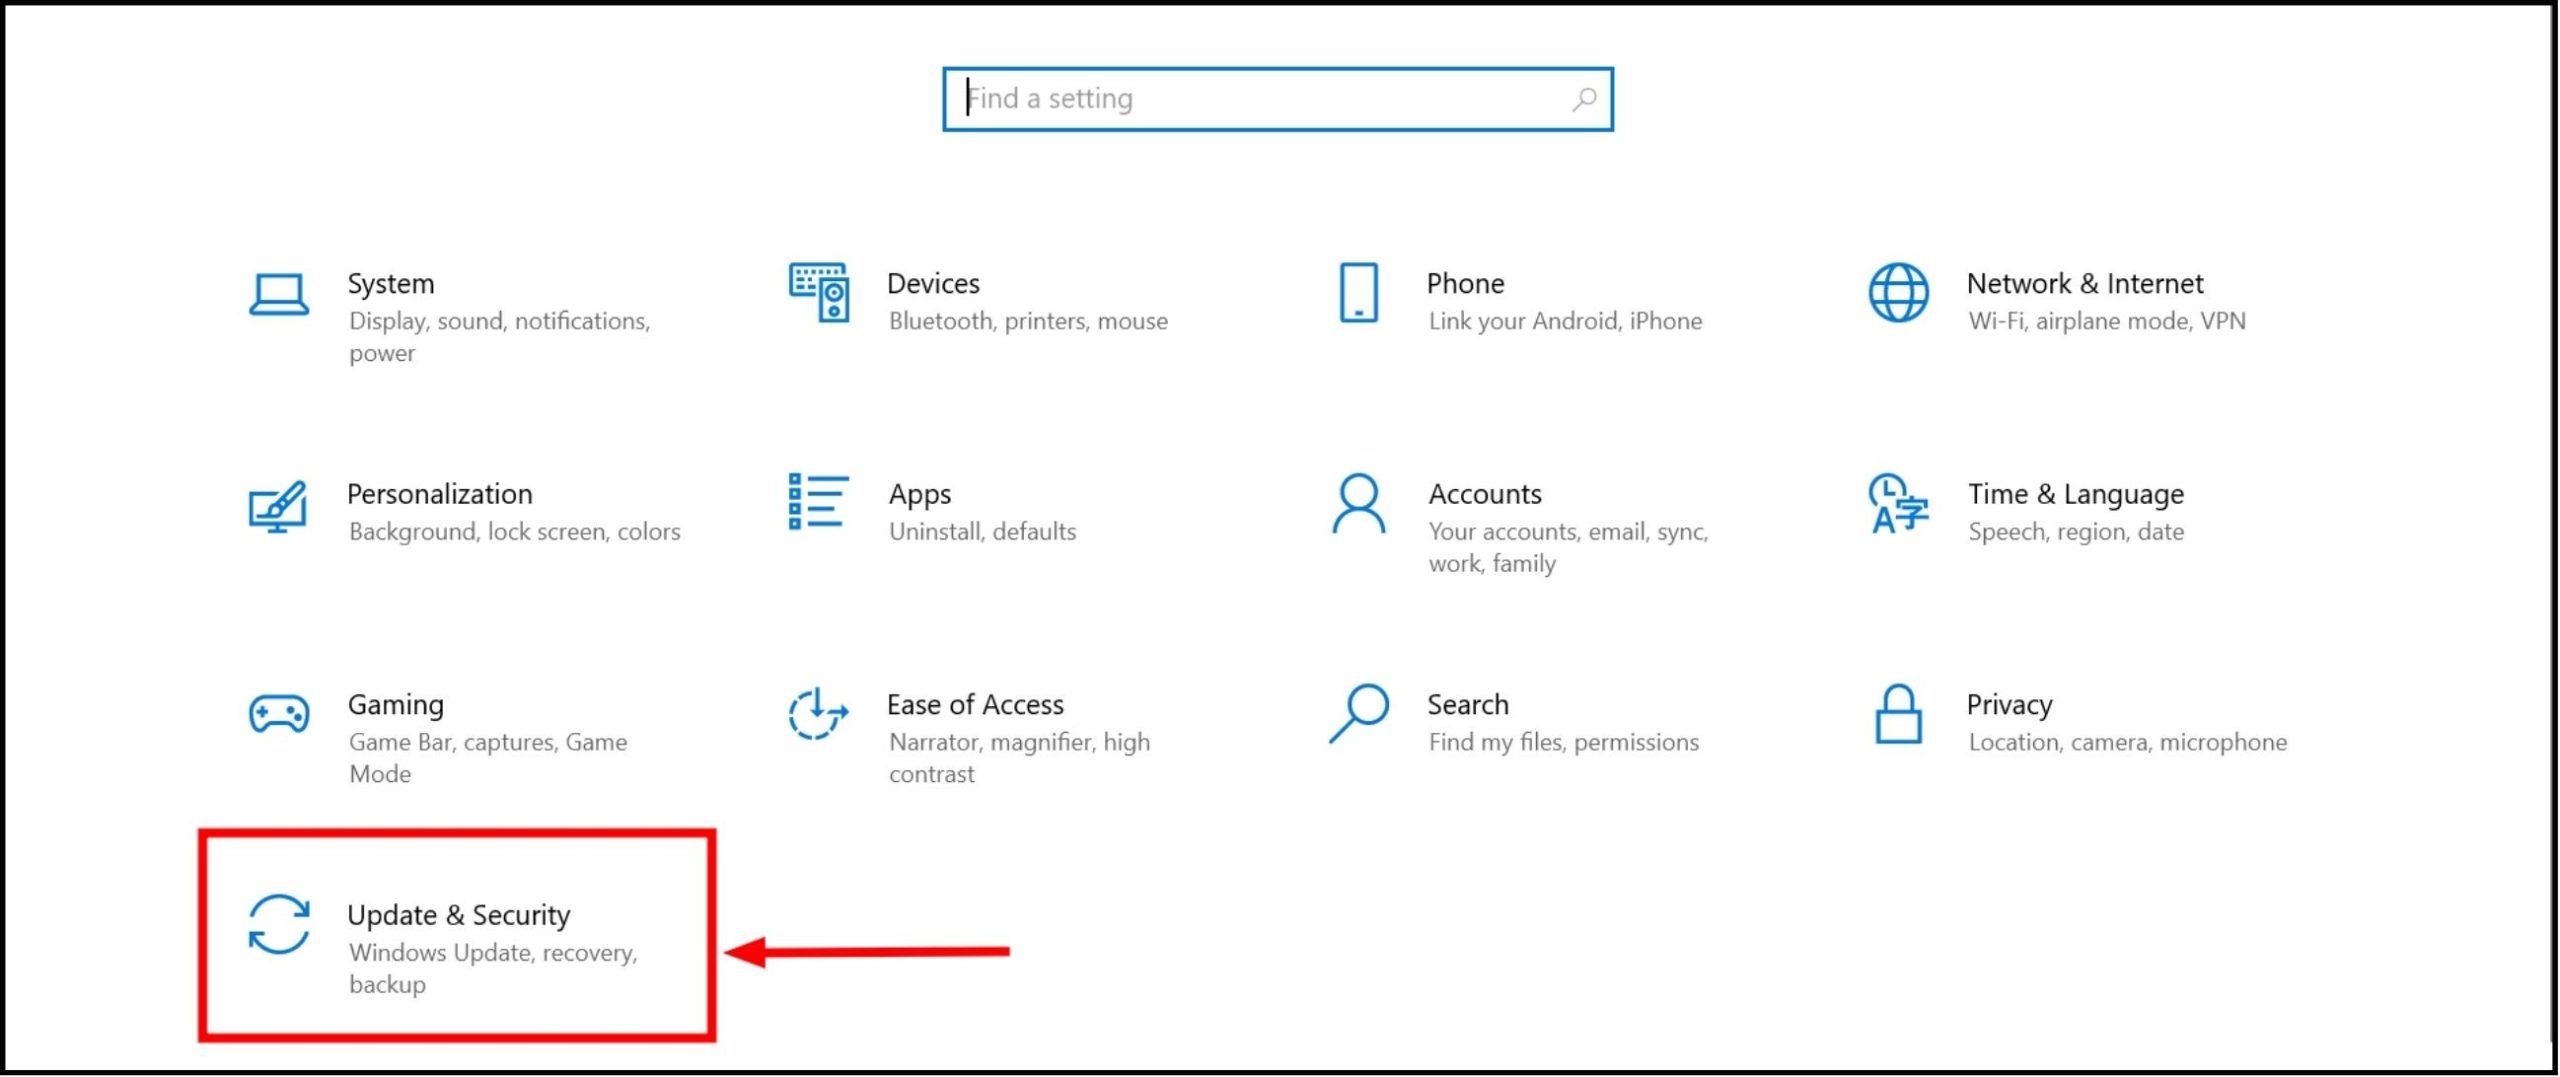
- Open the “Settings” app on your PC. If you’re using Windows 10, choose “Update & Security“. For Windows 11, select “System.”
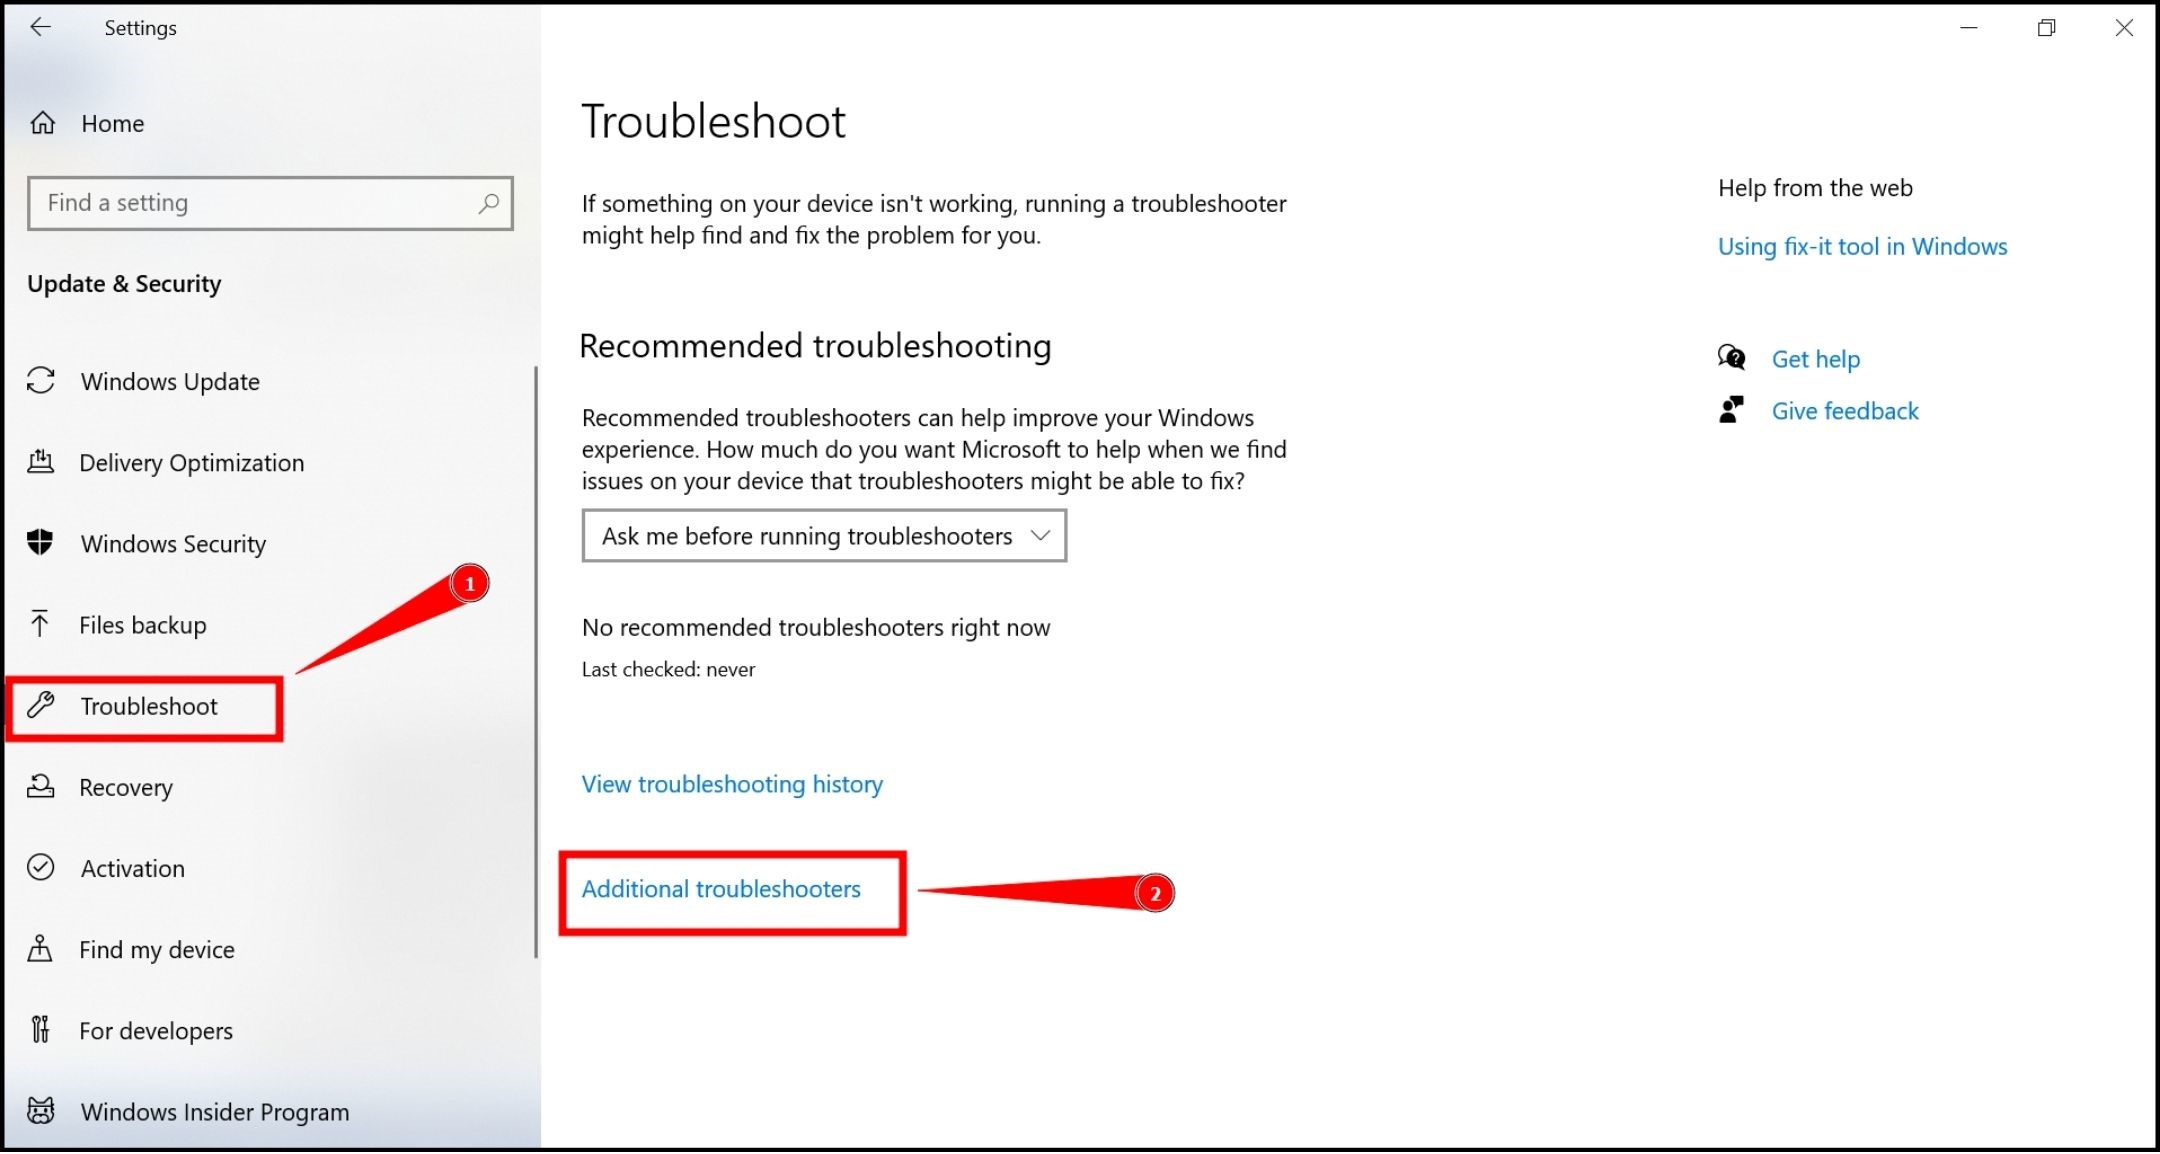
Choose Update and Security - Scroll down and click on “Troubleshoot.” Then, select “Additional troubleshooters” for Windows 10 or “Other troubleshooters” for Windows 11.
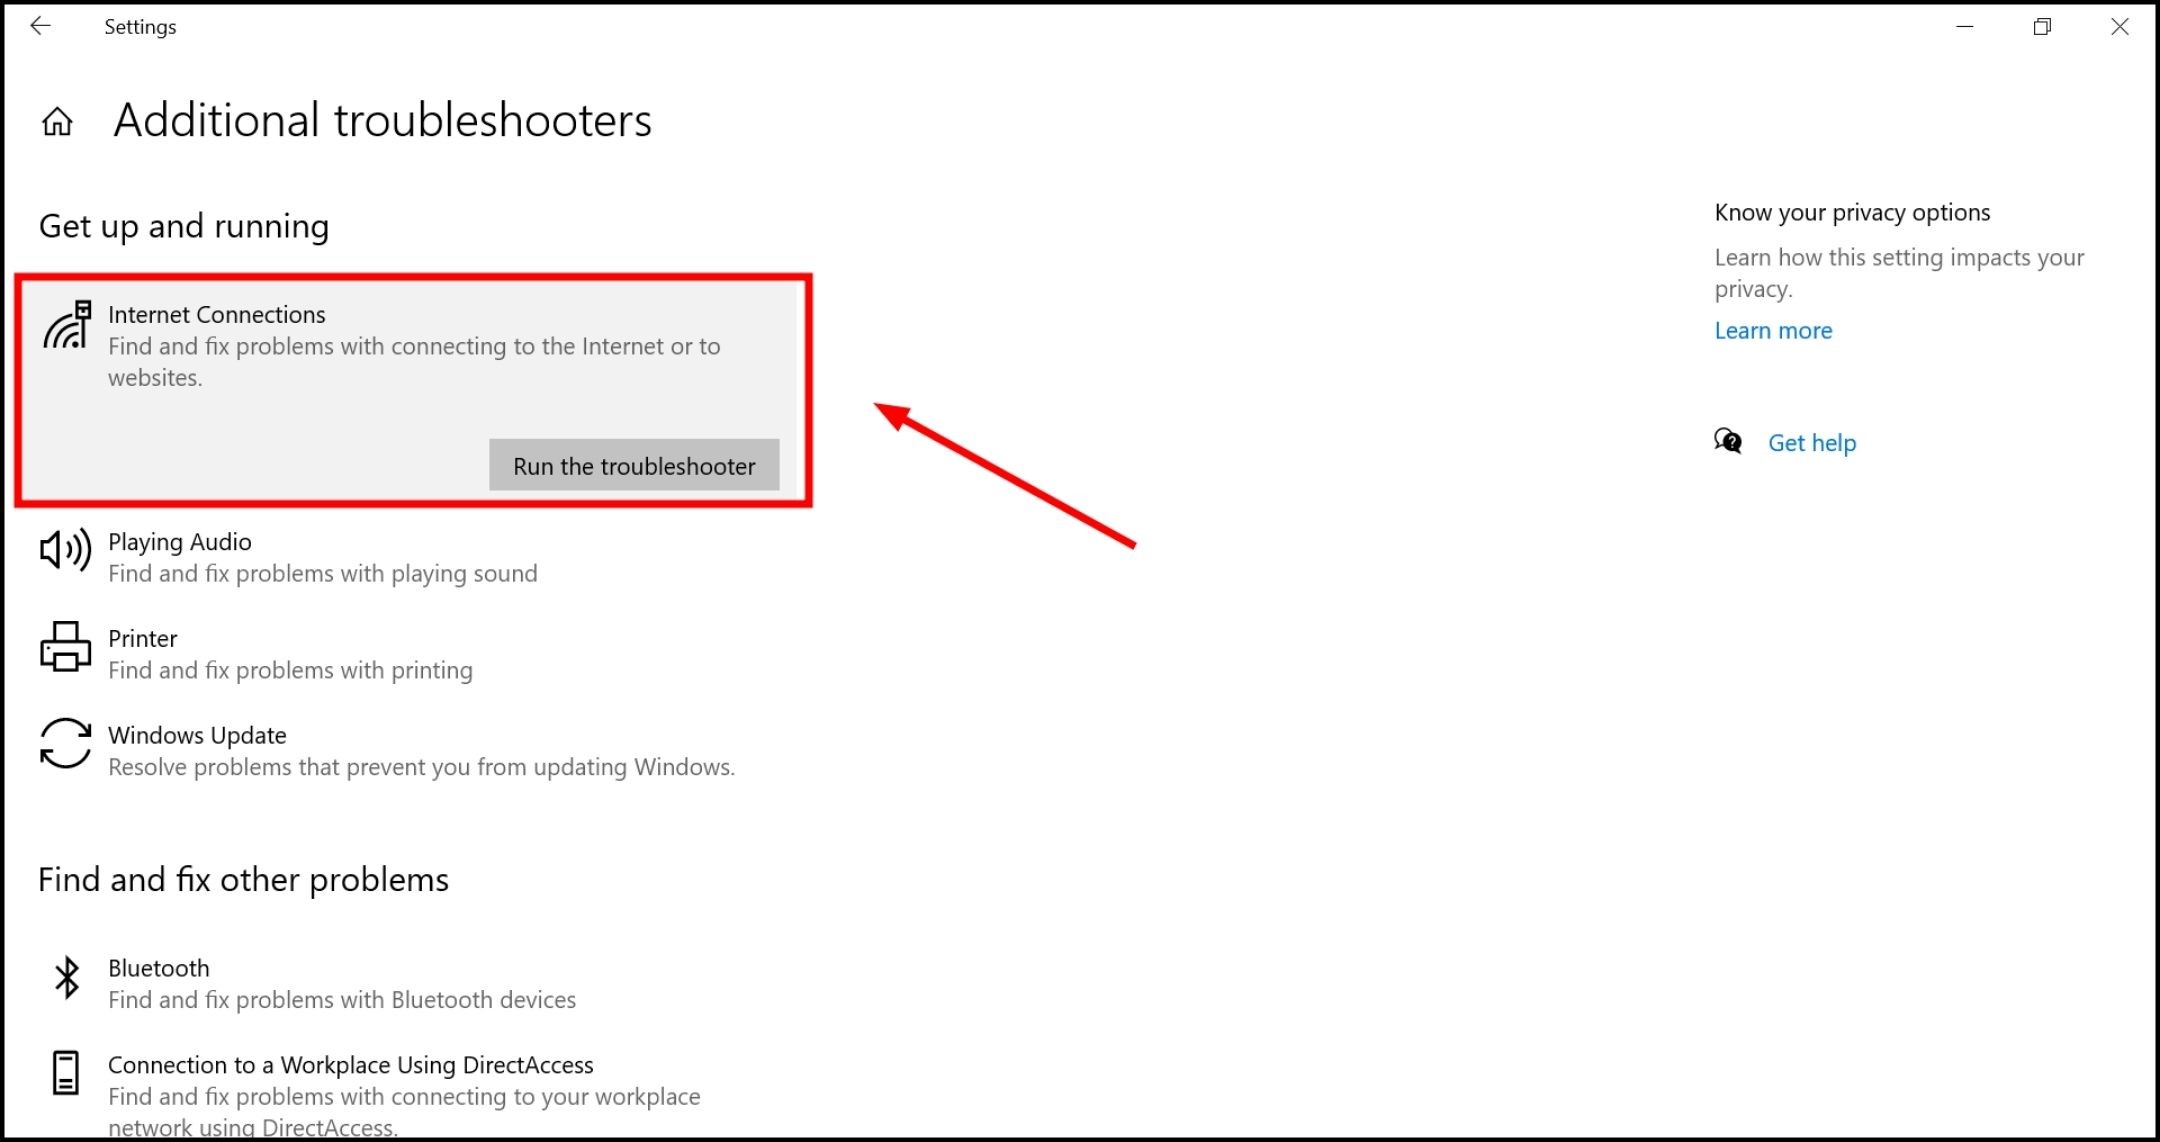
Click on Troubleshoot and Additional troubleshooters - Look for two tools named:
- Internet Connections
Internet Connections troubleshooter - Network Adapter
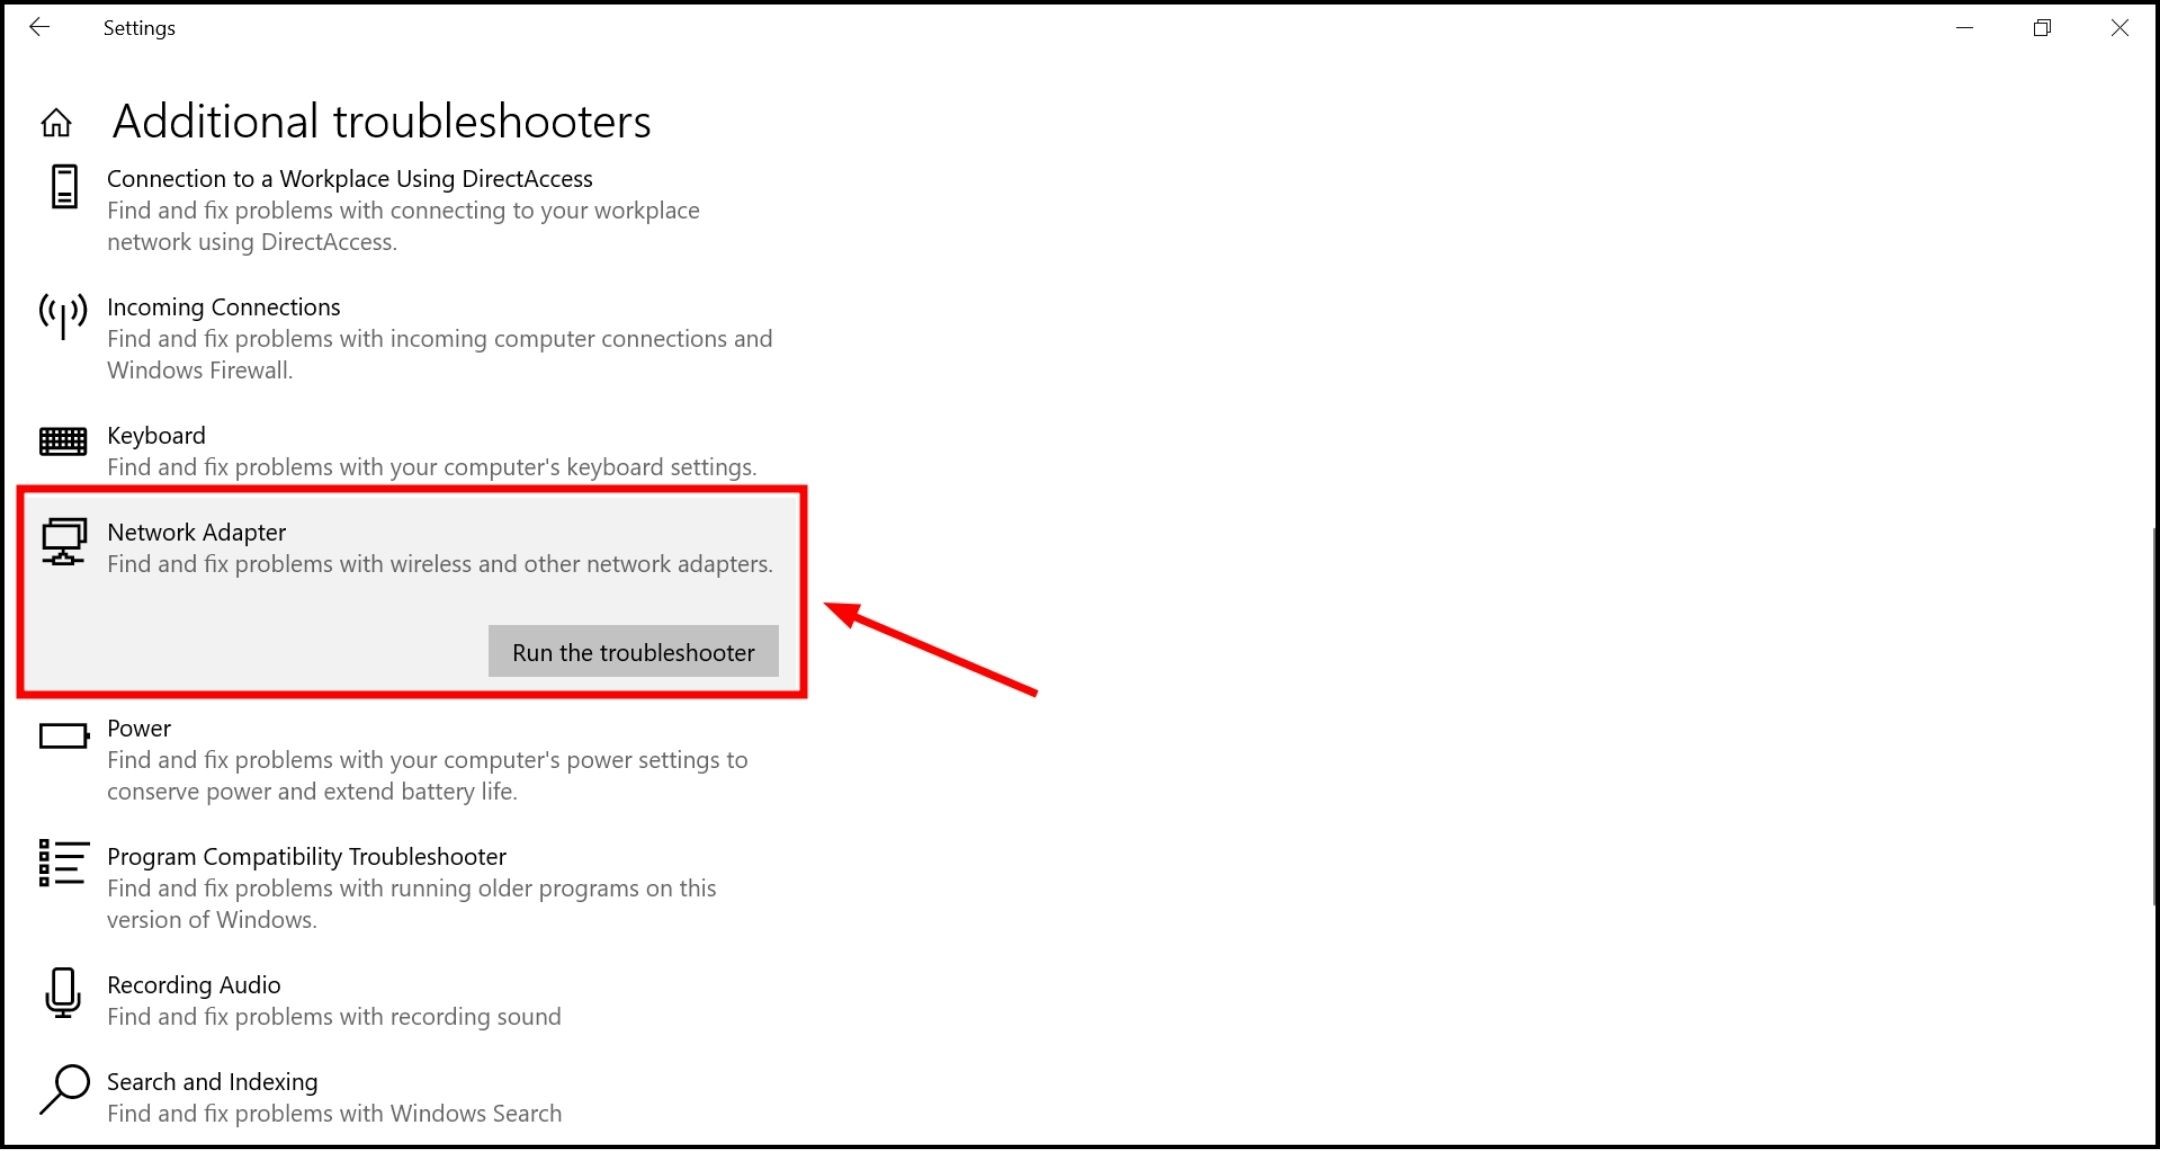
Network Adapter Troubleshooter
Run the Troubleshooter for both tools. These tools will check for basic issues and attempt to fix any that they find. They can often resolve the problem quickly and efficiently.
7. Reset Winsock
Resetting Winsock using command lines is another method to fix the “No Internet, secured” error. While “Winsock” might sound like an unrelated term, it’s crucial for your computer’s ability to communicate with network services, particularly those utilizing TCP/IP.
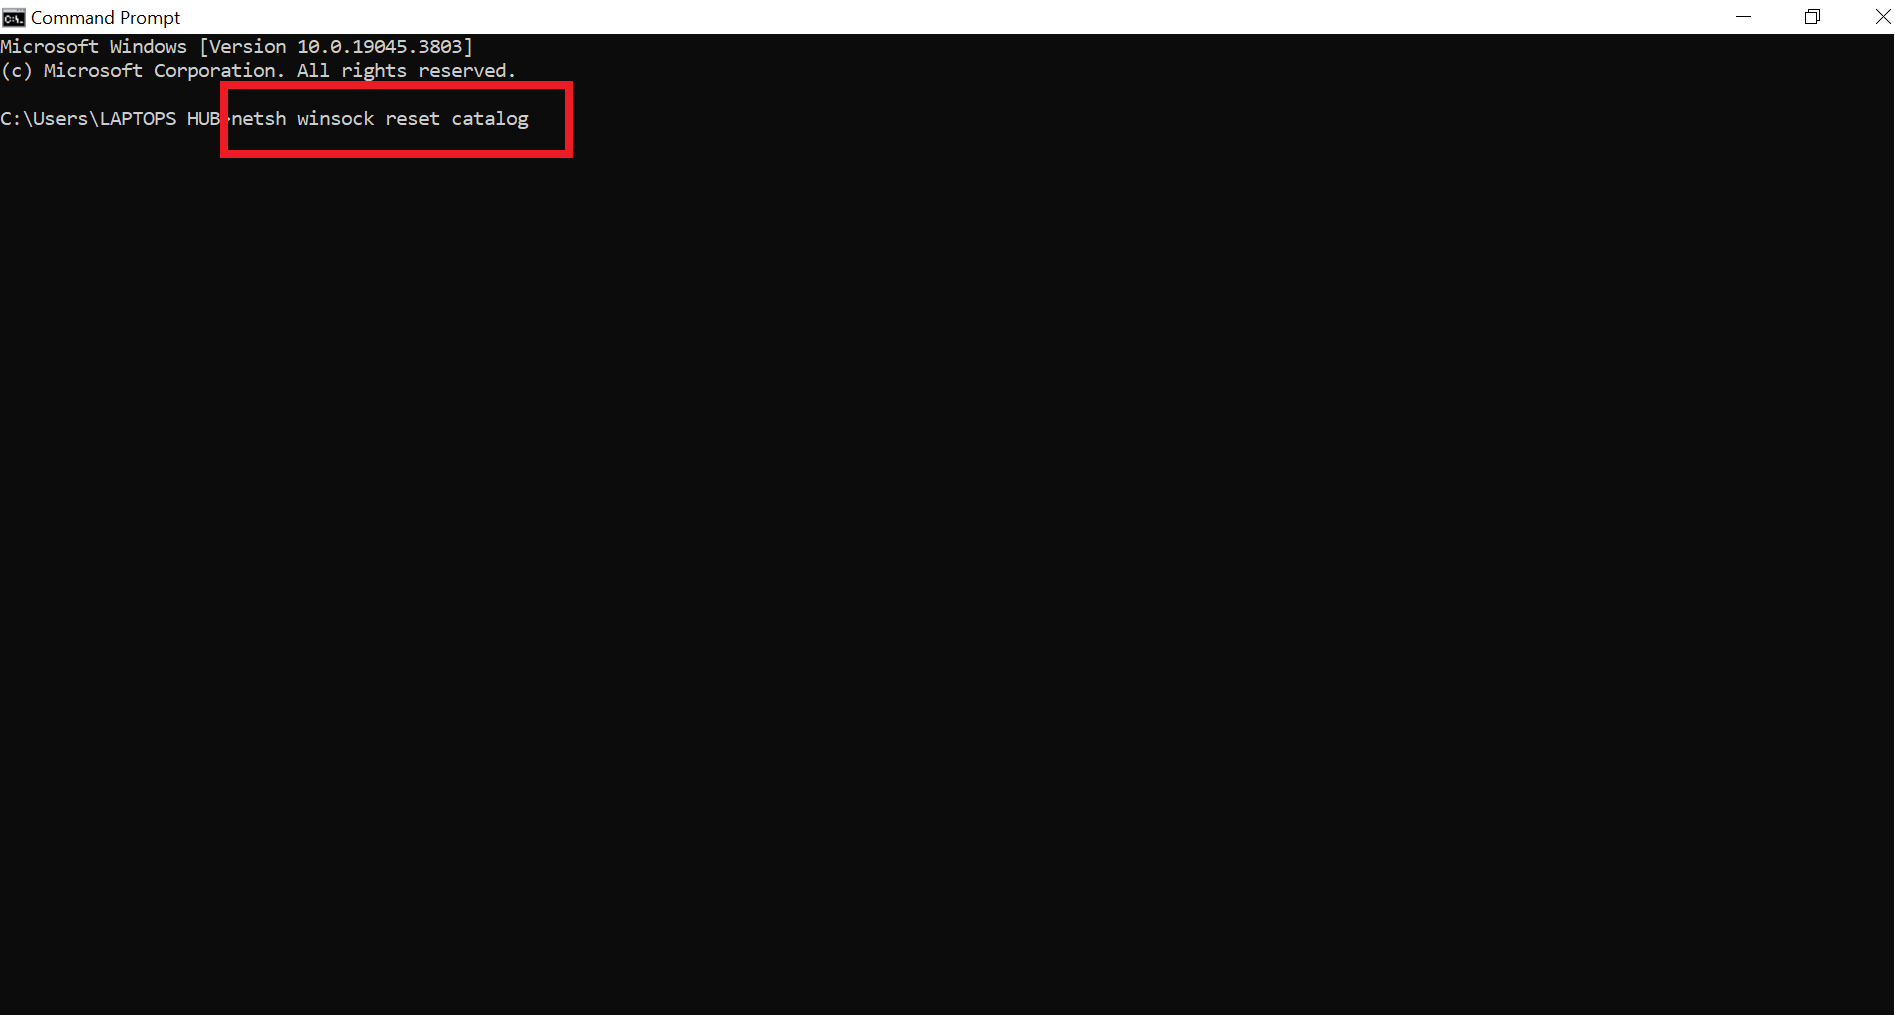
- Click on the “Start” menu, search for “Command Prompt.” and open it.
Open Command Prompt - Type this command: netsh winsock reset catalog and press “Enter.”
Type the command
Wait a moment after entering the command. If your network doesn’t reconnect on its own, you may need to manually reconnect it.
8. Set a new DNS Server
The Domain Name System (DNS) functions like the internet’s directory. When you type a website address, DNS translates it into an IP address to direct you to the site. Sometimes, your system’s default DNS isn’t functioning optimally, which could trigger the “No Internet, Secured” error.
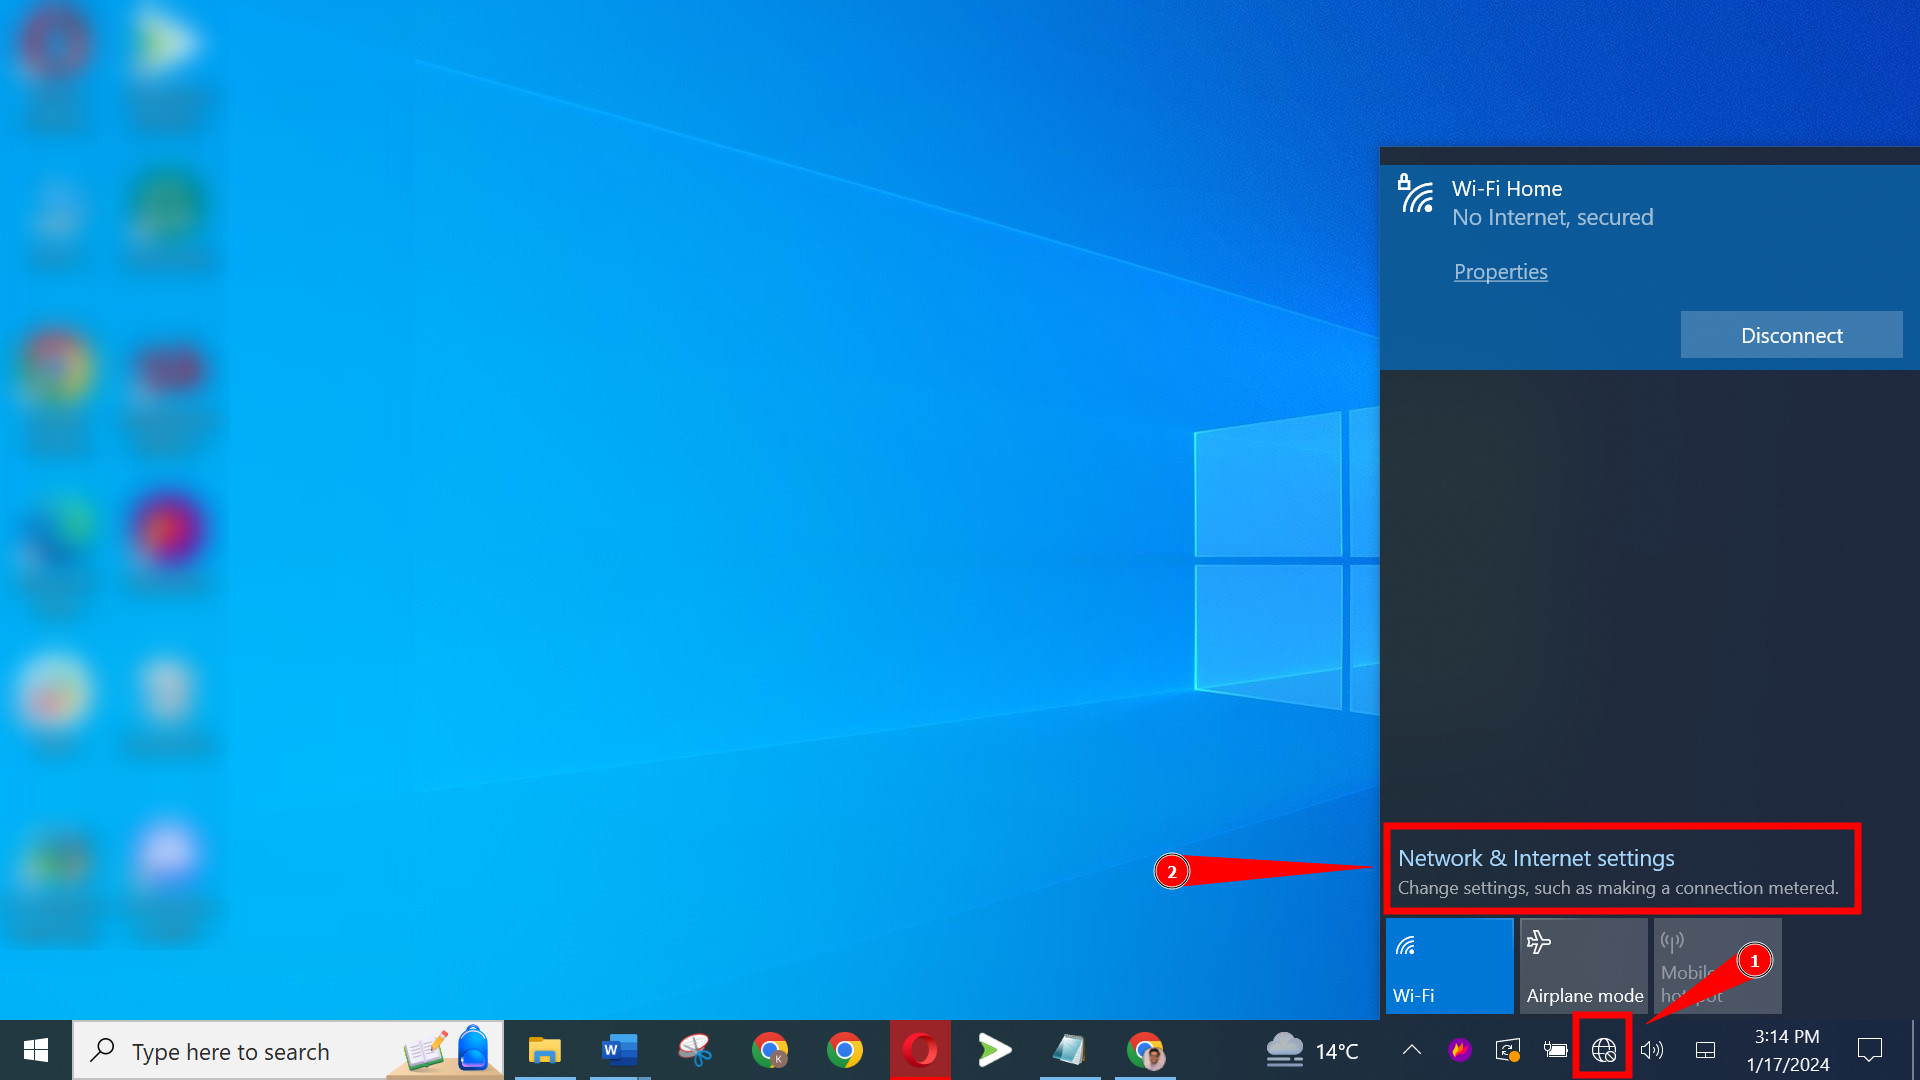
- Click the “Internet connection” icon in your system tray, then go to “Network & Internet Settings.”
Click on the Internet connection - Under “Advanced network settings,” click on “Change adapter options.”
Click on Change adapter options - Double-click on the network with the “No Internet, secured” error.

Double-click on the wireless network - Click on “Properties” to open your wireless adapter settings.

Click on Properties - Select “Internet Protocol Version 4 (TCP/IPv4)” and then click on “Properties.”
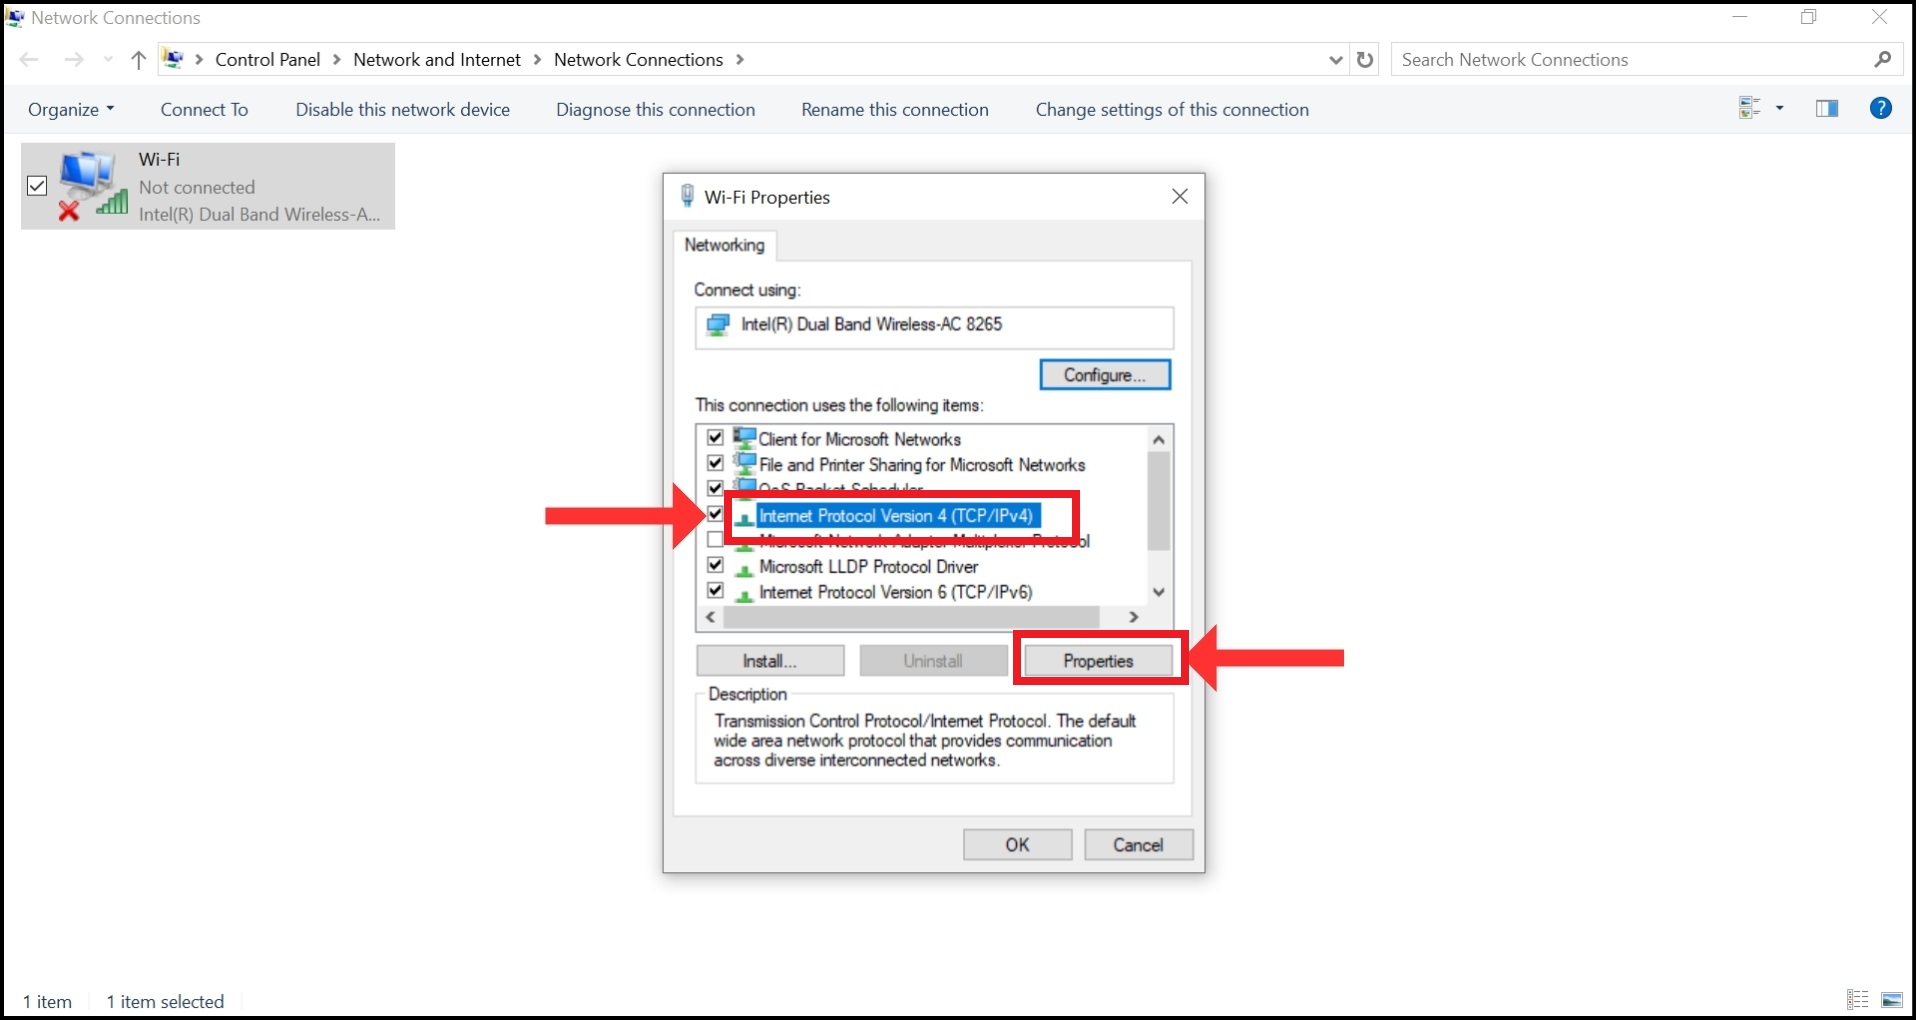
Select IPv4 and Properties - Choose “Use the following DNS server addresses” and input these: Preferred DNS Server: 9.9.9.9 and Alternative DNS Server: 1.1.1.1
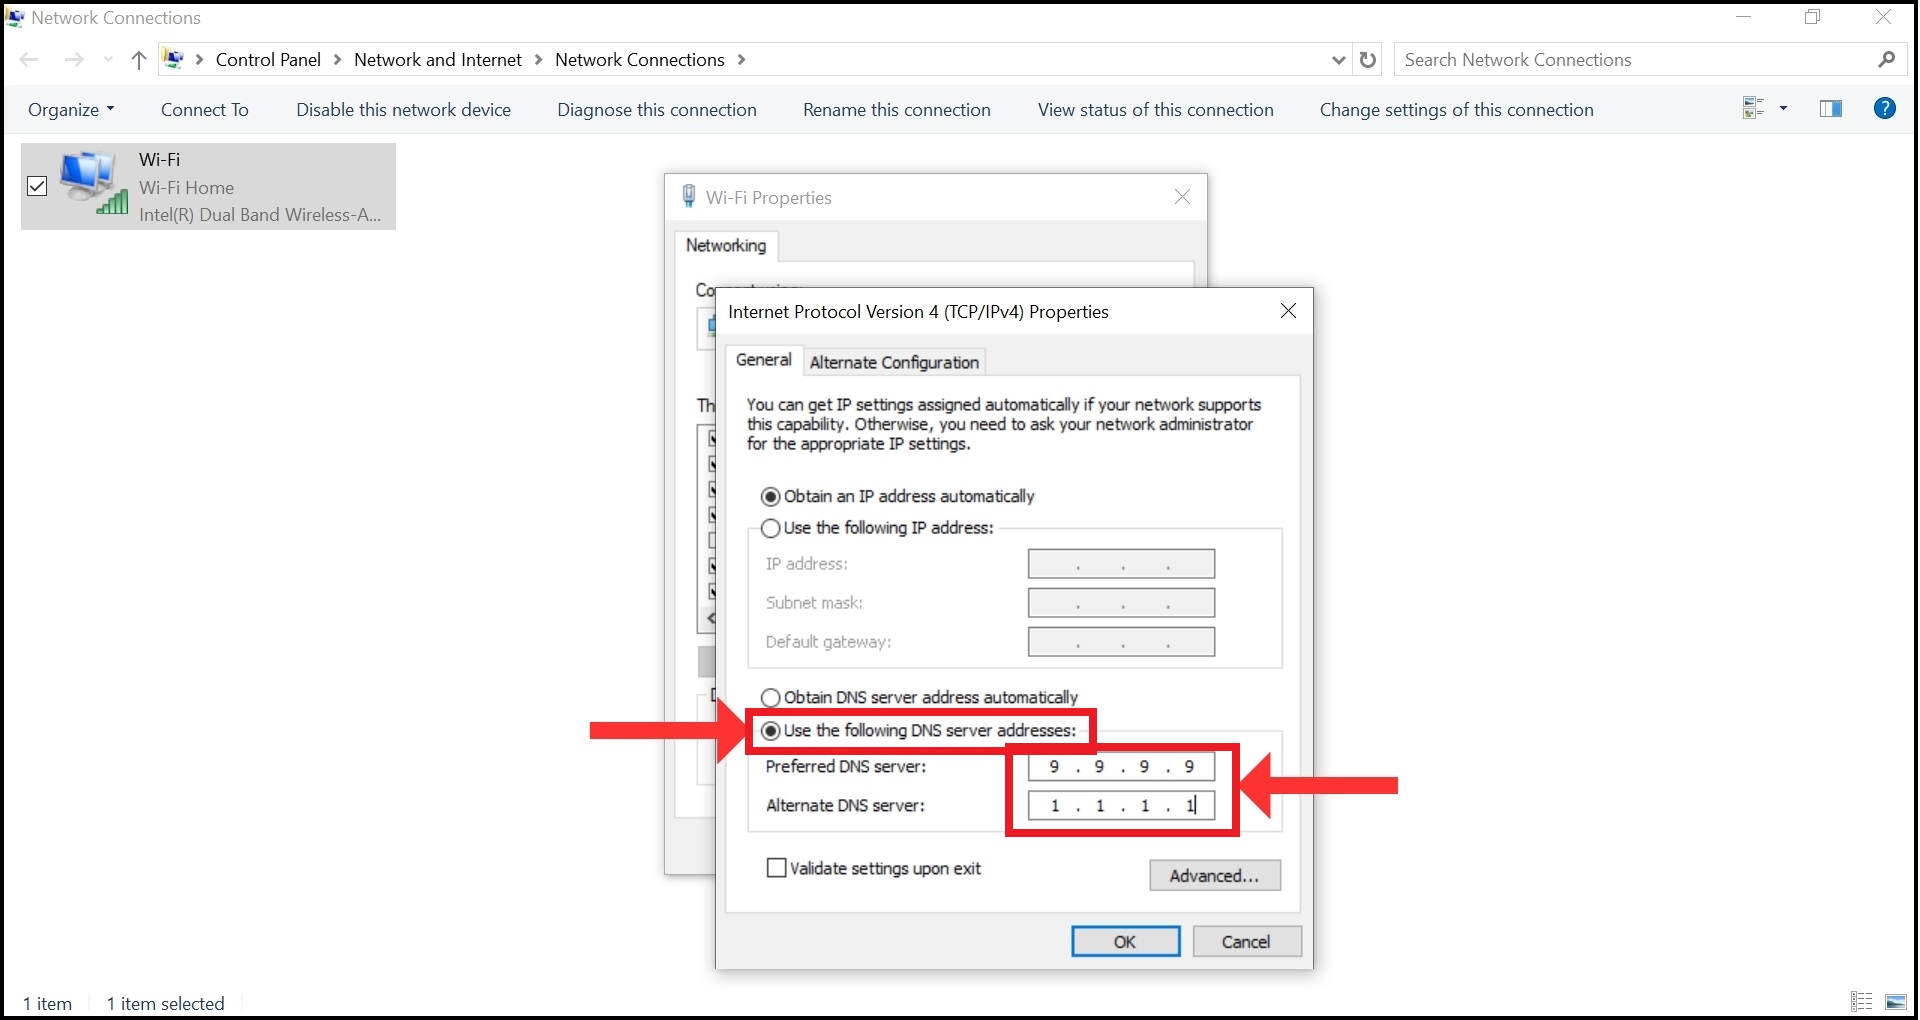
- Click “OK” to save these settings.
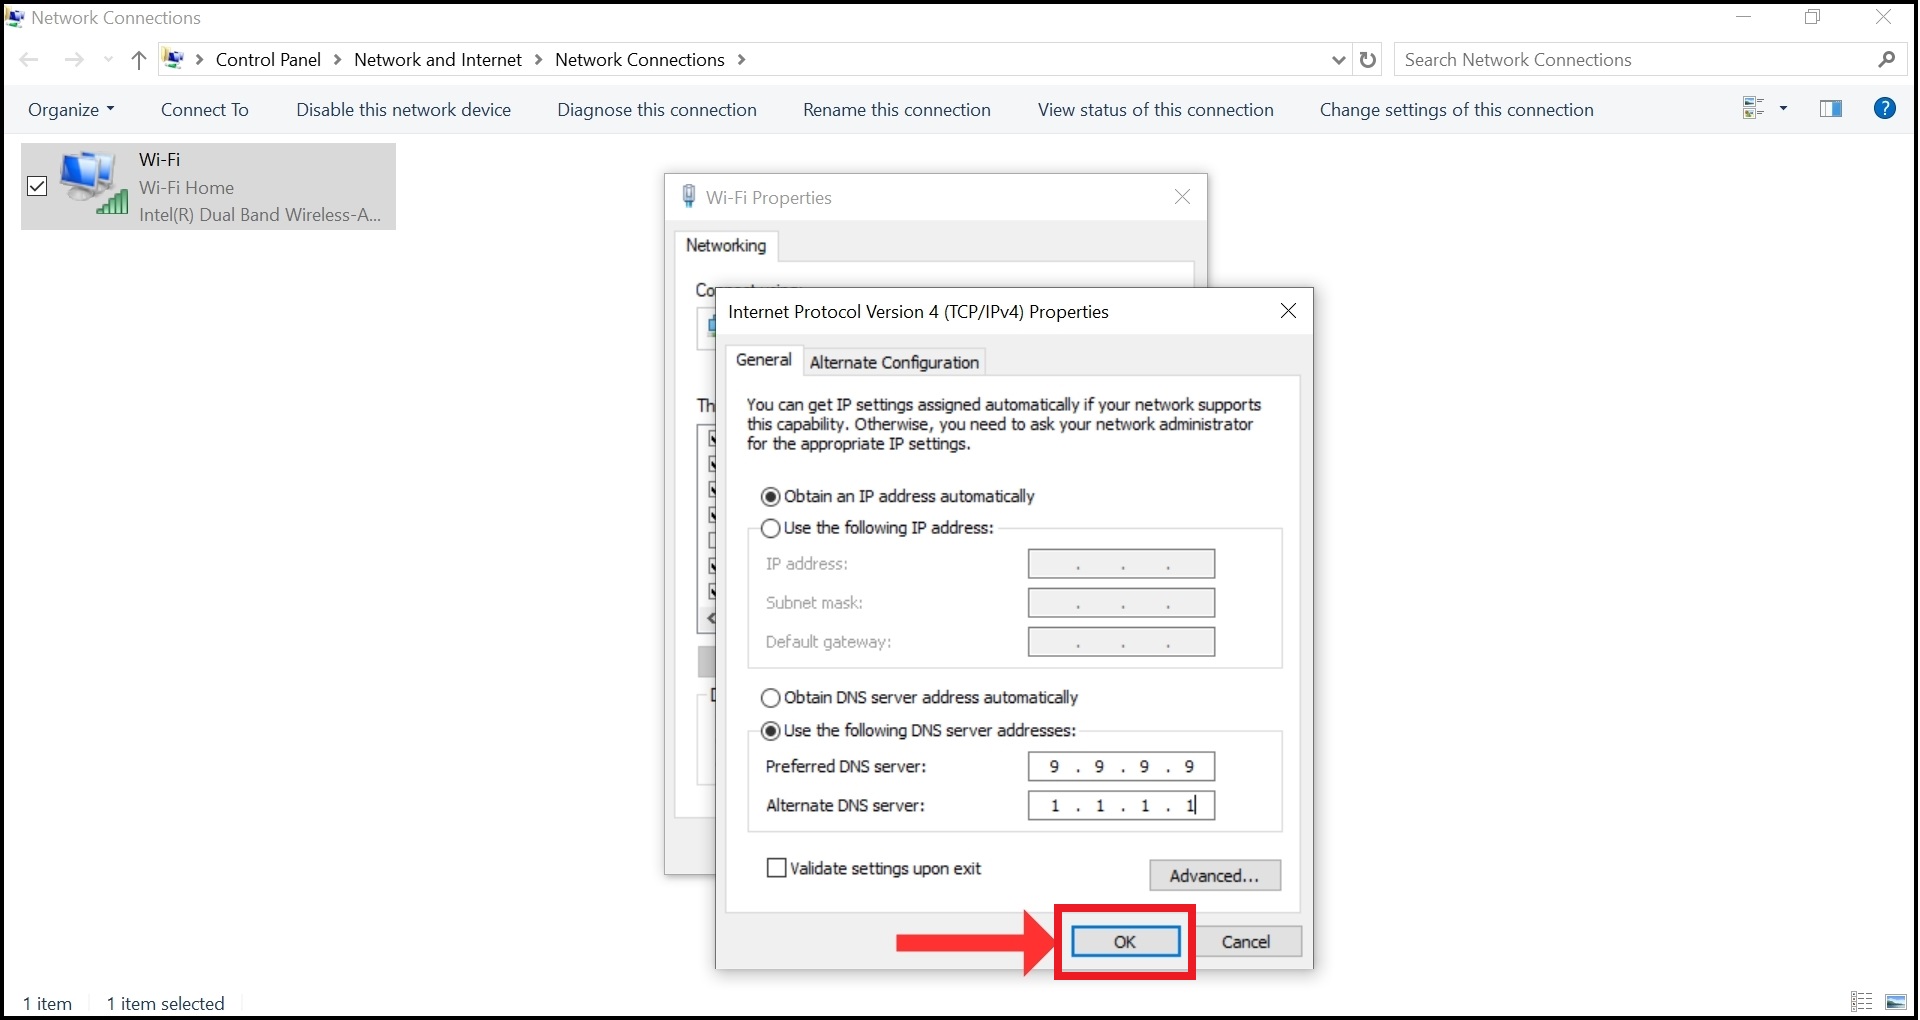
Click OK
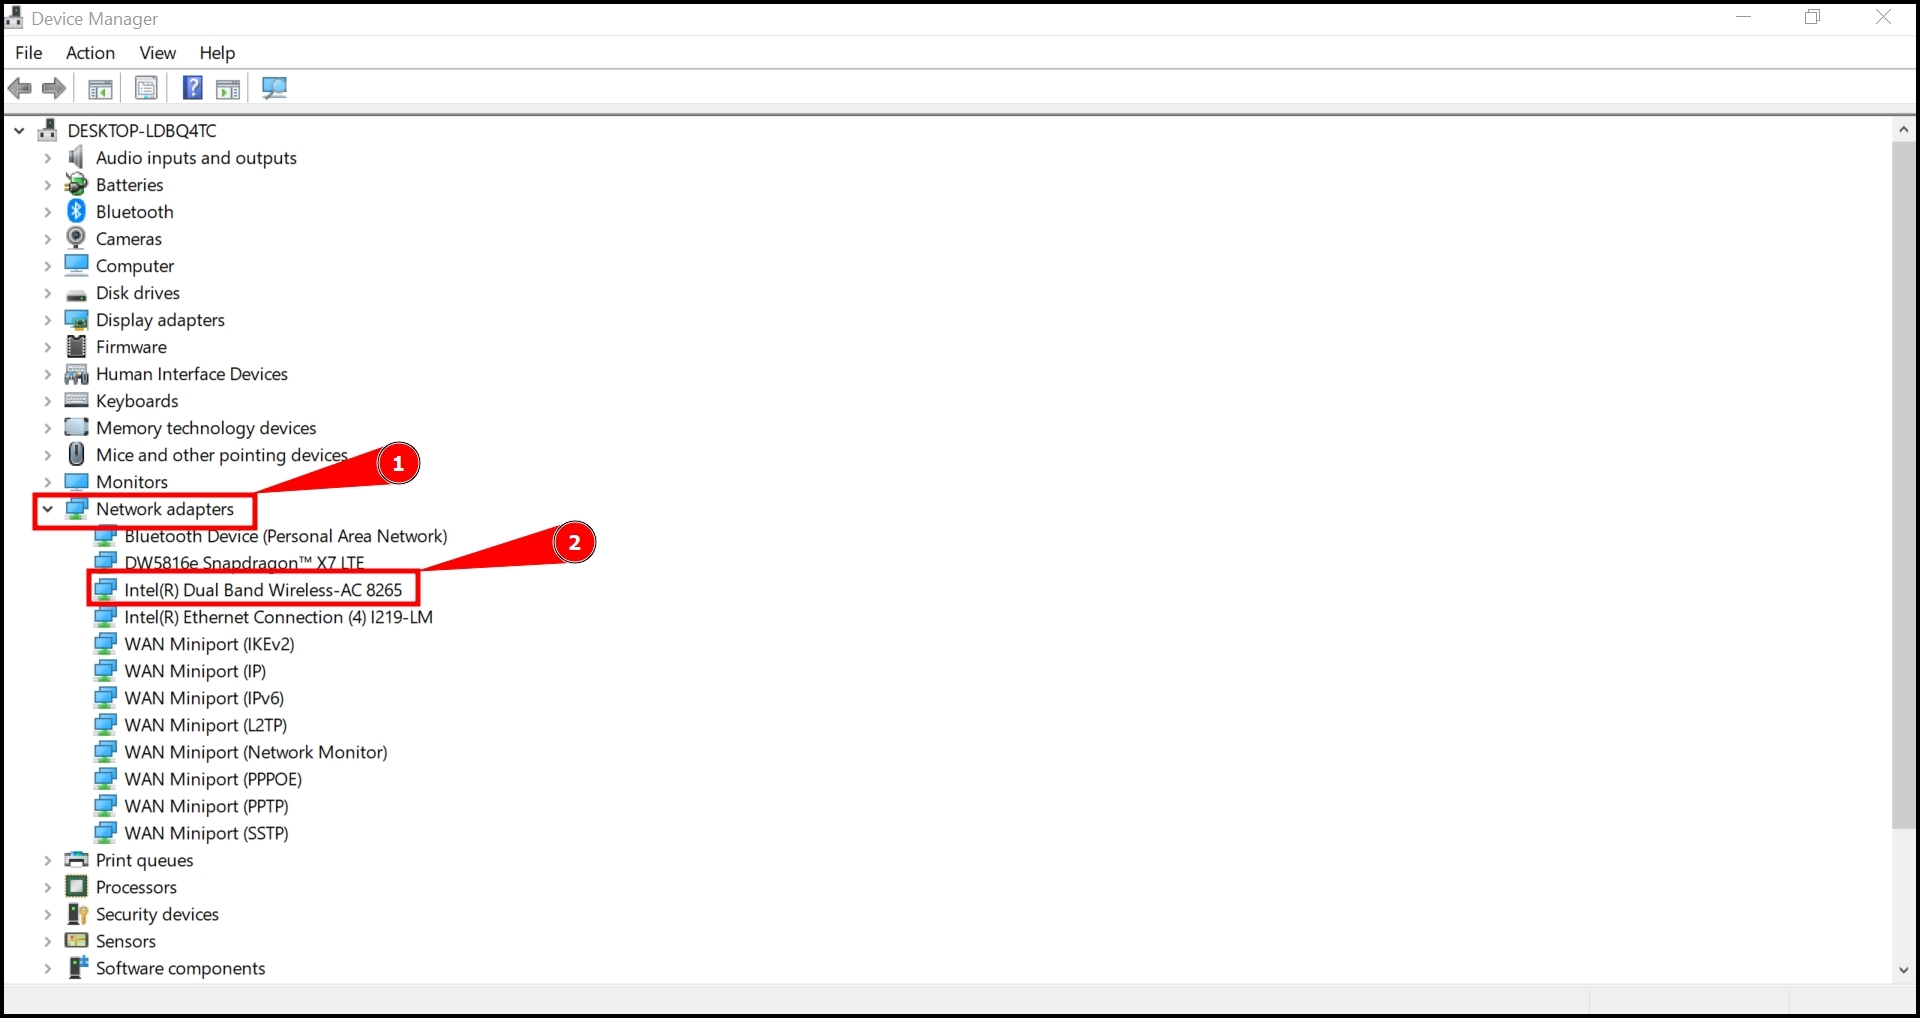
9. Reinstall network adapter drivers
If your internet connection isn’t working, reinstalling the network adapter drivers on your PC might help.
- Click on the “Start” menu, then type in “Device Manager” in the search bar and open it.
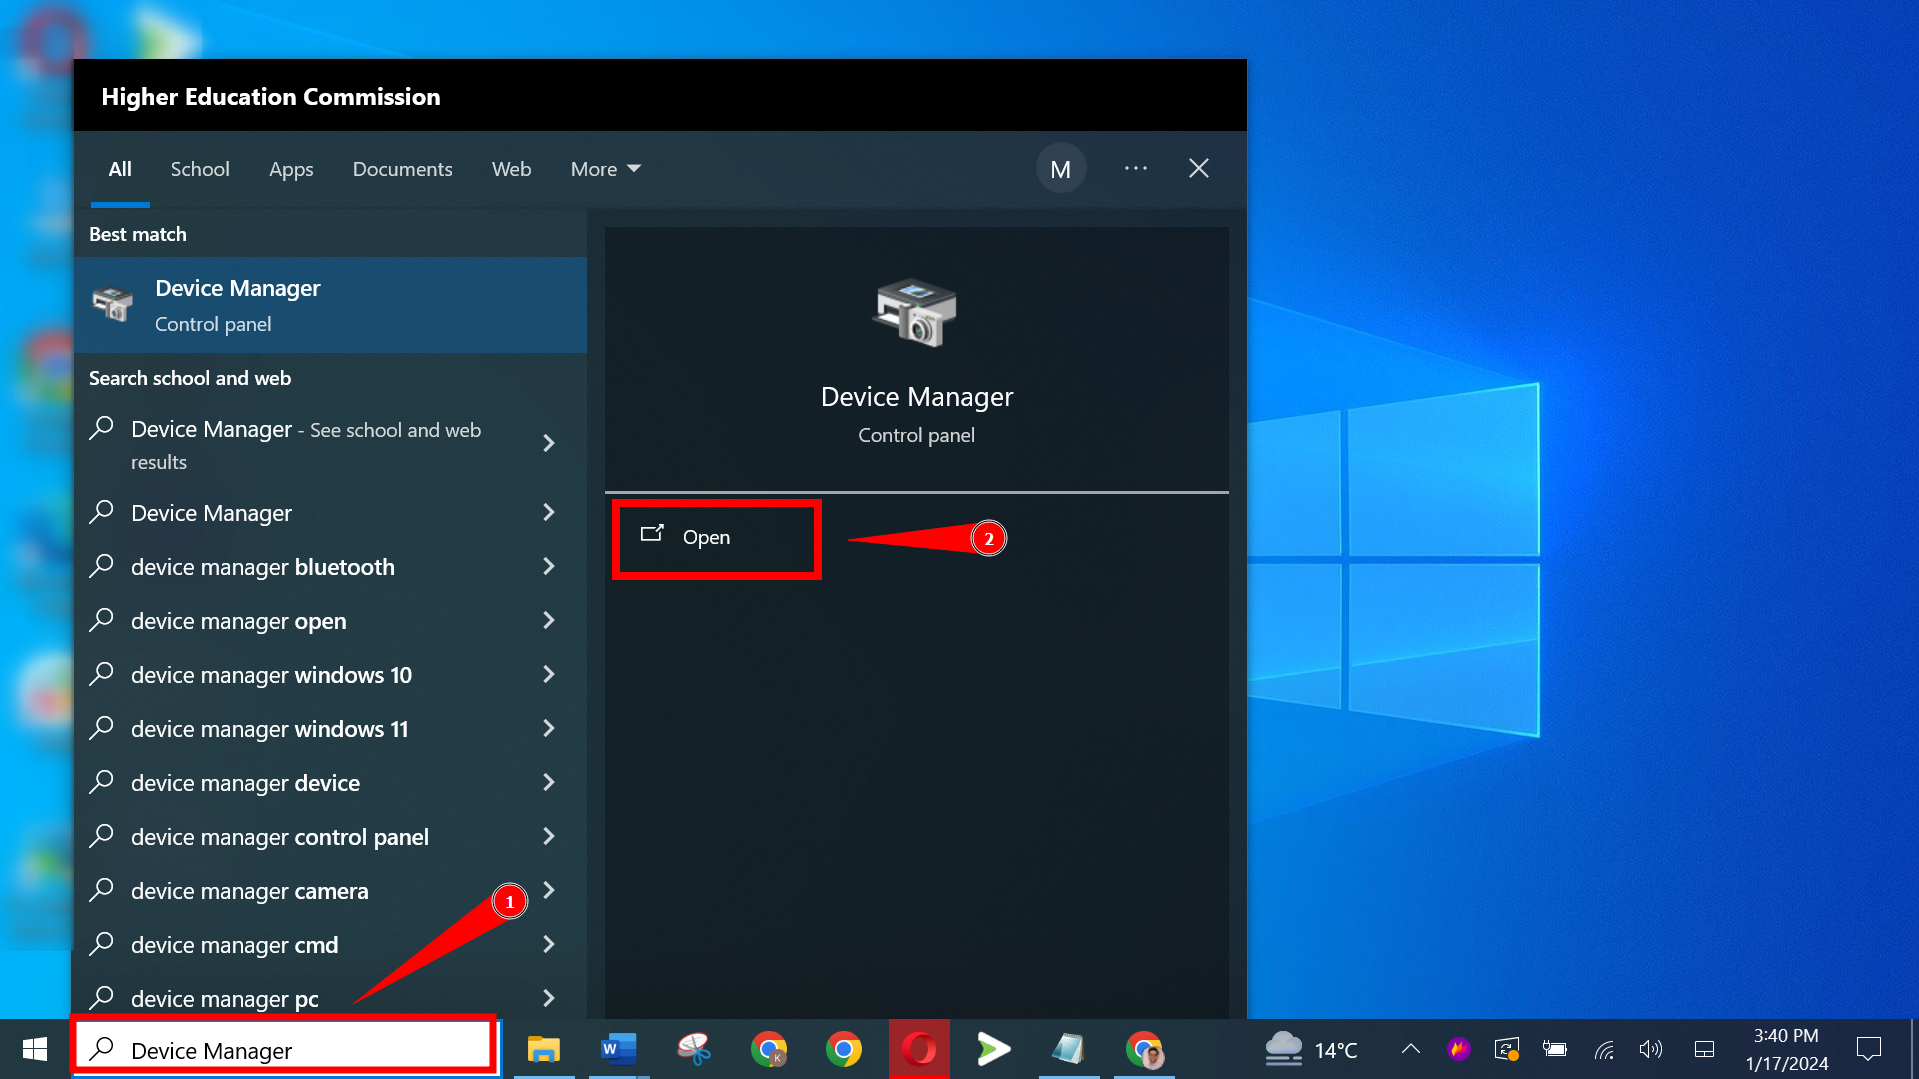
Open Device Manager - Find and expand the “Network adapters” section in the Device Manager.
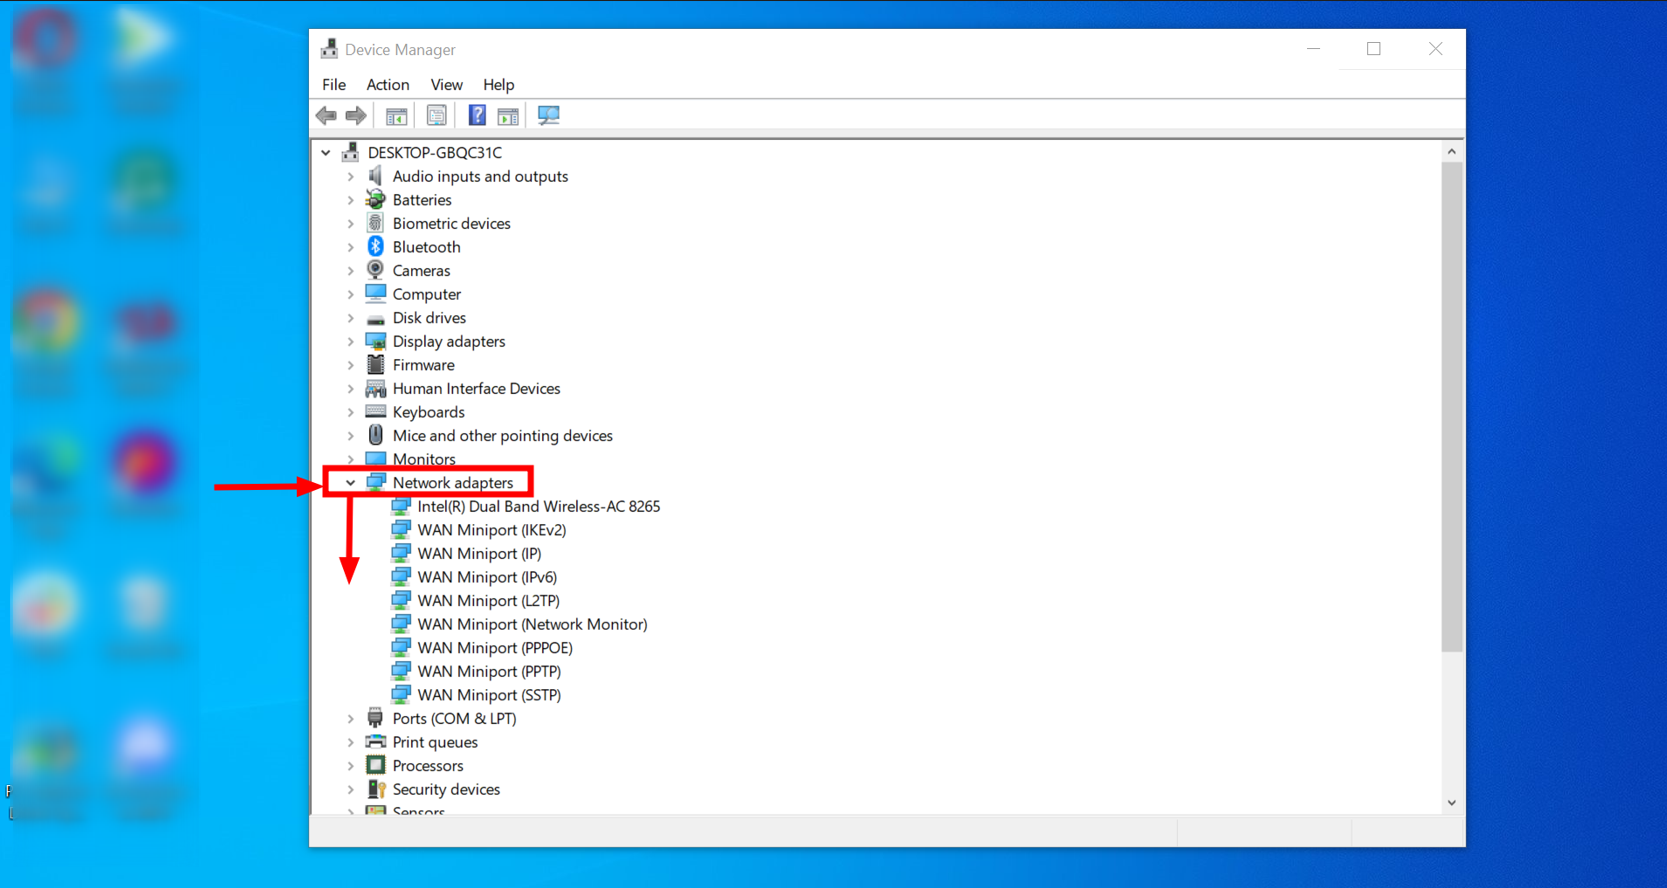
Expand the Network adapters - Right-click on “WAN Miniport (Network Monitor)” and select “Uninstall device.”
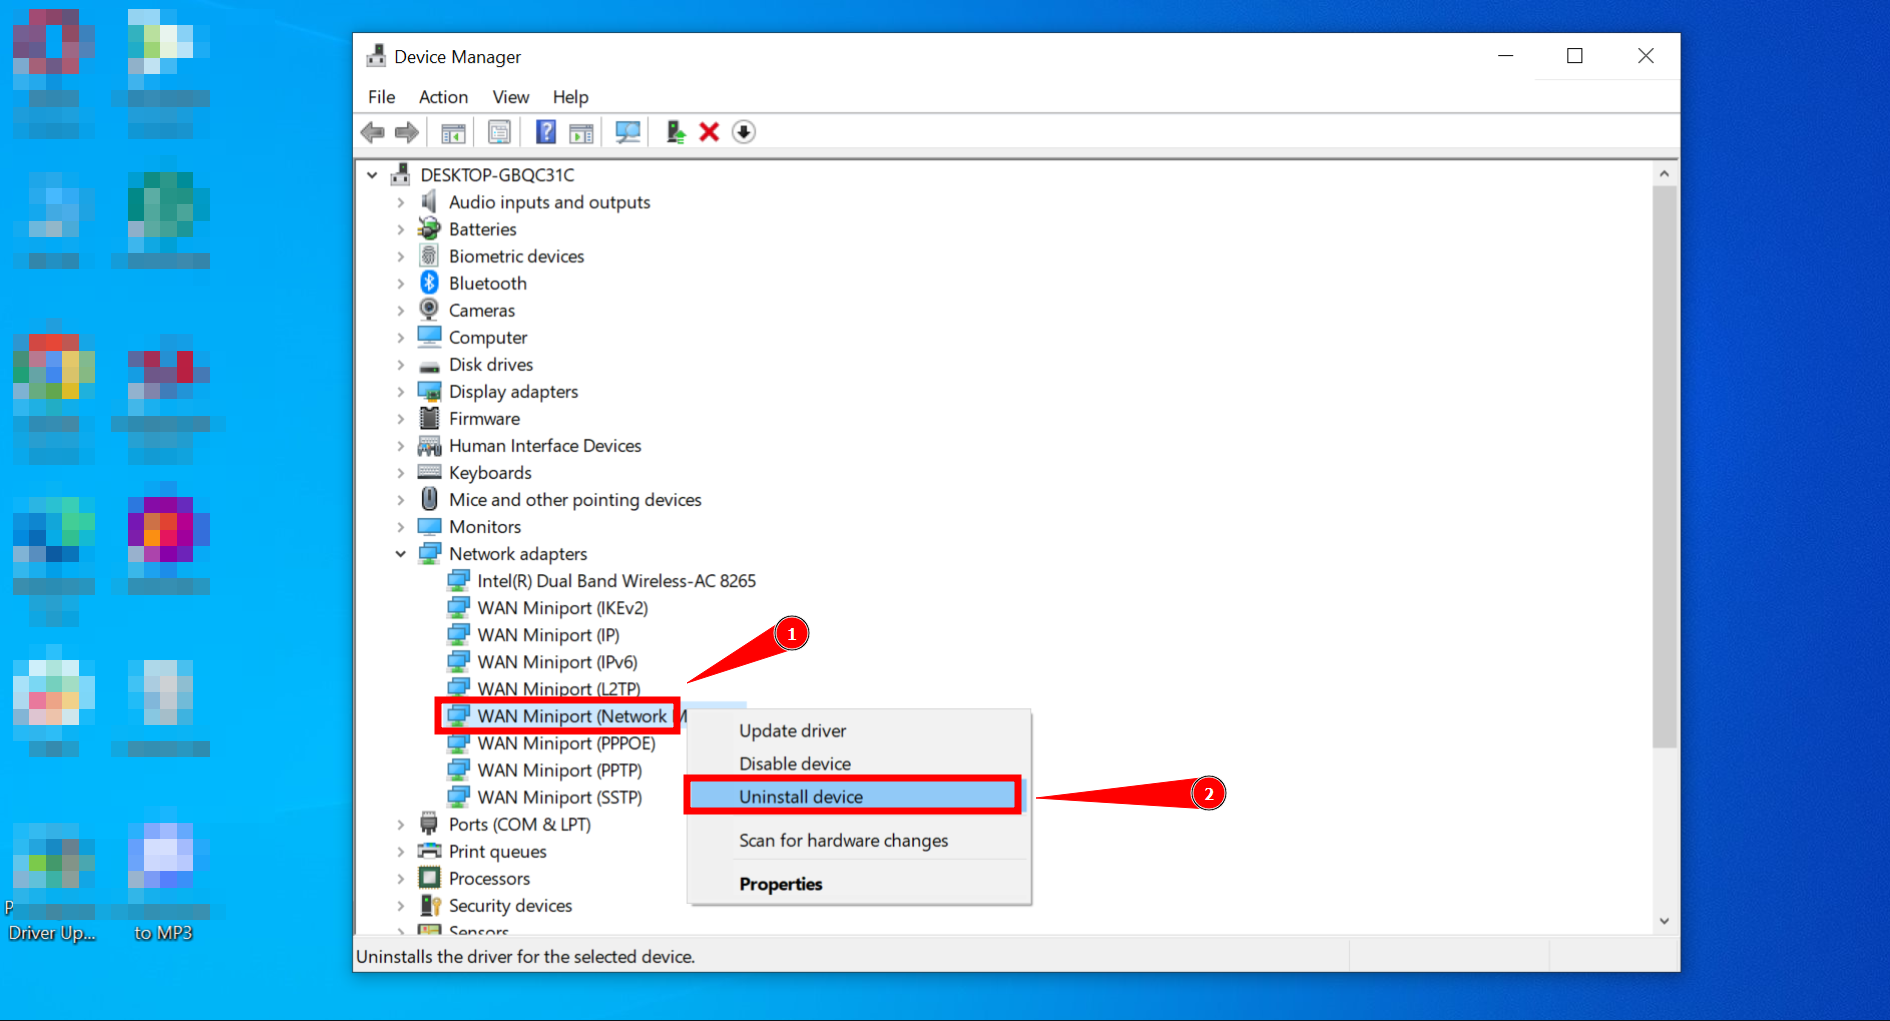
Select Uninstall device
After completing this step, restart your computer. Windows will automatically reinstall the network adapter drivers when your PC boots up again, often resolving connection issues.
10. Remove third-party anti-virus software
Sometimes, third-party anti-virus software can interfere with your computer’s internet connection. Consider uninstalling these programs to see if it helps. We recommend using the built-in Windows anti-virus to eliminate fake files.
11. Change power management properties
Occasionally, your computer’s power management settings might lead to this error, particularly if you’re using certain versions of Windows 10, like the Creators Update or the Fall Creators Update. Here’s how to adjust the settings:
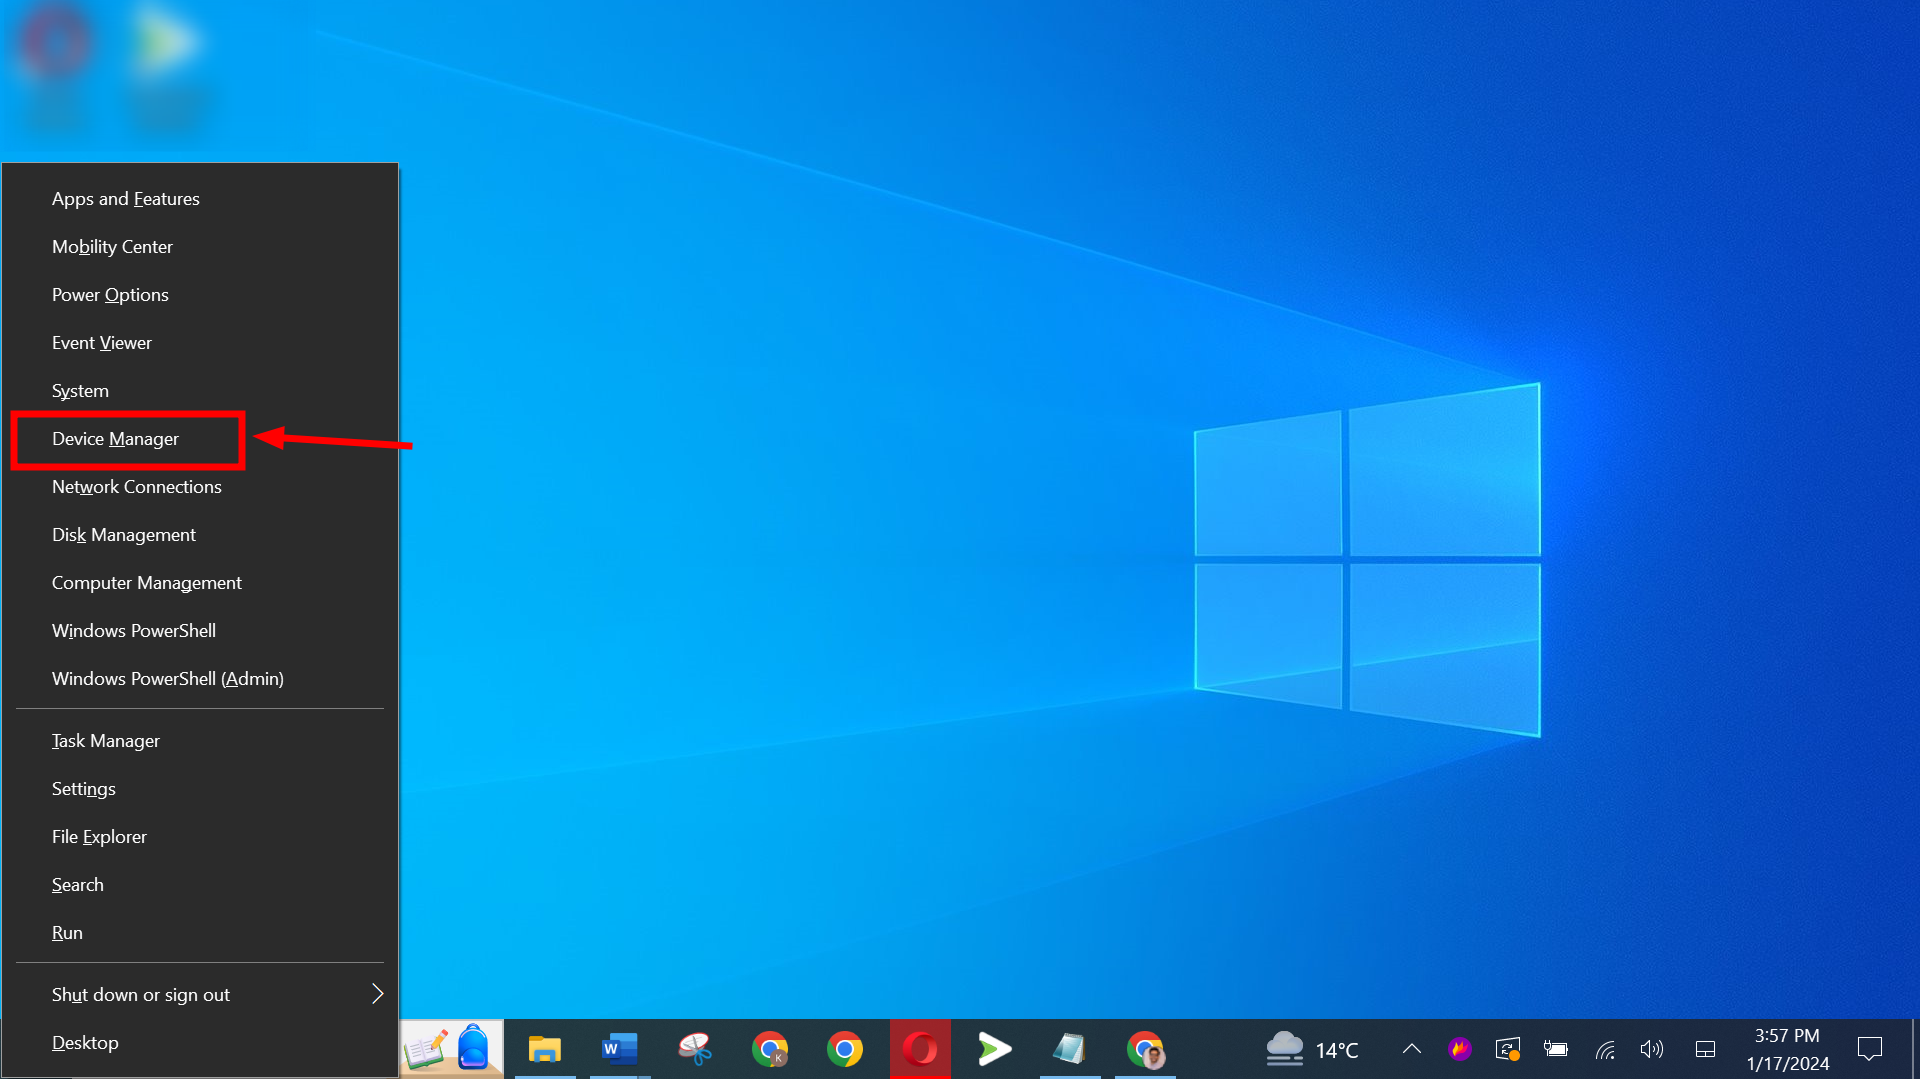
- Press the Windows key + X and choose “Device Manager.”
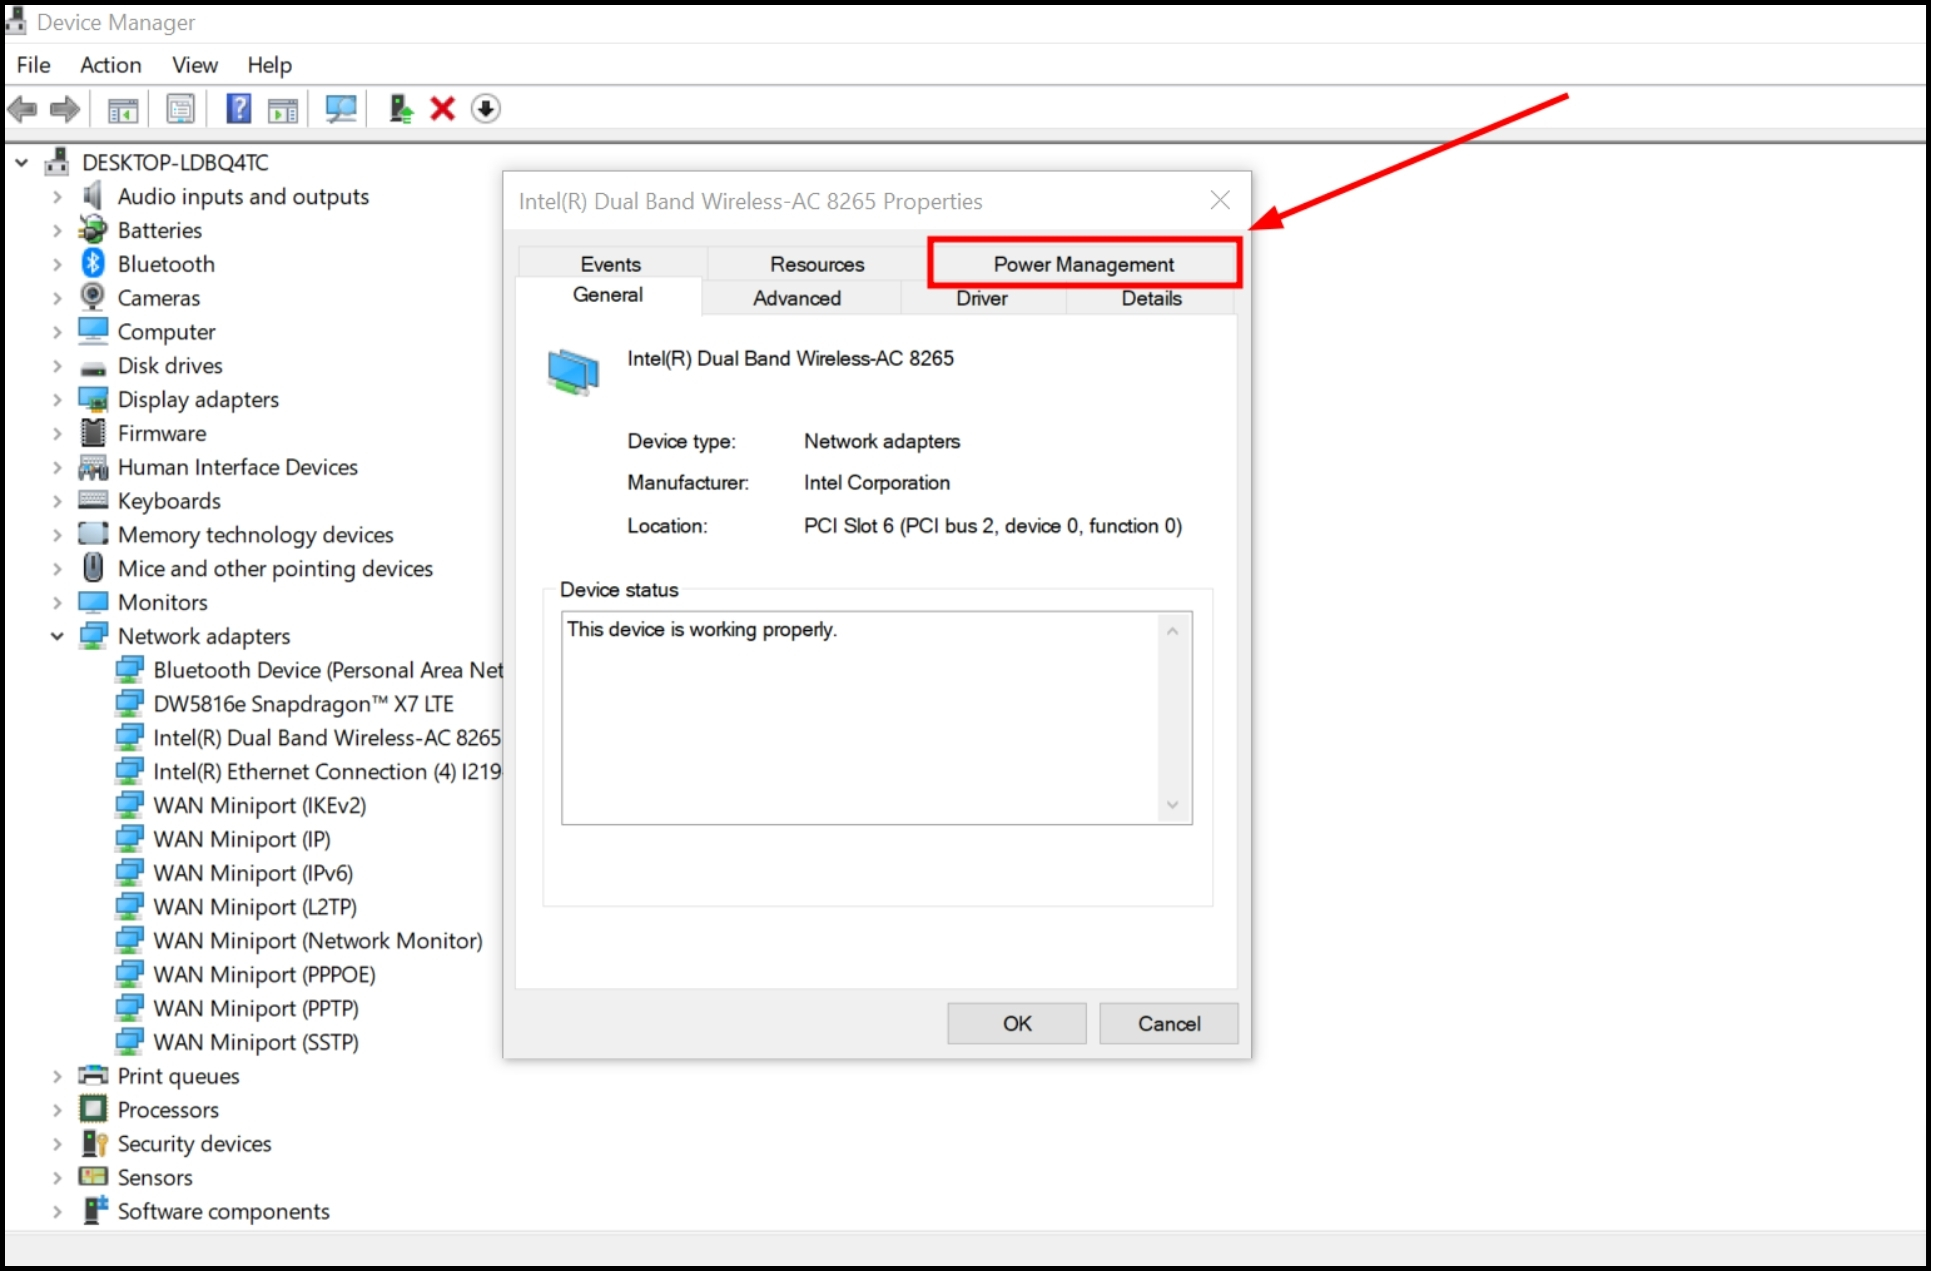
Select Device Manager - Expand the “Network adapters” section and double-click on your wireless network.

Double Click on the Wireless network settings - Go to the “Power Management” tab.
Go to Power Management Tab - Uncheck the box next to “Allow the computer to turn off this device to save power” and click “OK.”
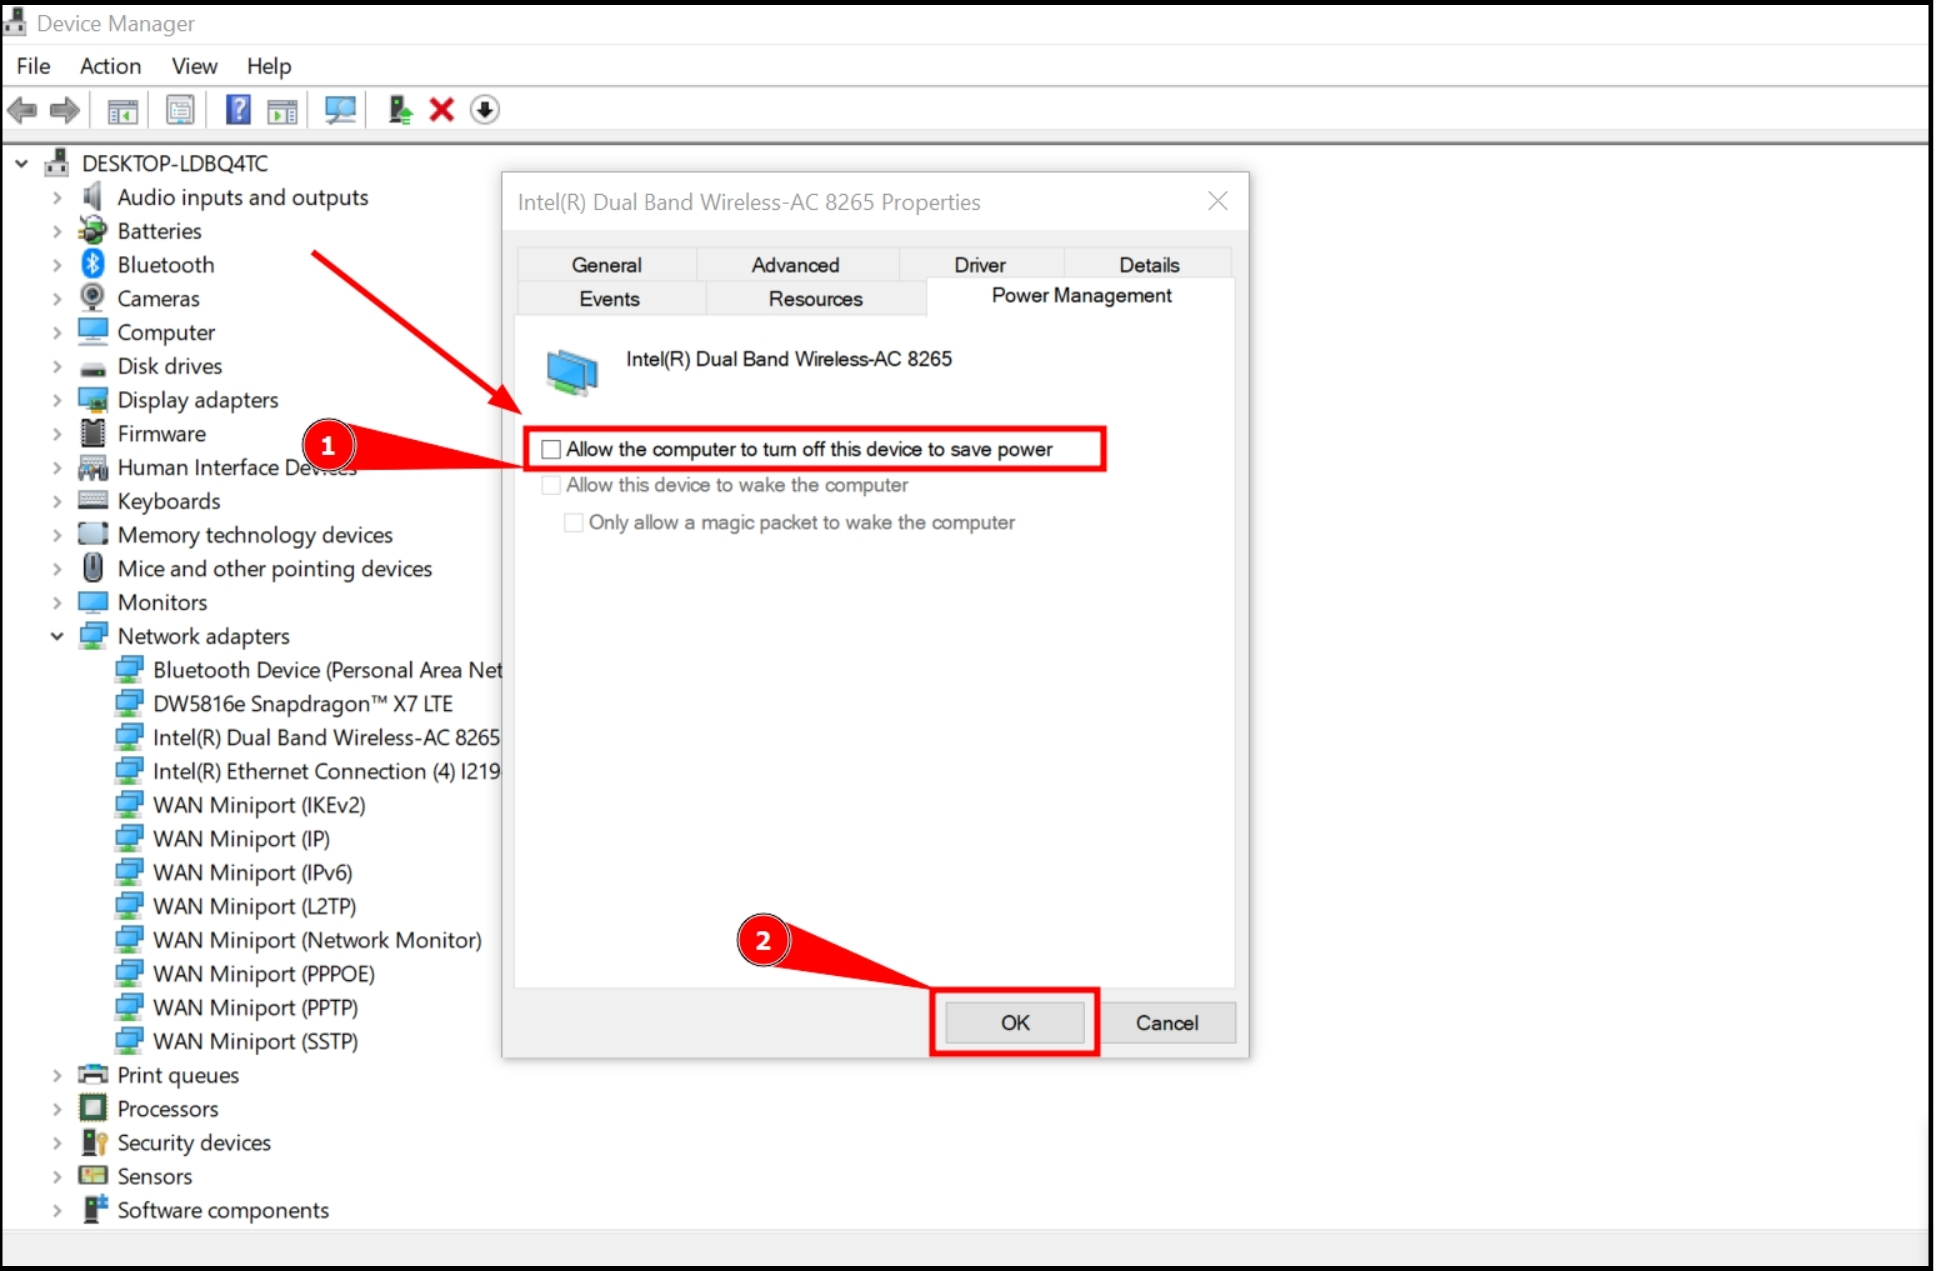
Uncheck and Click Ok
After making this change, restart your computer and see if you can connect to the internet.
12. Try switching to 2.4 GHz instead of 5 GHz
The radio frequency of your Wi-Fi could be causing the “No Internet, secured” issue. If your router offers dual-band Wi-Fi connections (supporting both 2.4 GHz and 5 GHz), try connecting to the 2.4 GHz network to see if it resolves the problem.
This solution can help some users, particularly those with Intel(R) Dual Band Wireless-AC 8265 adapters or similar, overcome this issue. Here’s how to switch to the 2.4 GHz band:
- Press the Windows key + X and open “Device Manager.”

Select Device Manager - Expand the “Network adapters” section and double-click on your wireless network.
Double Click on the Wireless network settings - Go to the “Advanced” tab, select “Channel Width for 2.4 GHz,” and then click “OK.”
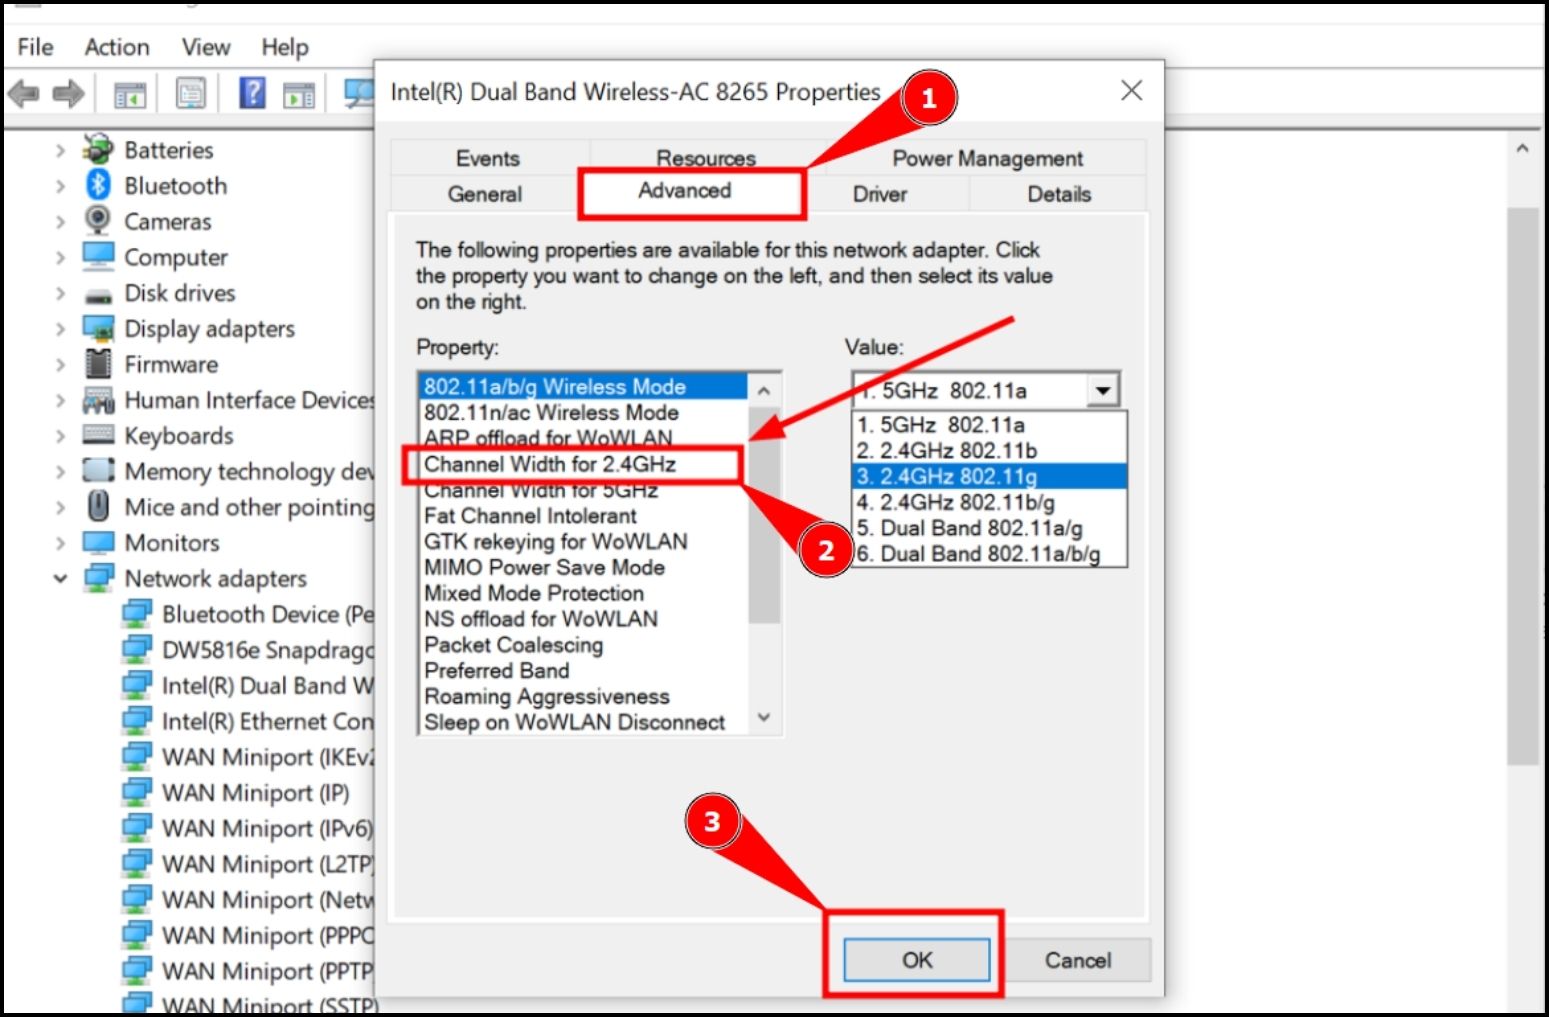
Select 2.4 GHz and Click OK
FAQs
This problem can happen for several reasons, such as issues with your internet service provider, router problems, or network adapter glitches.
Pressing the reset button resets your router to its original factory settings. It erases all custom configurations, including passwords, IP addresses, Wi-Fi settings, and network setup, and re-establishes connection parameters with your internet service provider.
Yes, using an outdated Windows version can lead to problems with your internet connection. Keeping your system updated with the latest Windows version can help avoid these issues.
Disabling IPv6 might temporarily resolve the problem, but it’s generally preferred to keep it enabled for a future-ready network. Consider turning off IPv6 only as a last resort if you’re sure it’s the cause of your internet connectivity issues.


