How to Fix SkypeBridge.exe Error on Windows
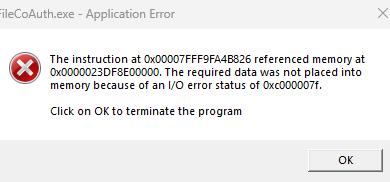
Some Windows 10 users are repeatedly seeing an error message related to a particular executable called SkypeBridge.exe. In most cases, the error pop-up contains one of the following messages: ‘The parameter is incorrect’, ‘The data area passed to a system call is too small’ or ‘The system has attempted to load or restore a file into the registry, but the specified file is not in a registry file format’.

After investigating this particular issue, it turns out that there are several different causes that might trigger this particular error. Here’s a list of potential culprits that might be responsible for the apparition of this error code:
- Outdated Skype version – According to the majority of affected users, this problem is largely caused by a bug introduced with the Skype version 14.35.76.0. Fortunately, Microsoft has since managed to fix the problem with a hotfix released for both the desktop and the UWP version of skype. To take advantage of it, all you need to do is force your current Skype version to update.
- Missing Windows Security update – As it turns out, this problem can also occur if you’re missing a key security update that Skype requires in order to function securely. This is required by both the UWP and desktop versions. In this case, you can fix the issue by installing every pending update using the WU component.
- Corrupted Skype Installation – Under certain circumstances, you can expect to see this error if your Skype installation (desktop or UWP) contains file corruption. In this case, you can fix the issue either by reinstalling the desktop version or resetting the UWP version of Skype.
- System File Corruption – System file corruption can also be responsible for the apparition of this error if some dependencies used by Skype got tainted by corruption. If this scenario is applicable, you should be able to fix the problem by refreshing every Windows file with a repair install or clean install procedure.
Now that you know the potential culprits, follow the methods below for instructions on fixing the issue based on every potential culprit:
Method 1: Updating Skype to the Latest Version
As it turns out, in most cases, the issue is caused by a bug introduced with the Skype version 14.35.76.0 – This problem is reported to occur with both the UWP (Universal Windows Platform) and the desktop version of Skype.
Fortunately, Microsoft rectified this bad update with a hotfix, so if this scenario is applicable, all you need to do is update your Skype version to the latest version available. Of course, the instructions for doing so will be different depending on which app version you’re using.
Because of this, we’ve put together 2 different sub-guides that will walk you through the process of updating your Skype version to the latest on both the desktop and the UWP version. Follow the sub guide (A or B) that’s applicable to the Skype version you’re using.
A. Updating the Skype UWP version
- Press Windows key + R to open up a Run dialog box. Once you’re inside Run box, type ‘ms-windows-store://Home‘ inside the text box and press Enter to open up the Home page of your Microsoft Store.

Opening the Windows Store via Run dialog box - Once you’re inside the Home screen of Microsoft Store, click on the Download icon (top-right corner of the screen)

Updating Skype UWP to the latest version - Inside the Downloads screen, look under Available Updates and see if the tab contains a new version of Skype. If there is one, click on the download icon and follow the on-screen prompts to complete the installation of the new Skype UWP version or click on Update all to install every available update.

Updating Skype UWP to the latest version - Once the installation is complete, restart your PC and see if the SkypeBridge.exe error stopped occurring.
B. Updating the Skype Desktop Version
- Open the desktop version of Skype and sign in with your user account.
- Once you’ve successfully signed in, access the Help tab from the menu at the top, then click Check for updates manually from the newly appeared context menu.
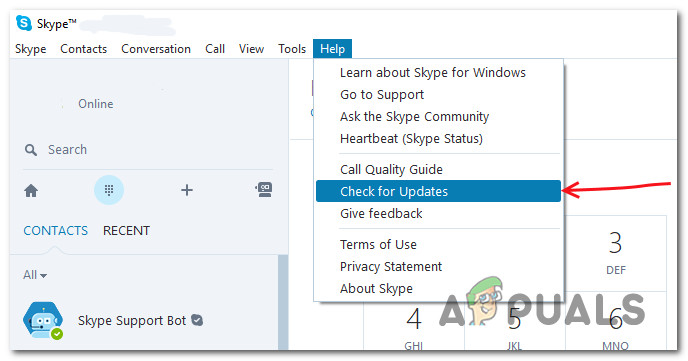
Checking for updates on the desktop version of Skype Note: If you don’t see the Help entry inside Skype, press the ALT key and the toolbar should immediately appear.
- Follow the on-screen prompts to complete the installation of the newest skype version, then reboot your computer and see if the problem is now fixed.
If the same problem is still occurring after updating or you were already on the latest version of Skype, move down to the next method below.
Method 2: Installing every Pending Windows Update
As it turns out, this problem can also occur if you’re using a severely outdated Windows build and trying to run the latest version of Skype UWP. If this scenario is applicable, chances are you’re seeing this error due to the fact that Skype requires a security update that’s missing from your computer.
If this scenario is applicable, you can fix the problem by installing every Windows Update that’s currently pending on your PC.
In case this scenario is applicable and you’re using Windows 10, follow the instructions below to install every pending update in order to fix the error associated with SkypeBridge.exe:
- Press Windows key + R to open up a Run dialog box. Next, type ”ms-settings:windowsupdate’ inside the text box and press Enter to open up the Windows Update tab of the Settings tab.
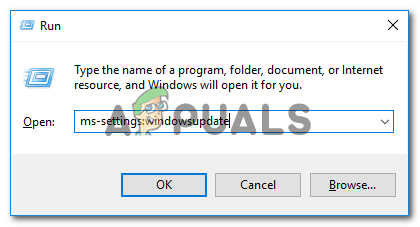
Opening the Windows Update screen Note: In case you’re using Windows 7 and Windows 8.1, use the ‘wuapp’ command instead.
- Once you’re inside the Windows Update screen, move over to the right-hand side and click on Check for Updates, then follow the on-screen prompts to install every Windows update that’s currently waiting to be installed.
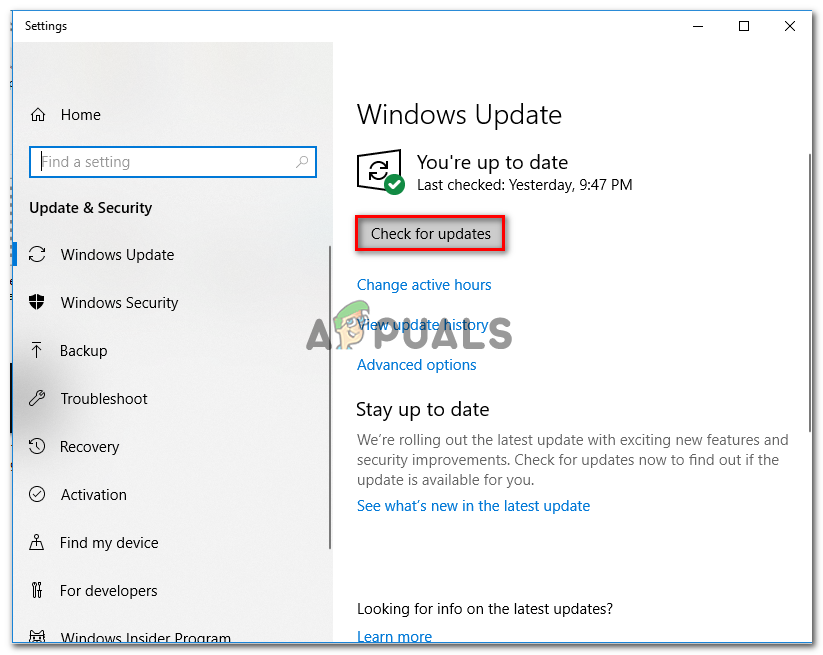
Installing every pending Windows update Note: Keep in mind that if you have a lot of updates, you will be prompted to restart your computer before you get the chance to install every pending item – If this happens, reboot your computer as instructed, but make sure to return to the same Windows Update menu at the next startup and continue with the installation of the remaining updates.
- Once every pending update is finally installed, reboot your computer and see if the SkypeBridge.exe error is fixed once the next startup is complete.
In case the same problem is still occurring, move down to the next method below.
Method 3: Reinstalling Skype
As it turns out, this problem can also be caused by some type of file corruption belonging to your Skype installation folder. This is reported to occur with both the desktop and the UWP version of Skype.
If this scenario is applicable, you should be able to fix the problem by reinstalling your current version of Skype in order to ensure that you’re clearing any potential file corruption from the installation folder.
However, keep in mind that depending on the version of Skype that you’re using, the instructions for reinstalling the application will be different. Because of this, we’ve made 2 separate guides to accommodate both potential scenarios – Follow the guide (A or B) that’s applicable to your current scenario:
A. Reinstalling the Desktop Version of Skype
- Start by ensuring that the main Skype application and any background process associated with it are prevented from running (frontend or in the background).
- Next, press Windows key + R to open up a Run dialog box and type ‘appwiz.cpl’ at the text prompt before pressing enter to open the Programs and Features menu.

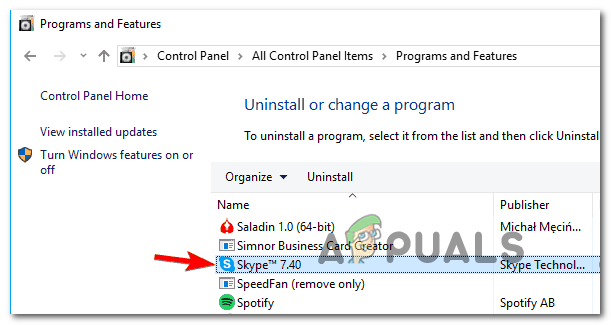
Type appwiz.cpl and Press Enter to Open Installed Programs List - Inside the main Programs and Files menu, scroll down through the list of entries and find the one associated with Skype. When you see it, right-click on it and choose Uninstall from the newly appeared context menu.
Uninstalling the latest version of Skype - Inside the uninstallation screen, follow the on-screen instructions to complete the uninstallation process, then restart your computer.
- Once your PC boots back up, visit the download page of Skype and download the latest version of the desktop version.

Downloading the latest version of Skype for Desktop - Once the download is complete, double-click on the installer executable and follow the on-screen prompts to complete the installation of the latest Skype version.
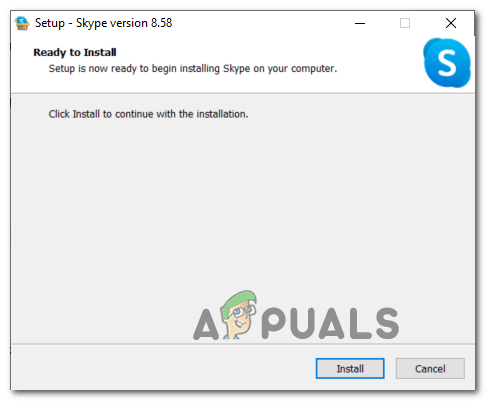
Installing the latest Skype version - Once the installation is complete, sign in with your user credentials again and see if the SkypeBridge.exe error is now fixed.
B. Reinstalling the UWP Version of Skype
- Press Windows key + R to open up a Run dialog box. Next, type ‘ms-settings:appsfeatures’ inside the text box and press Enter to open up the Apps & Features screen of the Settings app.
- Inside the Apps & Features app, scroll down through the list of installed UWP applications and locate the entry associated with Skype.
- When you see it, click on it to expand the available options, then click on Advanced Options from the list of available options.
- Once you’re inside the Advanced Options menu, scroll all the way down to the Reset tab and click on the Reset button.
- When asked to confirm the operation, do so, and wait for the operation to complete.
Note: This operation will end up clearing the cache and delete all the files that were created or copied over after the initial installation. - Once the operation is complete, restart your computer and see if the problem is fixed once the next startup is complete.
Resetting the UWP application that was causing the error If you already did this and you’re still seeing the same SkypeBridge.exe error, move down to the next potential fix below.
Method 4: Performing a Repair install / Clean Install
If none of the instructions above have worked for you, it’s very likely that some type of corruption is actually causing this type of SkypeBridge.exe error. And since none of the instructions above have worked for you, you’re most likely dealing with corruption among your OS files – In this case, the most efficient way of fixing the problem is to reset every Windows component with a clean install or repair install procedure:
- Clean Install – This procedure will not require you to insert a compatible installation media and can be initiated directly from your OS GUI menus. However, the main disadvantage of this method is that unless you back up your data in advance, you’ll end up losing all the data that you’re currently storing on your OS drive.
- Repair Install – This procedure is also commonly referred to as an in-place upgrade. It will allow you to refresh every Windows component without touching any of your personal files. You’ll be required to use installation media, but you’ll be able to preserve all your currently installed applications, games, personal media, and user preferences.


Thanks for the solution.