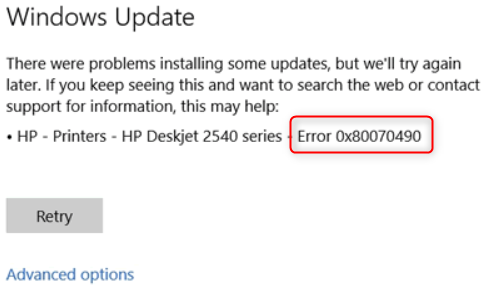
How to Fix Windows Update Error 0x80070490
Error 0x80070490 indicates a problem with the Component-Based Servicing (CBS) or the System Component Store, both of which are essential for Windows Update. The most common cause is damaged or missing system files. Additionally, issues with Windows Update services or interference from antivirus software can also trigger this error.
Now that you know the causes, let’s discuss the solutions. Before moving to advanced fixes, it’s recommended to run the Windows Update Troubleshooter first.
Press Win + I to open Settings, then go to Update & Security > Troubleshoot > Windows Update Troubleshooter.
Allow the troubleshooter to scan for problems and repair them.
1. Repair WU with the Windows Repair Suite
If basic troubleshooting hasn’t worked, try using the Windows Repair Suite for a more thorough fix. This tool is effective because it not only resolve simple problems but also resets important Windows Update services and fixes damaged system files that might be causing errors.
By restoring these parts to their original state, the suite removes obstacles that might prevent updates from working properly. This complete reset often solves deeper problems that simpler methods miss.
- Download & Install Windows Repair from this link.
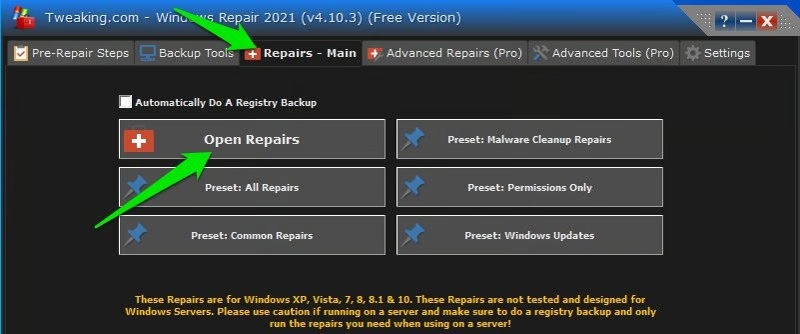
- Open Windows Repair, select the Repair – Main tab, and click on Open Repairs.
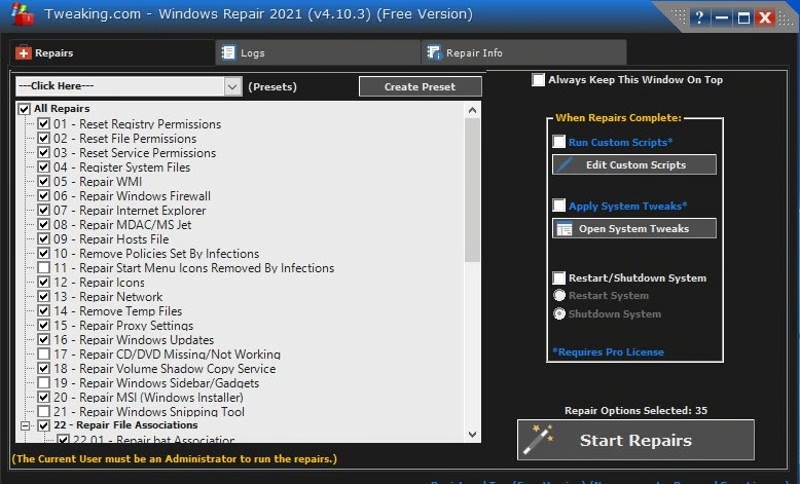
- In the Repairs window, use the drop-down menu under Repairs to select the Windows Updates preset. Once the repair strategies are selected, click the Start Repairs button and wait for the process to complete.
- Restart your computer and check if you see the same error message when you apply the Windows update.
2. Run a System File Checker Scan
SFC scans and fixes broken or missing system files, helping Windows work properly for updates. DISM checks for deeper issues by fixing problems in the Windows Component Store, which can often cause update failures. Together, these tools help keep your system stable for updates.
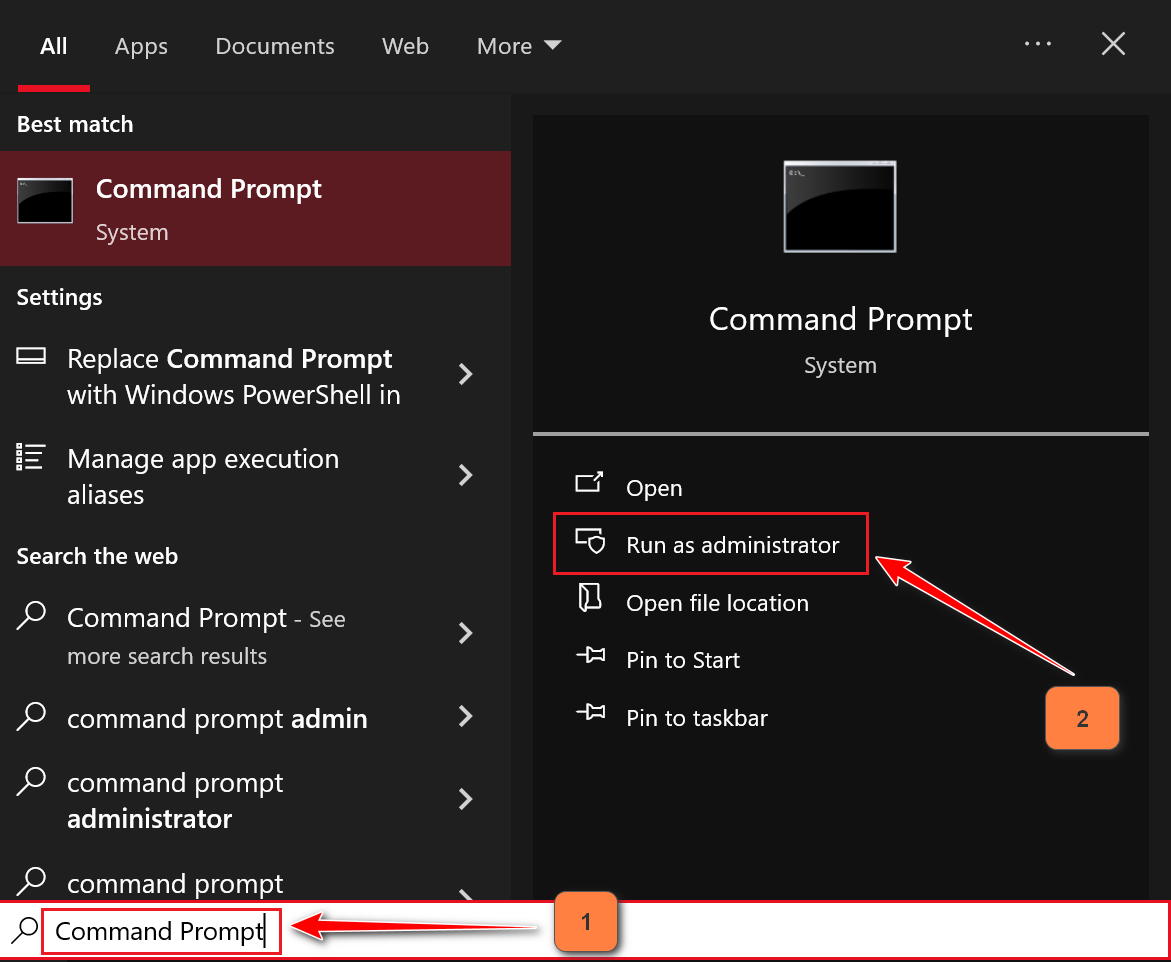
- Search for cmd in search box and run it as Administrator.
- Type the following command:
sfc /scannow
Dism /Online /Cleanup-Image /RestoreHealth

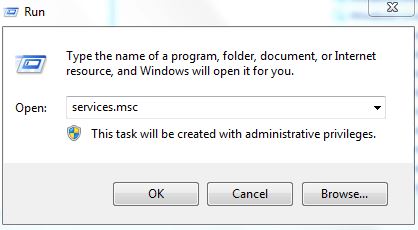
- Press Windows key + R to open a Run window. Type “services.msc” and hit Enter to open the Services window.
- In the Services window, locate the Windows Update entry, right-click on it and select Restart. Once the service is restarted, repeat the procedure with the Windows Module Installer.
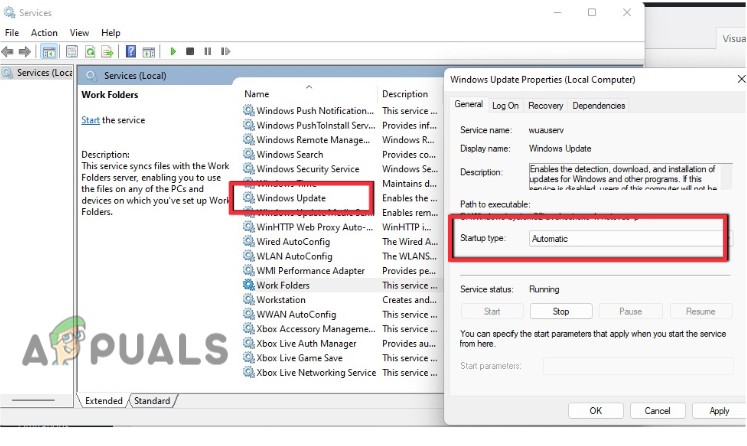
Restart the Windows Update Services - Once you’ve restarted both services, try to update again.
3. Reset Windows Update Components
If the methods above have been unsuccessful, we have one more procedure to try before going to the last resort (a system restore). Manually resetting the Windows Update Components is quite a lengthy process, but it’s usually successful in removing any undiscovered damaged files that are preventing updates from taking place.
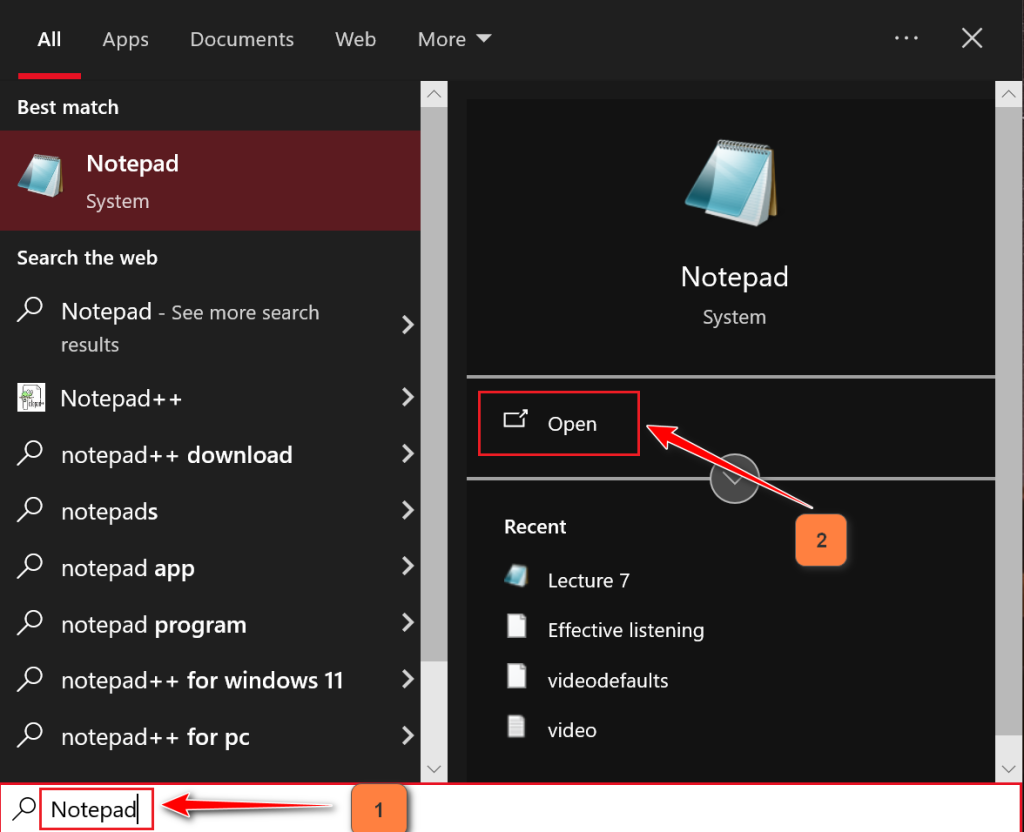
- Search for “Notepad” in the Windows search box and click Open.
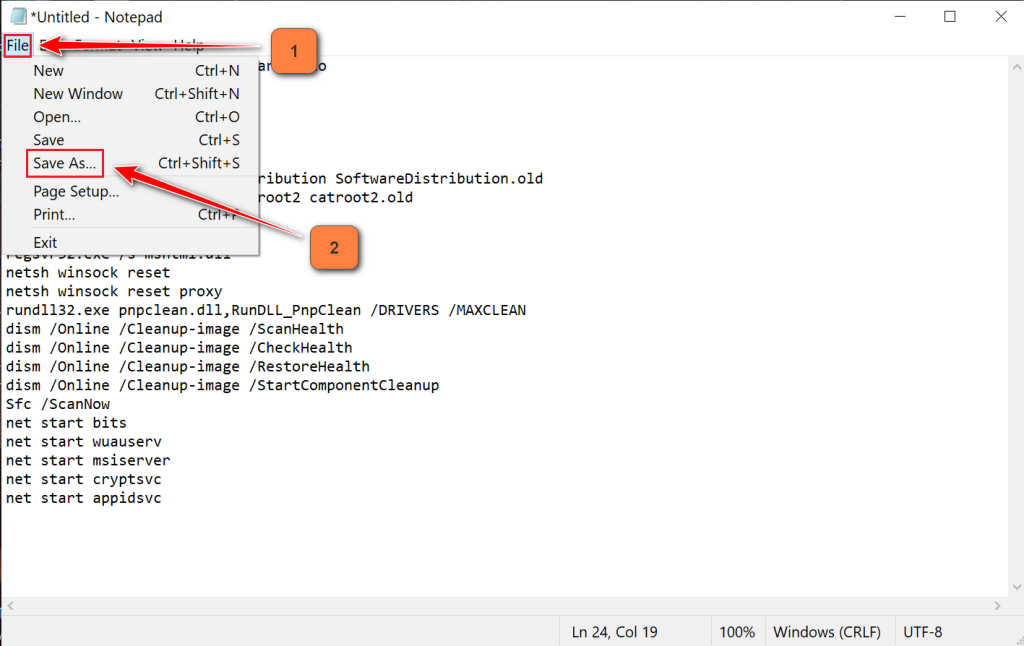
- Copy and paste the following commands into Notepad:
SC config trustedinstaller start=auto
net stop bits
net stop wuauserv
net stop msiserver
net stop cryptsvc
net stop appidsvc
Ren %Systemroot%\SoftwareDistribution SoftwareDistribution.old
Ren %Systemroot%\System32\catroot2 catroot2.old
regsvr32.exe /s atl.dll
regsvr32.exe /s urlmon.dll
regsvr32.exe /s mshtml.dll
netsh winsock reset
netsh winsock reset proxy
rundll32.exe pnpclean.dll,RunDLL_PnpClean /DRIVERS /MAXCLEAN
dism /Online /Cleanup-image /ScanHealth
dism /Online /Cleanup-image /CheckHealth
dism /Online /Cleanup-image /RestoreHealth
dism /Online /Cleanup-image /StartComponentCleanup
Sfc /ScanNow
net start bits
net start wuauserv
net start msiserver
net start cryptsvc
net start appidsvc
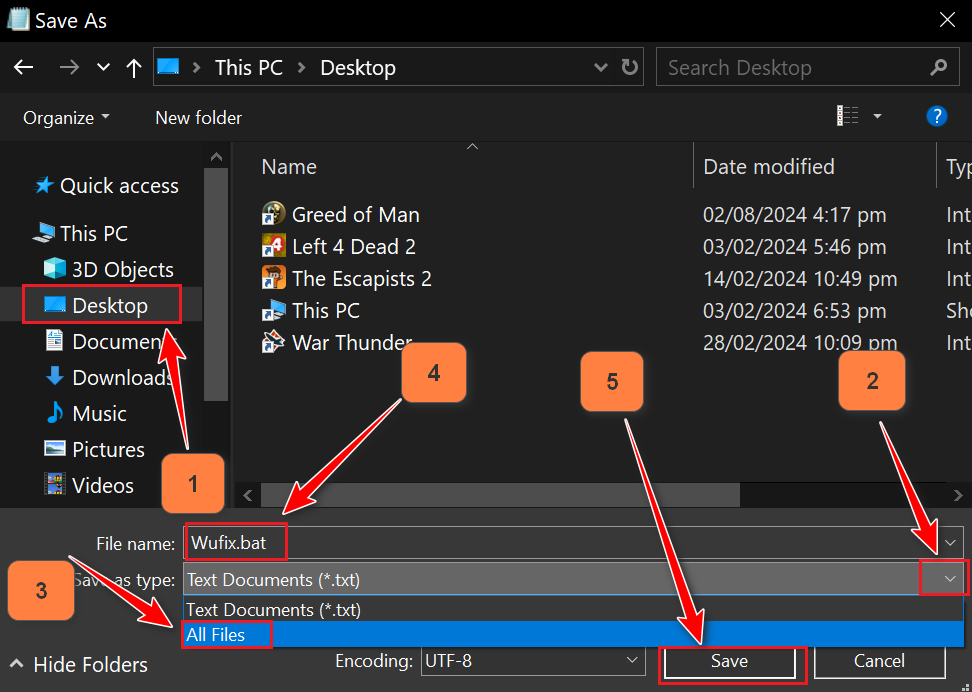
- Click on File in the top menu, then select Save As.
- Select Desktop as the file location.
- In the Save as type drop-down menu, select All Files.
- Enter the file name as fix.bat and click Save.
- Locate the newly created fix.bat file on your desktop, right-click it, and select Run as administrator.
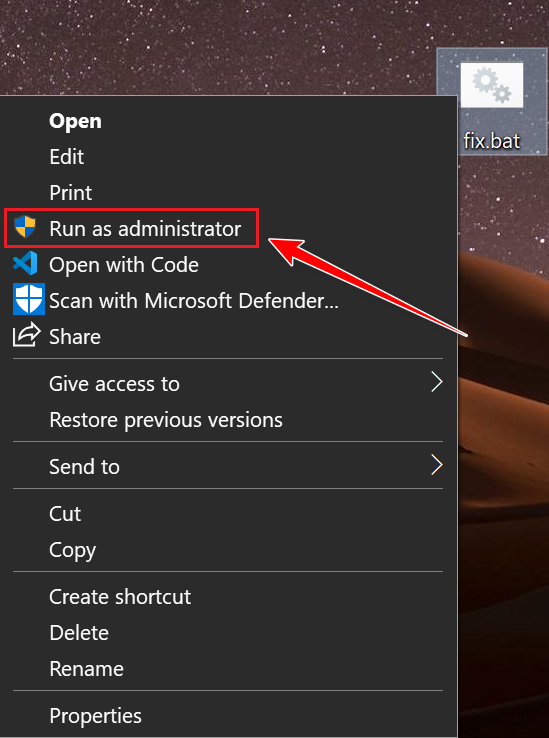
- The Command Prompt will open and start resetting the Windows Update components. Wait for the process to complete.
5. Perform a System Restore
If none of the solutions work, doing a System Restore can help by taking your PC back to a time before the error started. This works well if recent changes, updates, or installs caused issues. It fixes system settings and files to a stable condition, avoiding the error, while your personal files stay safe.
- Press Windows key + R to open the Run command. Type rstrui and press Enter to open System Restore.
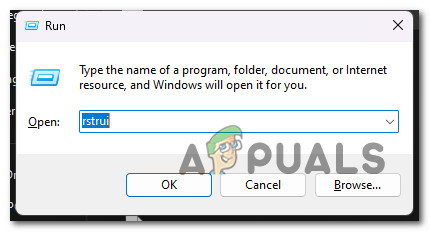
Running the System Restore utility - Click Next in the first window, then check the box for Show more restore points. Choose a restore point from before the application issue began and click Next.

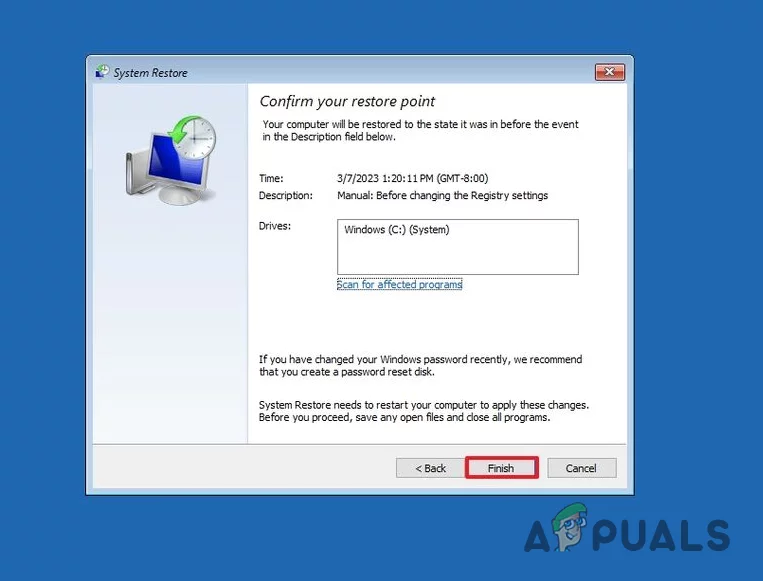
- Click Finish and then Yes to begin the restore process. Your PC will automatically restart once the restore is complete. After rebooting, your OS will be returned to the selected version.
After pouring over articles and forums last night for about 4 hrs I attempted this fix this morning. It was the only one that worked for me on a fresh Windows 7 Ultimate 64 install on a new SSD. Thank you!