How to Sideload Android Apps on Windows 11? Android Subsystem for Windows 11
Microsoft has recently made Windows Subsystem for Android available to the Windows 11 Beta channel users. Windows Subsystem for Android is essentially the infrastructure that will allow everyone, hopefully in the near future, to run Android apps natively on the operating system. This will get rid of any third party emulators that you might have been using to run Android apps on your Windows machine. This feature is currently only available in the Windows Insider Program, however, it won’t be long before everyone gets to enjoy running the apps natively. In addition to all of that, Microsoft, at this current time, only allows you to run a few selected apps on your operating system and more apps will be made available as the beta phase moves on.
As it turns out, Microsoft has partnered with Amazon to use the Amazon Appstore on Windows machines to download Android apps. While this sounds really cool, to be able to run Android apps on Windows 11, some users may be disappointed a little. The reason being that Amazon Appstore is supported which means that you are not allowed to make use of the vast library of apps and games that are present in the Google Play Store — at least officially. Thankfully, we are here to change that and by following this article, you will be able to run almost any Android app on your Windows machine.
How does this work?
Like we have mentioned initially, at the core of all of this, is the Windows Subsystem for Android environment. Fortunately, this environment has a debugging option available that can be used to install other Android apps on your system.
Now, in order to use this said debugging option, we will be making use of the Android Debugging Bridge binary which can be used any Android APK file on a device. With the help of ADB, we will be able to sideload any Android apk files which gives you a wider range of applications other than the ones that are just available on the Amazon Appstore. With that said, let us get started and show you how to sideload Android apps on Windows 11.
Download Android Debugging Bridge
As it turns out, the first thing that you need to do in order to sideload Android apps is to download the Android Debugging Bridge binary on your computer. To do this, follow the instructions down below:
- First of all, open up this link in your browser which will automatically download the latest version of the Android SDK Platform Tools on your computer.
- Once you have downloaded the zip file, extract it to any desired location like your C: drive. Doing this will give you a platform-tools folder in your C: drive.
- And you are done.
Sideload Android Apps on Windows 11
Now that you have downloaded Android Debugging Bridge on your computer, we can use it to sideload Android apps on Windows 11 operating system. Before proceeding, it is important to note that the Windows Subsystem for Android is currently available in Insiders Preview only which means that it is currently in the beta phase. Therefore, there are going to be bugs with the environment and it may not always work flawlessly which is something you should keep in mind.
In addition to that, there is the issue of compatibility. The reason that you are able to run only selected apps through the Amazon Appstore itself right now is that those apps are probably highly optimized for Windows Subsystem for Android. This means that not all the apps that you try may work initially due to certain issues. However, having said that, since there is an underlying Android layer, you should be able to sideload most of the standard Android apps without facing any issues. Assuming that you have already installed Windows Subsystem for Android, let us get started and show you how to sideload Android apps:
- To start off, you will need to download the APK file of the app that you wish to sideload. There are different ways you can get the APK file, for example, in the case of an application that is driven by a community, you will be able to find it on forums. Alternatively, there are third-party websites available as well that host the APK files such as APK Mirror and more.
- Once you have downloaded the APK file, go ahead and open up the Windows Subsystem for Android settings window by searching for it in the Start Menu.
- In the Settings window, go ahead and enable Developer mode by clicking the slider provided.

Enabling Developer Mode in Windows Subsystem for Android Settings - In addition to that, make sure that an IP address is provided under the IP address option. In case it says Unavailable, click on the Refresh button next to it.
- Once you have done that, the Android layer can now be accessed through the IP address provided or via your localhost (127.0.0.1).
- At this point, we will be using the Android Debugging Bridge to install the application.
- Before that, go ahead and rename your download APK file to something easier and then move it to the platform-tools folder that you extracted earlier.
- After doing that, open up a Command Prompt window by searching for it in the Start Menu. You can also use the Windows Terminal if you wish to.
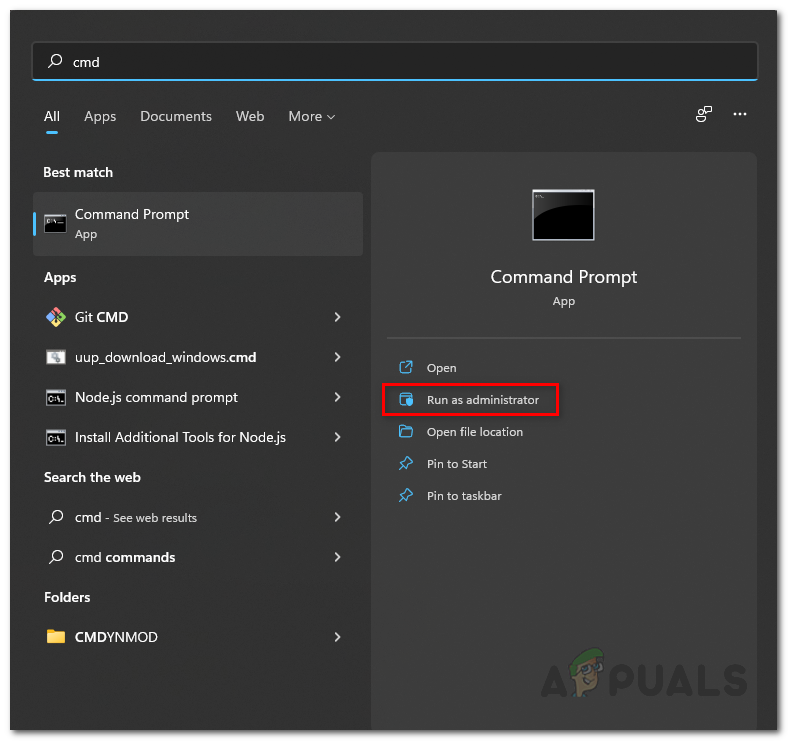
Opening up Command Prompt - Then, in the command prompt window, you will have to navigate to the platform-tools folder. If you followed our instructions earlier and extracted the folder to the C: drive, you can use the following command to navigate to it. Otherwise, you will have to edit the path as per your respective case:
cd C:\platform-tools
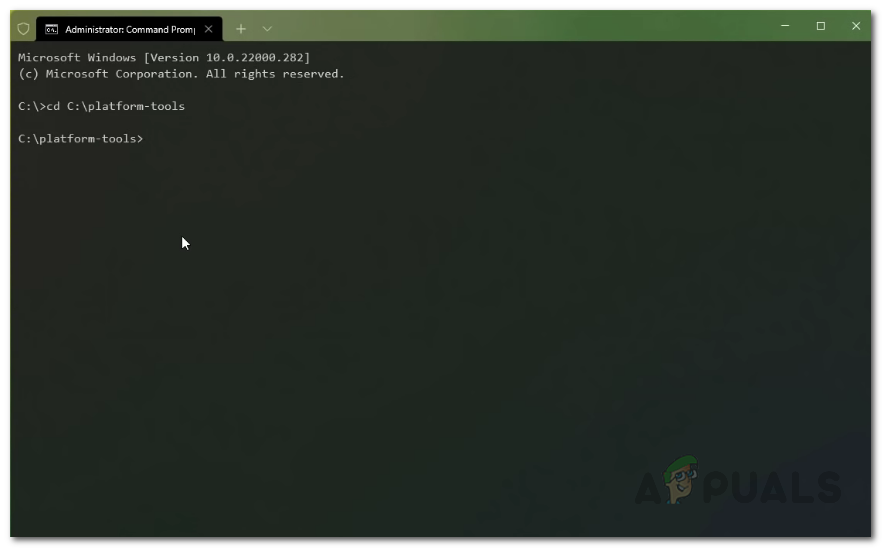
Navigating to Platform Tools Folder - Once you are inside the platform-tools folder, type in the following command to connect to the Android layer:
adb connect <IP Address>
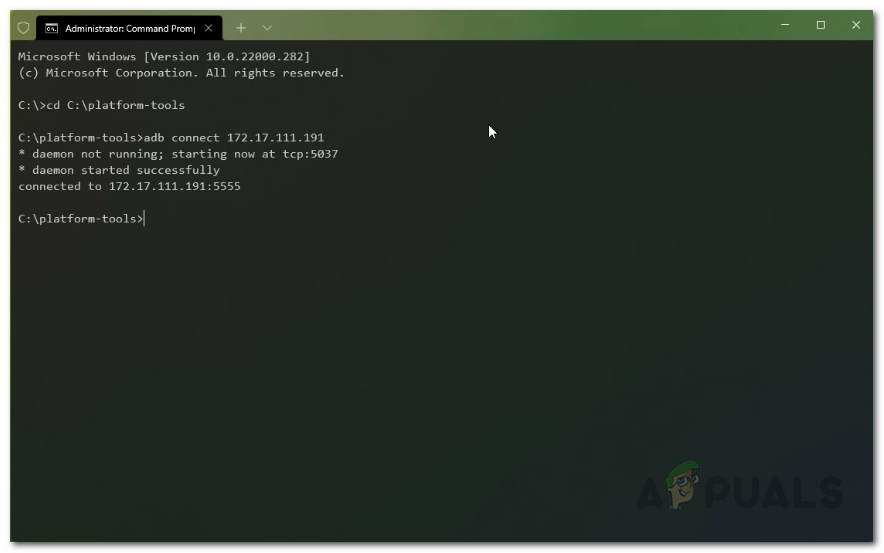
Connecting to Android Layer - Make sure to replace the <IP Address> in the above command with the IP address that is shown in the Windows Subsystem for Android Settings window. Thus, it should look something like this:
adb connect 172.17.111.191
- After you have connected to the Android layer, type in the following command to install the downloaded APK file using ADB:
adb install <filename>.apk
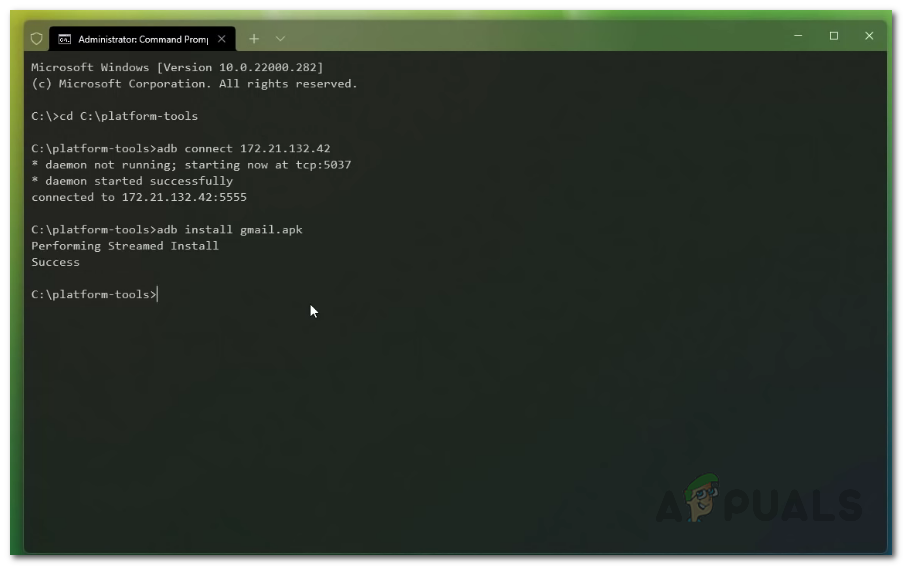
Installing Android Application - Here, you need to make sure that the APK file is in the platform-tools folder. In addition to that, replace <filename> with the name of the APK file.
- Once you have done that, the app should now be installed on your computer.
- You can open up the app by searching for it in the Start Menu.
- That’s it, you have successfully sideloaded an Android application on Windows 11.
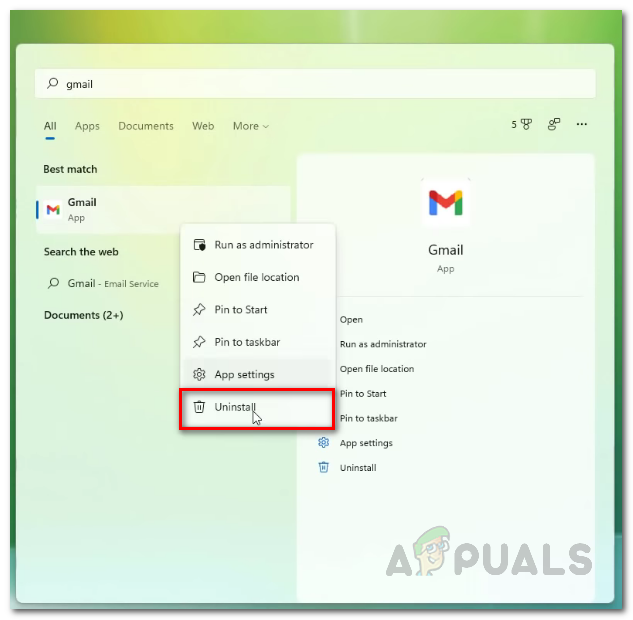
Now, in case you are wondering how to uninstall an Android application that you have installed using this method, you can do so by simply searching for the application in the Start Menu. Then, right click on the result shown and from the drop down menu, click the Uninstall option. That should take care of uninstalling the app from your computer.


On one computer WSA works fine. All programs. All ‘side-loaded’ programs. All is perfect.On second computer (newer and more powerful) as described by others WSA small window comes up, spins, spins, spins, for around a minute, then disappears. No go. Just quits.Wondering if I can do a ‘transplant.’ Might help others as well. Copy the necessary innards from the first computer to the second. So, for experts out there, what exactly must I copy from the first computer to the second??Sure hope this idea leads to success.Thanks!Nicholas Kormanik