How to Run Android Apps in Windows 11 Insider Preview?
One of the most exciting new features of the new Windows 11 is the ability to natively run Android apps on the operating system. When the operating system was initially released publicly on the 5th of October, there was no support for running Android apps. That was, however, changed yesterday. Microsoft has finally pushed the Windows Subsystem for Android to the operating system and users can use it to install and run Android apps. Keep in mind that this is only available in the Insiders Preview for now and an official release of this is yet unknown but we reckon it will probably soon now that it is being tested.
As it turns out, just like the Windows Subsystem for Linux which allowed users to natively run Linux distributions on their Windows machine, Windows Subsystem for Android is going to allow users to run Android applications on their Windows machine natively. The difference that you need to install Windows 11 in order to run Windows Subsystem for Android. This isn’t available to the general public yet as it has been only made available to the Windows Insiders. That is pretty standard behavior of Microsoft to push something to the Insiders Preview in order to polish it before it is made available to everyone. This helps in squashing all the bugs and improving the overall performance but the official release. Now, in order to run Android apps, as of now, there are certain requirements that need to be met, so let us get started with that and we will walk our way through that.
Requirements to Run Android Apps on Windows 11
As we have mentioned, you can only use this feature in the Insiders Preview as of now. However, along with that, there are requirements as well that your PC should meet before you can try running Android apps natively.
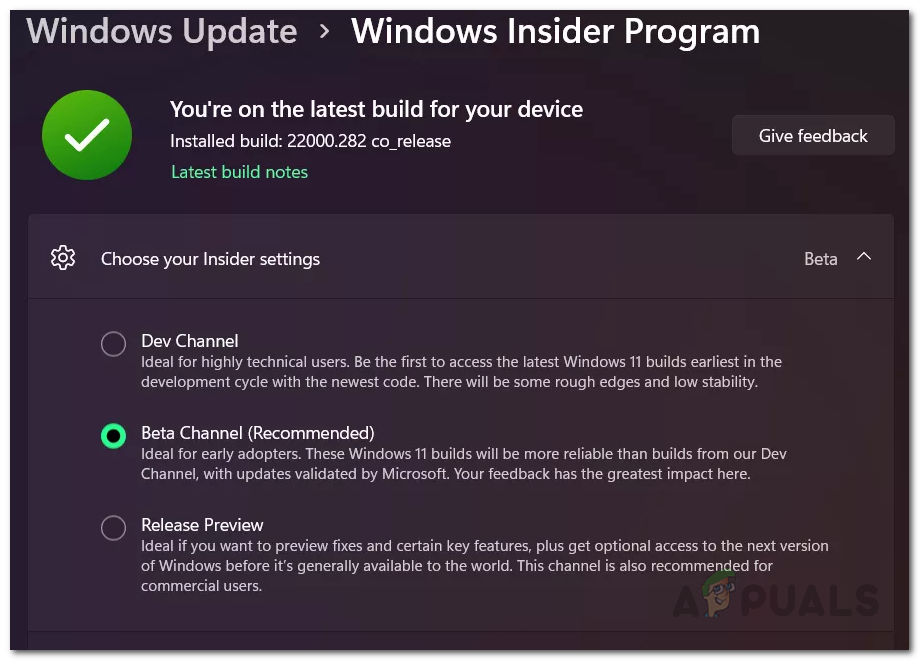
- Insiders Beta Channel — The first thing that you need to ensure is that you are enrolled in the Windows Insider Preview in order to be eligible for running Android apps. On top of that, as per Microsoft, you need to be either in the Beta Channel of the Insider Program or the Dev Channel. If you have enrolled in the Release Preview, you will not be able to run Android apps.
In order to switch your Insider Program channel, open up Settings and navigate to Windows Update. Then, go to Windows Insider Program and under the Choose your Insider settings menu, choose the Beta Channel.
- 22000.282 or above Build — In order to run Android apps on your Windows machine, you need to be running at least the 22000.282 build of Windows 11. Anything above that is totally fine as well. You can check the build that you are running by typing winver in the Run dialog box. In case you fall short of the required build, simply go ahead and install the latest updates.
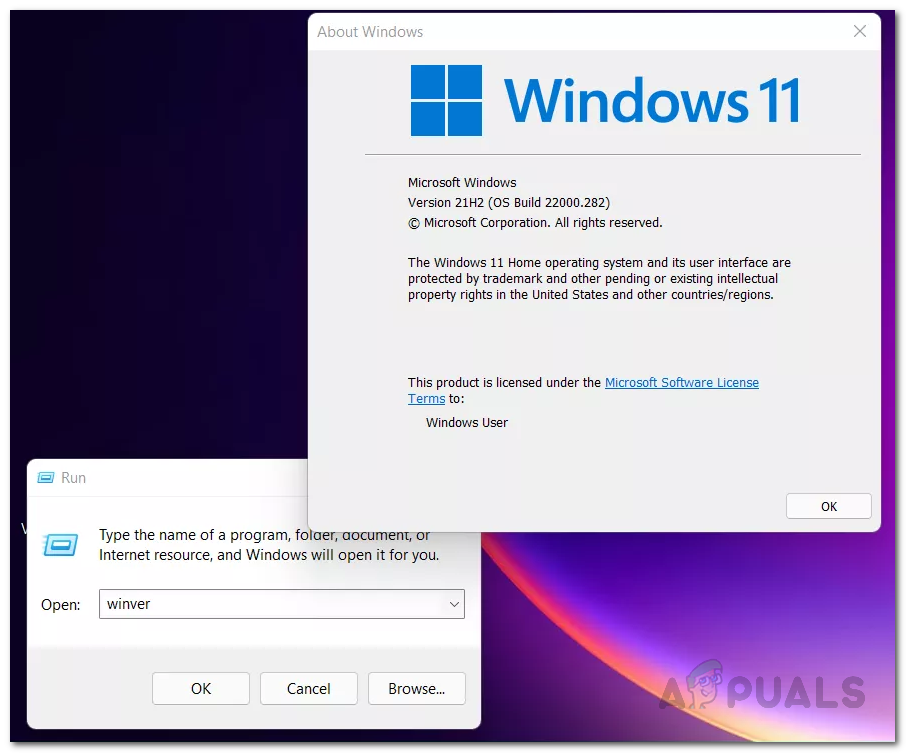
Checking Windows Build - PC Region — As of right now, you can only run Android on your machine if your PC’s region is set to the United States. Along with that, you will be requiring a US-based Amazon account in order to use the Amazon Appstore for now.
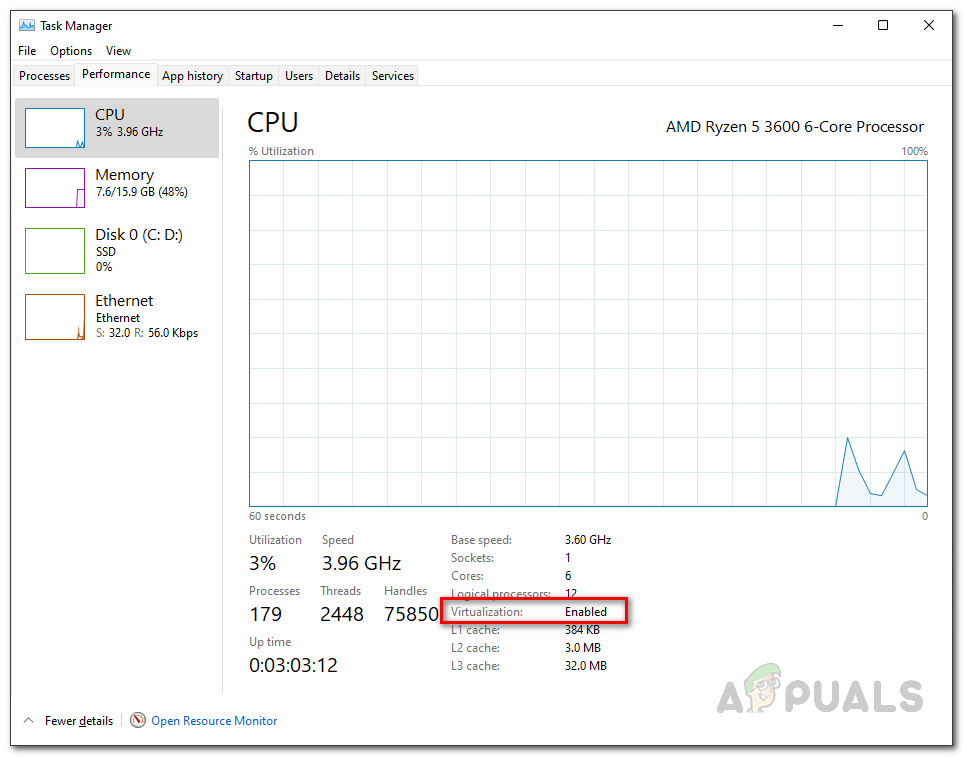
- Virtualization — Finally, the last thing that you would be needing is virtualization. This is because the Windows Subsystem works on the principle of virtualization and as such, virtualization needs to be enabled in order to install and run the Windows Subsystem for Android. You can check if virtualization is enabled on your computer by opening up the Task Manager and navigating to the Performance tab.
Checking Virtualization via Task Manager
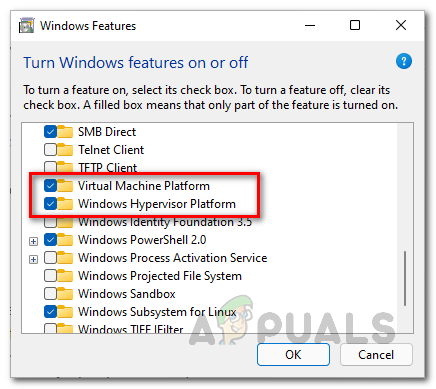
In case it isn’t enabled, you will have to open up the Windows Features window by searching for Turn Windows features on or off in the Start Menu. There, make sure that Virtual Machine Platform and Windows Hypervisor Platform are ticked. In addition to that, you will also have to enable virtualization from your BIOS.
Once you have met all of these requirements, you are finally ready to experience Android apps running on your Windows machine. With that said, let us get started and show you how to install Android Apps on Windows.
Install and Run Android Apps on Windows 11
Now that we have gone through the requirements for Android apps, we can get started with installing the Windows Subsystem for Android. Since this is in beta right now, there are going to be bugs and the experience may not always be smooth which is something you should keep in mind.
In addition to that, as of now, you can only run certain apps on your Windows machine which includes mostly games and reading applications like Kindle. With the passage of time, we reckon Microsoft will allow users to install and run other applications as well. However, for now, that isn’t possible and only selected apps can be downloaded via the Amazon App Store. With that said, let us get started and show you how to install and run Android apps on your system. Follow the instructions down below:
- First of all, head to the Windows Subsystem for Android web page by clicking here. Searching for this directly in the Microsoft Store may not show the result which is why we are using the web page here.
- Once you are there, click on the Get button. This will open up the Windows Subsystem for Android in the Microsoft Store app on your computer.
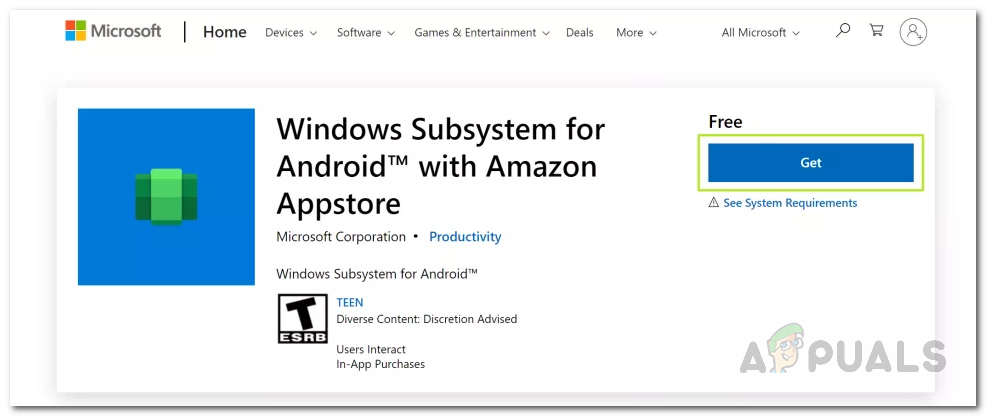
Windows Subsystem for Android on Microsoft Store - In the Microsoft Store app, click the Install button.
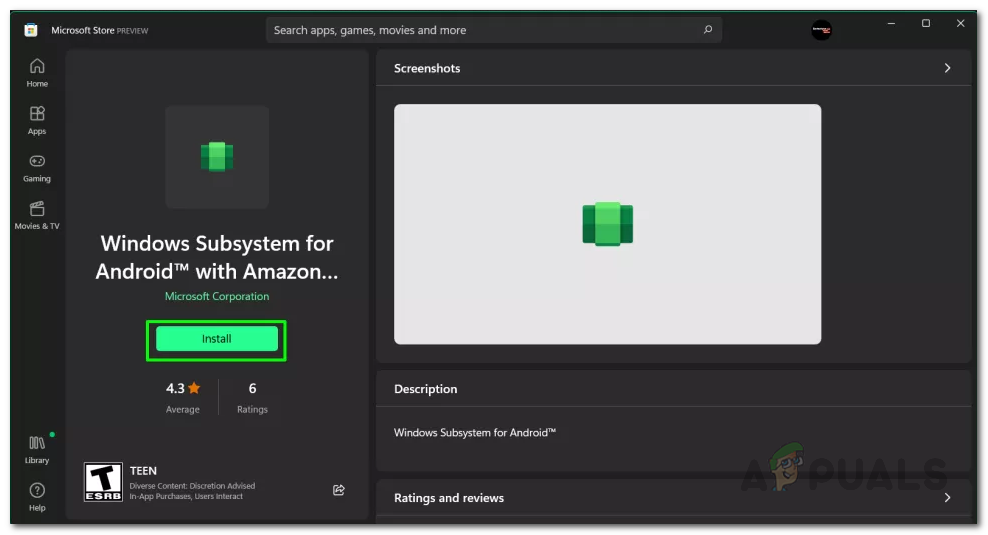
Installing Windows Subsystem for Android - Once you have done that, an overlay will appear that will tell you about the Amazon Appstore. Click on the Next button.
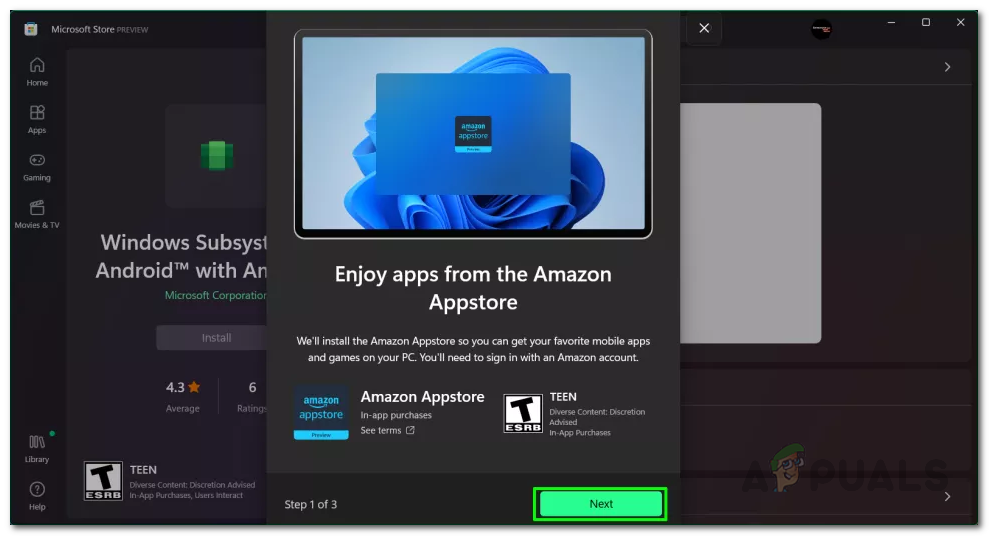
Amazon Appstore Overlay - Then, you will be prompted to download the Amazon Appstore. Click the Download button.
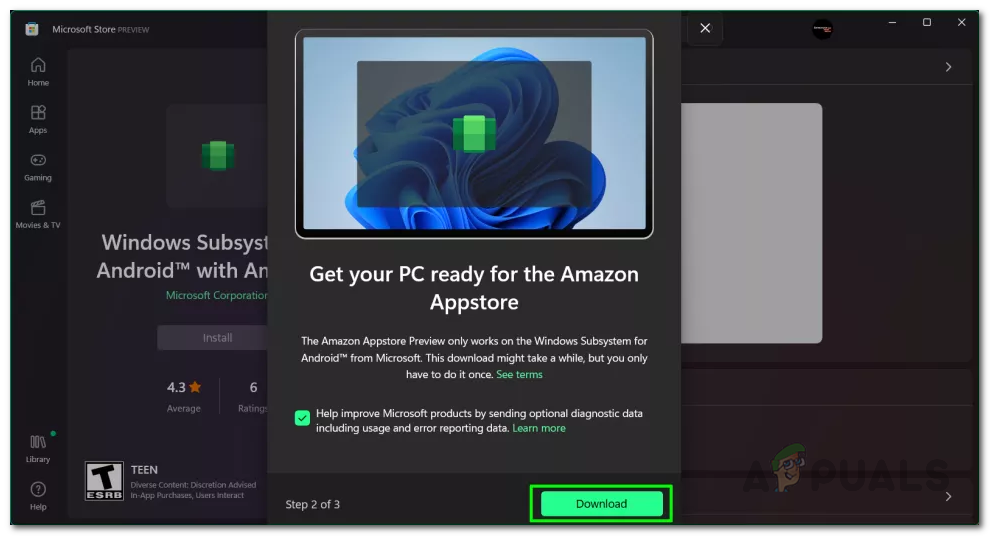
Downloading Amazon Appstore - After doing that, the app will begin downloading which can take a few minutes so wait it out.
- Once the download has been completed, click the Open Amazon Appstore button.
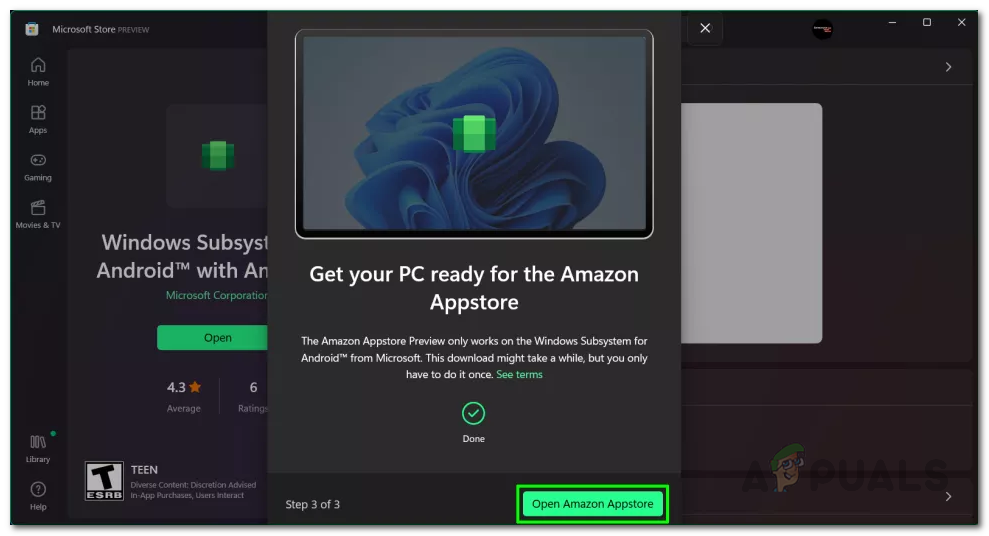
Opening up Amazon Appstore - The Amazon Appstore window will open up now. Here, click the Sign In button to login. If you do not have an account, you can also use the Create a new Amazon account button to register an account.
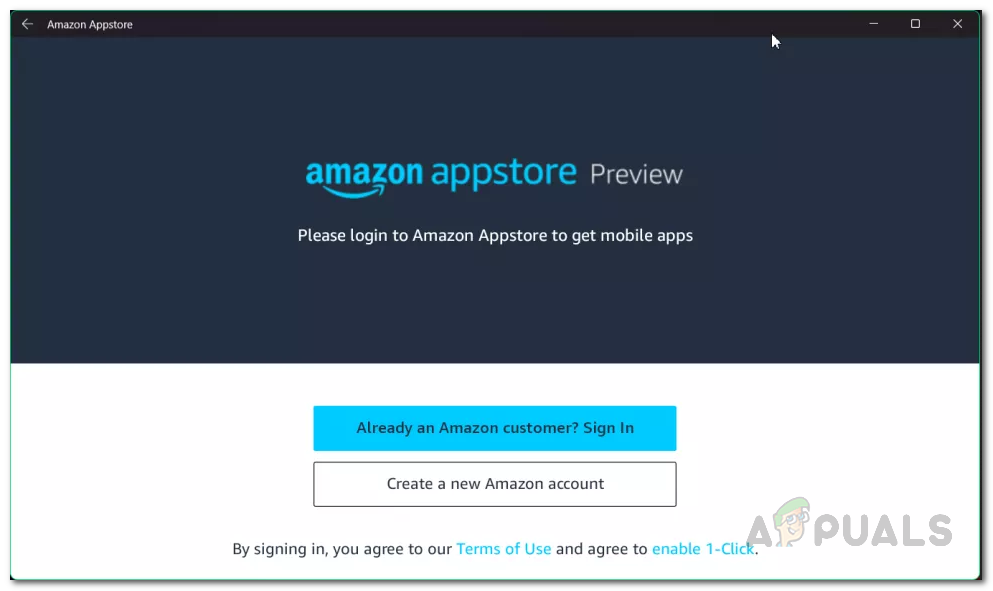
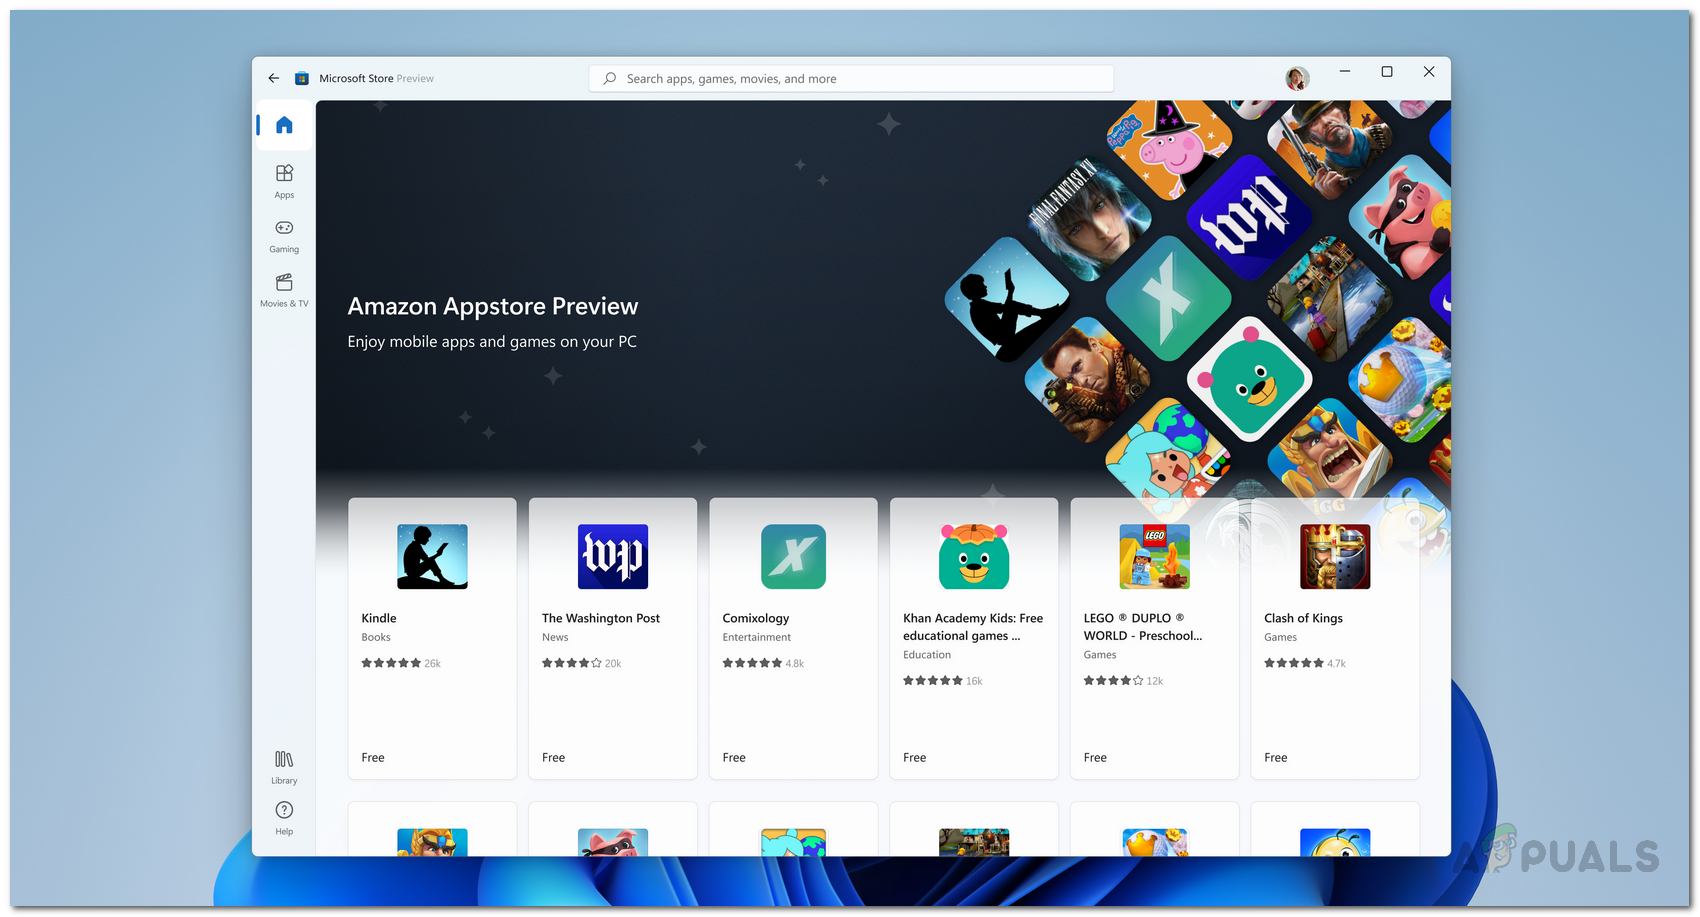
Signing Into Amazon Appstore - Once you have logged into the Amazon Appstore, you will be shown all of the apps that are available for you to download and try.
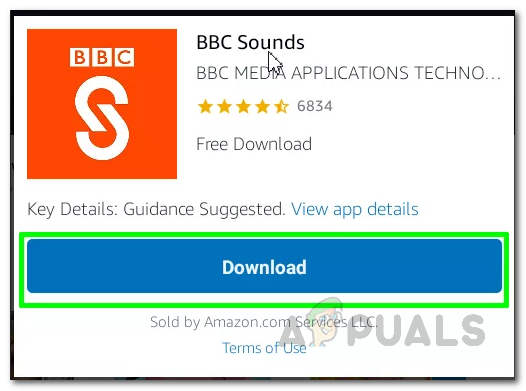
- Choose any app of your choice and then click the Get button.
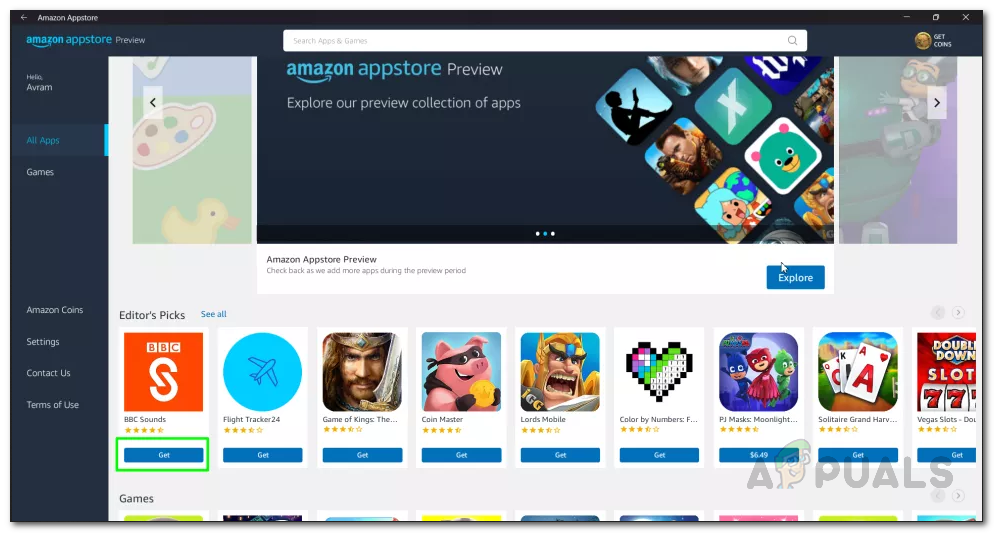
Amazon Appstore - Then, click the Download button to install the app on your computer.
Downloading Android App - Any apps that you download from the Amazon Appstore can be accessed through the Start Menu.
- To open up an application, open up the Start Menu and search for the app. Then, hit the Enter key to run the application.
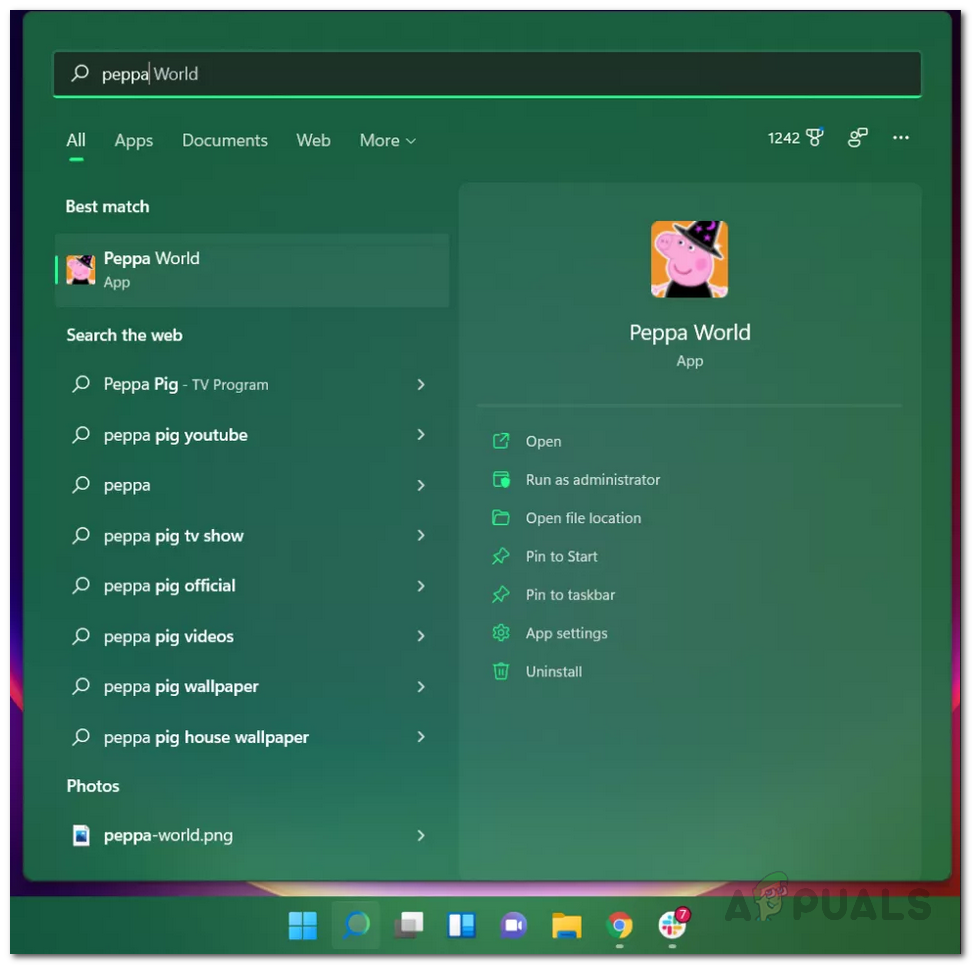
Searching for Installed Application - When you open up an app for the first time, it will take some time as the Windows Subsystem for Android needs to be started.
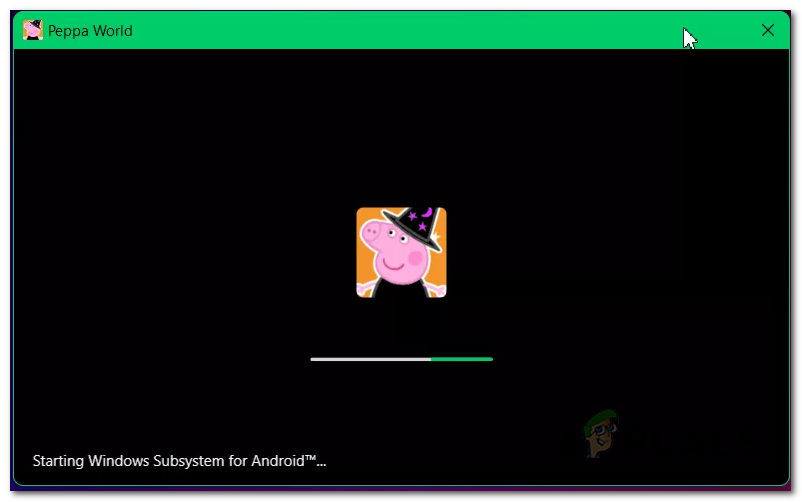
Running Android Application for the First Time - You can also launch the Windows Subsystem for Android by searching for it in the Start Menu.
- From there, you can change different settings that will customize your experience while running Android apps on Windows.
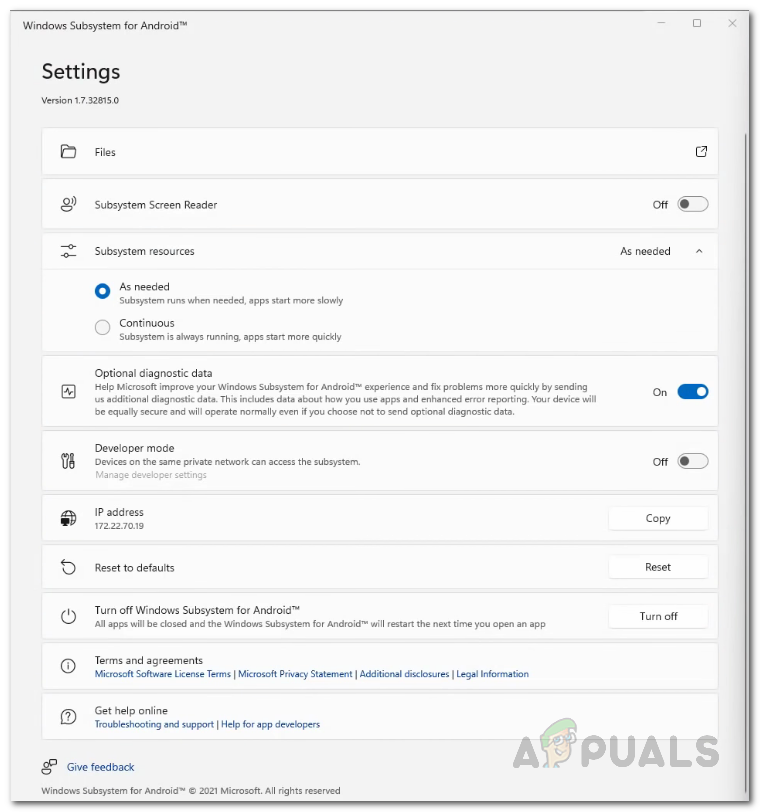
Windows Subsystem for Android Settings


