Removing the Fake Security Error 0x00759b
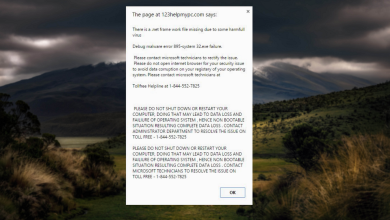
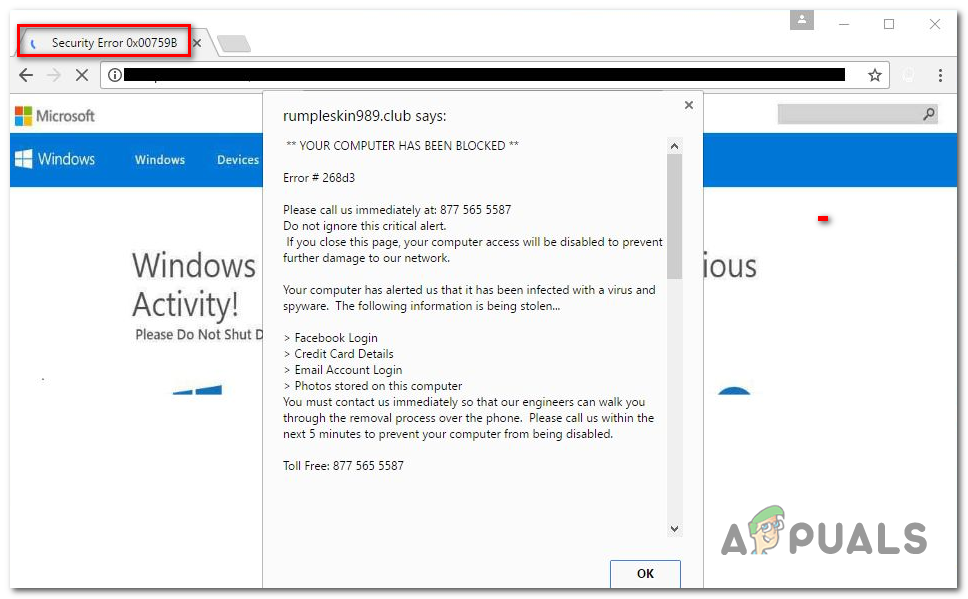
The Security Error 0x00759b is a recurring adware pop-up part of a social engineering scam that is meant to trick the user into thinking that the computer has been infected by a virus. The idea is to scare the infected user into calling one of the listed numbers to receive support. But instead of offering actual support, scammers will try to sell them unneeded support contracts and services.
What’s causing the Security Error 0x00759b?
- Default browser has been hijacked – In most cases, this malicious pop-up will find its way to your computer after a browser action that allowed a malicious script to take control of your browser, allowing it to redirect your surfing sessions to specific pop-ups or servers. In this case, you can fix the issue by running a generic scan with Windows Defender.
- Adware was bundled with another software – Another possibility is that the browser hijacker found it’s way on your computer after it was bundled with different software that you installed. Some PUPs are known to contain malicious code that will infect your browser. In this case, you can resolve the issue by using a specialized tool such as the Microsoft Safety Scanner.
Method 1: Running a Scan with Windows Defender
If you’re dealing with a malware infection that got there through a browser hijacking, chances are most 3rd party security suites will not detect it. This happens due to the fact that most efficient 3rd party security scanners (including Malwarebytes) aren’t investigating .htm files. This is precisely why most support tech scams like this one manage to avoid detection.
Fortunately, you have a built-in tool at your disposition that is capable of detecting this type of infection. Windows Defender will investigate .htm file and is typically capable of removing the Security Error 0x00759b automatically.
Here’s a quick guide on running Windows Defender in order to remove the adware infection that is causing the Security Error 0x00759b pop-ups:
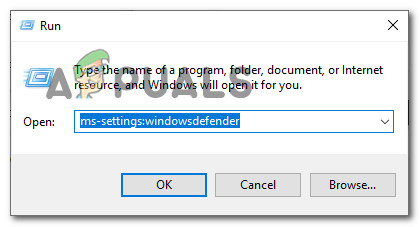
- Press Windows key + R to open up a Run dialog box. Next, inside the text box, type ‘ms-settings:windowsdefender’ and press Enter to open up the Windows Defender (Windows Security) tab of the Settings app.
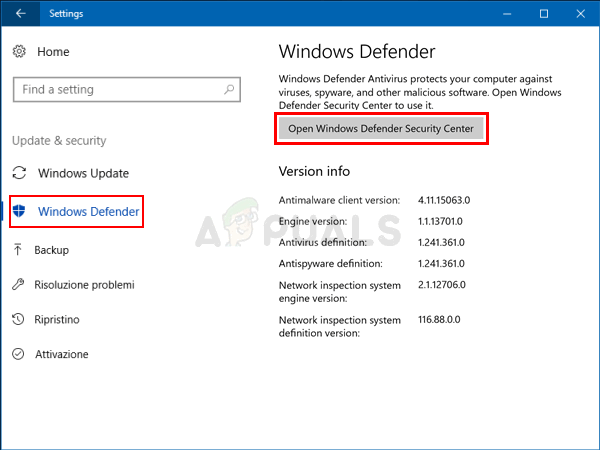
Opening up the Windows Defender tab of the Settings app - Once you’re inside the Windows Defender (Windows Security) tab, click on the Open Windows Defender and Security Center (Windows Security) button to open up the built-in security solution.
Opening Windows Defender - Once you’re inside the Windows Security menu, select the Home screen from the vertical menu on the right, then click on Virus & threat protection from the right.
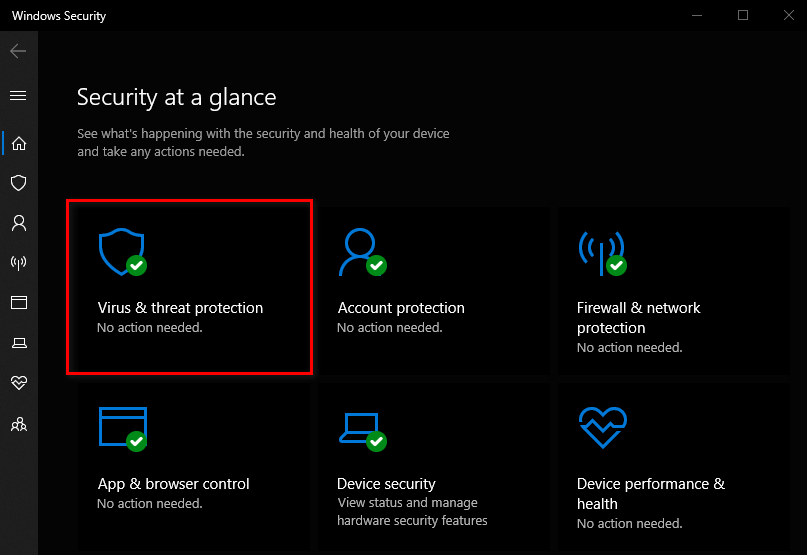
Accessing the Virus & Threat protection screen - Once you’re inside the Virus & threat protection, click on Scan options (under Quick Scan).
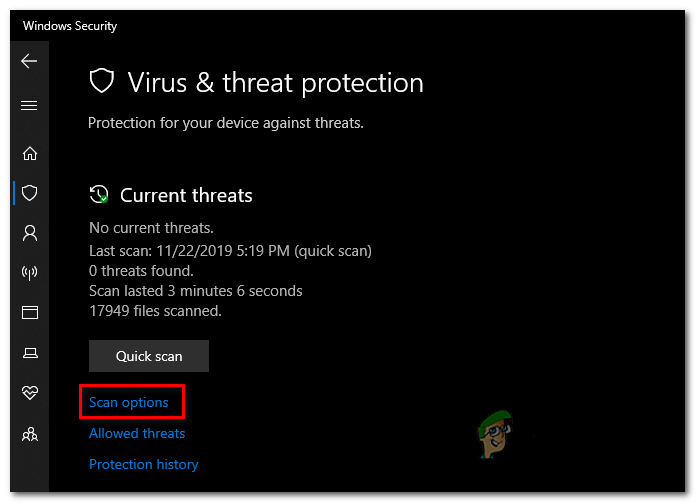
Accessing the Scan Options menu - On the next screen, change the type of scan to Full scan, then scroll down below and click on Scan Now.

Doing a full scan with Windows Defender - Wait until the operation is complete. Once the results come in, make sure you delete all quarantined items that were responsible for the infection.
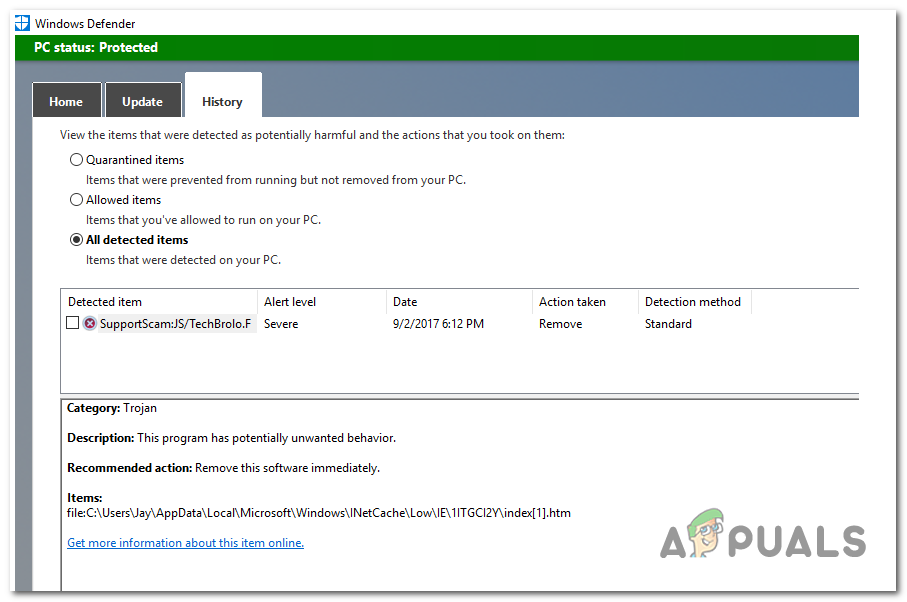
Dealing with the virus infection - Once the removing operation is completed, restart your computer and see if the pop-ups are removed at the next system startup.
If you’re still encountering the same type of popup, move down to the next method below.
Method 2: Running the Microsoft Safety scanner
If the first method didn’t allow you to identify and remove the virus infection or you’re looking for an alternative, you should also consider running the Microsoft Safety Scanner from Safe Mode. This operation ensures that you’re running the most powerful virus-removal tool that Microsoft has developed without worrying about 3rd party interference that might affect this operation.
Here’s a quick guide on running the Microsoft Safety scanner from Safe Mode:
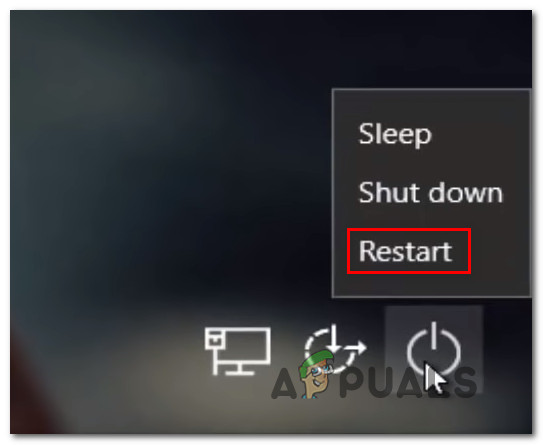
- Power on your computer (or restart it if it’s already on) and wait until you arrive at the initial login screen. Once you see the initial login window, click on the power icon (bottom right corner).
- Once you see the power contact menu, hold the Shift key while clicking on Restart to prompt your computer to boot in Safe Mode.
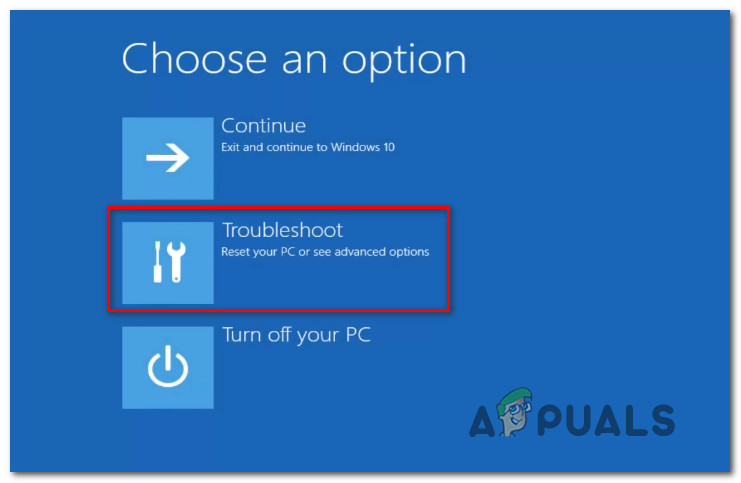
Forcing the PC to restart in Safe Mode - As soon as you do this, your computer will restart and the new state will be enforced. Eventually, your computer will arrive inside the Troubleshooting menu. When you see it, click on Troubleshoot.
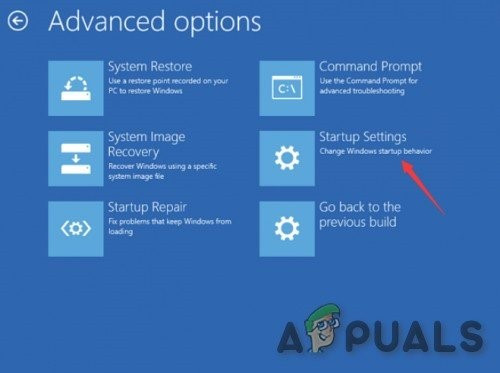
Accessing the Troubleshoot menu - Once you’re inside the Advanced Options menu, start by clicking on Startup Settings from the large list of available options.
Startup Settings in Advanced Options - Inside the Startup Settings menu, press F5 to boot up in Safe Mode with Networking.
Note: It’s important that you boot in Safe Mode with Networking, so that your computer has Internet access later on when we will download and use the Windows Safety Scanner utility.
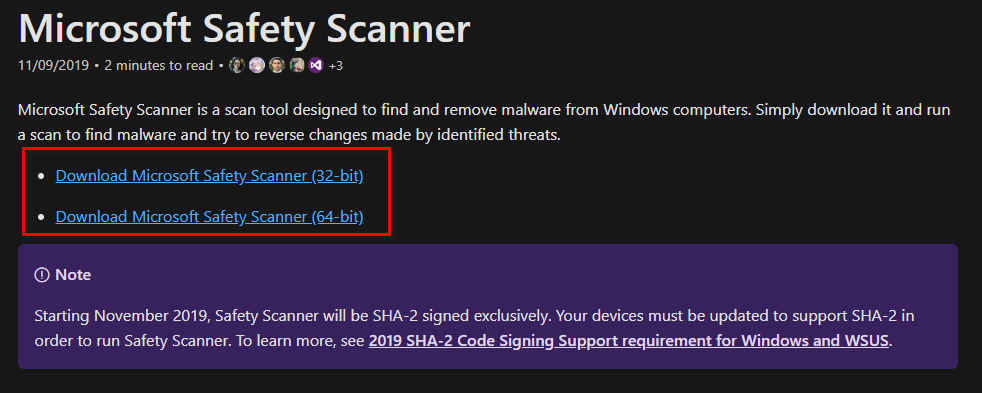
Starting your computer in Safe Mode with Networking - Once your PC has successfully booted in Safe Mode with Networking, access this link (here) and download the latest version of the Microsoft Safety scanner according to your Windows bit version.
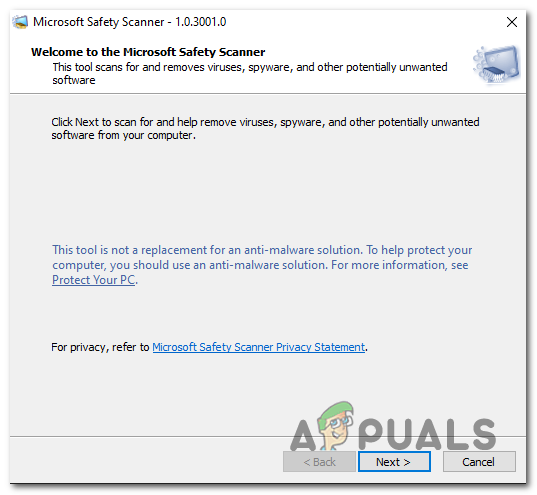
Downloading Windows Safety Scanner - Wait until the download is complete, then double-click on the MSERT.exe file to open up Microsoft Safety Scanner. If you’re prompted by the UAC (User Account Control) prompt, click Yes to grant administrative privileges.
- Follow the on-screen prompts to initiate a scan with Microsoft Safety scanner, then wait patiently until the process is complete.
Completing the Microsoft Safety Scan - Once the process is complete, restart your computer in order to boot it in normal mode, then see if the operation has allowed you to remove the pesky Security Error 0x00759b that was interrupting your surfing sessions.