Fix: Firefox Error ‘SEC_ERROR_OCSP_FUTURE_RESPONSE’
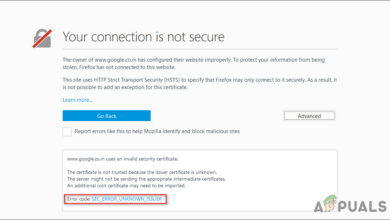
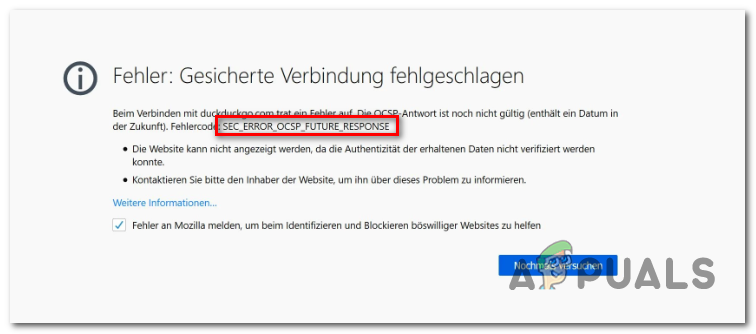
The SEC_ERROR_OCSP_FUTURE_RESPONSE error code appears when Firefox users attempt to access certain files that contain CSS elements. As it turns out, the issue is frequent with secure websites (HTTPS).
If you’re using an outdated Firefox issue older than build 47, the issue is most likely being caused by a Mozilla Firefox bug that affects certain CSS elements. In this case, you can fix the issue by updating your browser to the latest version.
In case you’re already using the latest version of Firefox, you should investigate whether your date & time are not outdated. And in case you update them to the correct value but the modification doesn’t last in between restarts, you should replace your CMOS battery with a healthy equivalent.
However, if you’re trying to visit a website with legitimate OCSP concerns, the only way you will be able to access it without encountering the SEC_ERROR_OCSP_FUTURE_RESPONSE error is to disable OCSP verifications.
Method 1: Update Firefox to the latest version
As it turns out, the issue is much more common on Firefox version v47 or under. As it turns out, the issue can be caused by a Mozilla Firefox bug that affected the rendering of certain CSS elements. Fortunately, Mozilla has already addressed the issue with a hotfix released with version 51.
If this scenario is applicable and you’re using an outdated Firefox version, here’s a quick guide on updating Firefox to the latest version:
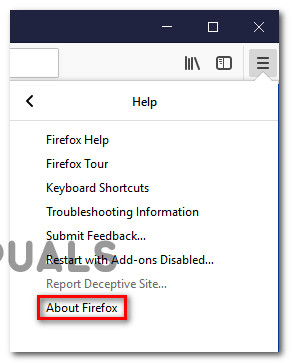
- Open Firefox and click on the action button located in the top-right corner of the screen.
- Next, from the newly appeared context menu, click on the Help tab, then choose About Firefox from the sub-menu.
Updating Firefox to the latest version - Inside the next window, wait until the scan is performed. If a new update is available, click on Restart to update Firefox to start the updating process.
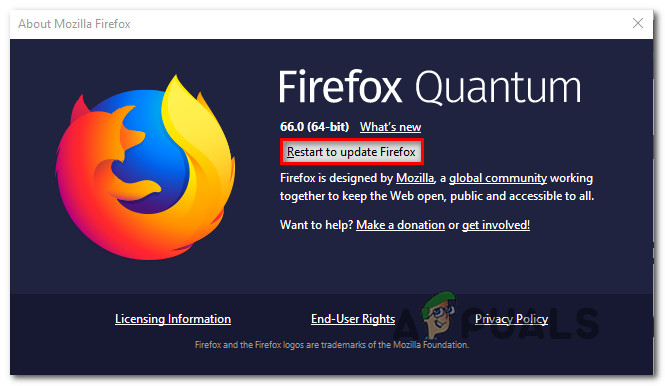
Updating Firefox - Once the update is installed, your browser should automatically restart, giving you the chance to test and see if the issue is resolved.
In case the same SEC_ERROR_OCSP_FUTURE_RESPONSE error code is still occurring, move down to the next potential fix below.
Method 2: Set the correct date & time
As it turns out, the error code SEC_ERROR_OCSP_FUTURE_RESPONSE is often times associated with an OSCSP response that is not valid due to the fact that the machine is set to a date in the future.
In order words, chances are the issue is appearing due to the fact that the computer clock or time is not set correctly.
In case you’re date & time settings are set to a future date and that’s responsible for the SEC_ERROR_OCSP_FUTURE_RESPONSE, you should be able to fix the issue by changing the date & time settings to the correct values. Here’s a quick guide on how to do this:
Note: The steps below are universal and should allow you to change the date & time values on Windows 7, Windows 8.1 and Windows 10.
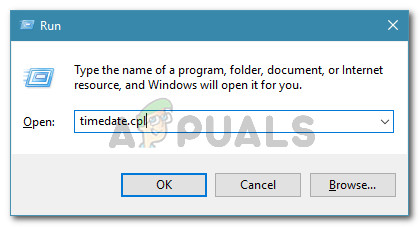
- Open up a Run dialog box by pressing Windows key + R. Next, type ‘timedate.cpl’ and press Enter to open up the Date and Time window.
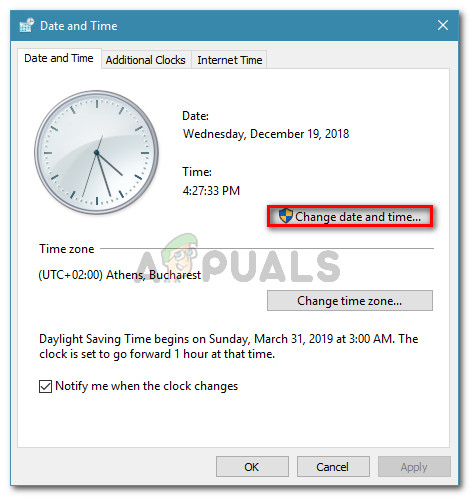
Opening the Date and time window - Once you manage to get inside the Date & Time window, then go to Date and Time window and click on Change date and time.
Setting the correct date and time - After you’ve made your way to the Date and Time Settings menu, use the calendar (under Date and Time) to select the appropriate values according to the timezone that you live in.
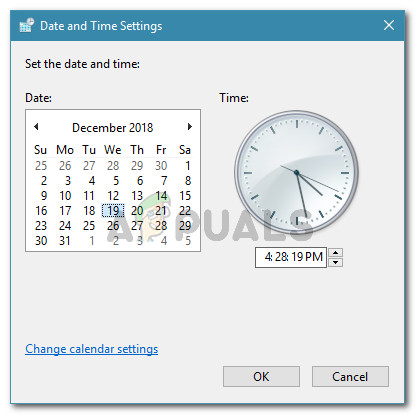
Modifying Time & date - Once the settings have been changed, restart your computer and repeat the action that was previously causing the SEC_ERROR_OCSP_FUTURE_RESPONSE error to see if the problem is now fixed.
In case the same error is still occurring and you notice that the date & time has reverted back to the previous values, move down to the next method below.
Note: I case the date & time value remained saved in between restarts but you’re still encountering the SEC_ERROR_OCSP_FUTURE_RESPONSE error, skip Method 3 and move directly to Method 4.
Method 3: Changing the CMOS battery
If the date & time values that you enforced during Method 2 didn’t remain saved in between restarts, it’s clear that you have a problem with your CMOS (Complementary Metal-Oxide Semiconductor) battery. This component is responsible for keeping track of certain BIOS preferences including the system-wide date and time.
If this scenario is applicable, you should be able to fix the issue by clearing the CMOS battery or replacing it if necessary. Here’s a quick guide on resolving the issue:
- Start by turning off your computer and unplugging it from a power source.
- Once your computer is disconnected from a power outlet, remove the side cover and equip yourself with a static wristband in order to ground yourself to the frame and avoid unpleasant events where static electricity will end up producing damage to your PC components.
- Once you manage to expose your motherboard, identify the CMOS battery, then use your fingernail or a non-conductive screwdriver to remove it from the slot.
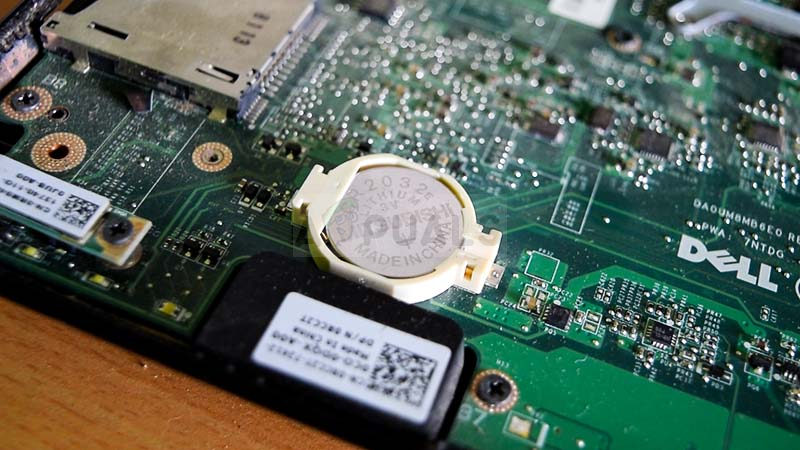
Removing the CMOS battery - After you manage to remove the CMOS battery clean it with a soft cloth dipped in isopropyl alcohol. You should also clean the slot to make sure that there’s no lint or dust inhibiting the connection.
Note: In case you have a spare CMOS battery lying around, use the newer one instead. - Put the cover back in, then plug your computer back to a power source and start it up to see if the issue is now resolved.
- Start your computer back up and see if the problem is not fixed.
In case you’re still encountering the same SEC_ERROR_OCSP_FUTURE_RESPONSE error, move down to the final fix below.
Method 4: Disabling OCSP verifications
If none of the methods above has allowed you to fix the issue, there’s always the option to disable OCSP query altogether. While this will undoubtedly fix the issue since the OCSP check will no longer be performed, it also opens up your computer to some security risks.
In case you understand the consequences and you want to go ahead with disabling OCSP verifications, follow the instructions below to do so:
- Open your Firefox browser and access the action button in the top-left section of the screen.
- Then, from the newly appeared context menu, click on Options to bring up the preferences menu.
- Once you’re inside the Preferences menu, click on Privacy & Security from the left-hand section, then scroll all the way down to the bottom of the screen.
- When you see the Certificates menu, ensure that the box associated with ‘Query OCSP responder servers to confirm the current validity of certificates’ is disabled.
- Restart your Firefox browser and load the web page that was previously failing.