Scanner Won’t Run on Windows 11? Try these fixes
Recently, there have been reports by quite a few users that their scanner won’t run on Windows 11. Depending on the specific problem, some users are unable to interact at all with the scanner, while others receive a “Can’t communicate with scanner” error message. Almost every type of scanner has faced this issue like Epson, Canon, HP, Image Access, Panasonic – just to name a few.
In this article, we will walk you through the relevant troubleshooting methods that have helped several users fix the issue in no time. Let’s get started!
Reinstall the Scanner
One of the main reasons you are having trouble with your scanner is that it is outdated. The solution to this is simple, as all that you need to do is update the scanner.
You can do this by uninstalling the scanner, and then downloading its latest version from the manufacturer’s website of the scanner.
Here is a step-by-step guide on how to do this:
- Type Device Manager in the search area of the taskbar and hit Open.
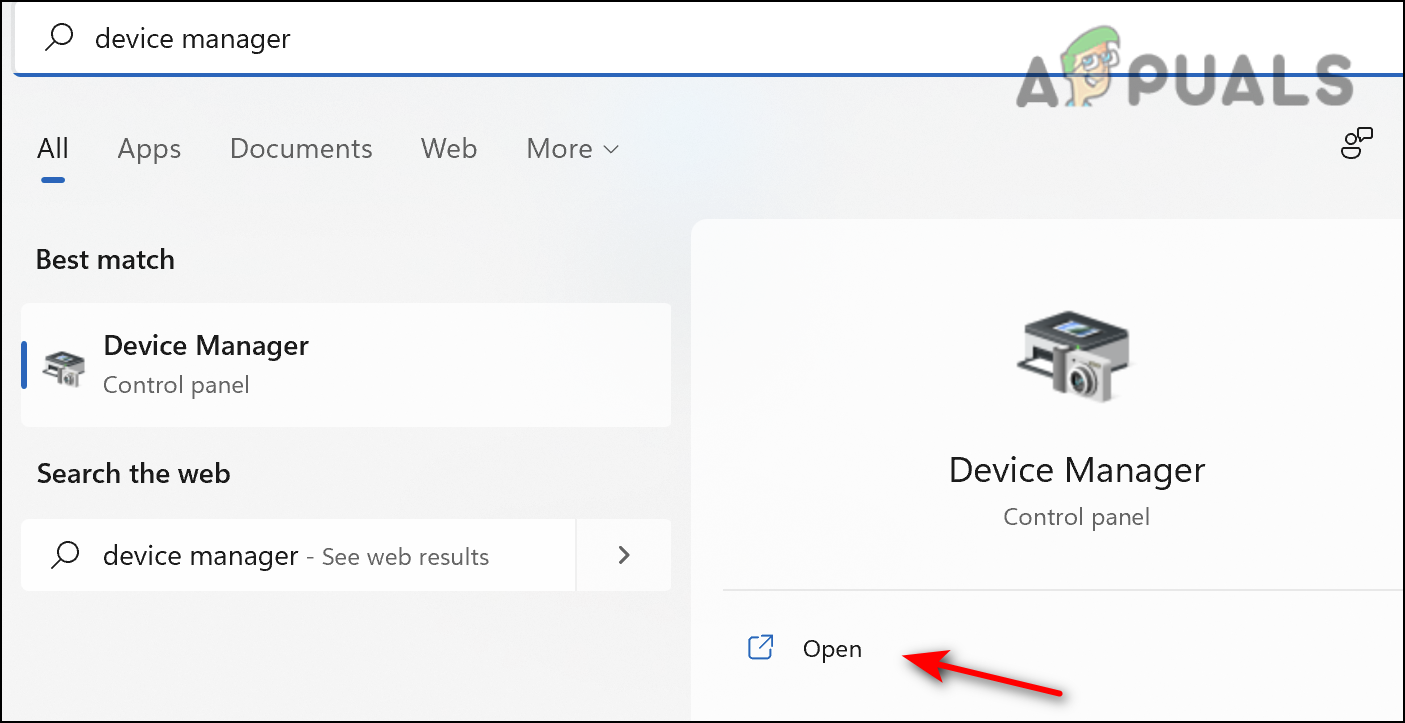
Open device manager - Inside the Device Manager window, expand the option Imaging or Other devices.
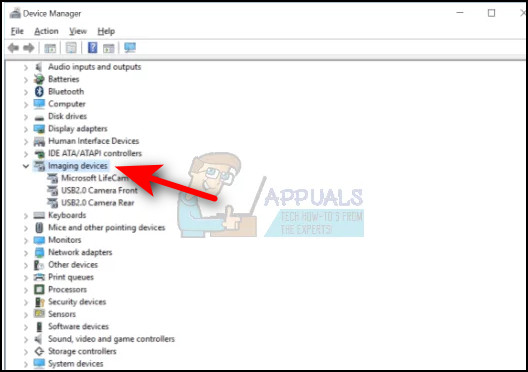
expand imaging devices - Locate Scanners under this option and right-click on it.
- Select Uninstall device from the context menu and wait for the process to complete.
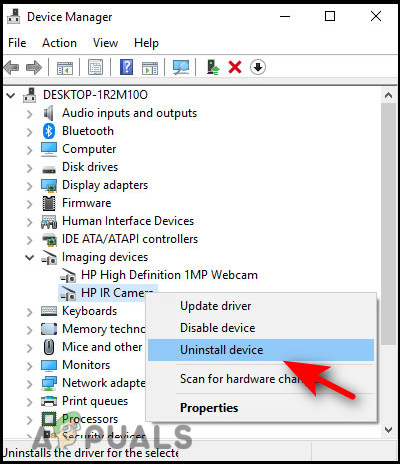
Uninstall device - Once done, restart your PC.
- Upon reboot, head over to the manufacturing website of the scanner and install the latest version. Check if doing so gets your scanner up and running.
Adjust the Compatibility Mode
Several users were able to fix the issue by altering the compatibility mode of the scanner. If you don’t know already, Windows’ compatibility mode allows older programs to run without any problems. It is possible to make older programs run on a newer operating system by using a compatibility mode.
Here is how you can adjust the compatibility mode of your scanner to fix the issue at hand:
- Right-click on your scanner’s icon and select Properties from the context menu.
- Head over to the Compatibility tab and checkmark the Run this program in compatibility mode for box. Choose any older version of Windows from the dropdown menu.
- Hit Apply to save the changes.
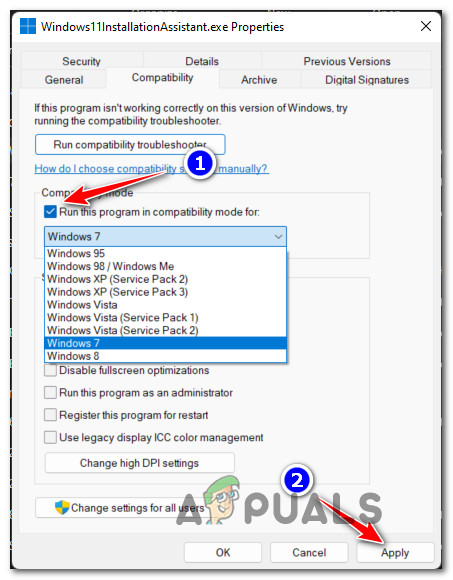
Configuring the executable to launch in Compatibility mode with Windows 7 - Once done, restart your PC and check if the issue is resolved.
Check Windows Services
In Windows operating system (or any other), there are certain Windows services that should be enabled for you to perform relevant operations successfully.
Similarly, for you to run your scanner properly, a service named Windows Image Acquisition should be enabled on Windows. Follow the steps mentioned below to enable the service on your PC:
- Press Windows + R keys simultaneously on your PC to open a Run dialog box on your PC.
- In the text field of the dialog box, type services.msc and hit Enter.
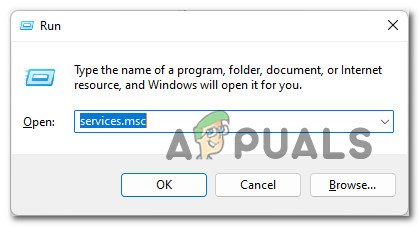
Accessing the Services Screen - Once you are inside the Services window, locate and right-click on Windows Image Acquisition (WIA) service.
- Select Properties from the context menu displayed on your screen.
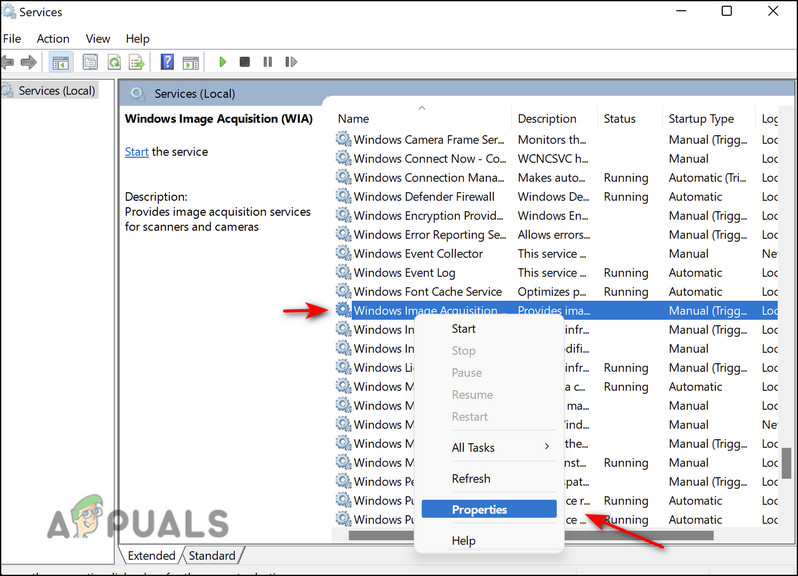
Run Windows Image Acquisition - In the Properties window, set the Startup type to Automatic.
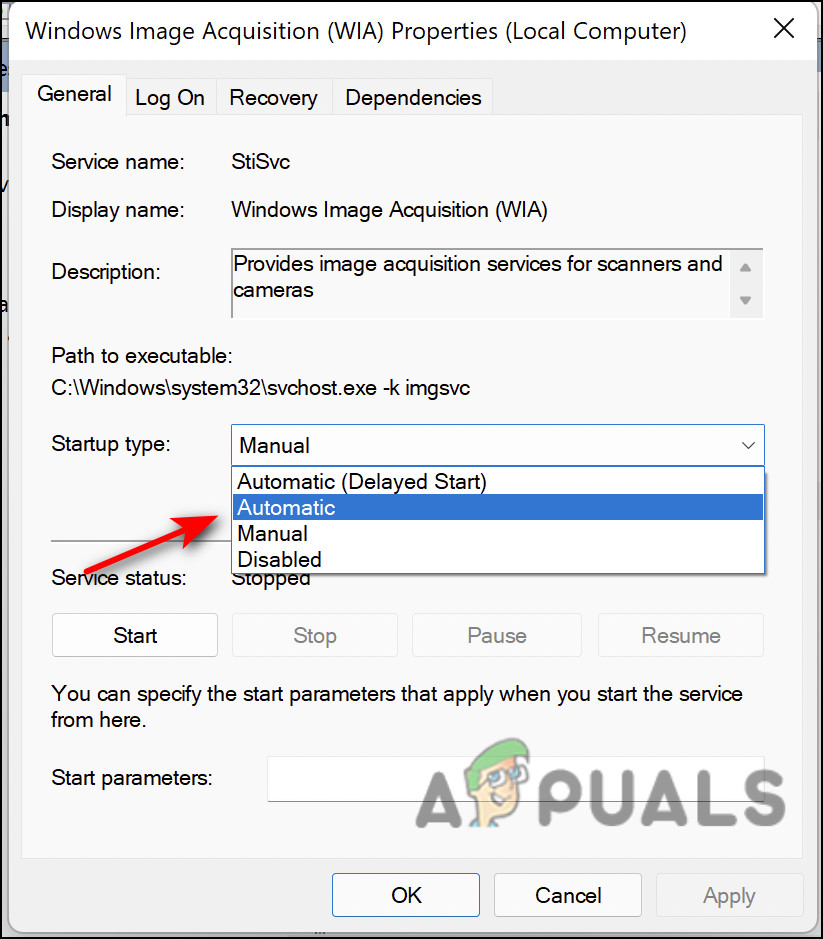
Switch the startup type to Automatic - Then, ensure that the Service status is running. If it is not, click on the Start button.
- Perform the same steps for DCOM Server Process Launcher, Shell Hardware Detection, Remote Procedure Call, and RPC Endpoint Mapper services.
- Finally, close the Services window and check if doing so resolved the issue.
Run Hardware and Device Troubleshooter
Alternatively, you can run the Hardware and Device Troubleshooter, which can automatically apply automated fixes in cases like this one. These fixes should fix problems with corrupted files and bad drivers.
Here is what you need to do:
- Press Windows key + R to open up a Run dialog box.
- Inside the text box, type ‘ms-settings:troubleshoot’ and press Enter to open up the Hardware and Device Troubleshooter.
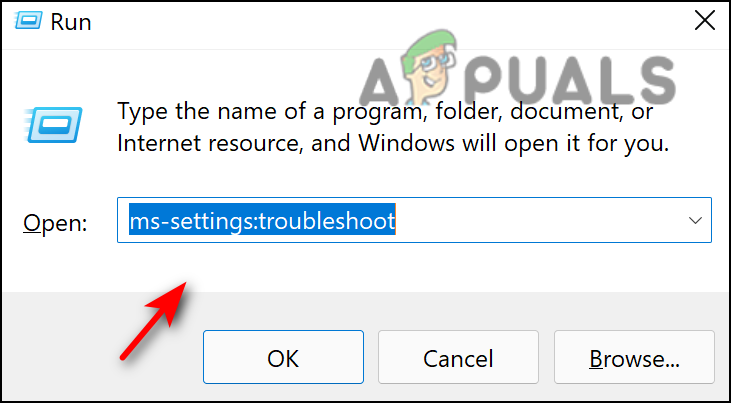
Type ms-settings-troubleshoot - Once you’re inside the Troubleshooting tab, select Other troubleshooters option in the right pane.
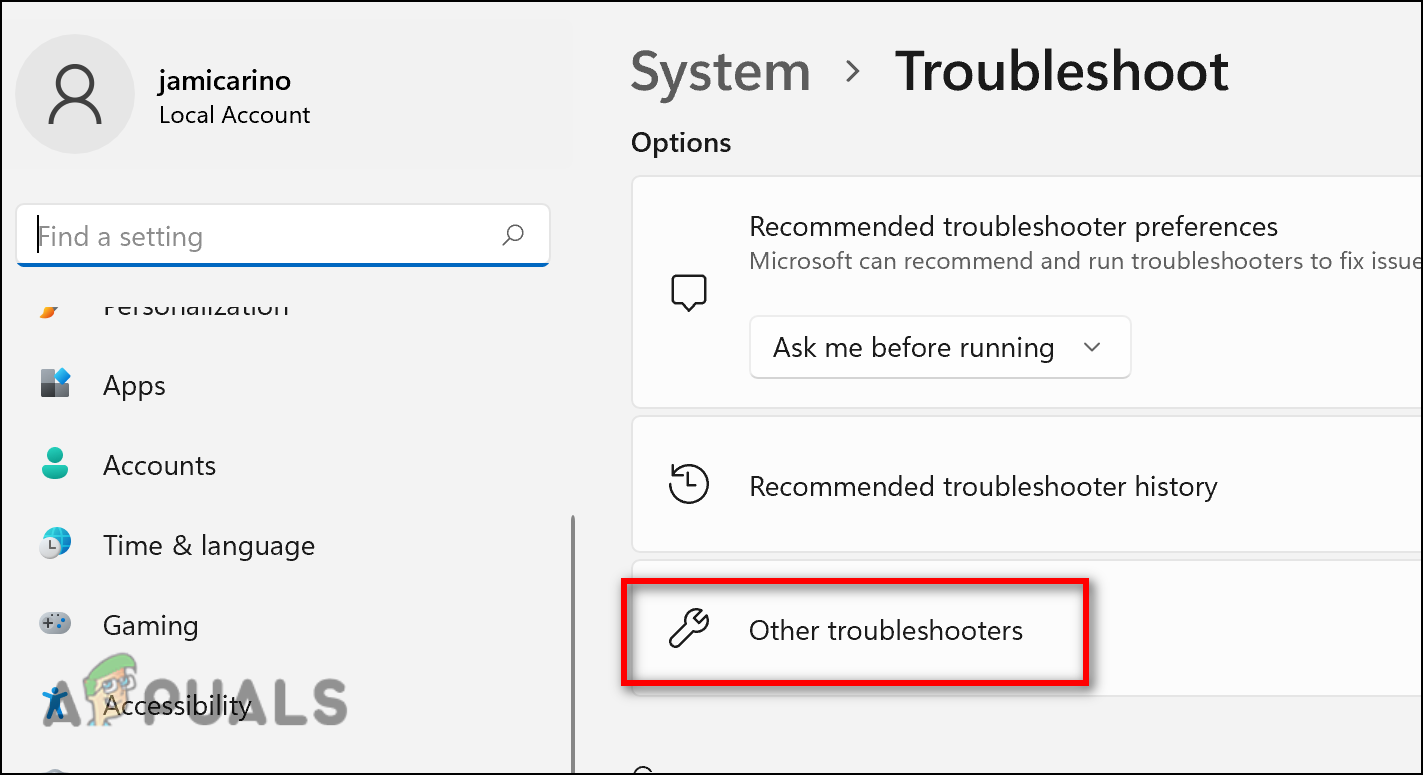
Click other troubleshooters - Select the Run the troubleshooter button associated with your scanner.
- Wait for the troubleshooter to complete its scan. In the event a viable repair strategy is identified, you will be presented with a window with the option to automatically apply it. Click on Apply this fix.
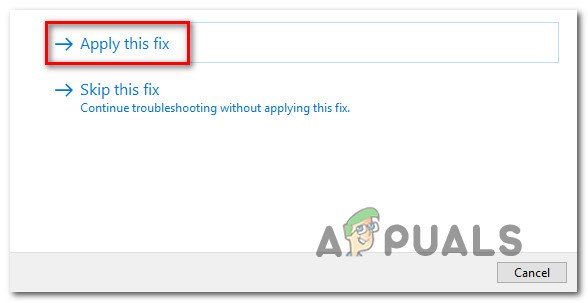
Applying the recommended fix - Then, restart your computer and run the scanner to see if the issue is resolved.
Run SFC and DISM Commands
As we discussed previously, corruption errors or bugs in the system are often responsible for such errors as we have here.
In Windows, you can access several built-in tools to troubleshoot errors, which require little or no user involvement. There are two programs that accomplish this: Deployment Image Servicing and Management (DISM) and System File Checker (SFC).
You can use each utility to scan your operating system for errors and fix them automatically. DISM relies heavily on Windows Update to replace the faulty data, while SFC uses a locally cached archive. It takes over five minutes for SFC to finish. DISM scans require that external files be downloaded, so they take longer to complete. Try running both SFC and DISM commands, and check if that resolves the issue. If the error persists, move to the method mentioned below.
Uninstall Recent Update
There are times when issues like the one at hand are caused due to recently installed updates that are corrupt and buggy. If your scanner stopped running after you installed a Windows update recently, uninstalling the update might do the trick for you.
Here is what you need to do:
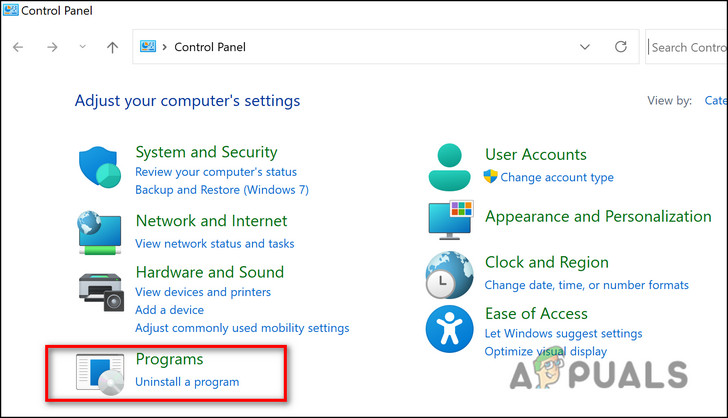
- Type Control Panel in the search bar and hit Enter.
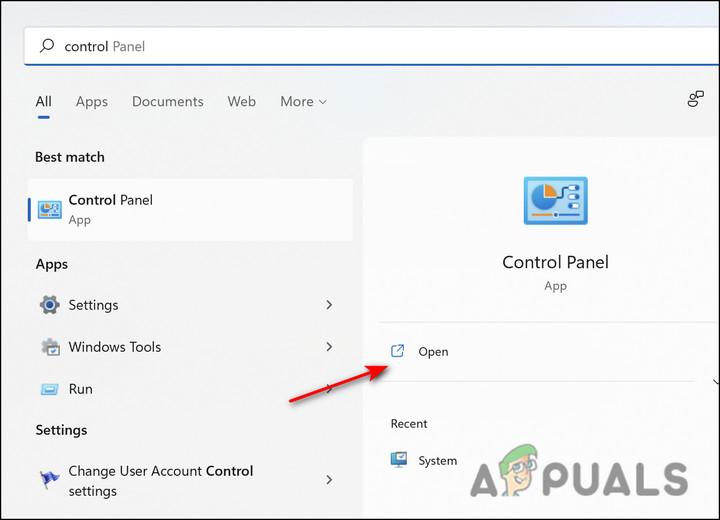
Run control panel - In the Control Panel window, click on Uninstall a program under Programs.
- Select View Installed updates from the left panel.
- Click on Installed On to sort the updates by date, and then right-click on the recently installed update.
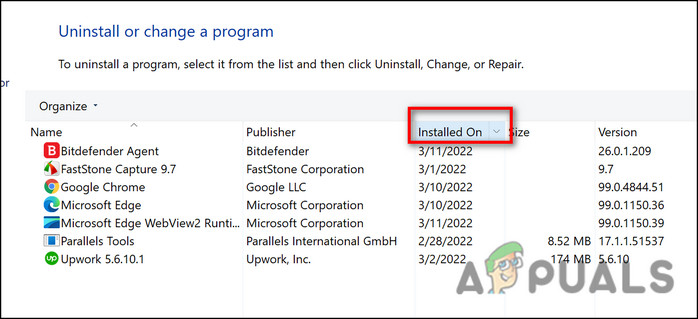
Sort by date - Select Uninstall and wait for the process to complete.
- Once done, restart your PC and check if the issue is resolved.


Thanks, Thanks, Thanks, Thanks, Thanks, Thanks, … Adjust the Compatibility Mode run on Windows 11 Pro 22H2 hungarian in Widows 7 driver. Thanks, Thanks, Thanks, Thanks, Thanks, Thanks, …