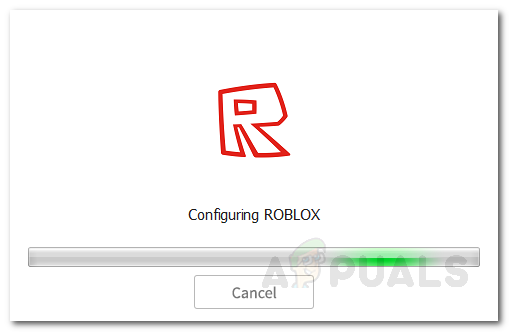
How to Fix the Configuring Roblox Loop Error?
The Roblox configuring loop often occurs due to your overprotective third-party antivirus suite. During the installation process, the application is configured for your system which is shown as Configuring Roblox. However, this can often get stuck and you will have to deal with a loop of the said message. For some users, the issue might arise during the installation process of an update.
Nonetheless, without any regard for the scenario of the emergence of the issue, you will be able to resolve it via the solutions provided down below. But before we get into that, let us first discuss the causes of the issue so that you have a better insight into the issue.
What causes the Configuring Roblox Loop Issue?
After going through several user reports on various websites, we gathered a list of the possible causes of the issue to have a better grasp. Here’s what the issue is often caused by:
- Third-Party Antivirus Suite: The most common and reported cause of the issue is the presence of an overprotective antivirus suite. As it turns out, some third-party antivirus suites are excessively protective and as a result, they often block out actions that do not intend any harm towards your system. The issue is caused when the installation process is interrupted by your third-party antivirus software and as a result, it enters a loop.
- Internet Connection: In some cases, your internet connection can also trigger the problem. This happens when the installer is not able to retrieve certain information from the server due to maybe restrictions imposed on your network by your Internet Service Provider. The workaround here would be to use a VPN during the installation phase.
- Roblox Installation: If you come across the problem while updating an already existing installation, then chances are that it is caused by a corrupted installation or files. In such a case, you will have to completely remove the Roblox launcher from your system and then install it again.
Now that we have been through the potential causes of the issue, let us get into the solutions that have been reported as working by other users who were plagued by this problem.
1. Disable Third-Party Antivirus
As it turns out, the most probable cause of the issue is the third-party antivirus suite installed on your system. This is due to the fact that some antivirus software tends to be overprotective. This results in various issues faced by the user. The antivirus software installed on your system often interrupts or meddles with processes that it detects as harmful while they are not; hence a false positive. If this case is applicable to you, you will have to disable the third-party antivirus software and then start the installation.
If you do not wish to completely disable your antivirus suite, you can also create some exclusions. This will prevent the application from interfering with the whitelisted processes.
Alternatively, you can also choose to completely remove the antivirus software from your system along with wiping any remnant files that are not deleted during the uninstallation phase. To do so, follow the below instructions:
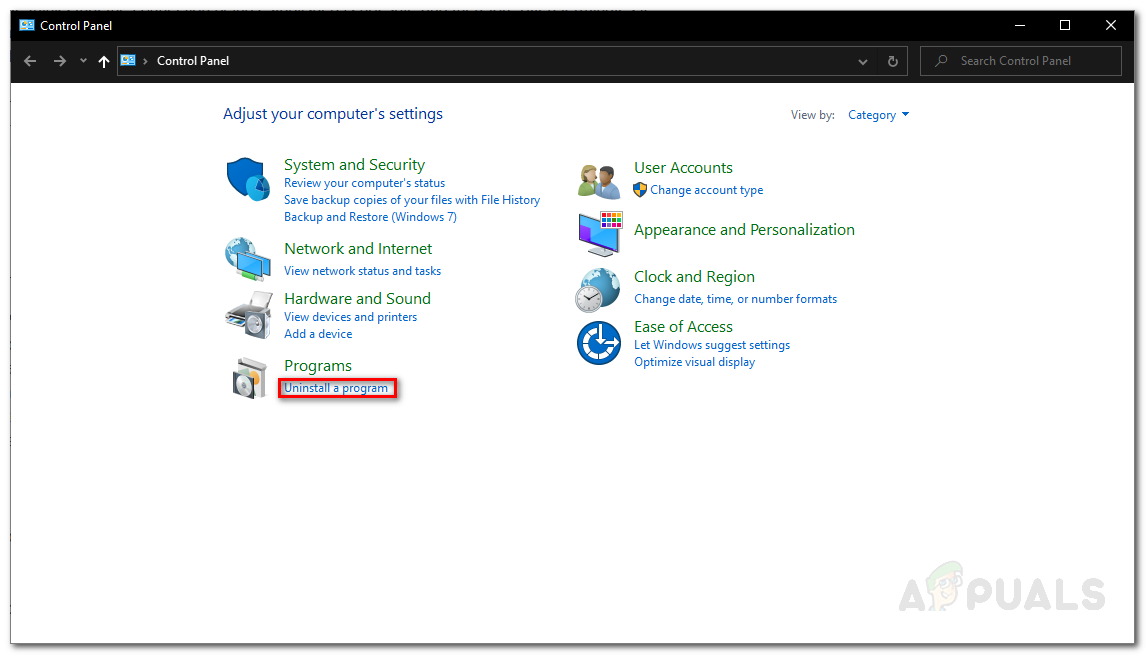
- First of all, press the Windows Key to open up the Start Menu.
- Type in Control Panel and then hit Enter to open up the Control Panel window.
- Once the Control Panel has opened up, click on the ‘Uninstall a program’ option under the Programs heading.
Control Panel - This will take you to a list that enlists all of the installed applications on your system. Find your antivirus software and then double-click on it to start the uninstallation phase.
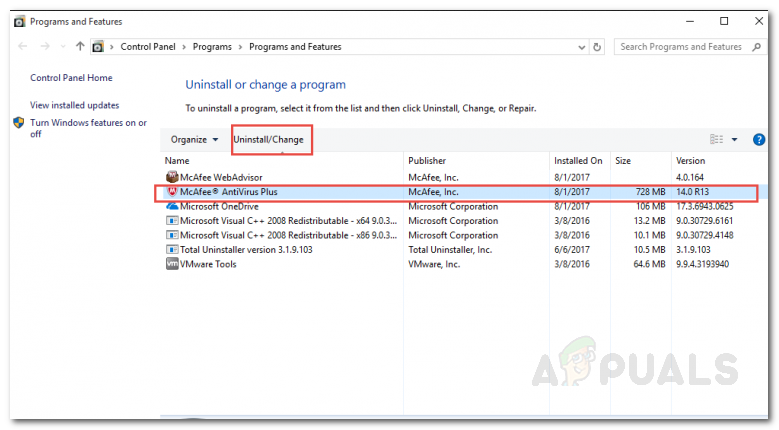
Uninstalling Antivirus - Follow the on-screen prompts to complete the uninstallation.
- After you have uninstalled the antivirus suite, you will have to wipe out the remnant files from your system. However, this is not needed and you can just start the installation process if you do not want to bother. A system restart is advised before initiating the installation.
- You can also remove remnant files from your computer completely.
See if the issue is resolved.
2. Use a VPN
In some cases, your internet connection or the restrictions imposed on your network (to be more exact) can cause the said issue. If this scenario is applicable to you, you will have to use an alternative method which is to use a VPN during the installation phase. A VPN will provide you with a private connection and hence, you will be able to install the application pretty easily.
There are tons of VPN available out there and most of them even offer free trials. Just choose a good one, download the free trial, and use it to install the application. See if this fixes the issue.
3. Wipe Roblox Installation
If the above solutions have not worked for you, the final solution to getting rid of the problem would be to completely remove Roblox from your hard drive and then install it again. This is applicable if you already have an existing installation and the issue occurs while you are trying to update it. To complete remove Roblox from your system, do the following:
- First, open up the Control Panel by pressing the Windows Key and then typing Control Panel in the given search bar.
- Go to the ‘Uninstall a program’ section by clicking on it under the Programs entry.
Control Panel - You will be shown a list of the installed applications on your computer. Scroll through the list and find Roblox.
- Double-click on it to initiate the uninstallation wizard. After you have uninstalled the application, you will have to remove the remnant files that are stored in the AppData directory.
- To do this, press Windows Key + R to open up the Run dialogue box.
- Type in %appdata% and press Enter. This will take you to the AppData directory.

Run Dialog Box - Now, switch to the Local folder and then delete the Roblox folder there.
- Once you have done that, download the setup file from the official website again and start the installation. See if the issue is resolved.


