How to Restrict Access to Drives in Windows?
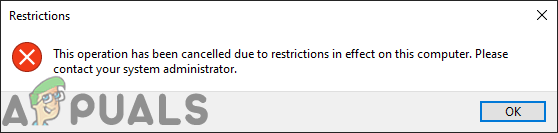
The Windows operating system provides the usage of multiple user accounts on your system. If a computer is used by multiple family members or friends, then it is best to have privacy on some files, folders, or even drives. However, restricting drives isn’t the same as restricting files and folders on your system. There are specific settings for restricting drives on your system and that will prevent users from accessing your personal data on other drives. In this article, we will show you methods through which you can restrict access to drives.
There are several methods through which you can restrict access to drives. By using the Local Group Policy settings, users can restrict and hide the drives from the other users. However, the Local Group Policy Editor only has limited options for limited drives. Users will not be able to modify the specific drive letter in the Local Group Policy Editor. Also, the Local Group Policy Editor isn’t available in the Windows Home Edition. Therefore, we have included the Registry Editor method through which you can add any drive for restriction. It is also available in all Windows Editions.
Restricting Access to Drives through the Local Group Policy Editor
The Local Group Policy Editor is an MMC (Microsoft Management Console) that is mostly used to configure many important settings. The administrator can use it to modify the specific settings for other users. For restricting drives, there is a specific policy setting named “Prevent access to drives from My Computer” in the Group Policy Editor. By enabling this and selecting the drives in the list, will restrict access to those drives.
Note: If you are using Windows Home Edition, then skip this method and try to use the Registry Editor method.
- Open the Run dialog by pressing the Windows + R keys together on your keyboard. Type “gpedit.msc” and press the Enter key to open the Local Group Policy Editor.
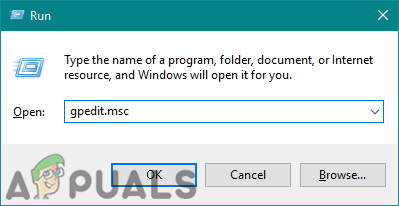
Opening Local Group Policy Editor - In the User Configuration category, navigate to the following setting:
User Configuration\ Administrative Templates\ Windows Components\ File Explorer\
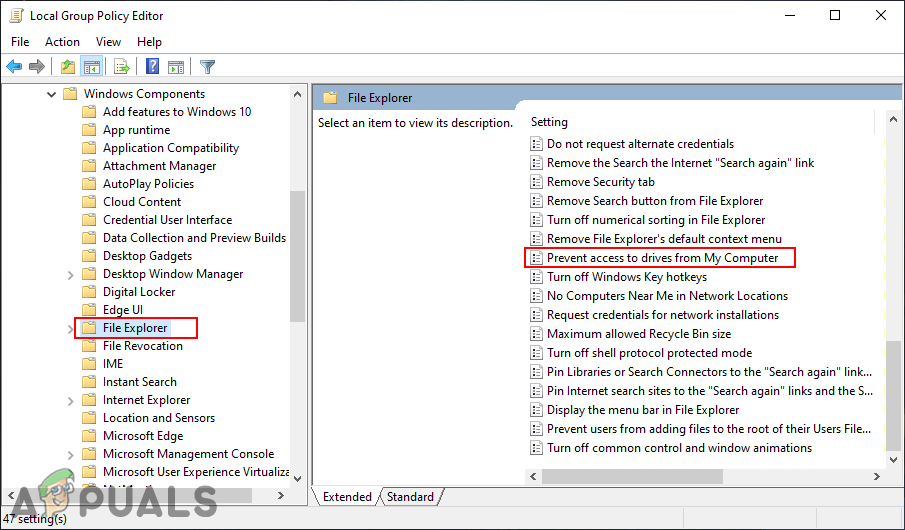
Opening the setting - Double-click on the “Prevent access to drives from My Computer” setting and it will open in a new window. Now change the toggle from Not Configured to Enabled option. Choose one of the following combinations for the drives that you want to restrict.
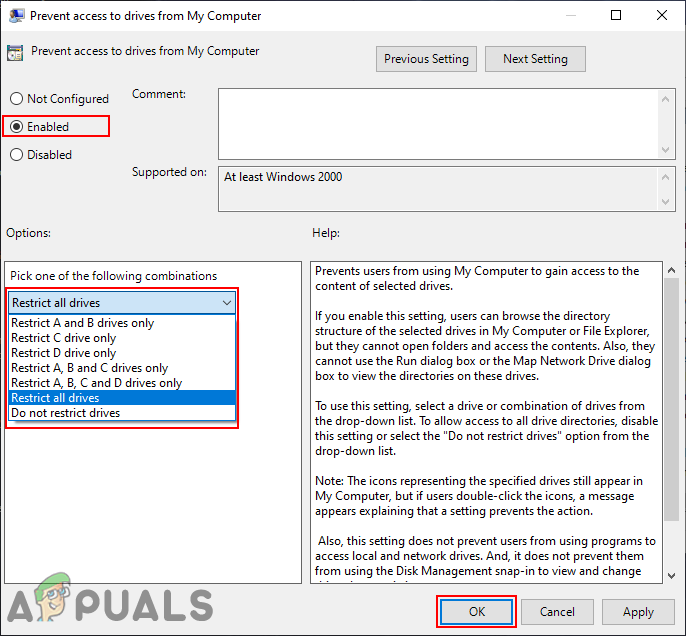
Restricting drive in the Group Policy Editor - Click on the Apply and Ok buttons to save the changes. This will restrict access to the drives that you selected.
- To remove the restrictions from drives, simply change the toggle back to Not Configured or Disabled in step 3.
Restricting Access to Drives through the Registry Editor
The Registry Editor is a graphical tool in the Windows operating system that stores low-level settings. Registry Editor allows users to create, rename, and delete registry keys and values. Unlike the Group Policy Editor, the wrong settings in the Registry Editor can cause a lot of problems. We recommend the users to back up the Registry before making any changes.
You can add the below values for All Users (HKEY_LOCAL_MACHINE) and the Current User (HKEY_CURRENT_USER). The hive will be different, but the path will be the same for both.
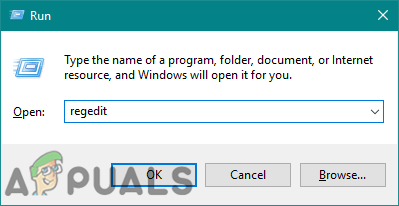
- Open the Run dialog by pressing the Windows + R keys together on your keyboard. Now type “regedit” and press the Enter key to open the Registry Editor. Choose the Yes option for UAC prompt.
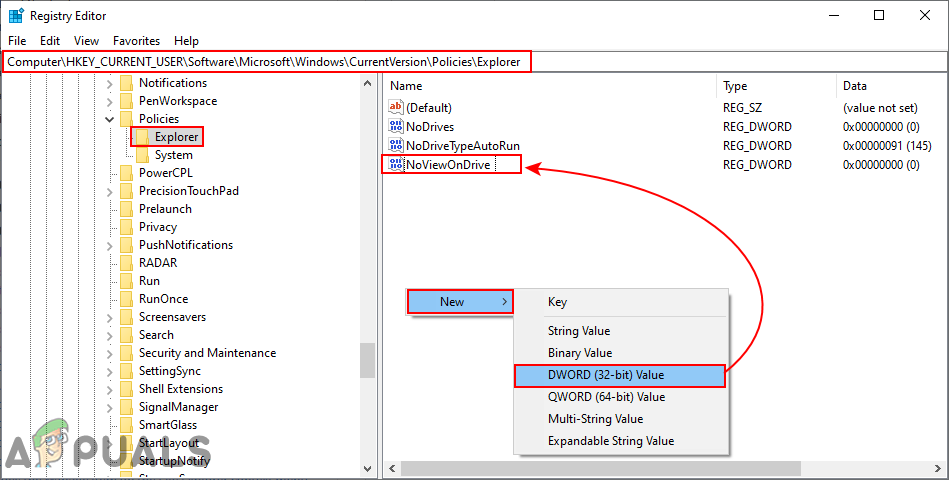
Opening the Registry Editor - We will be using the User hive. Navigate to the following path in the Registry Editor:
HKEY_CURRENT_USER\Software\Microsoft\Windows\CurrentVersion\Policies\Explorer
- Right-click on the Explorer key right pane and choose New > DWORD (32-bit) Value option. Name the value as “NoViewOnDrive” and press the Enter key to save it.
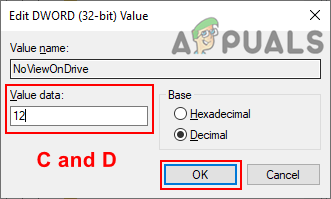
Creating a new registry value - Now double-click on the NoViewOnDrive value, change the Value Data, and Base of the value to Decimal.

Changing value data to restrict the drive D Note: In the above screenshot, we are restricting the D drive.
- For the value data, you will need to add the value of decimal numbers of the drives as stated here: A: 1, B: 2, C: 4, D: 8, E: 16, F: 32, G: 64, H: 128, I: 256, J: 512, K: 1024, L: 2048, M: 4096, N: 8192, O: 16384, P: 32768, Q: 65536, R: 131072, S: 262144, T: 524288, U: 1048576, V: 2097152, W: 4194304, X: 8388608, Y: 16777216, Z: 33554432, ALL: 67108863.
- To add multiple drives in the value, you will need to add (sum) the value of the drives with each other. For example, Hiding drive C and D will have a decimal value of 12.
Restricting drive C and drive D - After all the configurations are made, make sure to restart your co0mputer to see the changes in your system.
- To remove the restriction from the drives, simply change the value data to 0 or remove the value from Registry Editor.


