How to Reset Password to an EC2 Windows instance by using System Manager
Have you ever been in a situation where you have forgotten Windows password or your teammate who has created Amazon EC2 instance is on sick leave or business trip, and you do not know what is the password, but you need to perform some changes in next few minutes? I guess all of us have had this challenge. The bad thing is also that you do not have a key pair to decrypt the existing password. Let´s find a solution.
In this article, we will show you how to reset Windows password on Amazon EC2 instance by using AWS System Manager. There is also another way to do it by using automation, but that is not part of this article. AWS System Manager is a management service that enables you to manage your Amazon EC2 instance. To reset the password via AWS System Manager it is necessary to run AWS Systems Manager Agent (SSM Agent) on Amazon EC2 instance. Please note that the agent comes pre-installed on Windows Server 2016 and Windows Server 2019 instances.
This procedure consists of three steps including:
- Step 1: Creating the IAM role
- Step 2: Attach IAM role to running Amazon EC2 instance
- Step 3: Reset the password by using AWS System Manager
Step 1: Create an IAM Role
In the first step, we will create an IAM role. The IAM role is an entity that defines a set of permissions for making AWS service requests. As we will execute a request for resetting the password, the IAM role must have enough permissions.
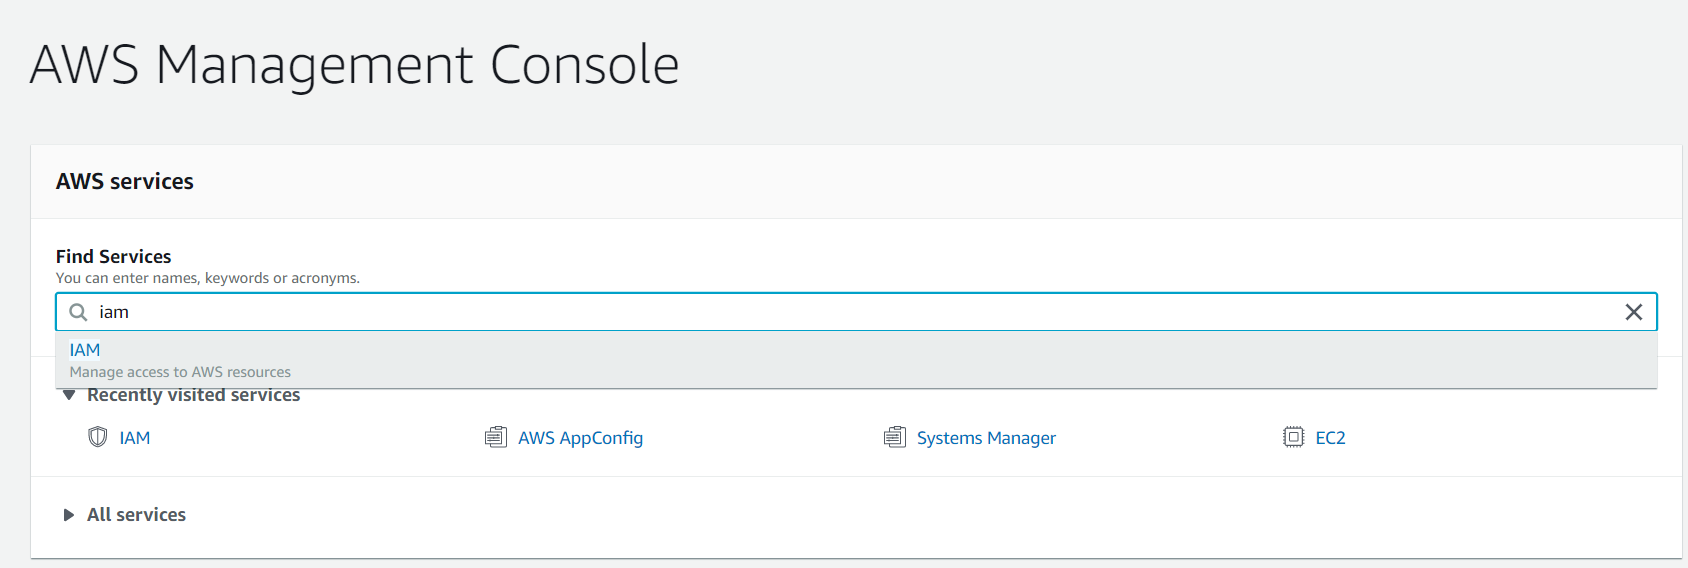
- Login into AWS Management Console
- Type IAM under Find Services and run it
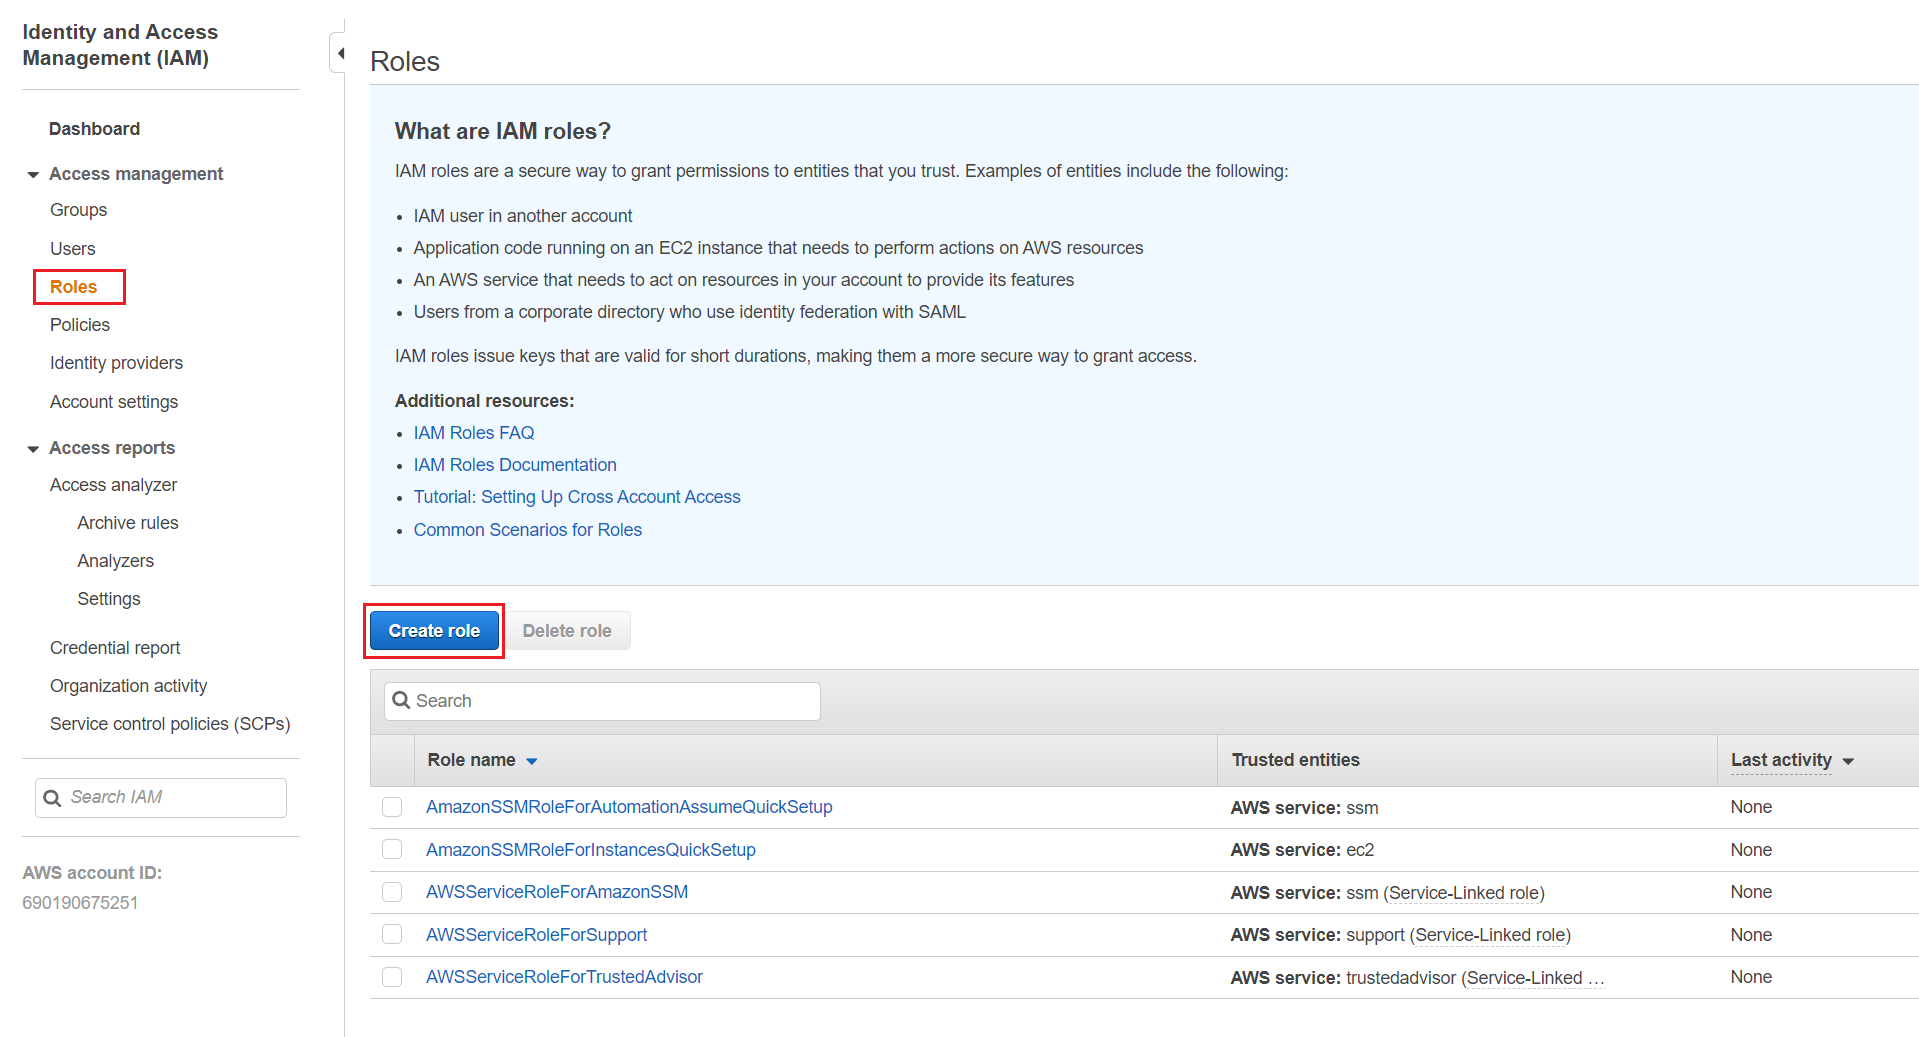
- Click on Roles under Access Management under navigation panel and then click on Create role
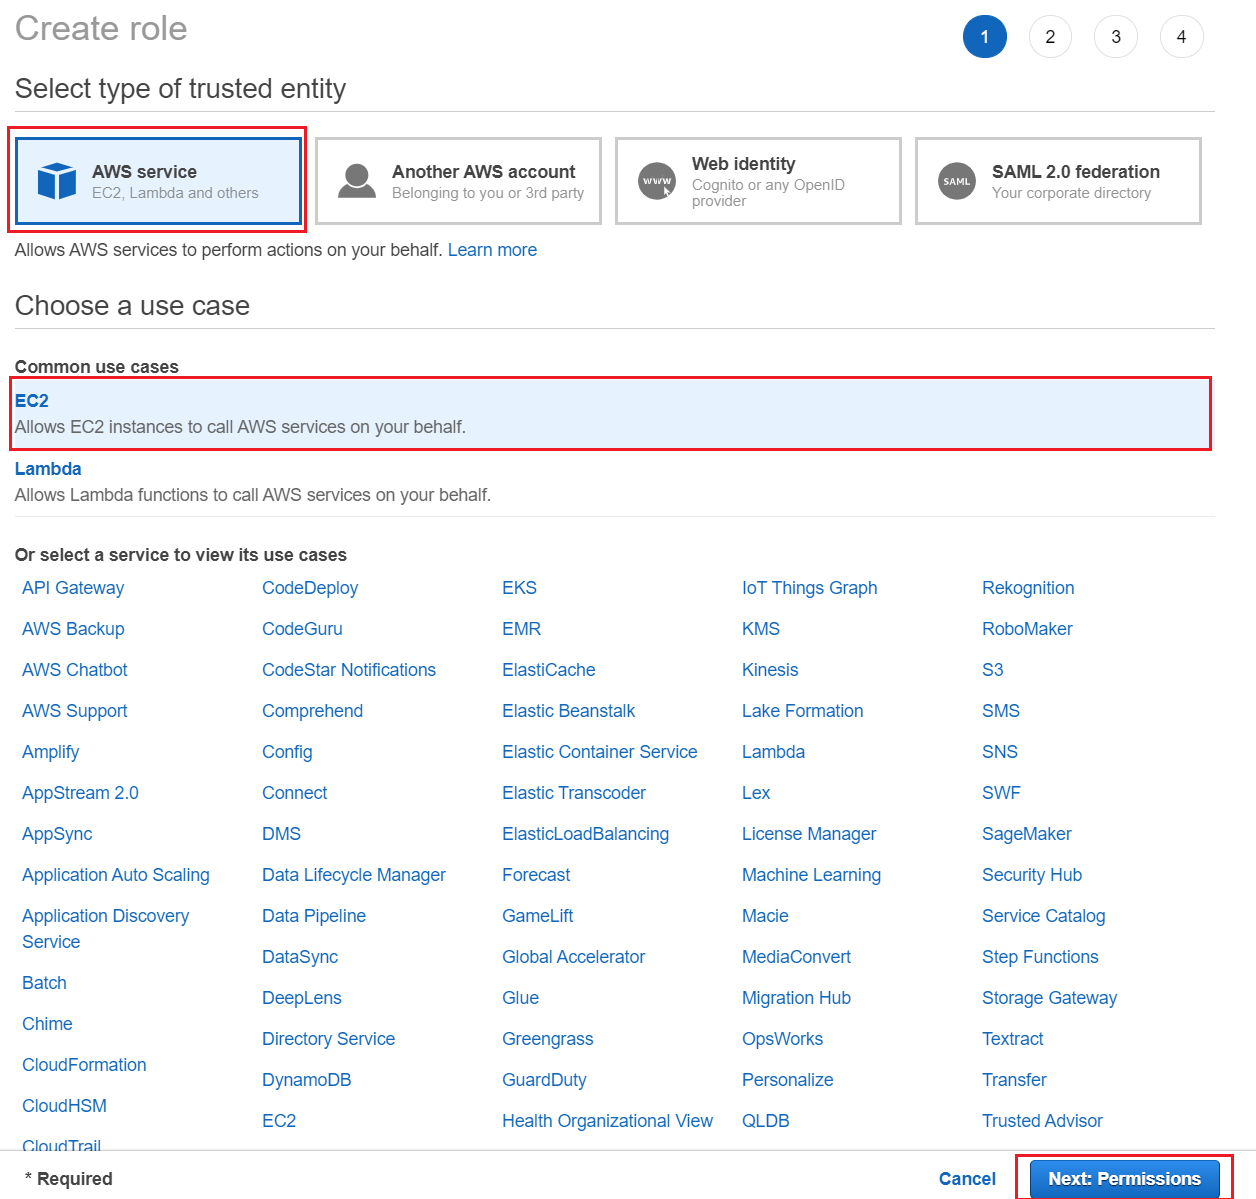
- Select AWS service as a trusted entity and choose EC2 under Or select a service to view its use cases and then select EC2 Role for AWS System Manager as shown in the screenshot below. Once you do that, click on Next: Permissions.
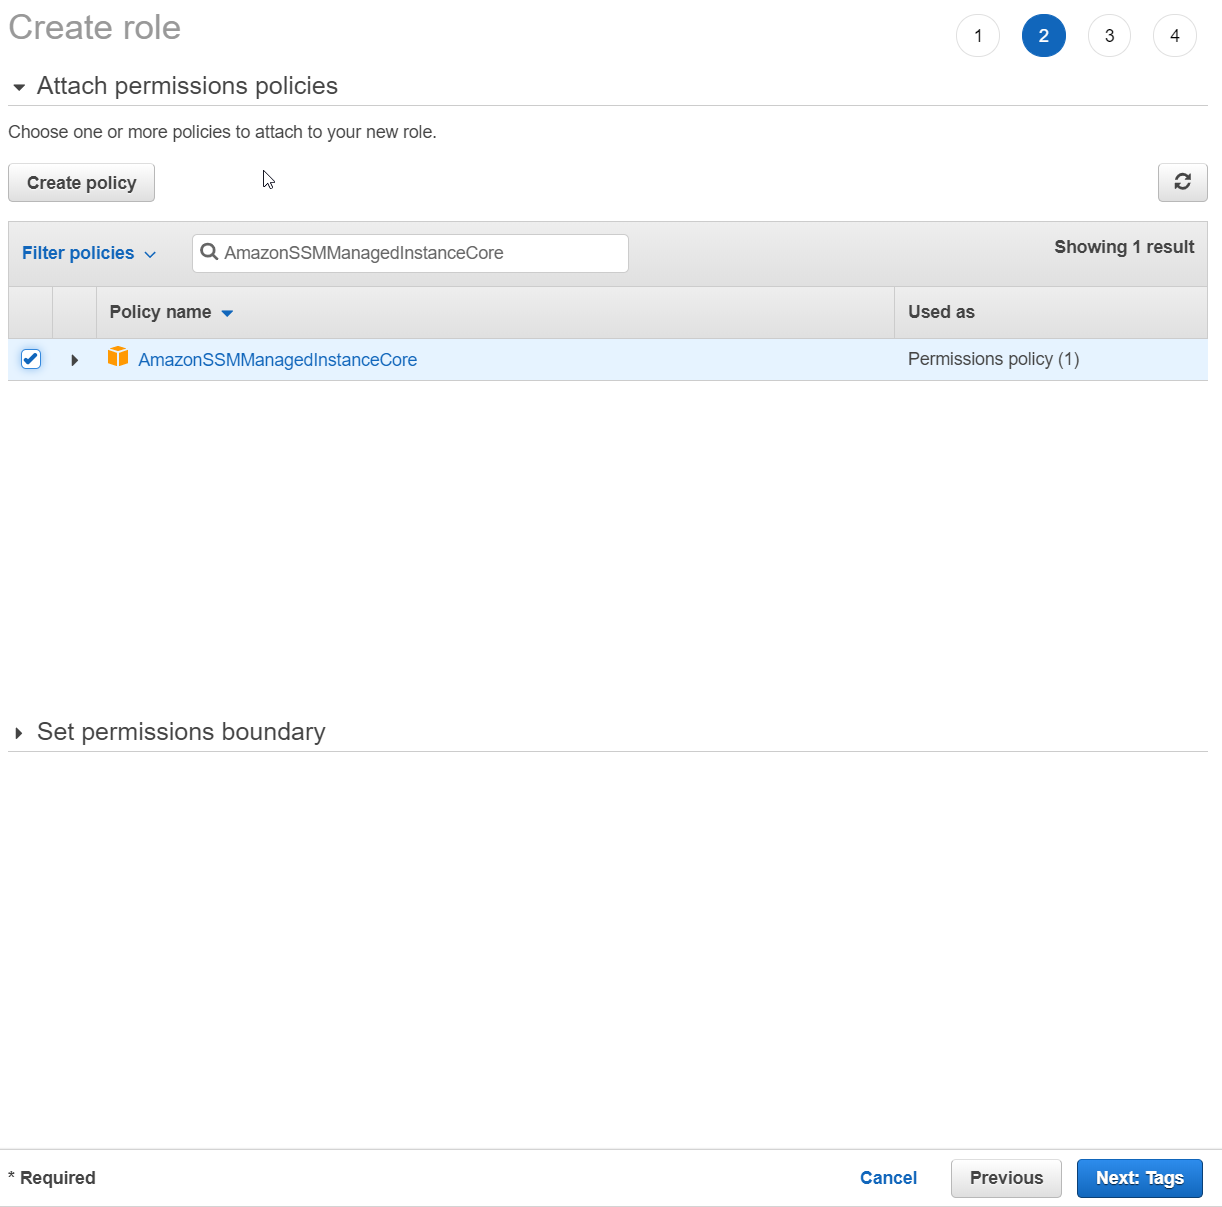
- Verify that role AmazonEC2RoleforSSM is listed and then click Next: Tags.
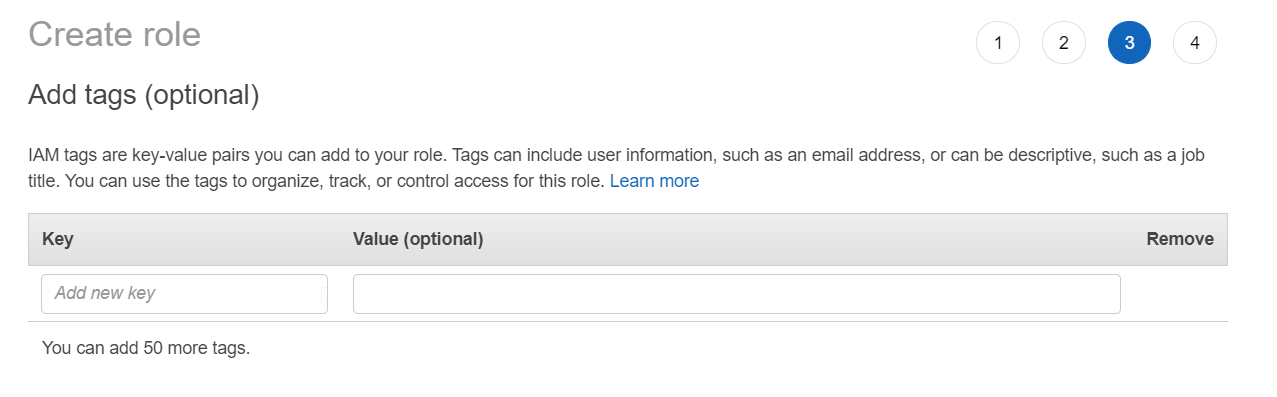
- Create key pairs to your role and then click on Next: Review. Tags can include user information, such as an email address, or can be descriptive, such as a job title. You can use the tags to organize, track, or control access for this role. As this is optional, we will skip it.
- Type the name for the new role and review the settings. If everything is fine, click on Create role. You will need to use this role. In our case, the new role is called

- Click on the role you have just created.
- Click on Add inline policy.
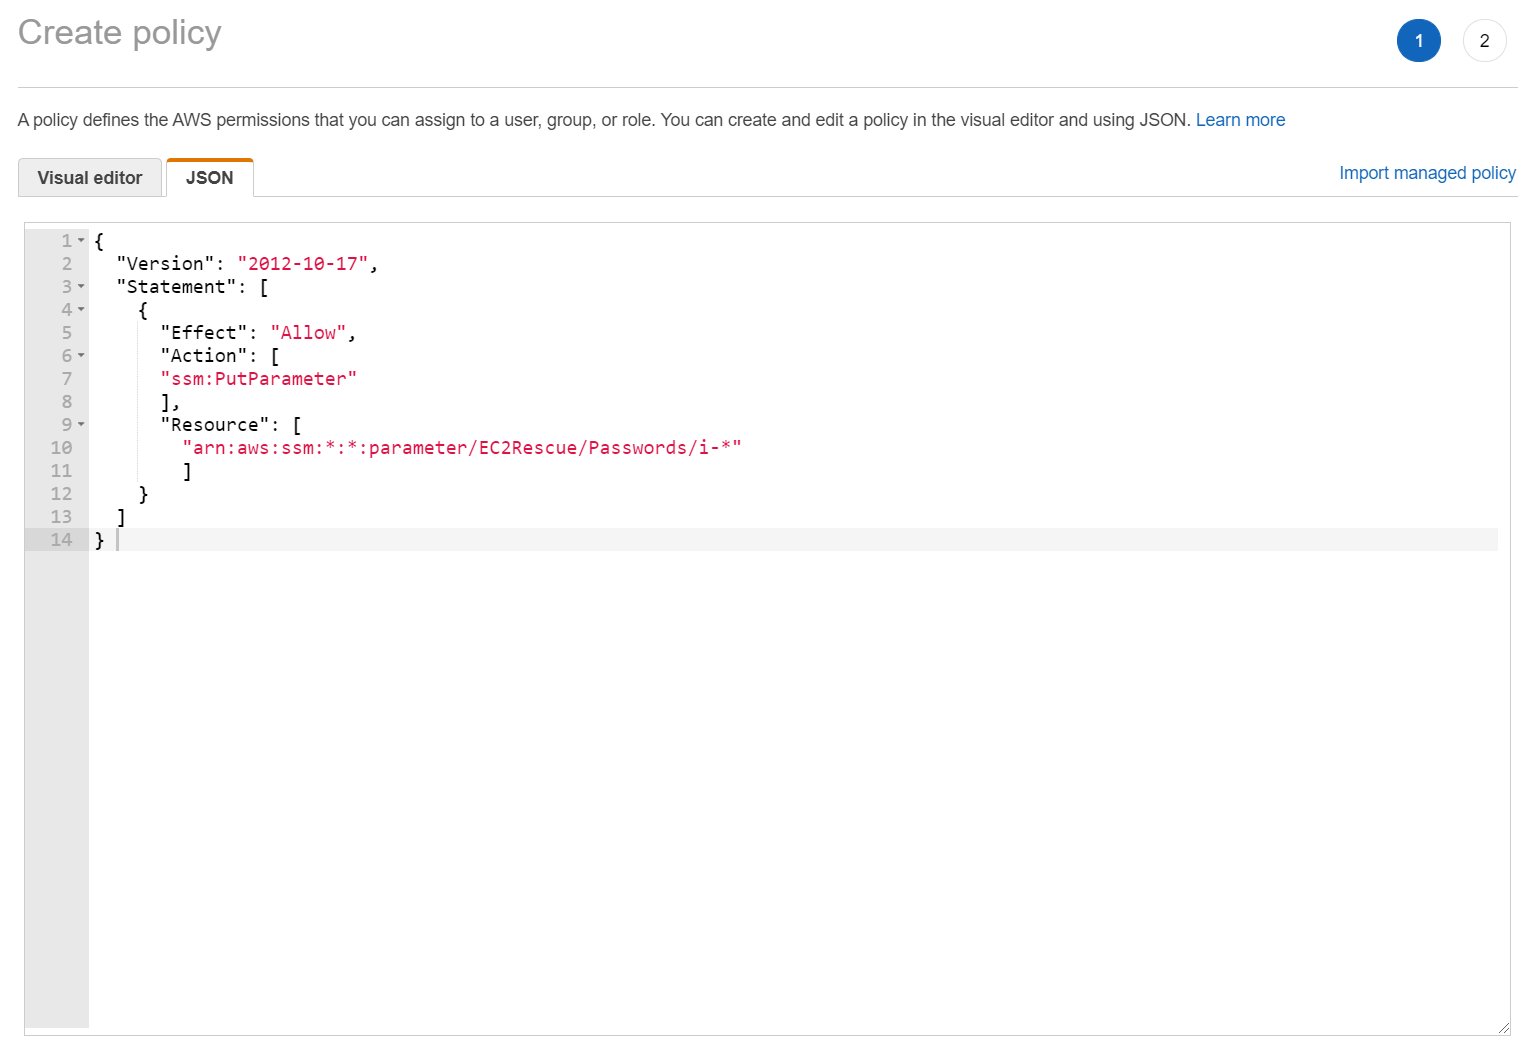
- Choose JSON
- Delete the existing code and type the following JSON code:
{

"Version": "2012-10-17",

"Statement": [

{

"Effect": "Allow",

"Action": [

"ssm:PutParameter"

],

"Resource": [

"arn:aws:ssm:*:*:parameter/EC2Rescue/Passwords/i-*"

]

}

]

} 
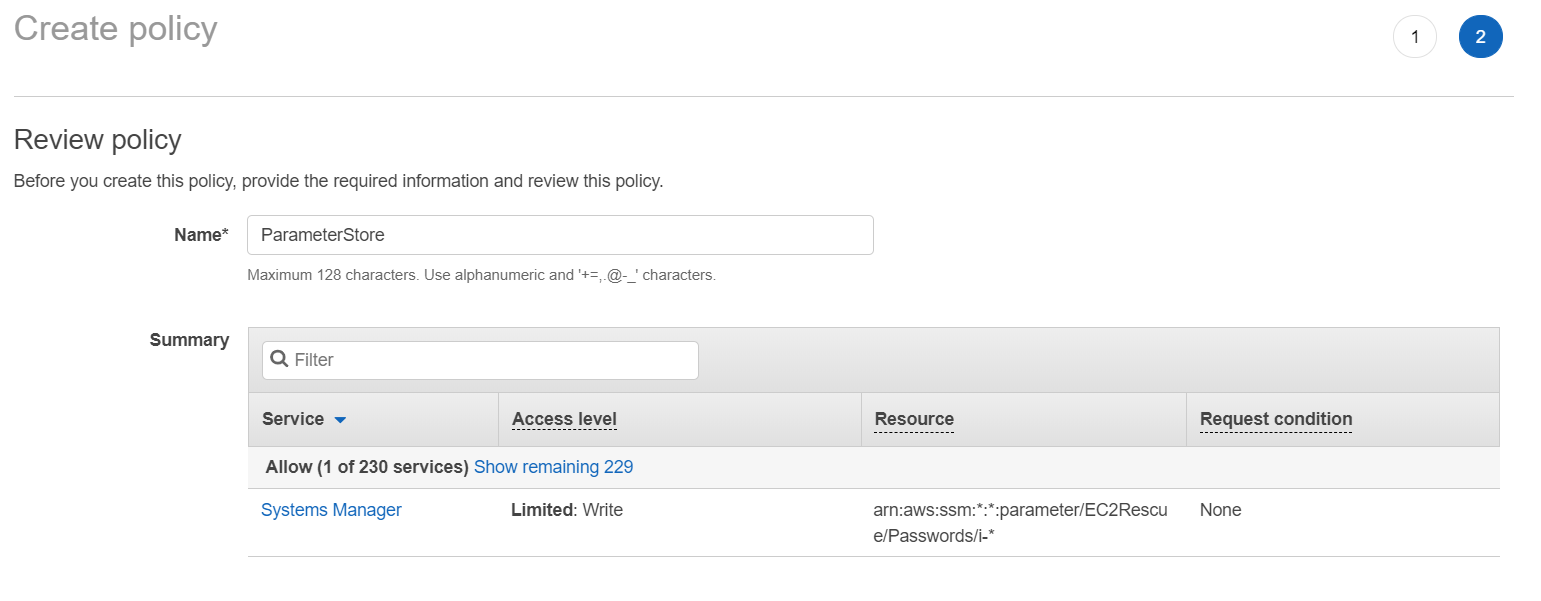
- Click on Review Policy
- Type the name of the policy and description and then click on Create Policy. In our case the name is ParameterStore.
Step 2: Attach IAM role to running instance
In the second step, we will assign the newly created IAM role to the existing Amazon EC2 instance where we want to reset the Windows password.
- In the main menu click on Services
- Under Compute click on EC2
- Click on Running instances
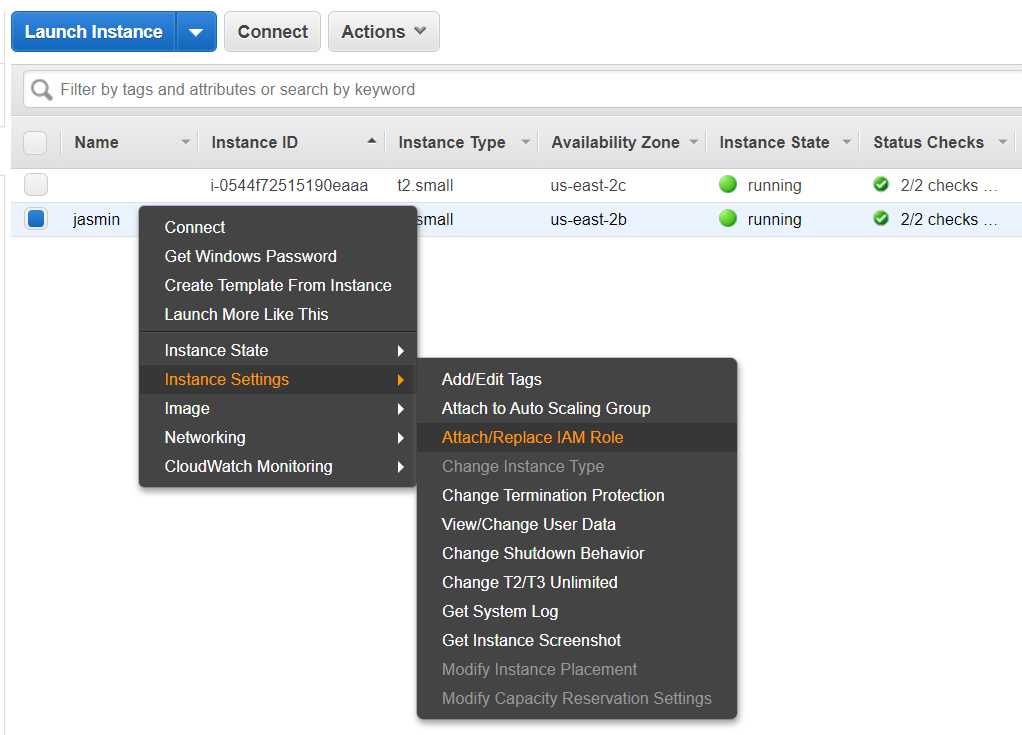
- Right click on running instance and then choose Instance Settings > Attach/Replace IAM Role
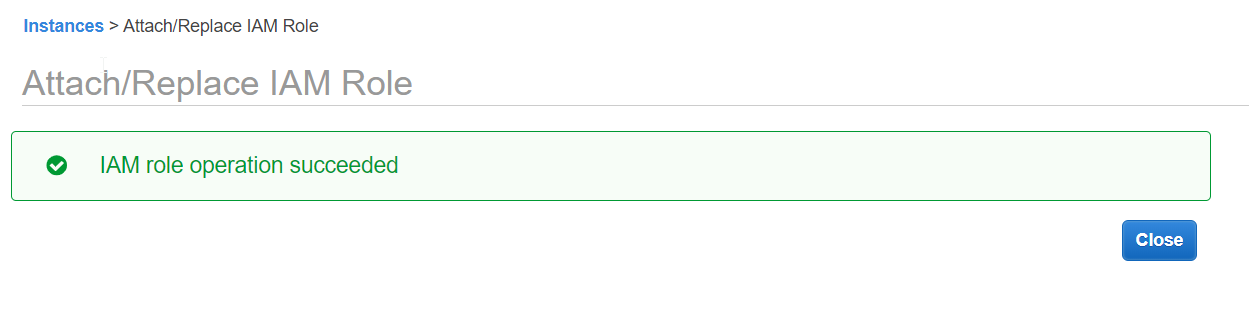
- Under Attach/Replace IAM Role choose an IAM role and click Apply. As you can see we choose IAM Role that we created in step 1: RoleforSSM.
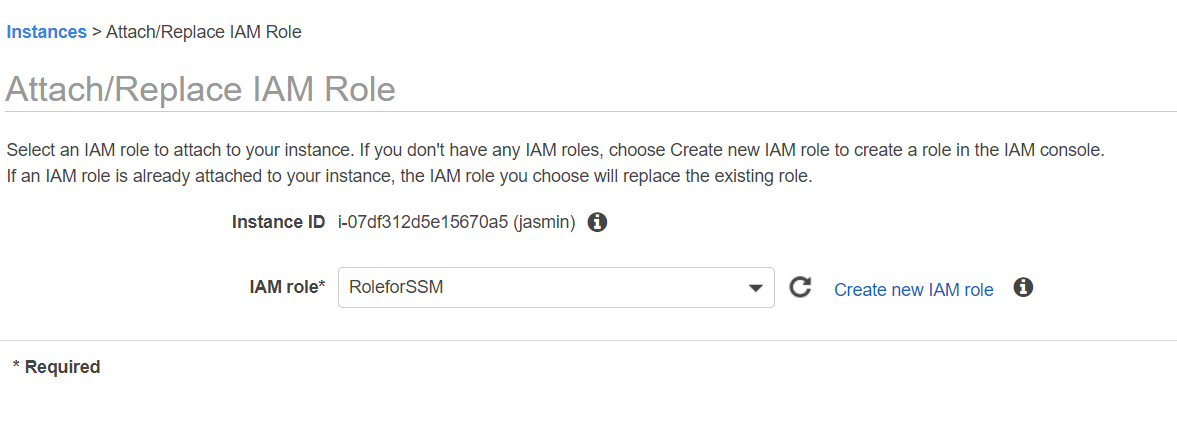
- You have successfully attached the IAM role to instance. Click on Close. This process can take up to 5 minutes, for instance, to register itself with the AWS System Manager service.
Step 3: Reset the password by using AWS System Manager
Once we have created an IAM role and assign it to Amazon EC2 instance, it is time to reset a password on the Windows machine by using AWS System Manager.
- Navigate to AWS System Manager by clicking on this link. It is required that you are logged in.
- Click on Get Started with System Manager
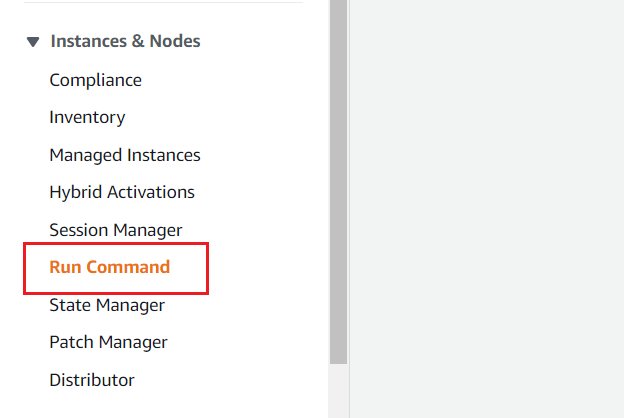
- Click on Run Command under Instances & Nodes in the navigation pane
- Click on Run a Command under Manage your instance at the right side of the window.
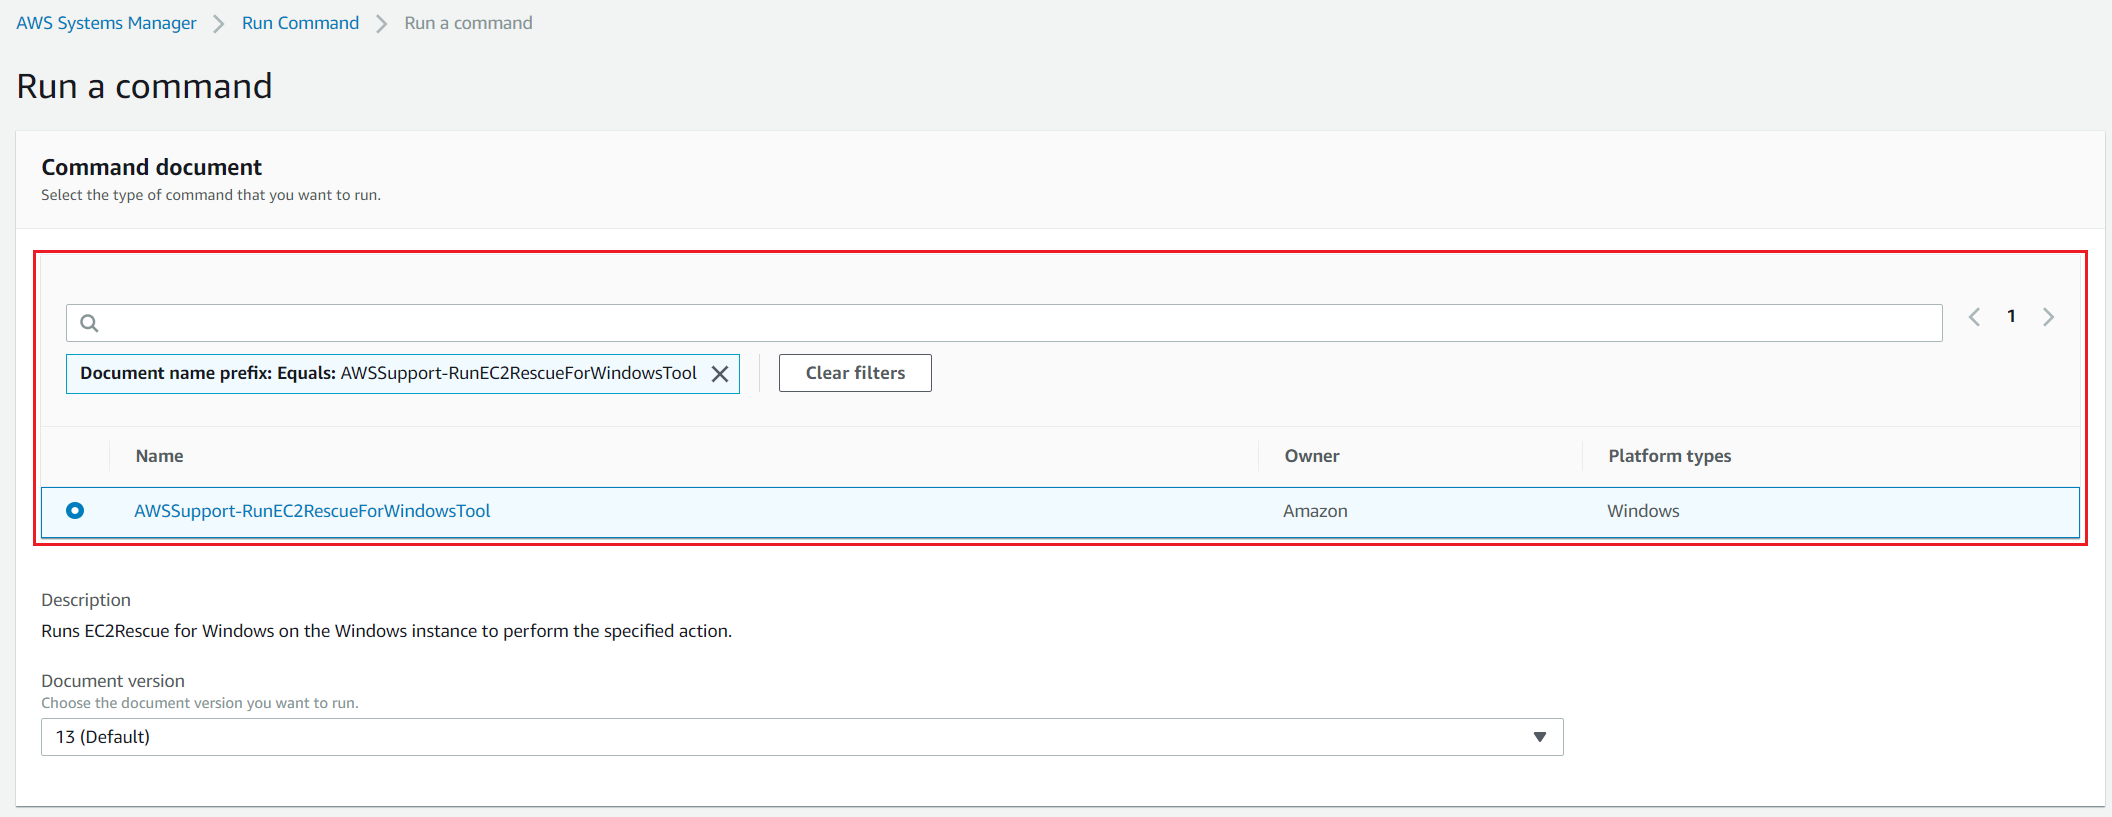
- Choose AWSSupport-RunEC2RescueForWindowsTool under Command document. You can type it in the search field and press Enter.
- Under Targets click on Choose instances manually and then select your instance.
- Click on Run at the bottom right side of the window
- Command was successfully sent as shown in the screenshot below. You can track the progress of the executed command under Status.
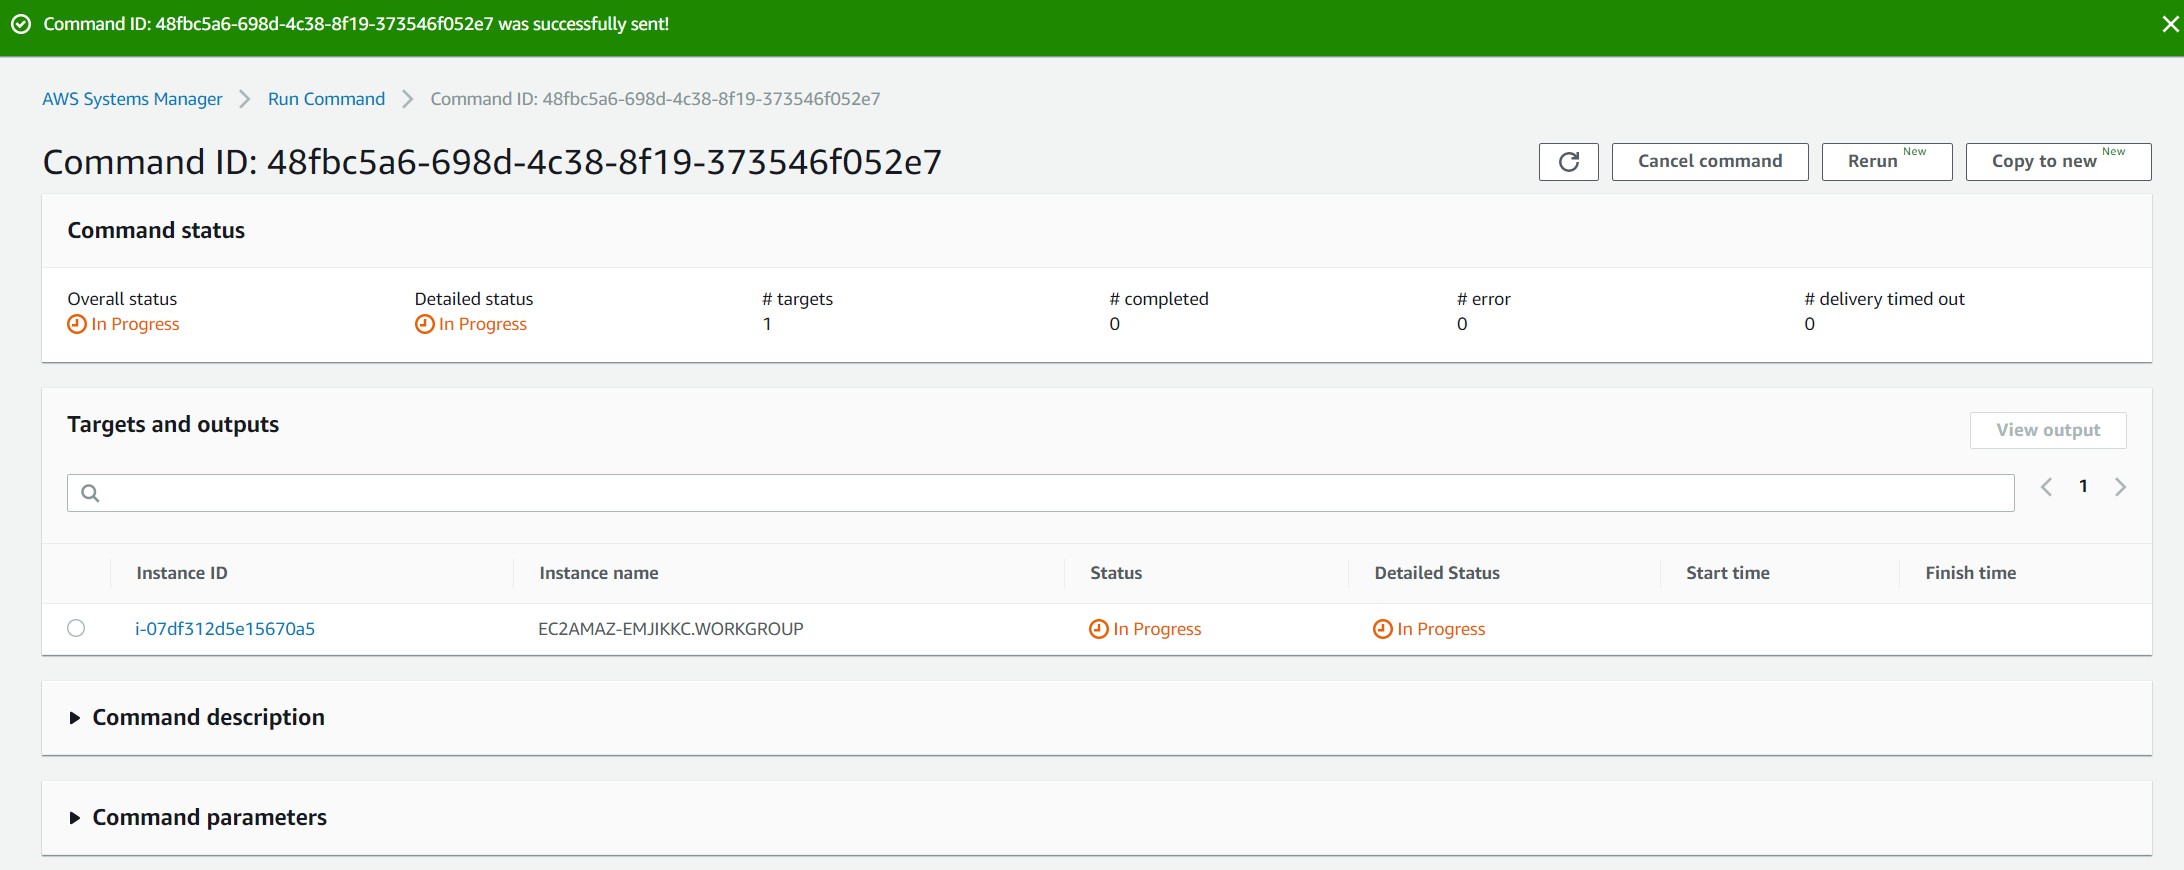
- Under Target and outputs select the instance and then click on View output. As you can see here, the command was executed successfully. Expand Step 2 – Output.
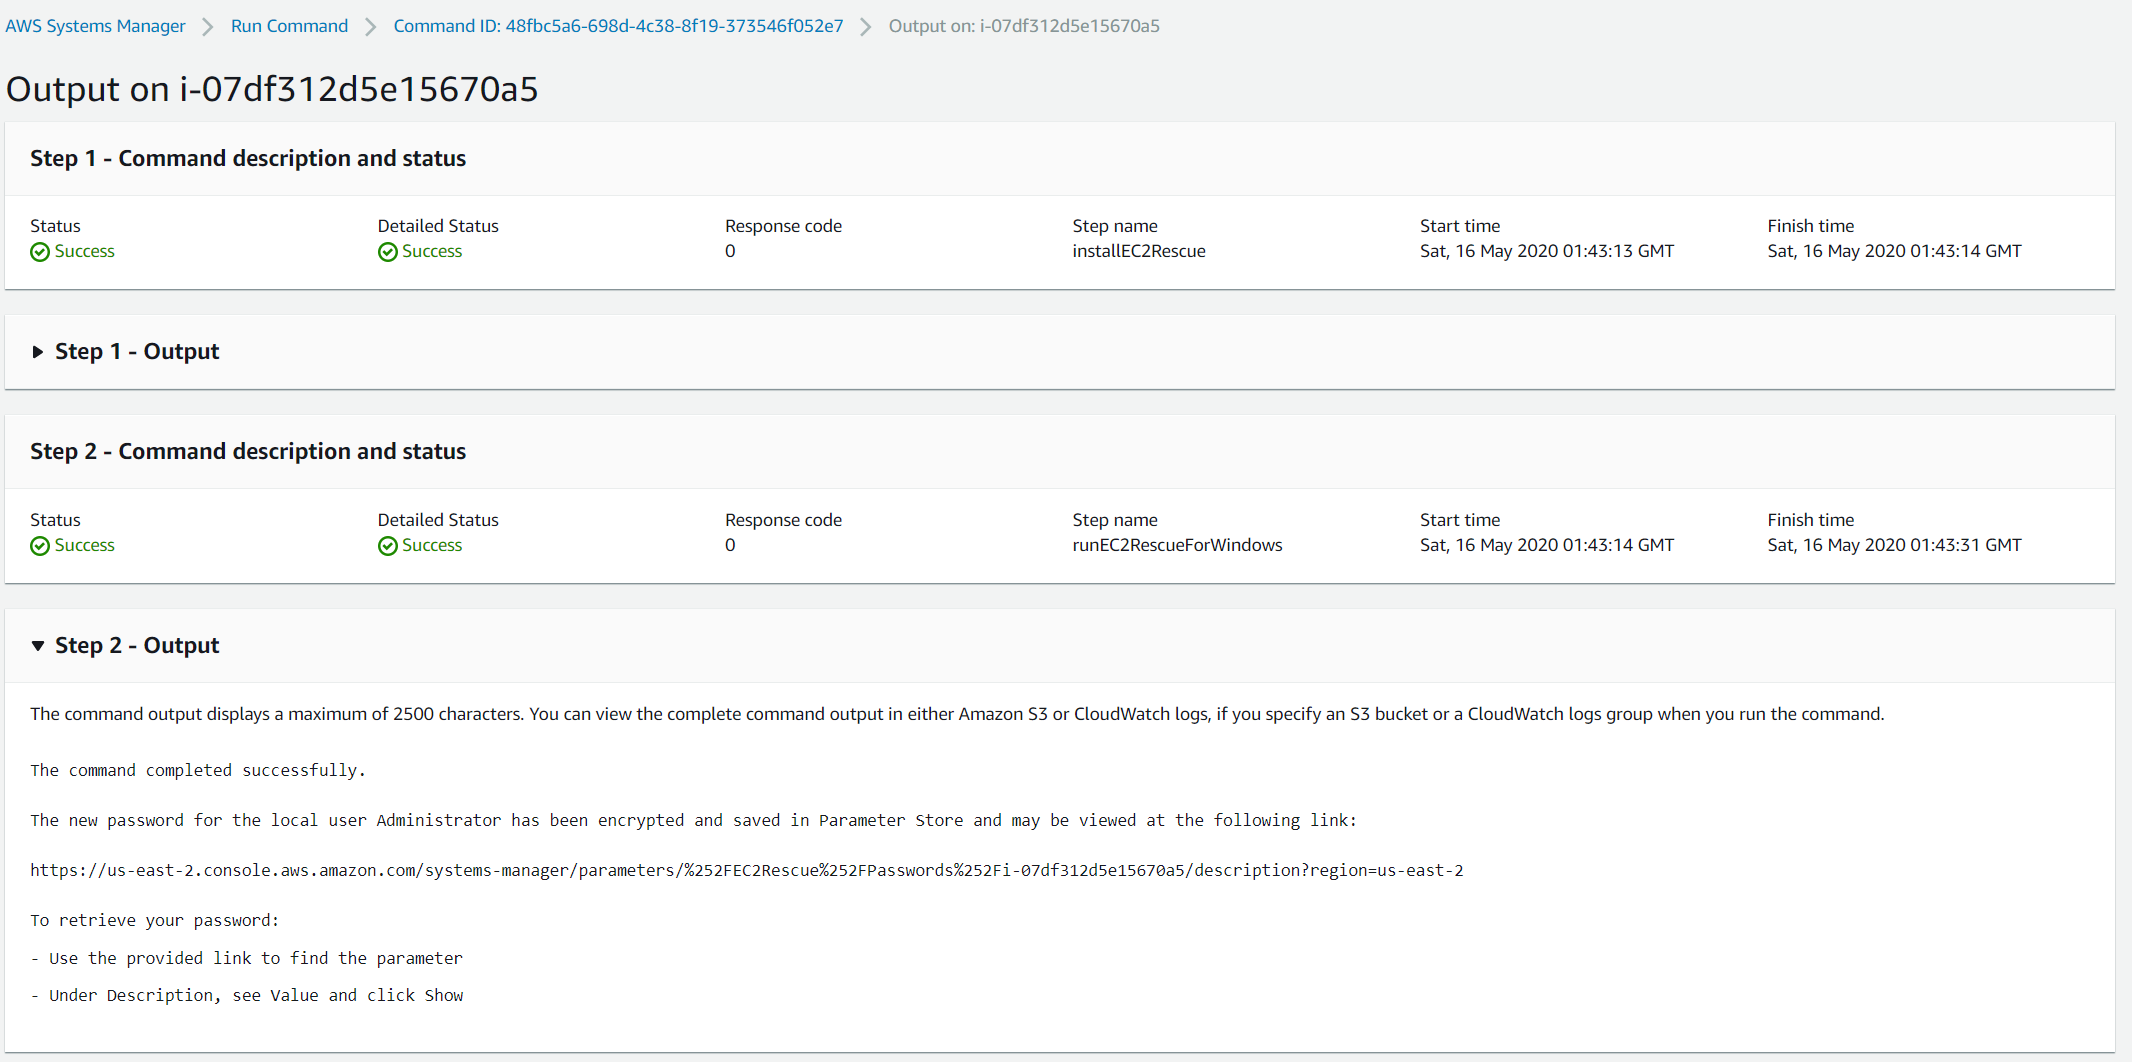
- Copy the URL mentioned in the output section and open it in a new tab.
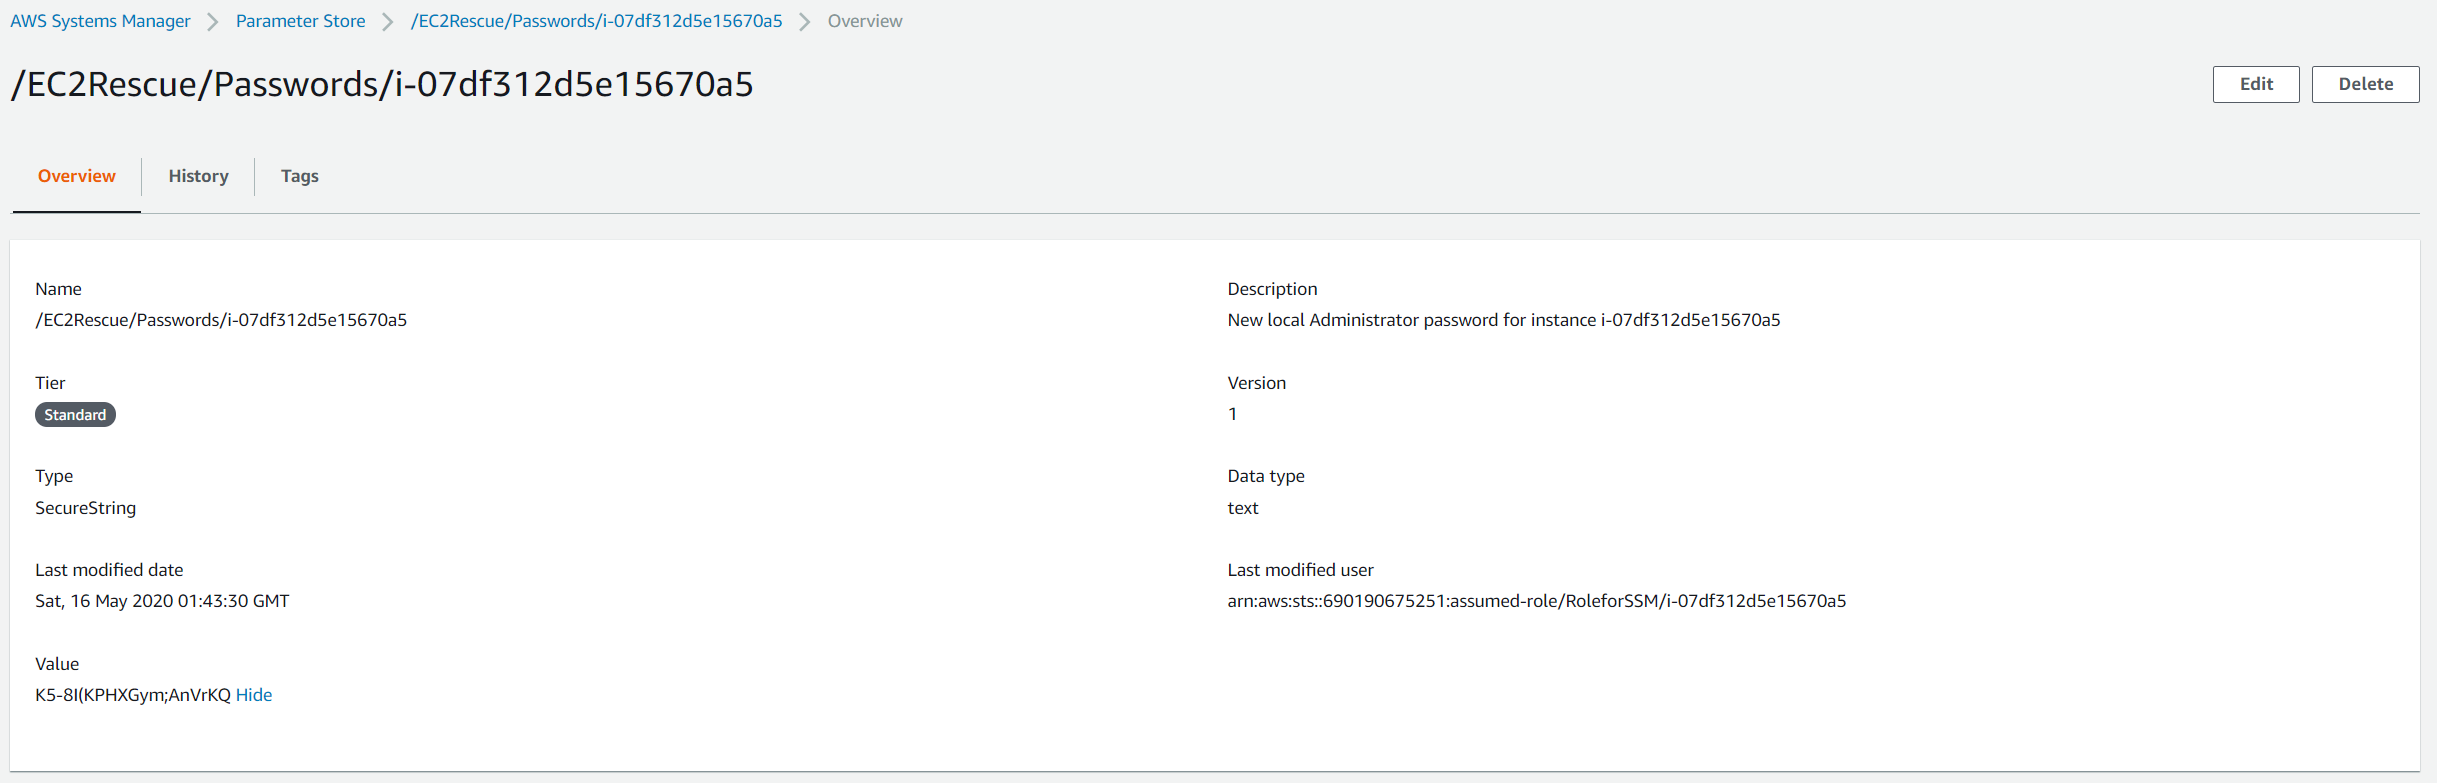
- Click on Show under Value to see the new password.
For security purposes, we do recommend you log into the Windows and change the password.