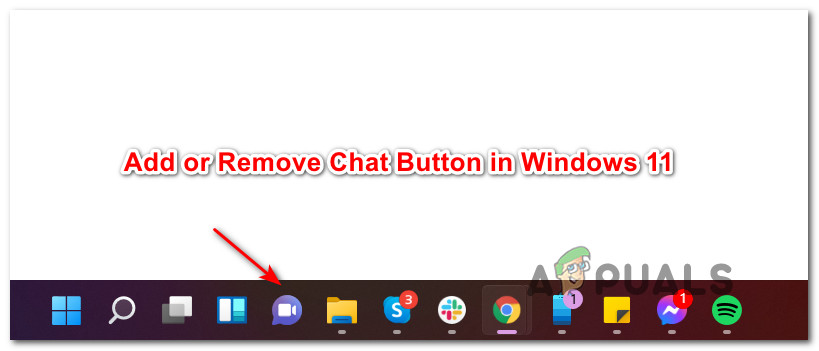
How to Remove Chat Button in Windows 11?
Starting with Windows 11 build 22000.100, Microsoft has started rolling out Chat from Microsoft Teams and added a new flyout shortcut directly in the taskbar. While this is a convenient addition for those of us that actually use Microsoft Teams, it’s very irrelevant for those that don’t.
Should you keep the Chat Button on Taskbar in Windows 11?
Well, this depends on whether or not you actually use Microsoft Teams or not. With this latest update, the desktop experience has been optimized so you can remain connected to the people that you care about via chat and video calls with a single click on your taskbar menu.
As of now, you can use the current Chat rollout to sign in, add contacts and connect to individual and group chats. This is subject to change as Microsoft adds and improves upon the current functionality.
How to Add or Remove the Chat Button on the Windows 11 Taskbar
Whether you’re keen on using the new Chat functionality or you can’t wait to get rid of it, we’ve put together a tutorial that will show you how to add or remove the Chat button on your Windows 11 taskbar.
As of now, we have managed to find five different ways of removing or adding the Chat button from that taskbar menu of Windows 11. We’ve created step-by-step instructions for every method, so feel free to follow the method that’s closed to your preferred way of using Windows 11:
- Remove the Chat icon directly from your Windows 11 Taskbar
- Add or Remove the Chat icon from your Windows 11 Taskbar via Settings
- Add or Remove the Chat icon from your Windows 11 Taskbar via Registry Editor
- Add or Remove the chat icon from your Windows 11 Taskbar via Local Group Policy Editor
- Remove the Chat icon from your Windows 11 for ALL users Taskbar using a REG file
IMPORTANT: You will NOT be able to add the Chat button to your Windows 11 taskbar if this functionality was not rolled out to you yet or you’re using a different language than English (US). At the time of writing this article, the Chat icon update was only rolled out for a subset of Insiders. If you’re not seeing it yet, ensure that you have installed every pending Windows Update.
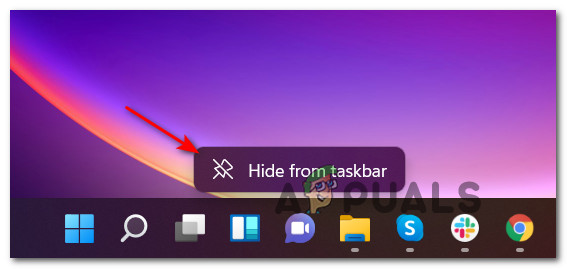
Remove the Chat icon directly from the Windows 11 taskbar
This is the simplest way of removing the new Chat icon from your taskbar menu. All you need to do is right-click on the Chat icon and choose Hide from Taskbar from the context menu that just appeared.
Important: This method will only allow you to remove the Chat icon, but you will not be able to add it back. If you previously removed the Chat icon and you’re looking to add it back up, move down to one of the other methods below.
Add or Remove the Chat icon from your Windows 11 Taskbar via Settings
- Press Windows key + I to open up the Settings menu on Windows 11.
- Next, select the Personalization tab from the left-hand side of the Settings screen.
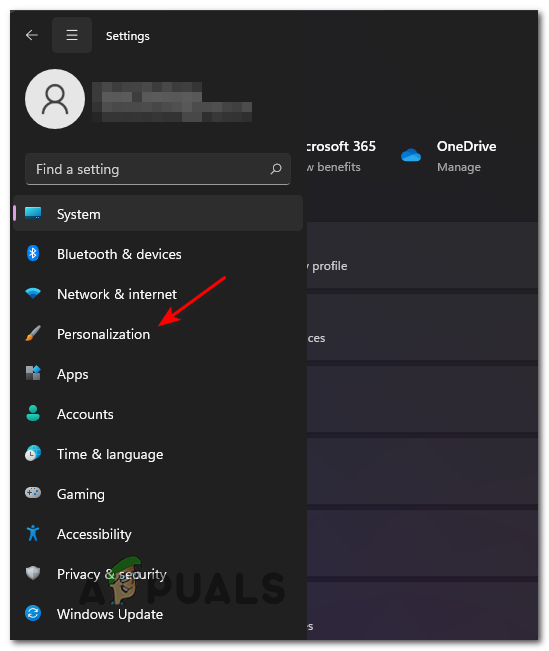
Accessing the Personalization prompt Note: If your Settings window is in small view, you’ll need to click on the action icon (top-left corner of the screen) to reveal the list of Settings tabs.
- With the Personalization tab selected, move over to the right-hand section of the screen and click on Taskbar entry to expand on the drop-down menu.
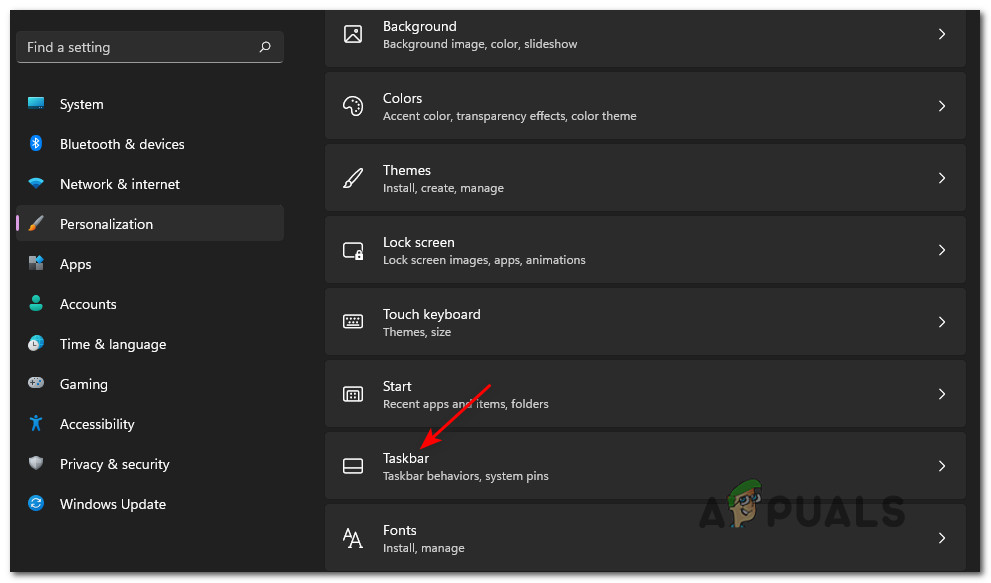
Open the Taskbar menu - Once you’re inside the dedicated Taskbar menu, look under Taskbar items and locate the Chat icon – Turn it On or Off depending on what you wish to accomplish.
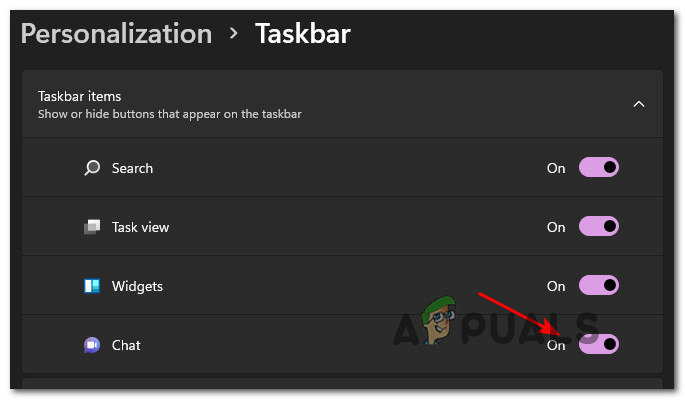
Adjusting the Chat icon - Once you interact with the Chat toggle, you should see the change immediately reflecting on your Taskbar (No need to restart your PC).
Add or Remove the Chat icon from your Windows 11 Taskbar via Registry Editor
- Press Windows key + R to open up a Run dialog box. Inside the Run dialog box, type ‘regedit’ and press Ctrl + Shift + Enter to open up an elevated instance of the Registry Editor.
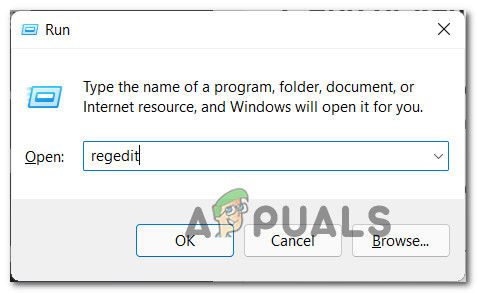
Open an elevated Registry window - When you see the User Account Control (UAC) prompt, click Yes to grant admin access.
- Once you’re inside the elevated Registry Editor, navigate to the following location:
HKEY_CURRENT_USER\Software\Microsoft\Windows\CurrentVersion\Explorer\Advanced
- After you arrive inside the correct location, ensure that the Advanced registry key is selected from the menu on the left, then find and double-click on the TaskbarMn value from the left-hand side pane.
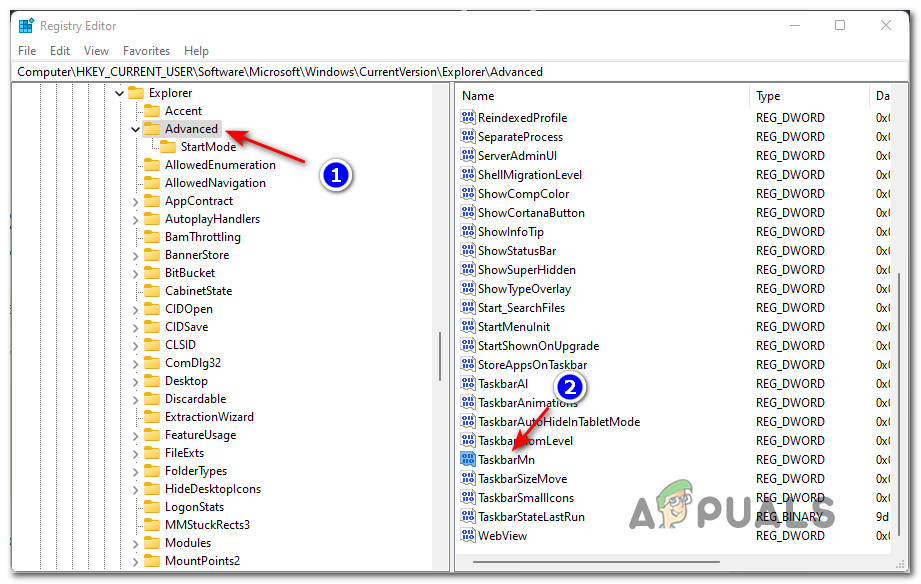
Accessing the TaskbarMn key Note: If you don’t find this registry value (TaskbarMn) it’s most likely because this functionality was not yet rolled out for you. In this case, ensure that you have the latest Windows Updates installed. If no WU update is pending, wait patiently until Microsoft rolls out the Chat functionality for your particular Insiders subset.
- Inside the Edit DWORD (32-bit) Value window associated with TaskbarMn, set the Base to Hexadecimal, then set the Value to one of the following depending on what you’re wishing to achieve:
0 = Remove the Chat icon from your Taskbar
1 - Add the Chat icon on your Taskbar
- Close the elevated Registry Editor window, then restart your Windows 11 computer to allow the changes to be enforced.
Add or Remove the chat icon from your Windows 11 Taskbar via Local Group Policy Editor
IMPORTANT: You need to be signed in with an administrator account to be able to enforce this particular method. Additionally, the Local Group Policy Editor is ONLY available for certain Windows 11 versions – PRO, Enterprise, and Education. If you have the Home version, you won’t be able to use this method.
- Hit Windows key + R to open up a Run dialog box. Next, type ‘gpedit.msc’ inside the text box and press Enter to open up the Local Group Policy Editor.
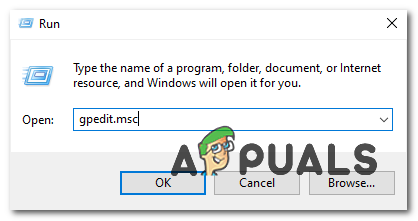
Opening the Gpedit utility - At the User Account Control prompt, click Yes to allow the utility to open with admin access.
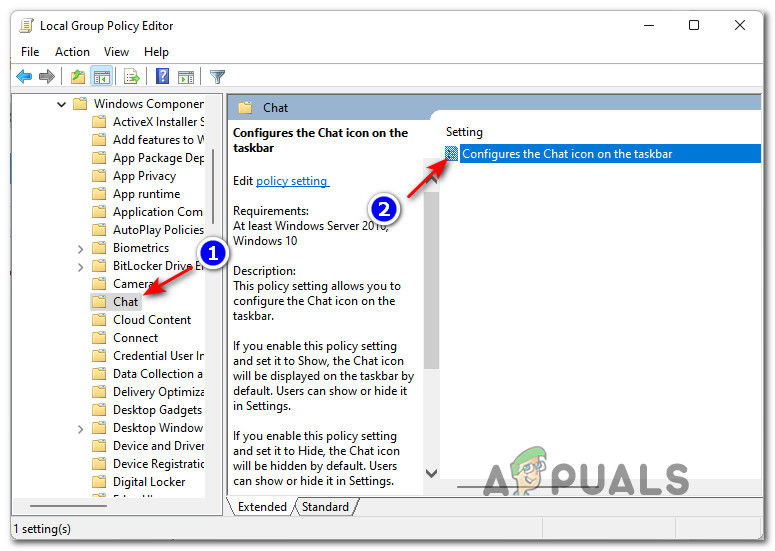
- Once you’re inside the Local Group Policy Editor, use the left-hand pane to navigate to the following location:
Computer Configuration\Administrative Templates\Windows Components\Chat
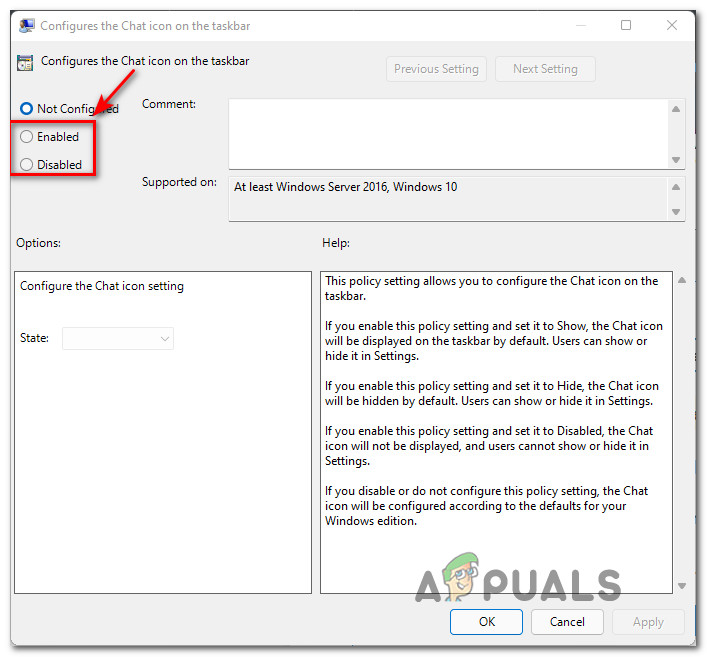
- Once you arrive in the correct location, move over to the right-hand column and double-click on Configures the Chat icon on the taskbar policy to edit it.
Modifying the Chat policy via GPedit - Next, set the main toggle of this policy to Enabled if you want the Chat icon to be displayed, or set it to Disabled if you want the icon gone from your taskbar.
Enabling or Disabling the policy - Once the policy has been changed, you can safely close the Local Group Policy Editor. To force the changes to take effect, you can either restart the main explorer.exe process or you can reboot your computer normally.
Remove the Chat icon from your Windows 11 for ALL users Taskbar using a REG file
Note: This method will allow you to Enable or Disable the Chat icon for every Windows account that is currently using your computer. This is ideal if you want to establish a rule that will also be applied to new Windows users that will be created in the future.
- Press Windows key + R to open up a Run dialog box. Next, type ‘regedit’ inside the text box and press Ctrl + Shift + Enter to open up the Registry Editor with admin access. When you’re prompted by the User Account Control, click Yes to grant admin access.
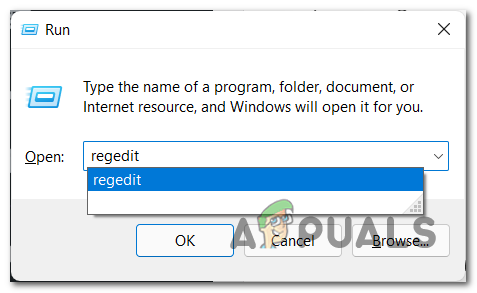
Opening Regedit on Windows 11 - Once you’re inside an elevated Registry Editor window, navigate to the following location using the navigation menu on the left:
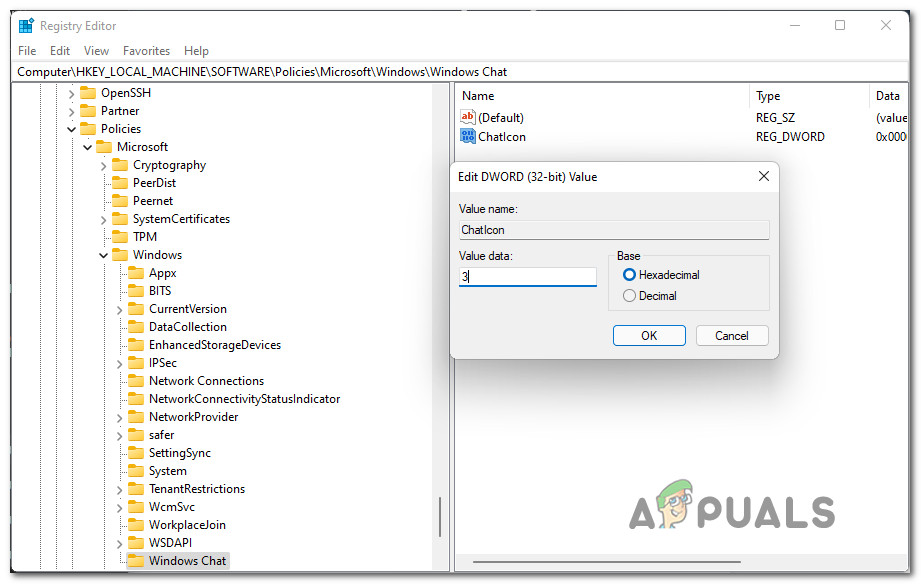
HKEY_LOCAL_MACHINE\SOFTWARE\Policies\Microsoft\Windows\
Note: You can either navigate the manually by double-clicking on every directory manually using the menu on the left or you can paste the full path directly into the navigation bar at the top and press Enter to get there instantly.
- Once you arrive at the correct location, right-click on the Windows key and choose New > Key from the context menu that just appeared.
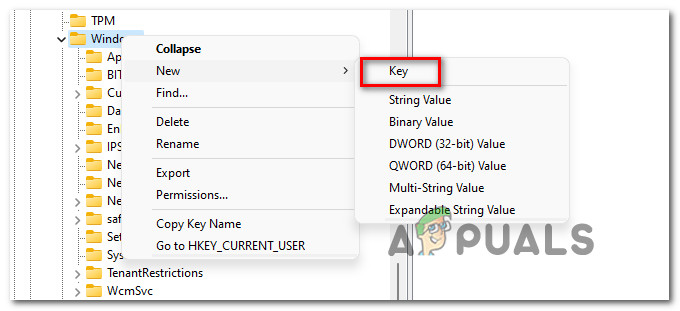
Creating a new key inside Registry Editor - Next, name the newly created registry key to Windows Chat and hit Enter to save the changes.
- Once the Windows Chat registry key is successfully created, move over to the right-hand section, right-click on an empty space and choose New > DWORD (32-bit) Value.
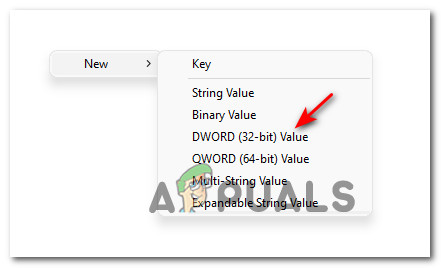
Creating a new DWORD - Next, rename the newly create DWORD to ChatIcon and double-click on it to configure it.
- Finally, set the Base of ChatIcon to Hexadecimal, then adjust the value to 3 to remove the Chat icon from the Taskbar menu of Windows 11.
Disable ChatIcon from Registry Editor - Once the modifications have been made, enforce them by closing the Registry Editor and restarting your computer. You should notice the Chat icon disappearing from your taskbar as your computer restarts.
How to use Chat on Windows 11?
When you want to reach out to someone via the Chat app, you can simply click on the Chat icon from your taskbar or you can press Windows key + C if you already removed it from your taskbar.
Note: If it’s the first time you’re opening the Chat app, you’ll need to click on Continue.
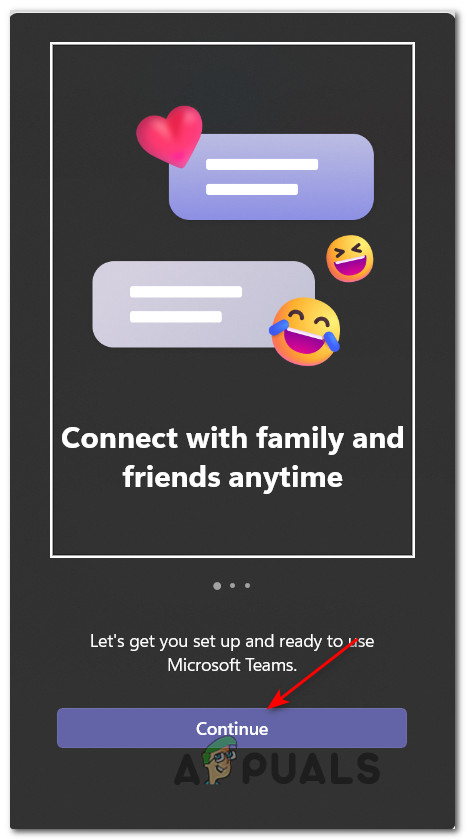
After you click Continue, wait until the app configures itself for the first time. Once the initialization is over, click on Get started, then choose the Teams to account that you want to connect and insert your user credentials if you’re asked for them. As soon as you log in successfully, you will be able to use every feature currently available for the Chat app.


Whoops! Might want to check that description one more time for disabling it in group policy. Setting it to “ENABLED” followed by choosing “HIDE” or “DISABLE” is required. Setting the entire policy to “DISABLED” wont make the icon go away.