How to Create Reaction Roles for Discord Using Carl-Bot
 Reviewed by Huzaifa Haroon
If you’ve recently made a Discord server to group all your gaming buddies or your friends in one place, you’ll need to set up proper roles that can determine the level of access for an individual member.
Nowadays, in large Discord servers, they usually use reaction roles to assign roles to new members automatically. Similarly, we’ll be teaching you about reaction roles and how you can set them up with the Carl-bot.
Table of Contents:
What is Carl-bot?
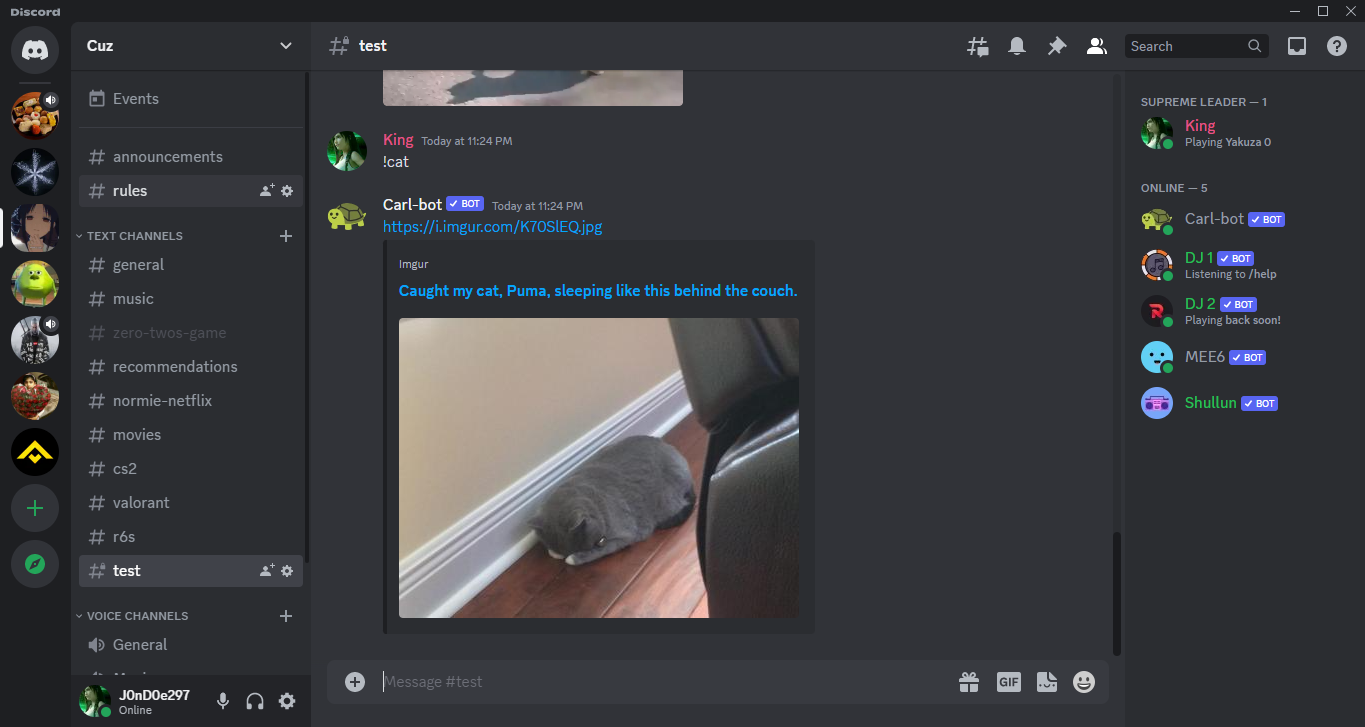
Carl-bot is a popular bot that sports a host of features such as posting casual memes and photos, reaction roles, logging, permission management, welcome messages and custom commands. Carl-bot’s ability to automate functions that a moderator or a server owner has to perform constantly, makes it a very popular and essential bot for many servers.
Carl-bot allows for a more pleasant experience on the server as the owner and moderators do not have to perform tiresome processes for each member, for instance, assigning roles, warning a member for violating the rules, etc. You can also use its logging feature to keep a record of a member’s violations.
Read More: How to Make a Poll in Discord (with or without a bot)
What are Reaction Roles on Discord?
Reaction roles on Discord refer to messages that have interactive emoji reactions. These emojis are usually present in the form of options. When a member of a Discord server chooses a certain emoji, a role will be assigned to that member automatically.
For example, in a gaming server, roles can be created for which games you play e.g. CS2, Valorant, Apex Legends, etc. Similarly, you can create roles for a specific function e.g. DJ to control your music bots, Casual for those just looking to chat, etc.
How to Use Carl-bot
In this section, we’ll be exploring how you can set up Carl-bot for your server and use its features to enhance your server.
Step 1: Inviting Carl-bot to your server
In order to set up Carl-bot on your server, you’ll need to add him first.
- First off, invite Carl-bot to your server. Click on the Log in with Discord button on the Carl-bot website.
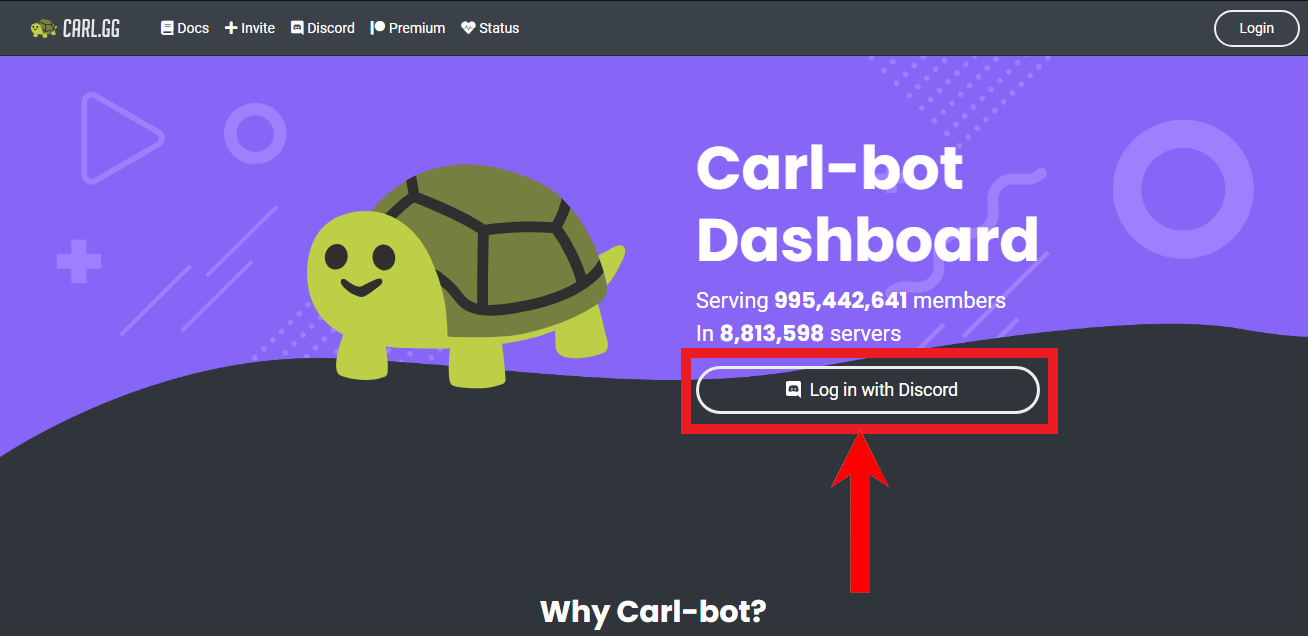
Click on “Log in with Discord” - Next, you’ll need to login to your Discord account. Enter your account credentials and click on “Log In”. Alternatively, you can scan the QR code on the right with your Discord mobile app to lo in instantly.
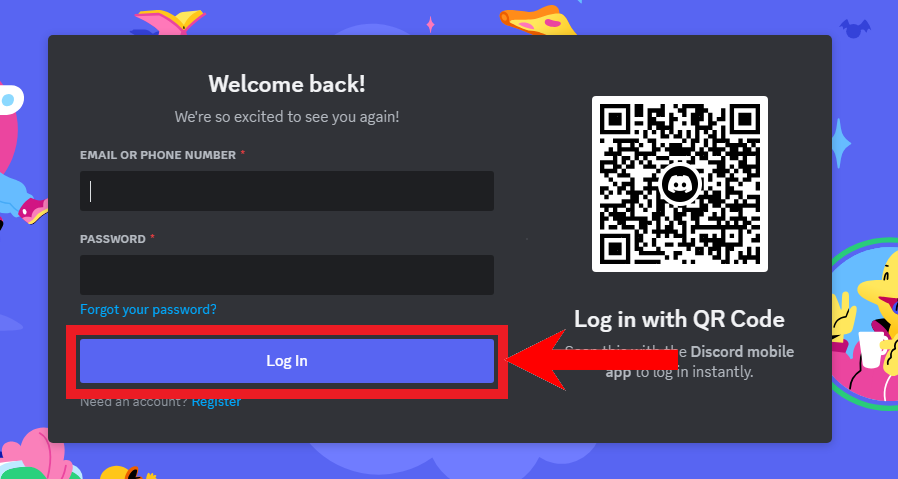
Enter your credentials and click on “Log In”, or scan the QR code - Once you’ve logged in, Carl-bot will ask for authorization for you account. Click on Authorize.
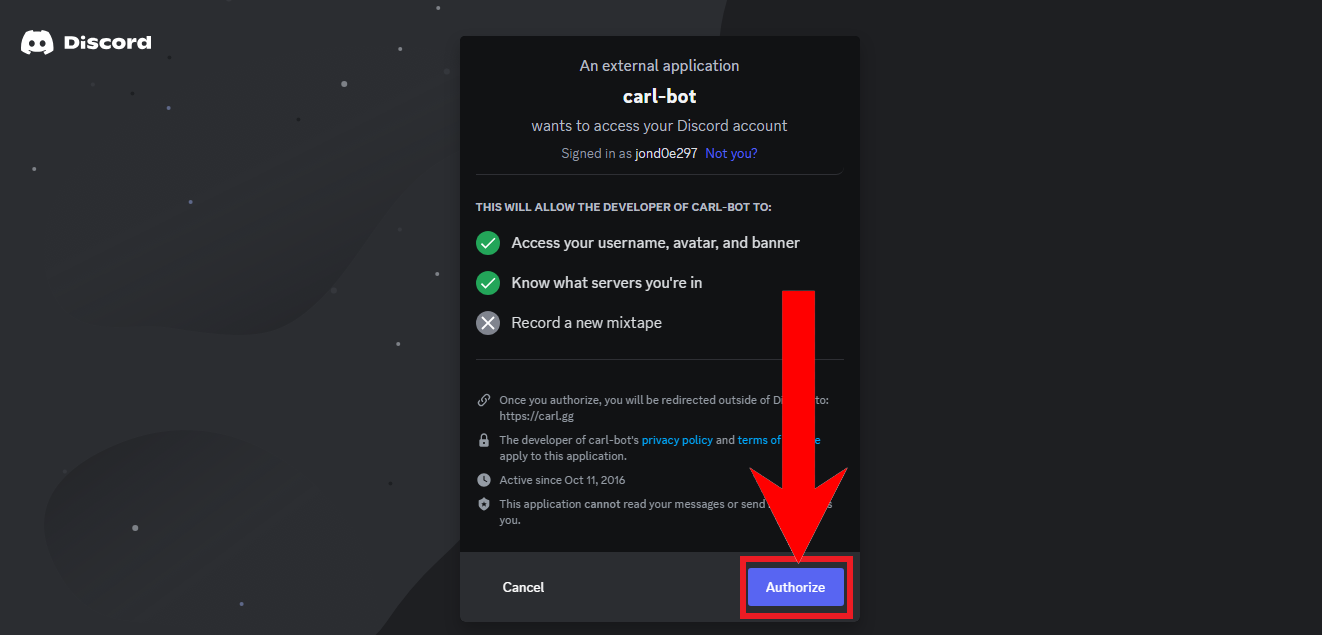
Click on “Authorize” - Then, you’ll be required to select the server you want to invite Carl-bot to. Click on the server image where you want to invite Carl-bot.
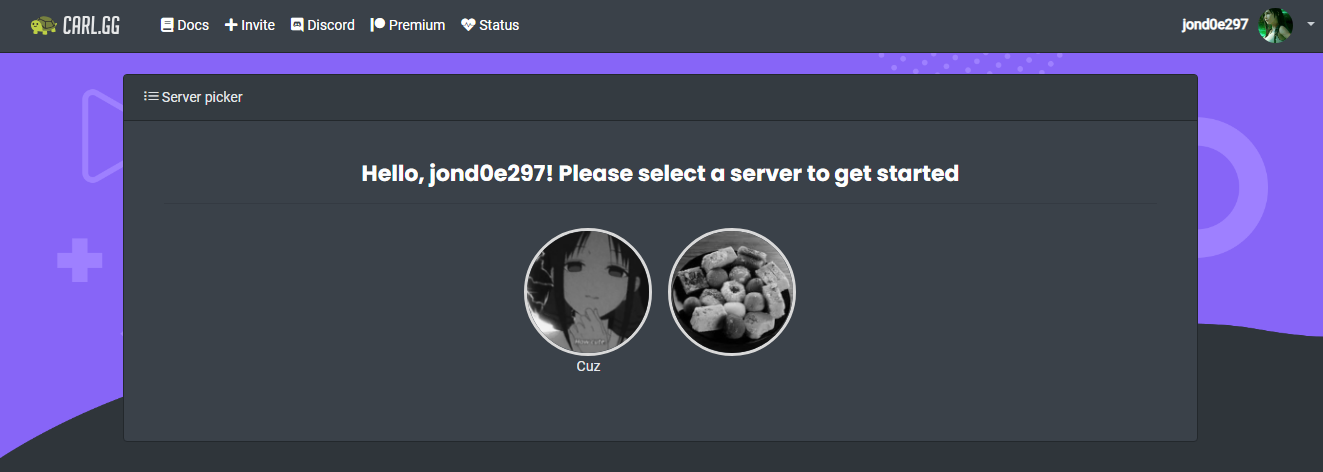
Click on the server image to select it - After that, you’ll have to authorize Carl-bot’s access to your account. Click on Continue.
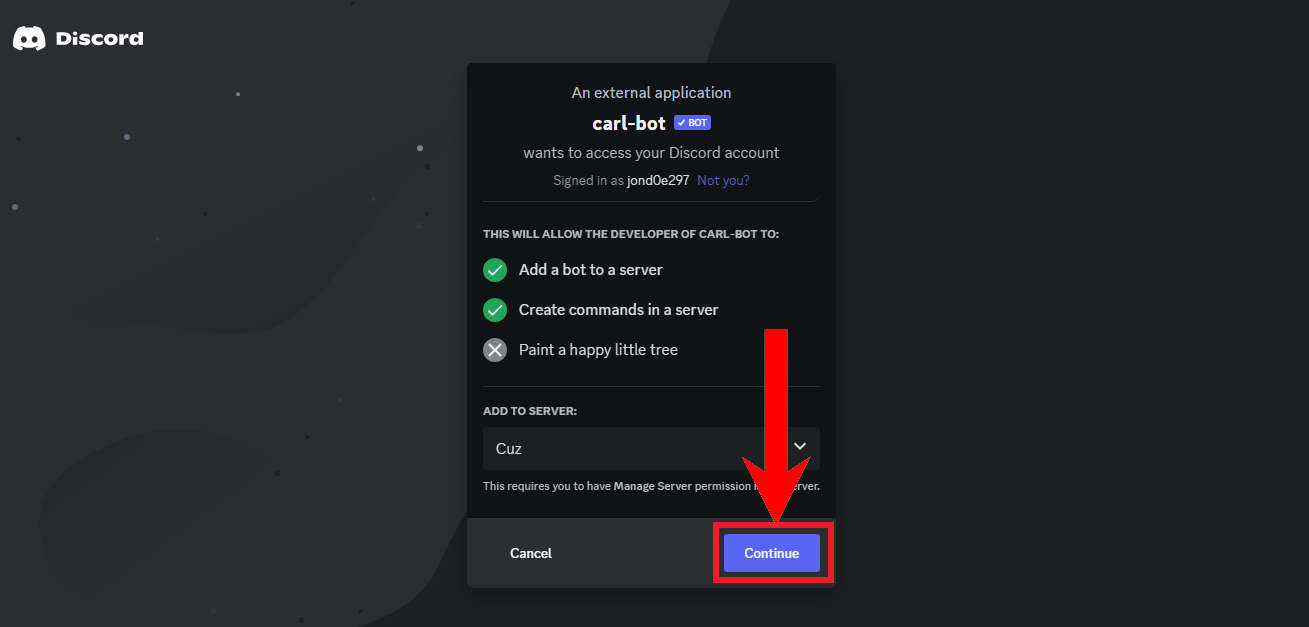
Click on “Continue” - Next, you’ll have to grant permissions to Carl-bot for modifying the server. This is quite a long list ,so scroll down and click Authorize.
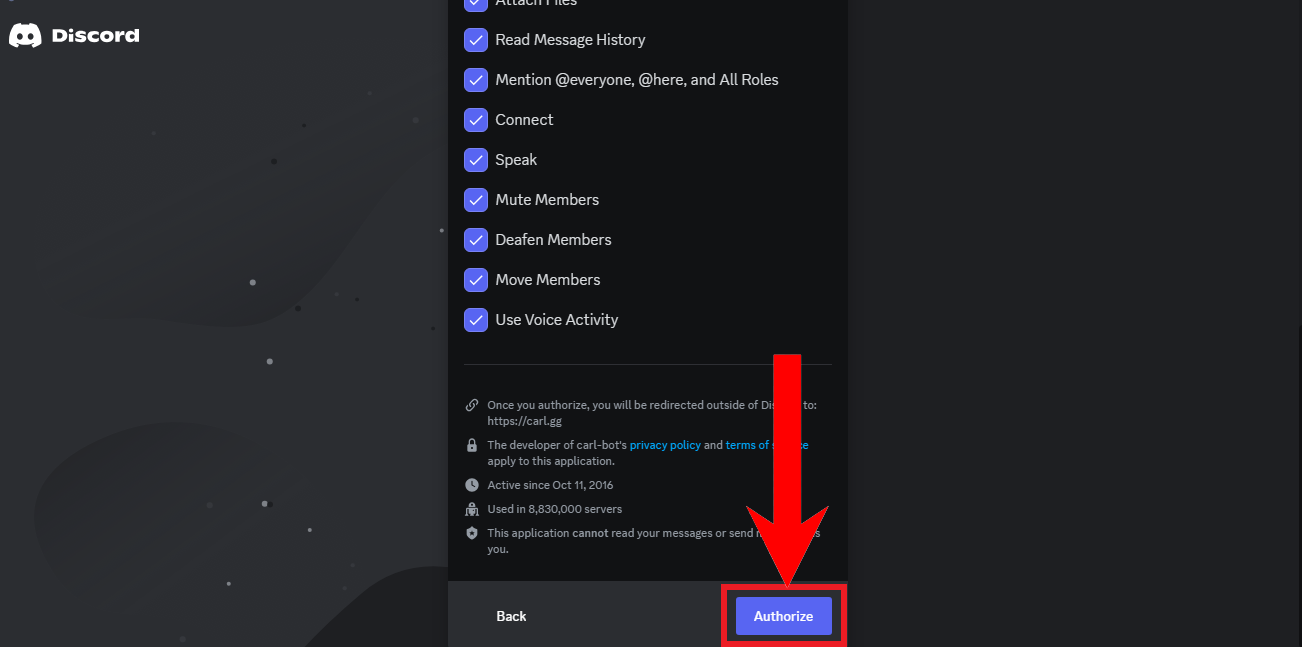
Scroll down and click on “Authorize” - Lastly, complete the captcha verification that pops up.
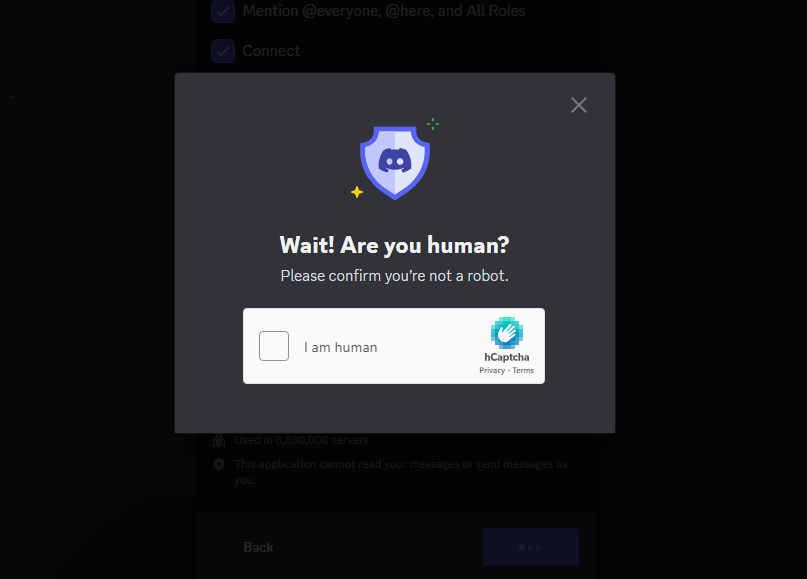
Complete the captcha verification - Carl-bot will now be a part of the server you’ve chosen.
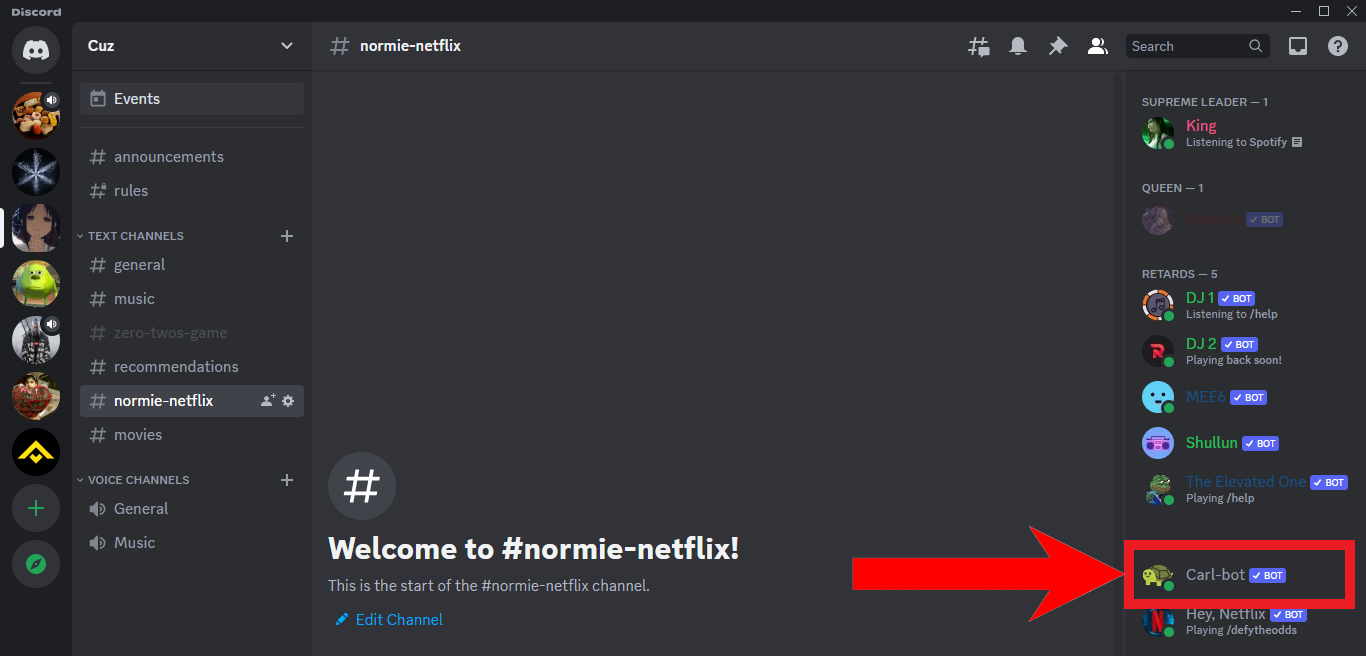
You can see Carl-bot in the list of members
The Carl-bot website can now be used to modify Carl-bot’s advanced settings, so if you want to get the most out of Carl-bot, be sure to check it out.
Step 2: Creating Roles
In order to set up reaction roles, you must have a plethora of roles that you can assign to users. To create and modify roles on Discord, follow the instructions below:
- On Discord, open up the server you own from the sidebar.
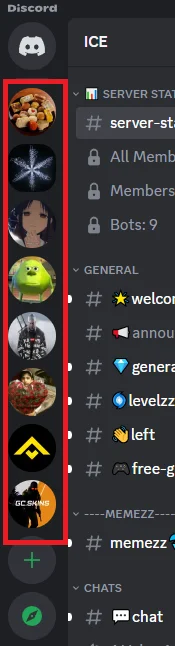
Select the server you own from here -
On the server, click on the drop-down present near the server name. 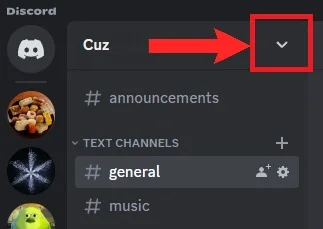
Click on the server name or the drop-down arrow - Next, select Server Settings from the drop-down.
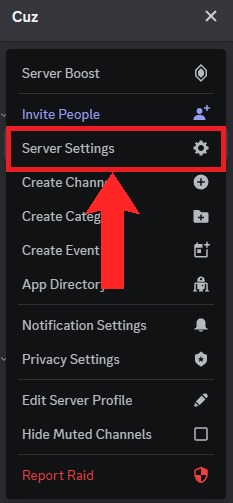
Select “Server Settings” from the drop-down - From the settings, select Roles.
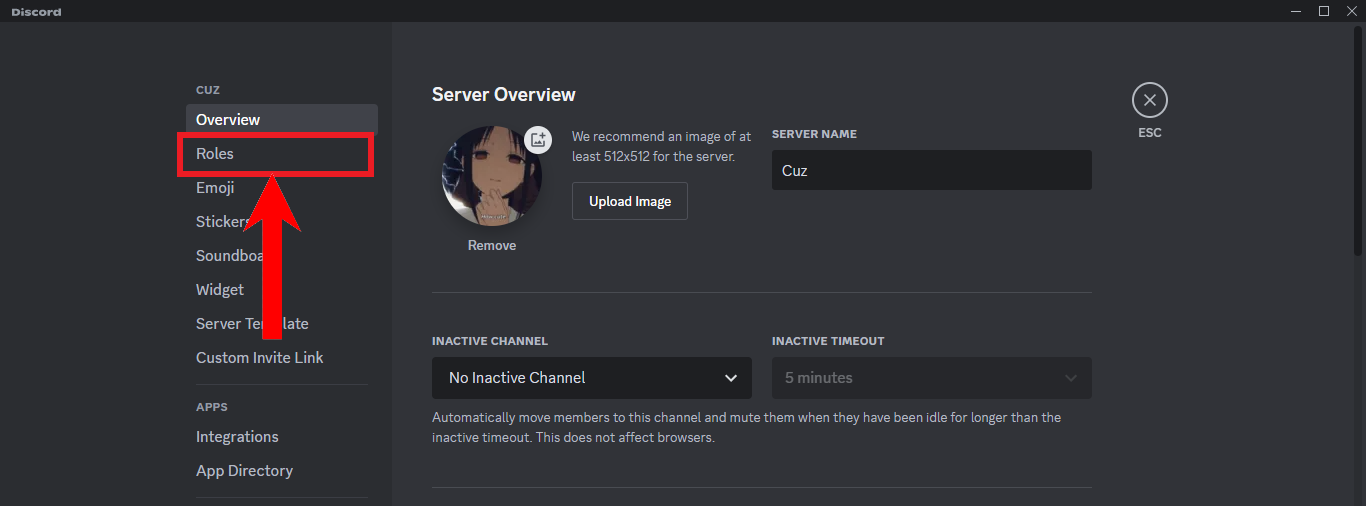
Select “Roles” - Next, click on Create Role to create a new role.

Click on “Create Role” - Create roles that suit your server. Choose different colors for each role to help tell them apart.
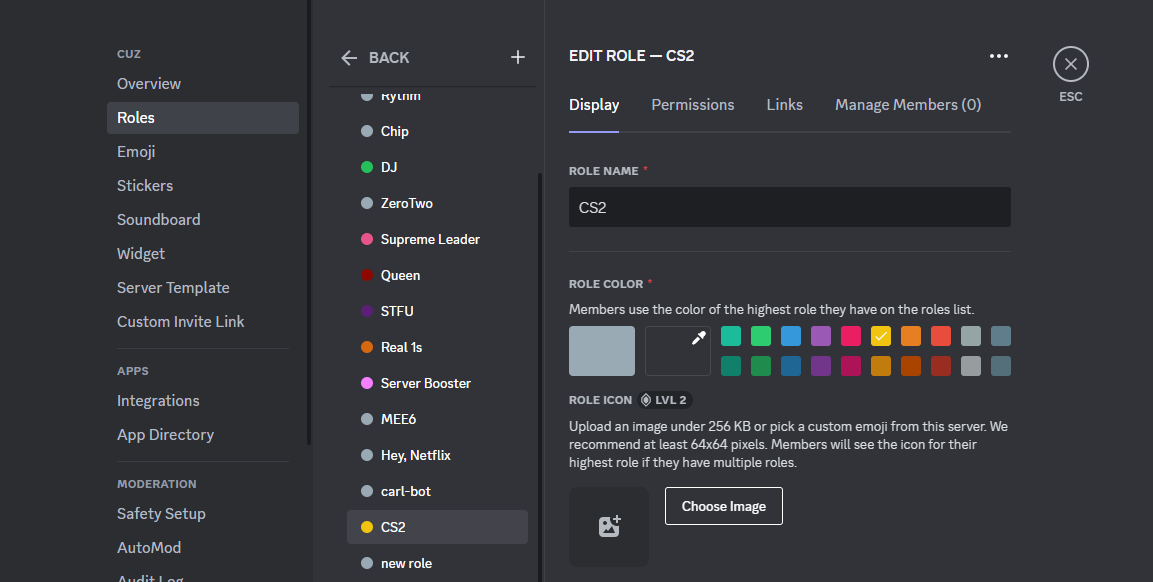
Create suitable roles for your server - Click on the Permissions tab to modify the permissions for the role you’ve created.
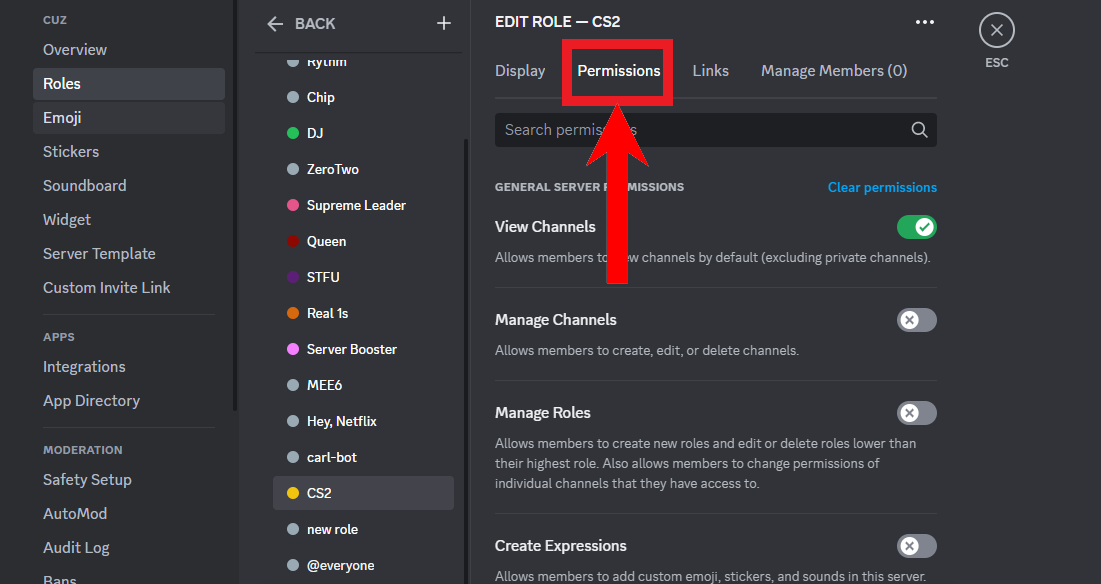
Click on the Permissions tab to configure the permissions for the role - Once you’re done, click on the Save Changes button on the bottom.
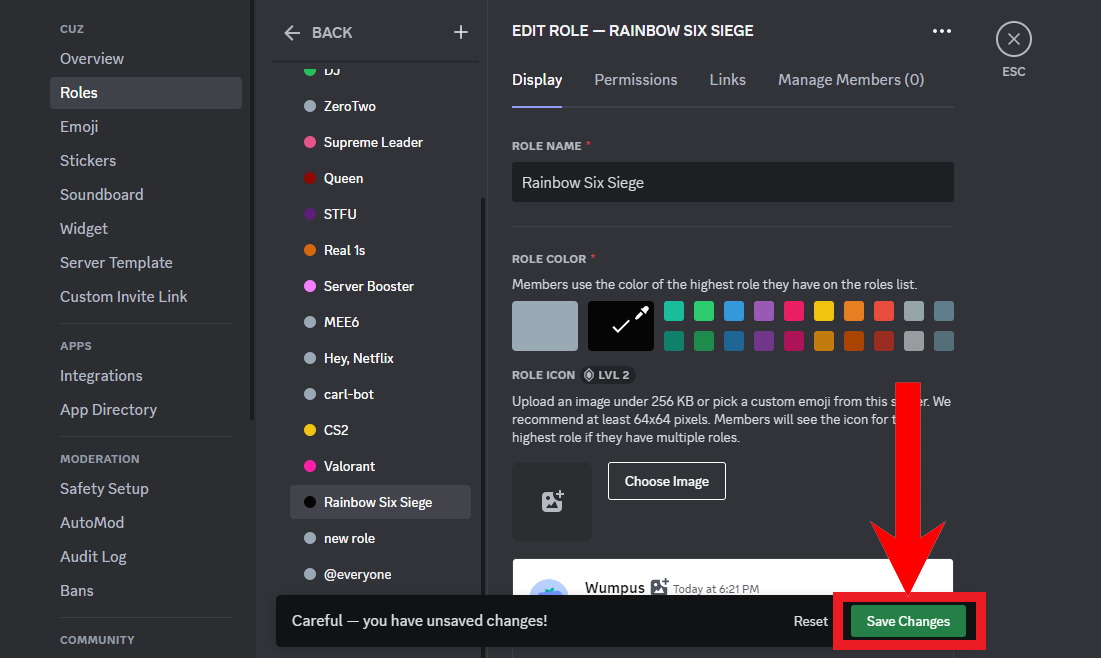
Click on “Save Changes”


Continue to make as many roles as you want. We’ll be setting up reaction roles next.
Step 3: Setting up Reaction Roles
To set up reaction roles for your Discord, follow the instructions below:
- On your server, select any text channel and type in the following command and hit Enter:
/reactionrole setup
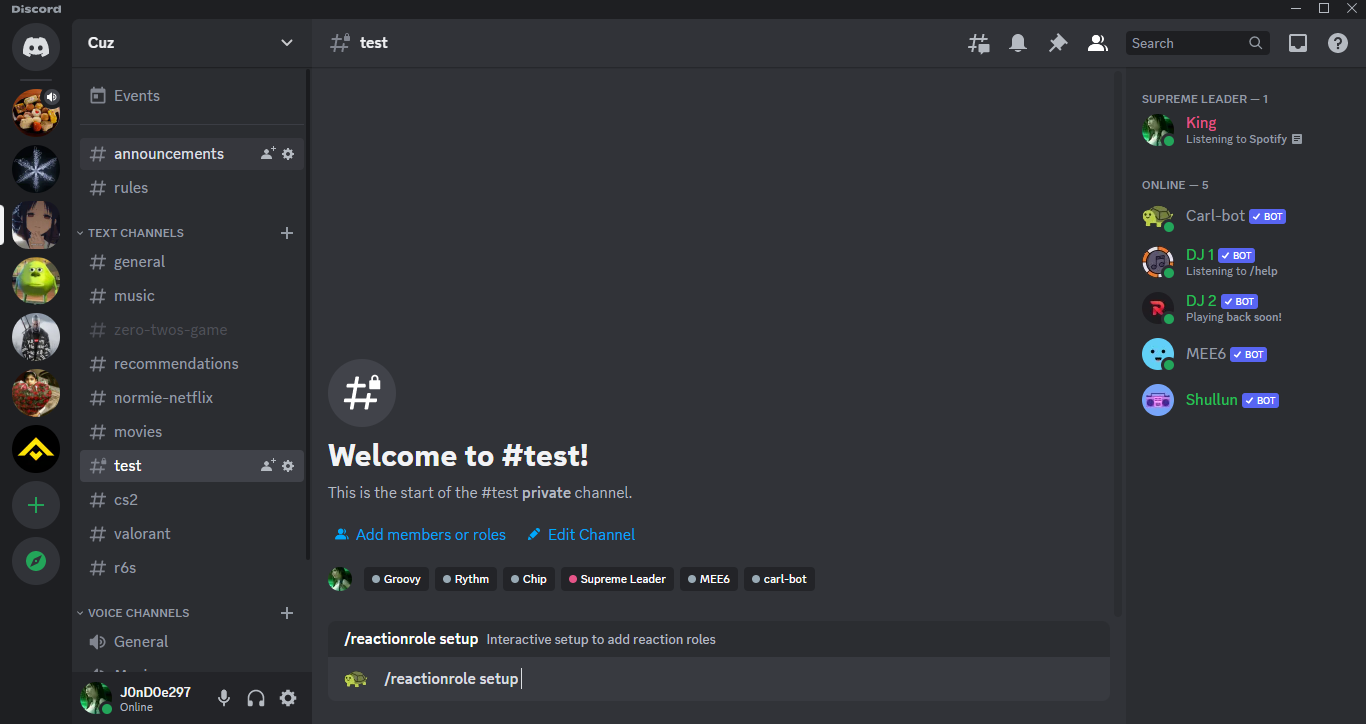
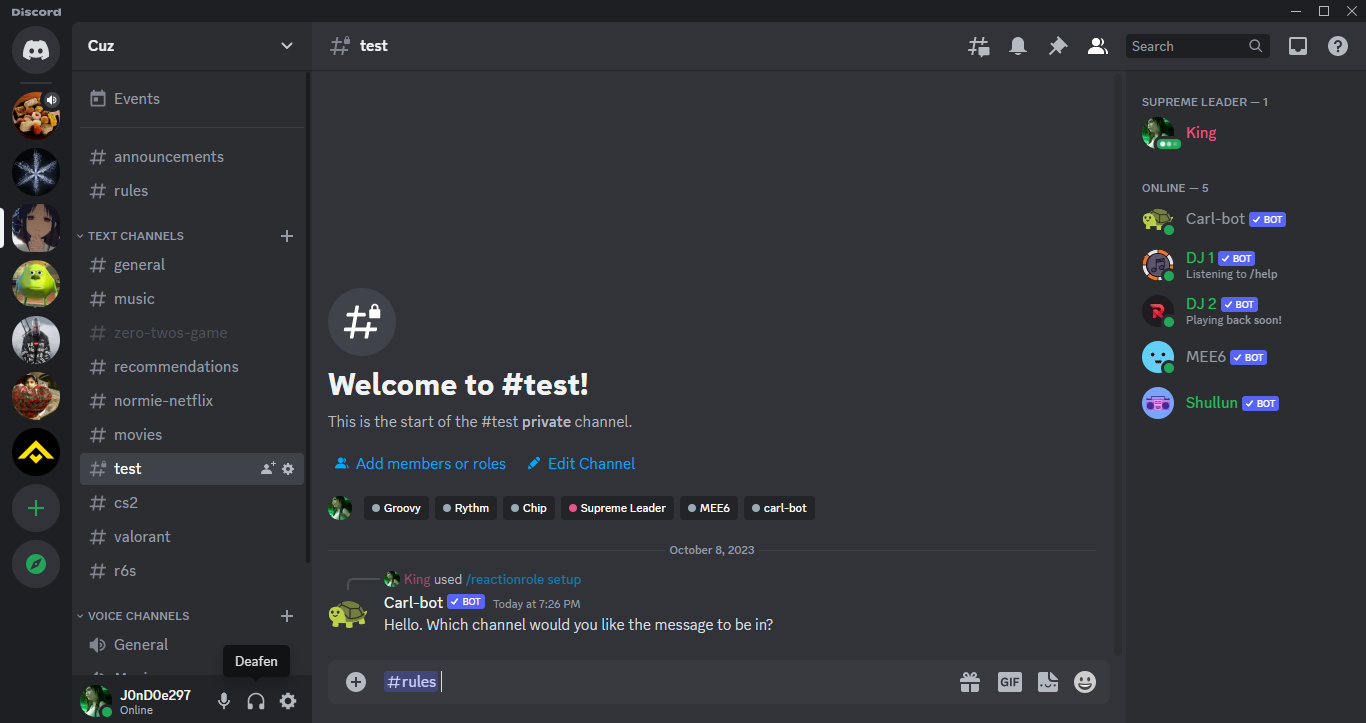
Type in the following command - Carl-bot will begin guiding you through the process of setting up reaction roles. First, it’ll ask you about the text channel where the reaction roles are supposed to be present. Type in the text channel of your choice.
Enter your choice of text channel - Next, the bot will ask you to type in a description and title for the reaction role message.
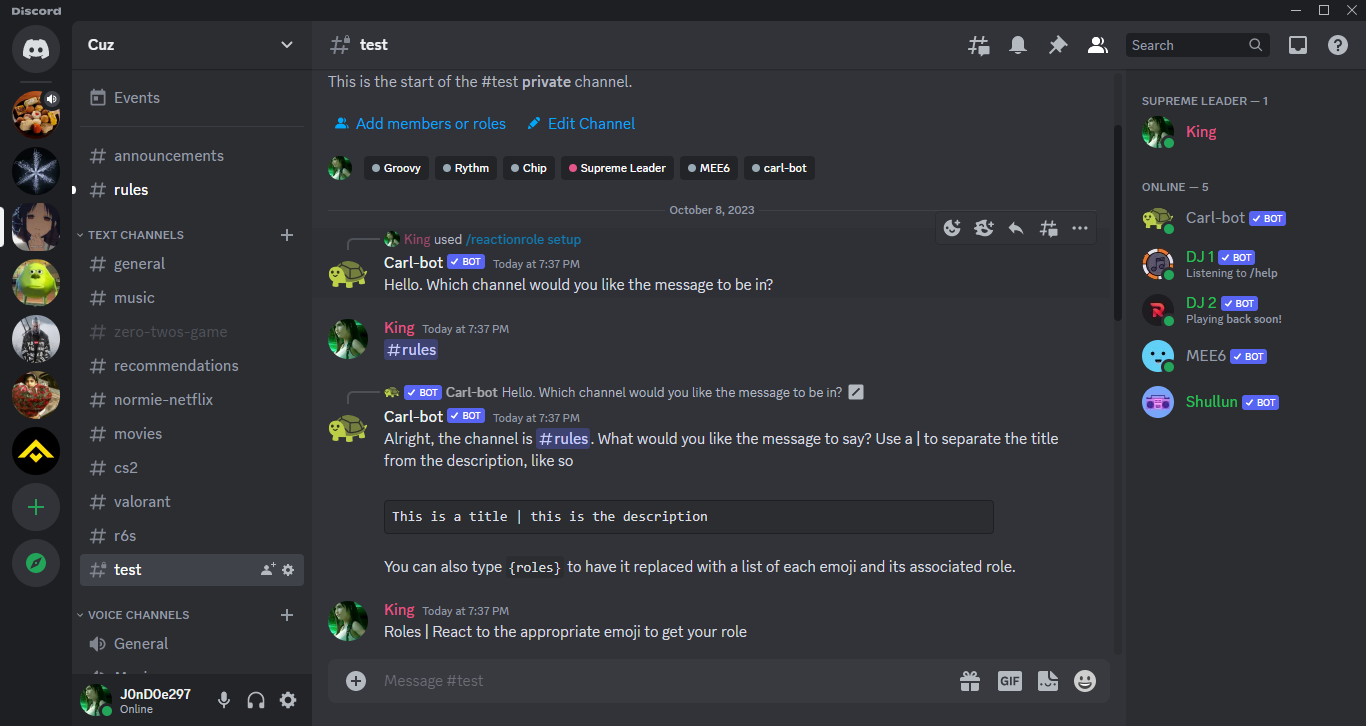
Enter the title and description for your message as specified by Carl-bot - Next, the bot will ask you if you want the message to be colored. If yes, enter a hex code for the color you want. If not, type none and hit Enter.
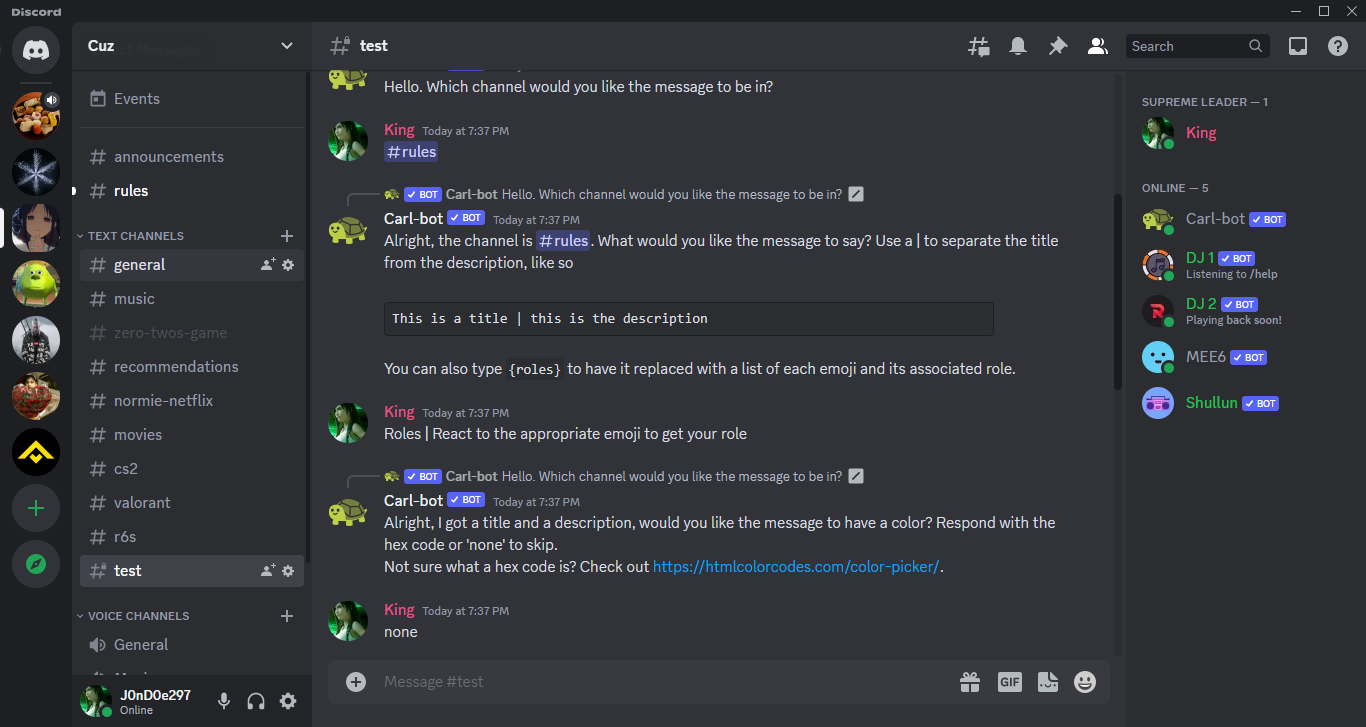
Choose whether you want the message to be colored or not - Lastly, Carl-bot will ask you to select and attribute the emojis to roles. To do this, type an emoji and your role name and hit Enter. Do this for all your roles. It’ll also show you a preview of your message based on the choices you’ve made earlier. Type done when you’ve finished.
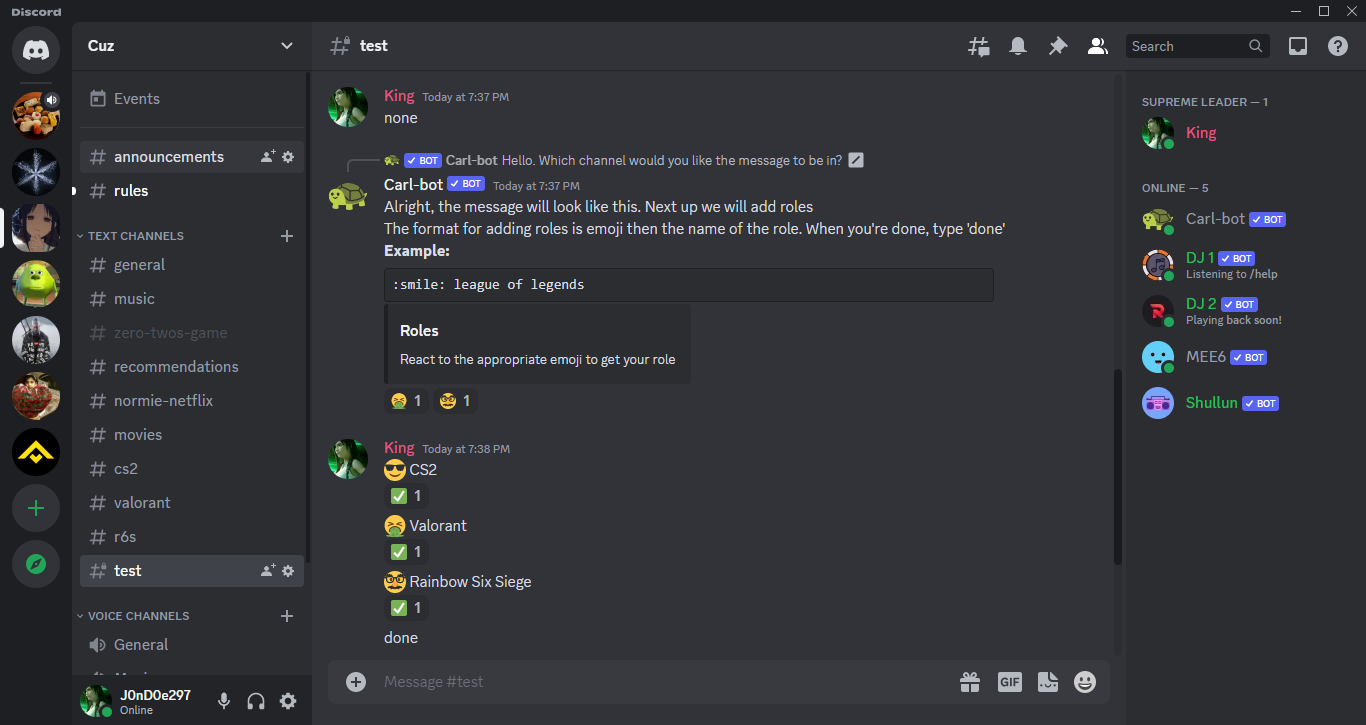
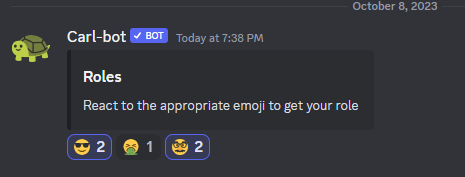
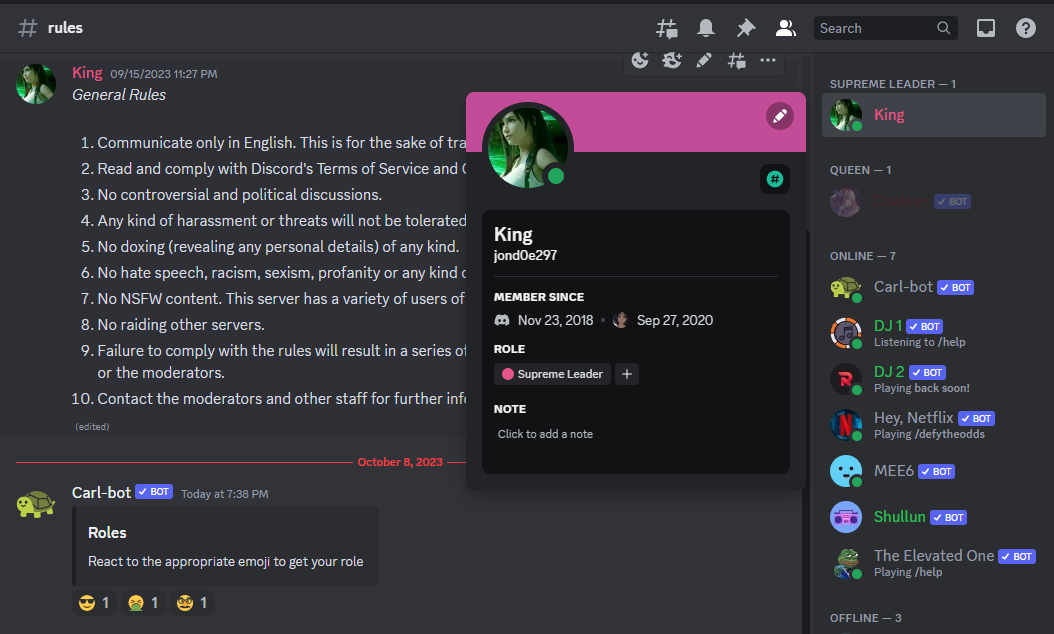
Choose your desired emojis and assign roles to them - Once done, Carl-bot will send a message in the cannel you chose earlier.

The reaction role message should be sent automatically after you’re done
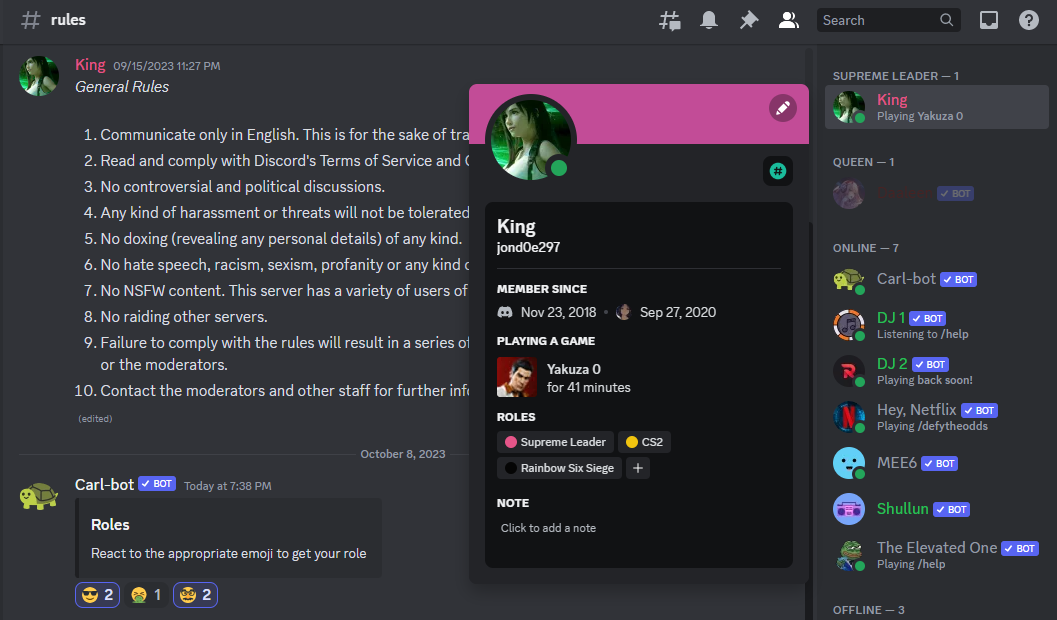
Test out your reaction roles by clicking on an emoji.
The role will assigned to you as soon as you react to it. You can check it on your profile.
Carl-bot vs. MEE6: Which One is Better?
A popular alternative to the Carl-bot is MEE6. MEE6 offers similar functions as Carl-bot, and overall they enjoy the same level of popularity. When choosing between the 2, it usually come down to user preference. Below is a comparison of MEE6 and Carl-bot:
| Features | MEE6 | Carl-bot |
|---|---|---|
| Reaction Roles | Yes; 250 roles limit | Yes; 250 roles limit |
| Customizable Appearance | Yes | No |
| Welcome Messages | Yes | Yes |
| Custom Commands | Yes | Yes |
| Auto-moderation Setup | Yes | Yes |
| Music | Yes | No |
| Activity Logging | Yes | Yes |
| Plug-in Support | Yes | No |
| Premium Version | Yes; multiple plans available | Yes; multiple plans available |
To see a complete list of features for both MEE6 and Carl-bot, you can check out their websites and documentations which are hyperlinked in this sentence.
Conclusion
Reaction roles are a creative and efficient way to distribute roles in your server. They help your server stand out and allow the moderators and owner to relax. At any rate, Carl-bot is an essential bot that offers more than just reaction roles. Check out its documentation to unlock its true potential and make your server a more friendly and welcoming place for all who join.
FAQs
Reaction roles help the server to stand out more and ensure a more efficient means of distribution for roles. Instead of moderators and the owner assigning roles, anyone can react to the message and the role will be automatically assigned.
Carl-bot is a versatile moderation bot that allows you to create reaction roles, log user activity, custom commands, auto-responses and much more. It is one of the most popular bots on Discord, with its website showcasing that the bot serves in over 8.8 million servers.
You can set up to 250 reaction roles.
If you’re unable to list a role as a reaction role, it might be because that role has a higher authority than Carl-bot. Promote Carl-bot and grant it all permissions so that it can manage roles freely.
It all depends on your preference. Both are popular bots with similar functions. You can consult each bot’s documentation to get a better idea of their capabilities and make your choice based on that information.
Reviewed by Huzaifa Haroon