How to Print Both Sides on Paper in Windows/Mac?
Typically printers print on one side of the paper. This leads to the usage of more paper, which is not efficient. Duplex or double-sided printing is a feature that allows you to use both sides of the paper.
By default, printers are set to print on one side of the paper. To enable double-sided printing, you will have to configure your printing preferences.
The ability to print on each side of the paper can vary per printer. Not all printers support duplex printing. If this case is applicable, you must manually print on both sides by commanding your printer to only print on odd/even papers. After that, you will have to flip the papers and reissue the print command to achieve double-sided prints.
In this article, we will show you how to set up your printer for double-sided printing. In addition, you will also learn the printing procedure on both sides if your printer does not support duplex printing. So, let us start right away.
1. Configure Duplex Printing on Windows
We will start with configuring a printer on Windows for duplex printing. If you want to perform double-sided printing for a single print task only, you can do so via the Microsoft Word Document.
However, the procedure will vary slightly if you want to set duplex printing as the default mode. In this case, you will need to change the printing preferences of your printer via the Settings window to enable duplex printing. Keep in mind this only works for printers that support it.
If your printer does not support duplex printing, we recommend jumping to the last method below, which guides you through the manual process.
1.1 Double-Sided Print for a Single Job
For a single duplex printing job, follow the instructions down below:
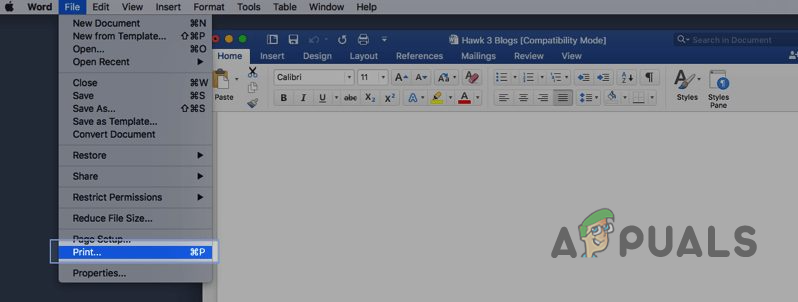
- First, open up the document you want to print with Microsoft Word.
- In the top-left corner, click on the File option.
- After that, on the left-hand side, click on the Print option.
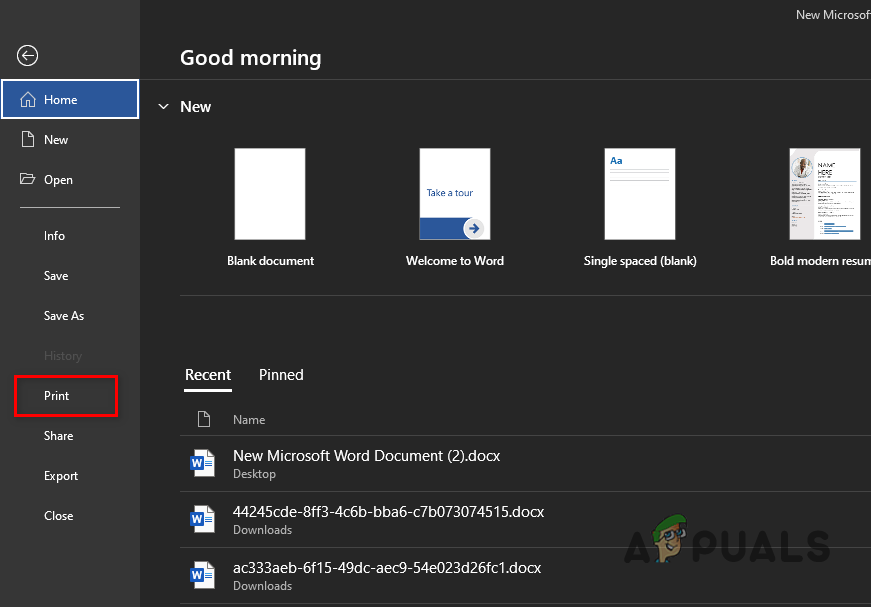
Navigating to Print Options - Choose your printer from the drop-down menu and click the Printer Properties option below.
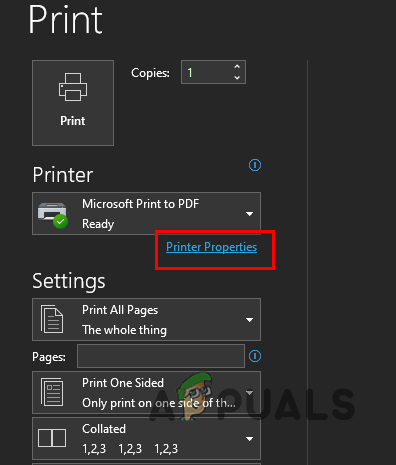
Opening Printer Properties - Now, on the pop-up window, tick the Duplex Printing checkbox. If you see Duplex Printing (Manual), your printer does not support double-sided printing, and you will have to do it manually. Move to the last method in such a scenario.
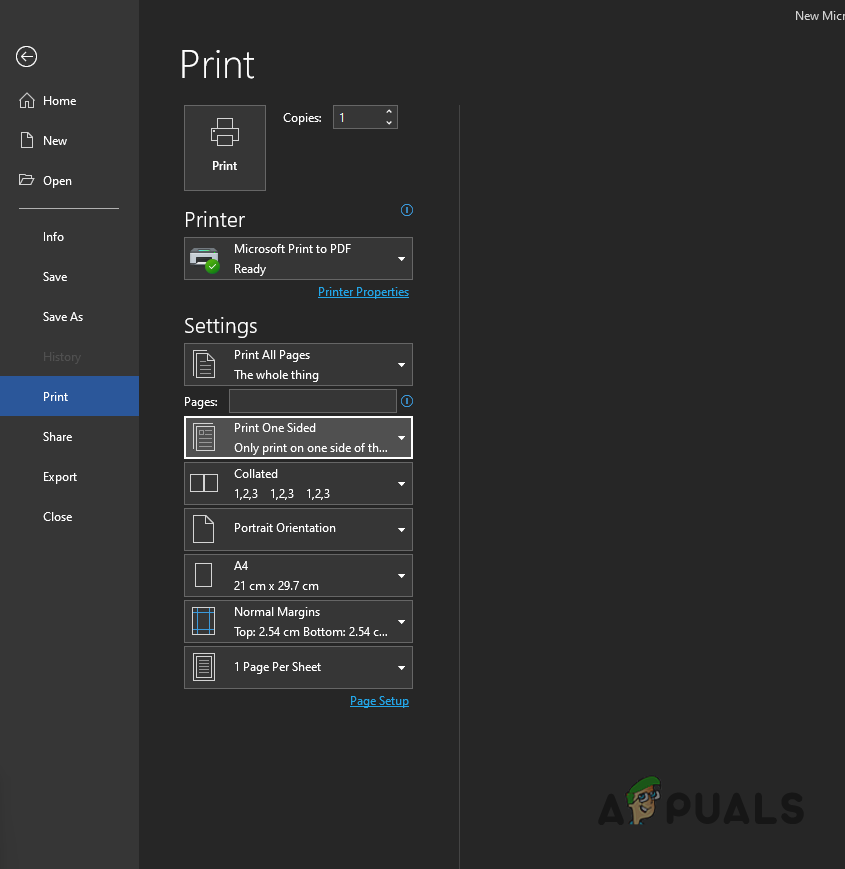
- Alternatively, on the Print screen, you can click on the Print One Sided drop-down menu and choose the Print on Both Sides option to enable duplex printing.
Print One Sided drop-down Menu - Once you do that, your printer should now print on both sides of the paper.
1.2 Set Duplex Printing as Default
If you want your printer to perform double-sided prints on all of the future print jobs, follow the instructions down below:
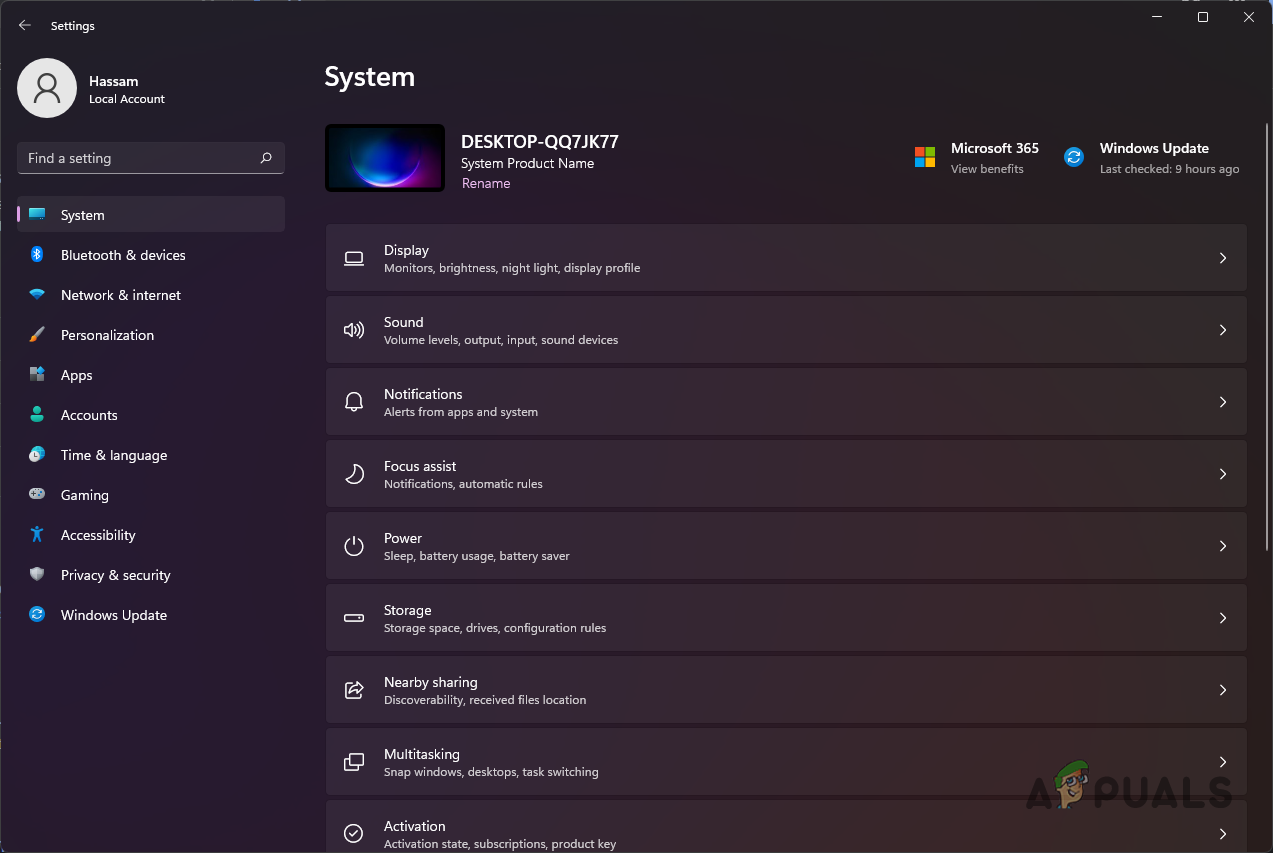
- To start, open up the Settings app by pressing the Windows key + I on your keyboard.
- On the Settings window, navigate to Bluetooth & devices.
Navigating to Bluetooth and Devices Settings - After that, click on the Devices option.
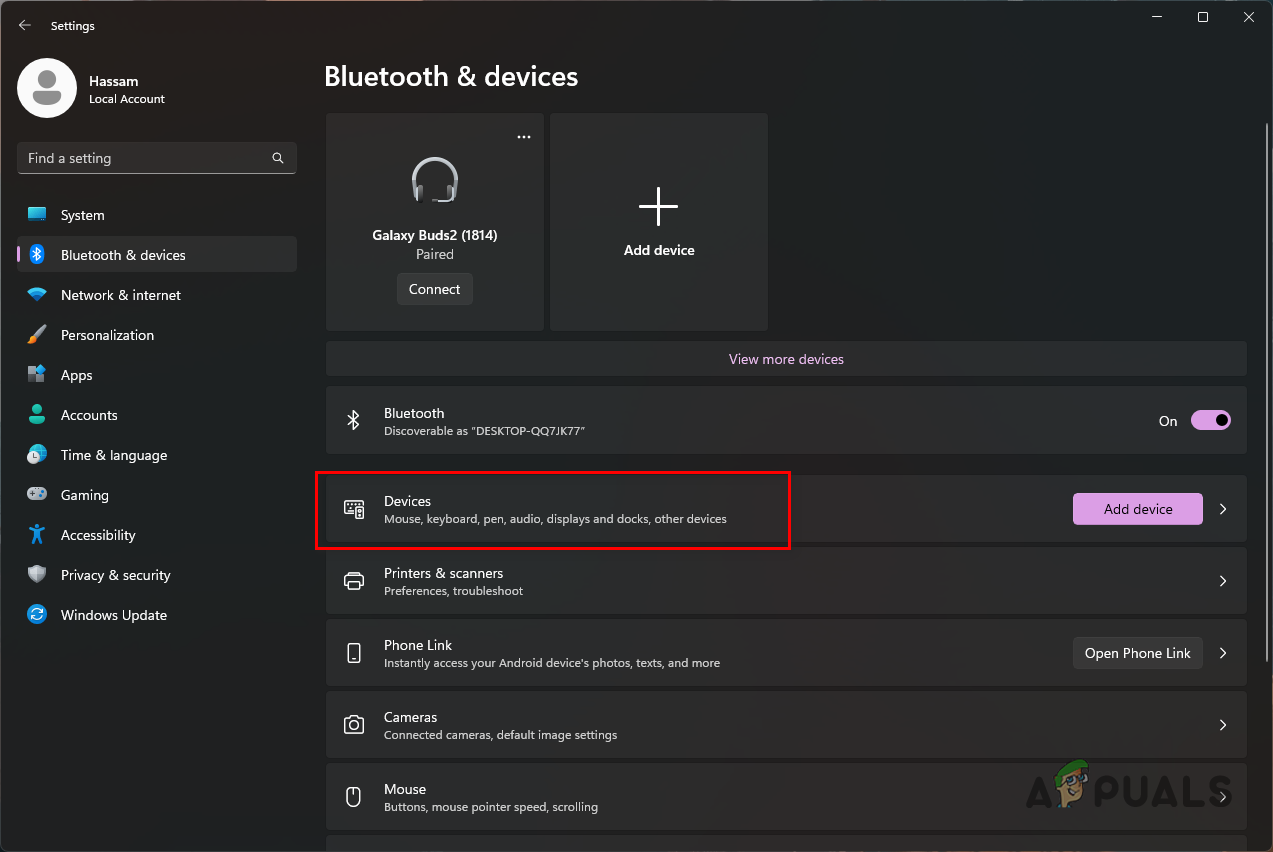
Navigating to Devices - On the Devices screen, scroll down to the bottom and click the More devices and printer settings option.
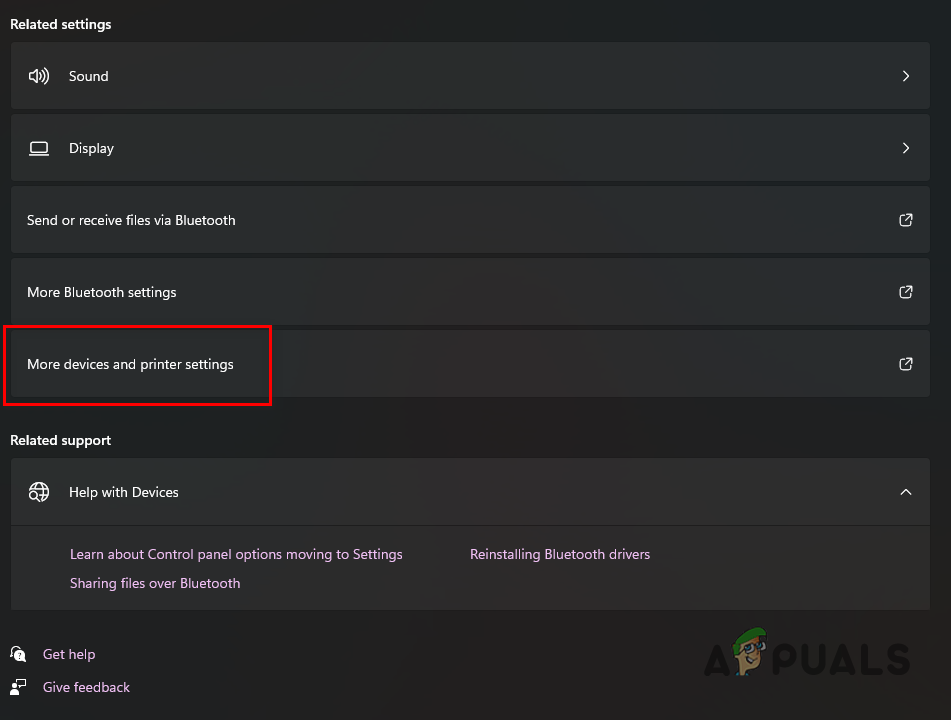
Opening Additional Printer and Devices Settings - Once you do that, on the new window that appears, right-click on your printer and choose Printing Preferences from the drop-down menu.
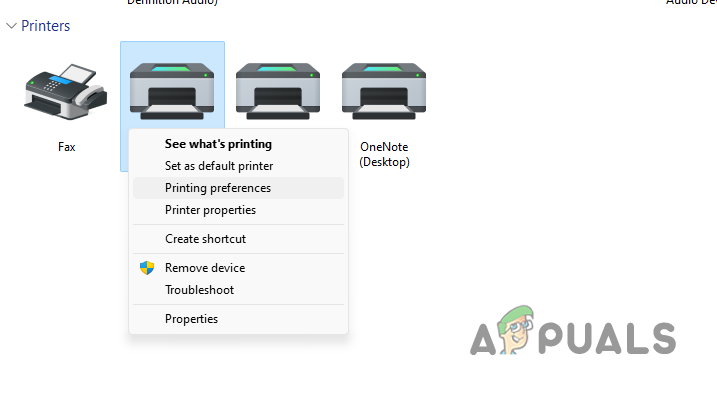
Opening Printing Preferences - From there, enable Double-sided printing. The exact option may vary depending on your printer, model and manufacturer.
2. Double-Sided Printing on Mac
Performing duplex printing on a Mac is also quite straightforward. This depends on whether your printer can perform duplex printing or not. With that in mind, follow the instructions down below to perform double-sided printing on a Mac:
- To start, open up the document you want to print with Microsoft Word, Pages, or something similar.
- After that, click on the File option in the menu bar and from the drop-down menu, choose the Print option. Alternatively, you can press the Command + P keys on your keyboard.
Navigating to Print Options - On the Print dialog box, look for the Two-SIded option. By default, it will be set to Off.

Enabling Two-Sided Printing - From the drop-down menu, choose either Short-Edge Binding or Long-Edge Binding.
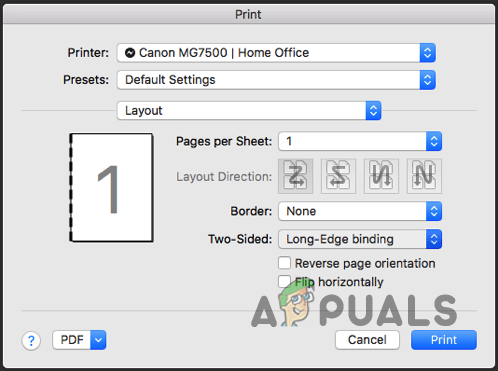
Double-Sided Print on Mac - Once you do that, click the Print button to start double-sided printing your document.
3. Double-Sided Printing on Google Docs
If the document you want to print is available on Google Docs, you do not have to go through the trouble of downloading and then printing it. Instead, you can follow the instructions down below to perform a double-sided printing job on Google Docs:
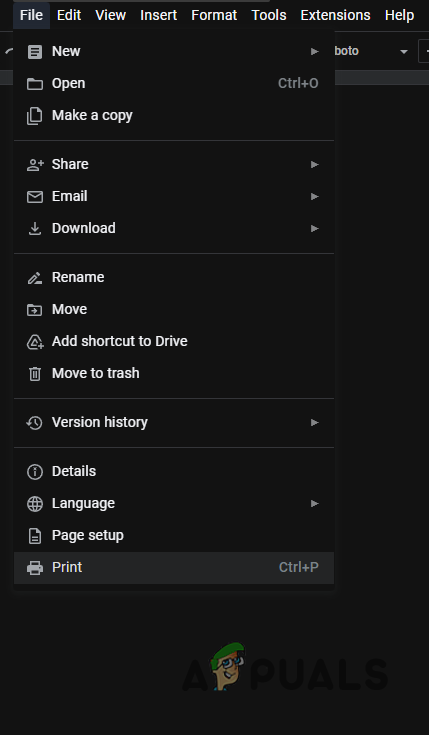
- First, open the document you want to print on Google Docs.
- Once the document is open, click on the File option in the top-left corner (under the document name) and click on the Print option. You can also use the CTRL + P shortcut on your keyboard.
Navigating to Print Options - After that, on the Print screen, click on the More settings option.
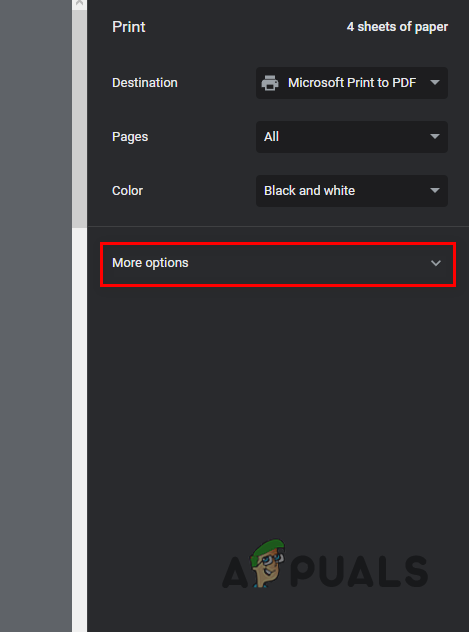
Expanding More Options - Once you do that, it will reveal the Two-sided option. Tick the checkbox and then click on the Print button.
- Your document will be printed on both sides of the paper.
4. Double-Sided Printing a PDF File
If you have a PDF file you want to print on both sides of the paper, you can do so easily via Adobe Acrobat Reader. Follow the instructions down below to do this:
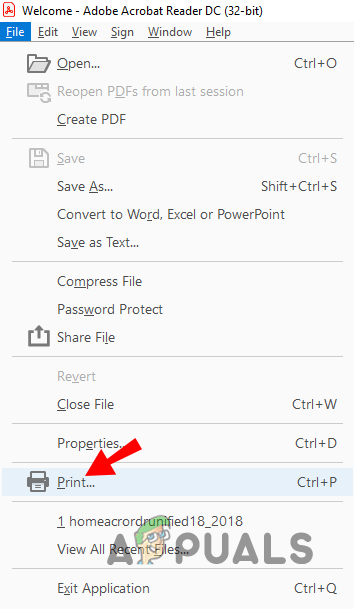
- To start, open your document with Adobe Acrobat Reader.
- After that, click on File in the top-left corner, and choose Print.
Navigating to Print Options - On the Print dialog box, tick the Print on both sides of paper checkbox.
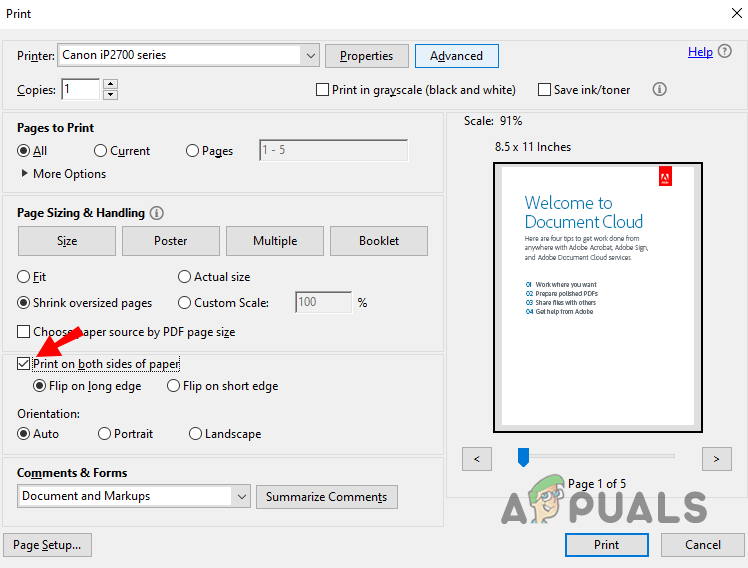
Printing on Both Sides Adobe Acrobat - Once you do that, click on the Print button, and you should be ready.
5. Manually Print on Both Sides
Not all printers support duplex printing. If you find yourself in such a situation, you can do so manually. This requires a little more effort than having a duplex printer, but it still is quite easy.
The process involves printing on specific pages (even or odd) at first and then flipping the stack. You will be able to nail it off with that. Follow the instructions down below to do this:
- First, open up the document you want to print with Microsoft Word.
- Once Microsoft Word is open, click on the File option in the top-left corner.
- After that, click on the Print option on the left-hand side.
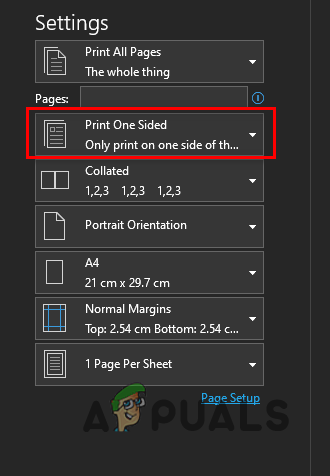
Navigating to Print Options - On the Print screen, click on the Print One Sided drop-down menu and choose the Manually Print on Both Sides option.
Print One Sided drop-down Menu - Once you do that, click on the Print All Pages drop-down menu under Settings.

Print All Pages drop-down Menu - From the drop-down menu, choose the Only Print Odd Pages option.
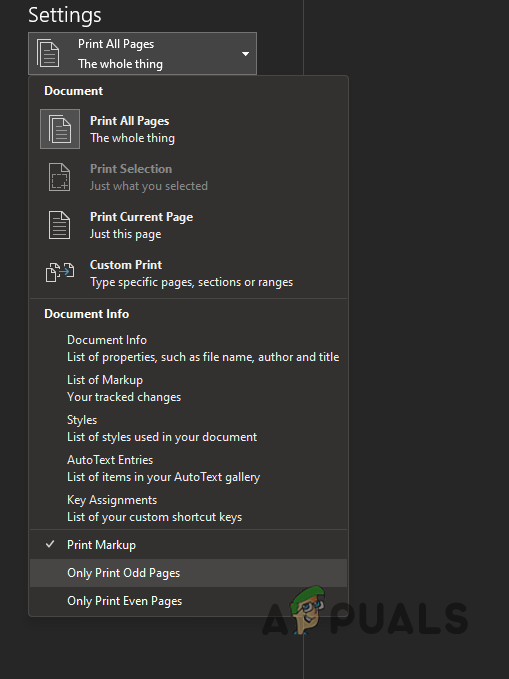
Printing Odd Pages Only - Click on the Print button to start the printing process.
- Once the odd pages have been printed, flip the paper stack in your printer.
- After that, navigate to the Print screen again. This time, click the Print All Pages option under Settings and choose the Only Print Even Pages option from the drop-down menu.
- Once you do all that, your document will have been printed on both sides.


