How to Prevent Users from Changing Lock Screen and Logon Image in Windows 10?
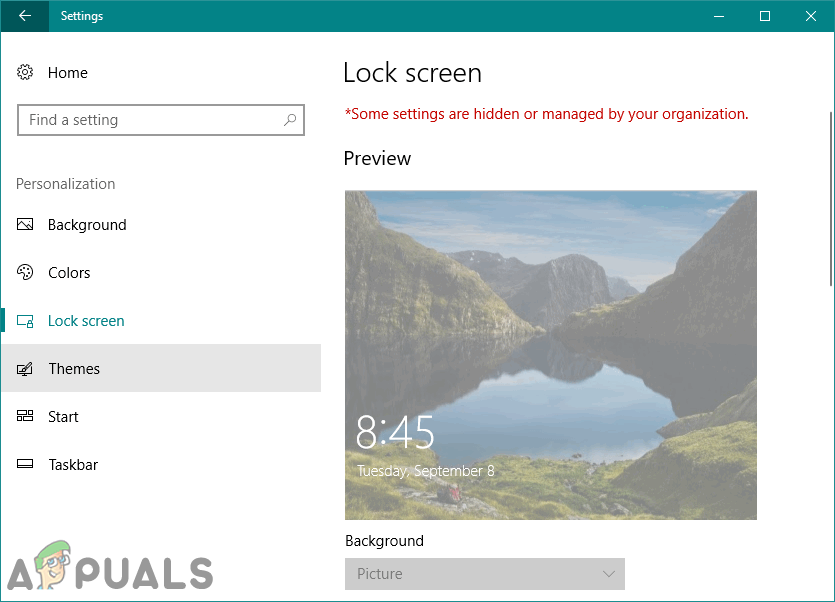
Windows settings come with a lot of features that users can personalize according to their needs. The lock screen and logon image can also be changed in the Windows settings easily. However, these settings can also be disabled through Local Group Policy. It is a great idea for enterprises or admins to keep these settings protected from public users. This will prevent users from changing the background image that is shown when the system is locked or on the logon screen.
We have also included a registry method through which you can modify these settings because the Group Policy is not available on Windows 10 Home Editions.
Prevent Changing Lock Screen and Logon Image
Changing the lock screen or logon image settings is enabled by default in Windows. This is one of the common settings that should not be disabled unless needed. Users can disable the lock screen and logon image settings and enable it anytime through the below methods. If you disable this setting, the user will not be able to change their lock screen and logon image, and they will instead see the default image. Both of the below methods work the same; however, the user can choose whichever tools they have and are familiar with.
Method 1: Preventing Customization of Lock Screen through Local Group Policy
In this method, we will be using the Local Group Policy Editor to disable the lock screen settings. The Local Group Policy Editor can be used to configure and manage the Windows operating system. Most of the policies already exist in Local Group Policy, so users just need to configure it.
Note: The Local Group Policy Editor is only available on Windows 10 Enterprise, Windows 10 Pro, and Windows 10 Education editions. If you have a different Windows 10 version, then directly jump to method 2.
If the Local Group Policy Editor is available on your system, then follow the below steps to prevent users from changing the lock screen and logon image:
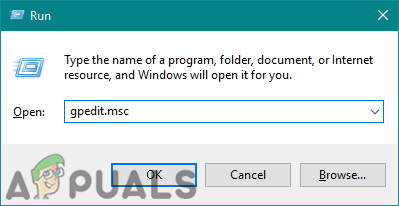
- Hold the Windows key and press R to open the Run dialog. Now, type “gpedit.msc” and press Enter to open the Local Group Policy Editor. Choose Yes to agree to the UAC (User Account Control) prompt.
Opening Local Group Policy Editor - Use the left pane in the Local Group Policy Editor to navigate to the following location:
Computer Configuration\Administrative Templates\Control Panel\Personalization\
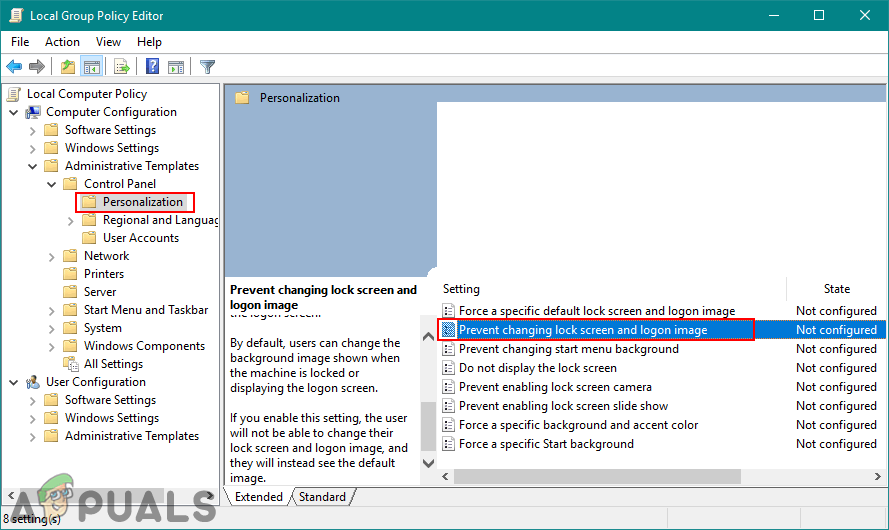
Opening the policy - Double-click on the Prevent changing lock screen and logon image policy in the right pane. This will open a new window for the specific policy, now modify the toggle from Not Configured to Enable. Then, click on the Apply/Ok button to save the changes.
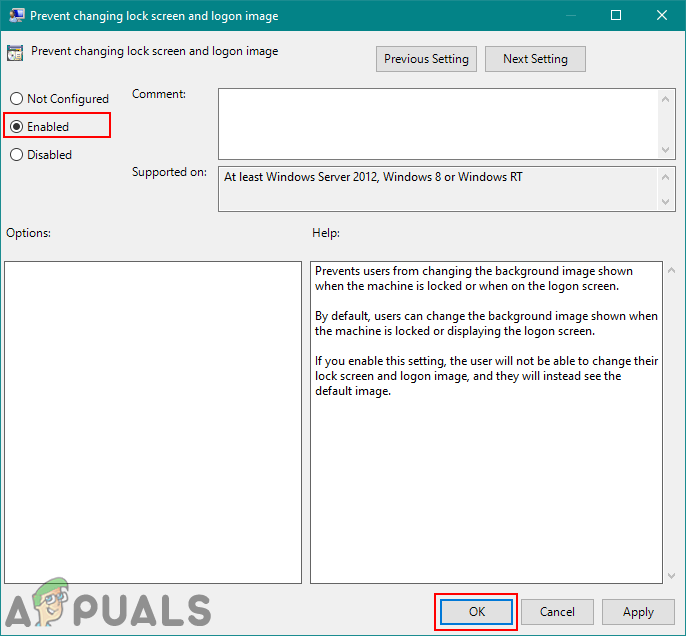
Enabling the policy - Now the settings for lock screen and logon image in the Windows settings will be disabled and users will be prevented from changing it.
Method 2: Preventing Customization of Lock Screen through Registry Editor
Another way to prevent users from customizing the lock screen or logon image is by using Registry Editor. Unlike the Local Group Policy editor, this requires a bit extra steps from users. Some of the keys/values will be missing in Registry Editor, so users need to create it manually. Follow the below steps to prevent users from customizing the lock screen and logon image through Registry Editor:
- Press the Windows + R keys together to open a Run dialog box. Type “regedit” and press Enter to open Registry Editor. Choose Yes to agree to the UAC (User Account Control) prompt.
Opening the registry editor - Navigate to the following key using the left pane in the Registry Editor window:
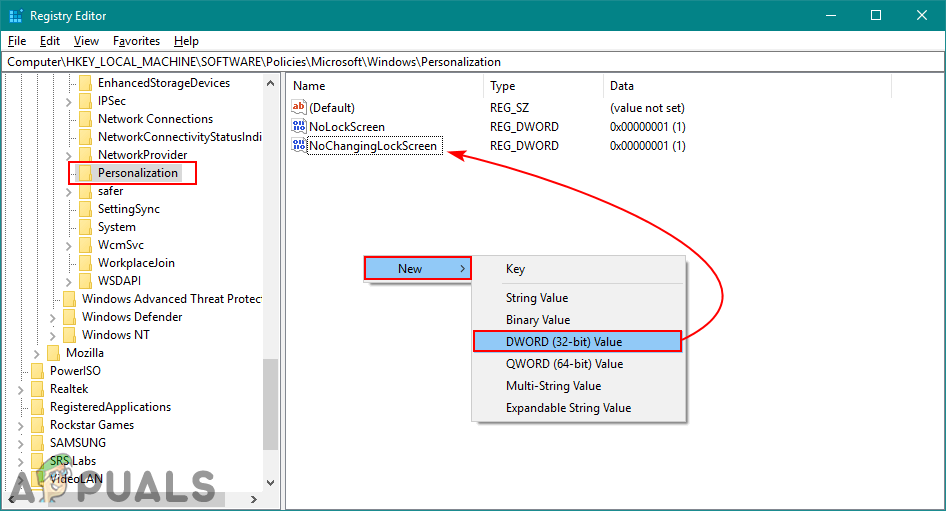
HKEY_LOCAL_MACHINE\SOFTWARE\Policies\Microsoft\Windows\Personalization
- Search for a value named NoChangingLockScreen on the right pane. If it doesn’t exist, then create a new value named NoChangingLockScreen by clicking anywhere on the right pane and choosing New > DWORD (32-bit) Value.
Creating new value - Now double-click on the NoChangingLockScreen value and set the Value data to 1. Click on the Ok button to apply the changes.

Changing the value data - Finally, after all the modifications have been made, make sure to restart your computer and let the changes take effect.