How to Personalize Windows 10 Lock Screen Images
Windows 10 is by far the most used operating system around the world. Along with a great and somewhat stable interface and architecture, the operating system also offers several different personalization options. One of these options is an image which appears when Windows is locked.
There are two ways in which users see the lock screen on their Windows operating system; one where the computer starts up normally and waits for your input to select the user at the lock screen and one where you deliberately lock the screen using Windows + L or through the timeout settings.
How to Change Windows 10 Lock Screen images?
Windows 10 offers several different options to customize your lock screen images. For example, you can set a blank background with a specific color, select an image, or use the automatically generated images using Windows Spotlight.
In this article, we will go through all the methods through which you can change the lock screen images on your computer. You can follow anyone which you prefer. Happy changing!
Options 1: Change background to Windows Spotlight
Windows Spotlight is a catchy feature which is added to all the versions of Windows 10. It mainly downloads high-quality images or landscape, culture, and items from Bing and displays it on your lock screen. You can also use the feedback option to tell your views about the image so the algorithm can personalize the selection and provide you with similar images. You can easily select your background image to be managed by Windows Spotlight using the following method.
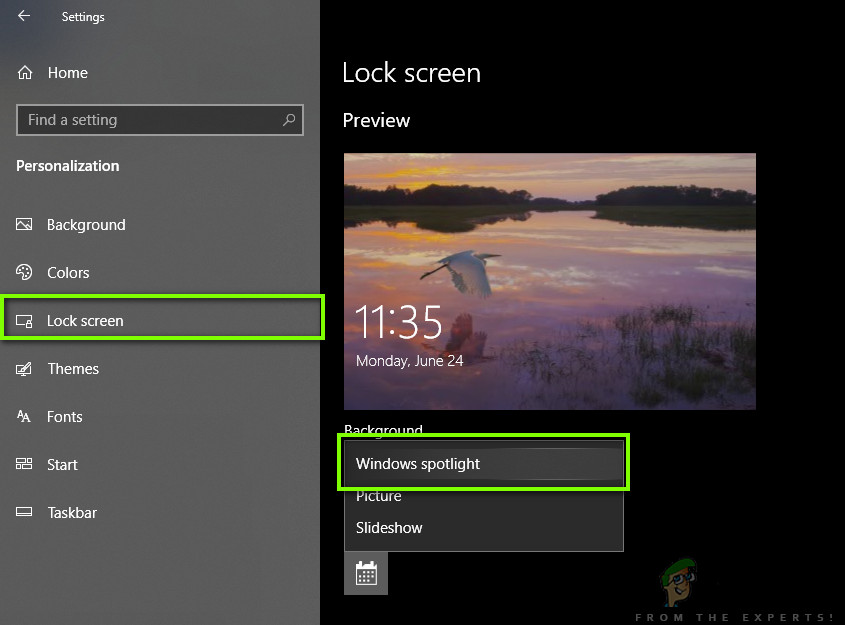
- Press Windows + I to launch the Settings application on your Windows.
- Once in Settings, click on the sub-category of Personalization.

- Once in Personalization, click on the tab of Lock Screen. Now, click on the drop-down menu of Windows spotlight.
- You can also click on the default calendar option to select some applications which will display detailed information on the lock screen along with the Windows Spotlight image.
Option 2: Change background to a Picture
Another popular method to personalize the background of your lock is to select a Picture. This picture can be any image which you to be displayed on your lock screen. This image will stay put and will not get change and shuffled. Users usually use the images of their loved ones and memorable events here. Follow the steps below:
- Navigate to the Lock Screen Settings as we did in the previous solution.
- Now, click on Background and select the option of Picture.
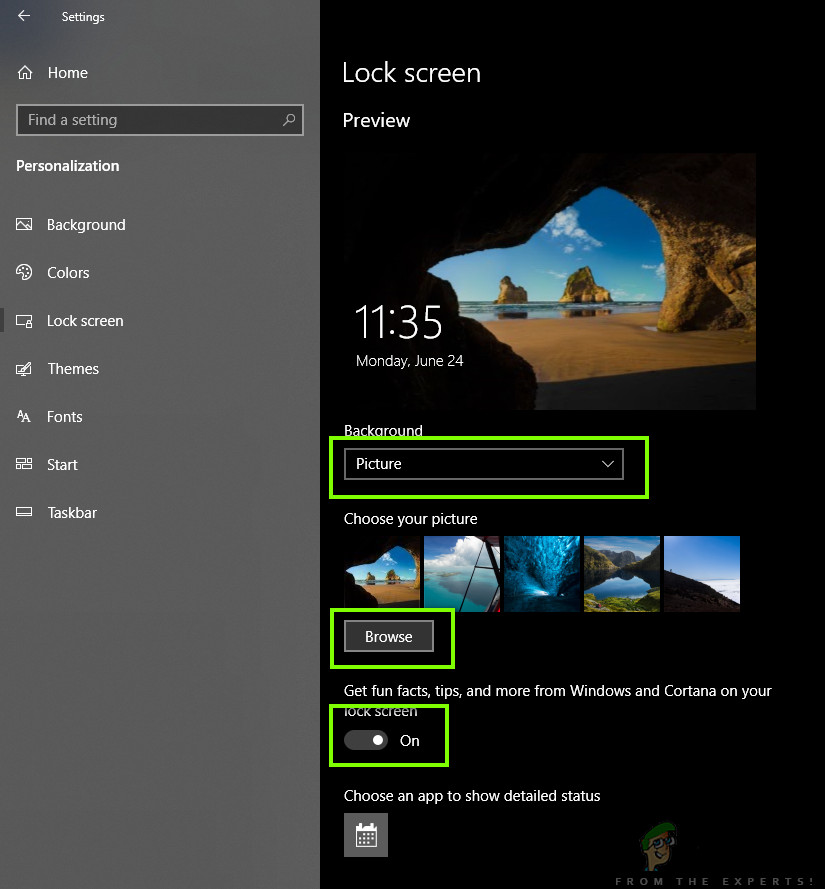
- You can click the Browse option to open the File Explorer so you can navigate to the image which you want to be set.
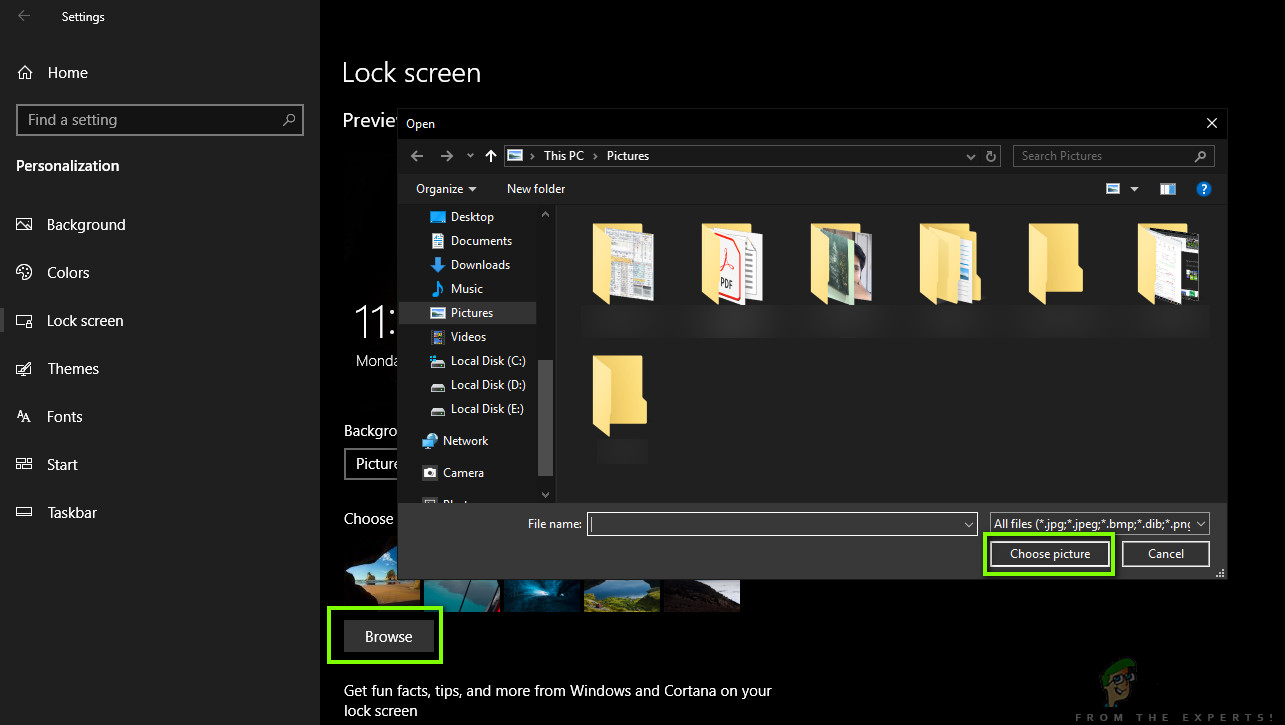
- Select the picture which you want to be set as a background and save changes. Now press Windows + L to lock the screen and see your changes.
Option 3: Setting a Slideshow
Another interesting option which users have is to set a slideshow. This feature will allow you to select a set of pictures which will then be shuffled automatically on your lock screen. This is a quite nifty feature which has been in Windows for decades and in the previous operating systems. Follow the steps below to configure a slideshow on your lock screen.
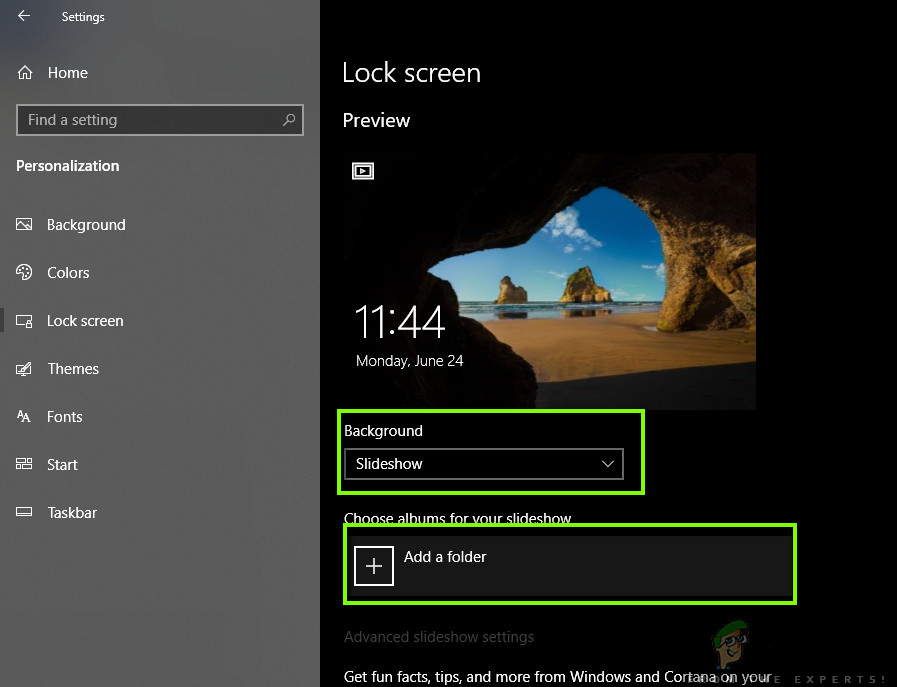
- Navigate to the Lock Screen Settings as we did in the previous solution.
- Now click on the Slideshow and then Add Folder.
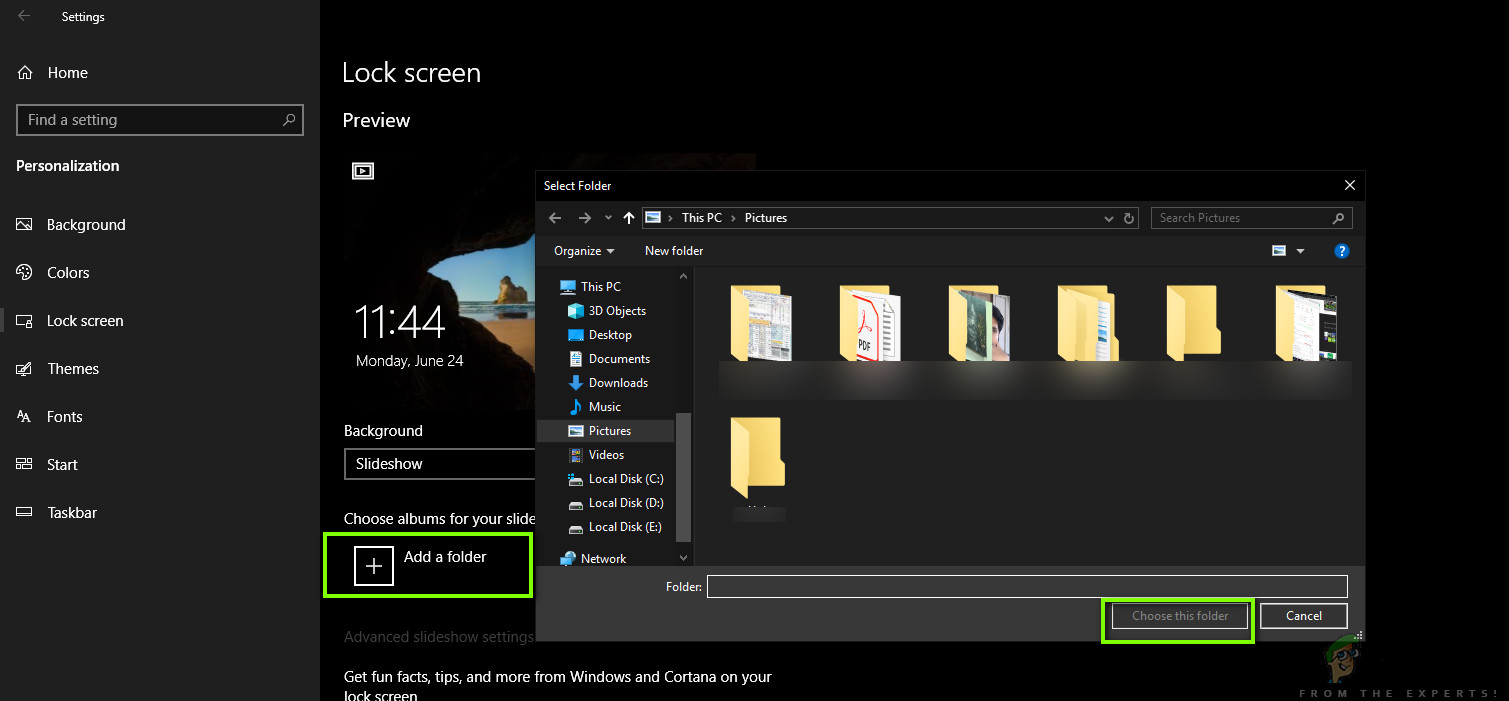
- Now navigate to the folder where all the images are present which you want to include on your slide show. If you don’t have a folder created already, you can create one and then just select that folder.
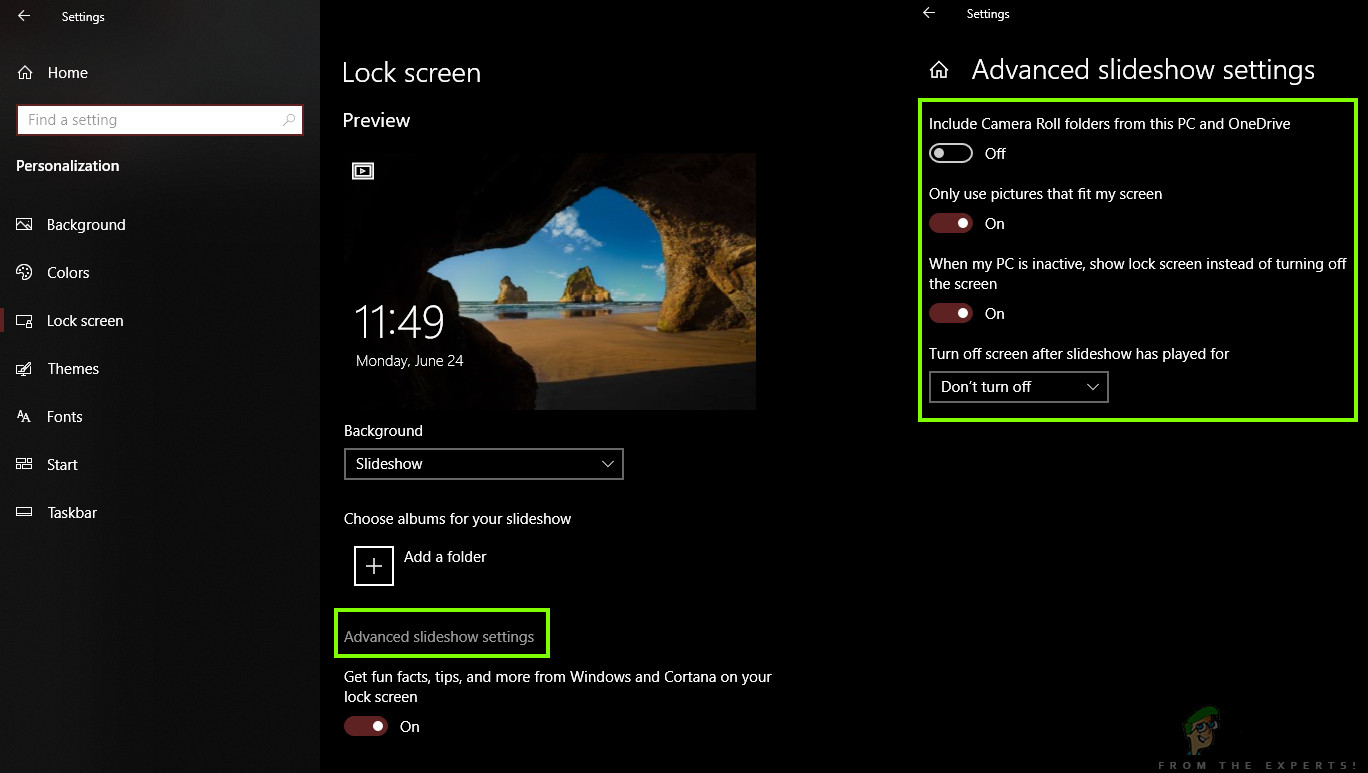
- You can also click on Advanced slideshow settings. From here, you will be able to change several different settings such as including camera roll, screen-fitting, etc.
- Save changes and exit. Now press Windows + L to lock the screen and see your changes.


