Troubleshoot Adobe Photoshop crashing using these methods
Photoshop is a complex application which has several dependencies within Windows required for its smooth functioning. If any of the required files or services are not available then Photoshop will crash. These generally include the plugins that you have installed but could also be due to the files being used by background applications. It can also crash when the scratch disk is either full or inaccessible.

Unfortunately, the reasons can vary on a case-to-case basis. Therefore, we have compiled a list of different methods below that you can try implementing, to stop Photoshop from crashing on your PC.
1. Clear Photoshop Font Cache
The first thing you should do when starting with troubleshooting the crashing issue with Photoshop is to clear your font cache. The fonts you use in Photoshop are stored locally on your computer in a font cache allowing Photoshop to access them when needed.
In some scenarios, when the font cache is corrupted or you have a bad font, it can cause different issues with Photoshop, including crashing at random instants. In such a scenario, you can resolve the issue by deleting the font cache file on your computer.
Please note that deleting the font cache file is safe, and you will not lose any fonts. On the next startup, Photoshop will automatically create a new font cache file to replace the one you deleted.
Follow the instructions down below to delete the font cache file:
- First, exit Photoshop and the Creative Cloud app on your PC.
- After that, open the Run dialog box by pressing the Win key + R on your keyboard.
- In the Run dialog box, type in %AppData%.
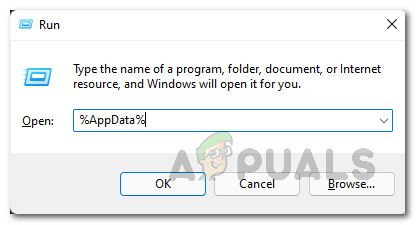
Navigating to AppData Directory - This will open a new File Explorer window.
- Then, navigate to the Adobe > Adobe Photoshop directory.
- Finally, delete the CT Font Cache folder and follow it up by emptying your Recycle Bin.
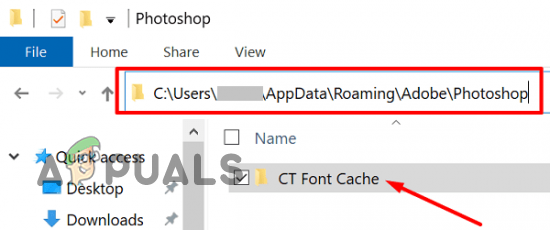
Deleting Photoshop Font Cache - Once you do that, open Photoshop to see if the issue still occurs.
2. Disable Third-Party Antivirus
One of the reasons which can cause Photoshop to crash randomly can be the third-party antivirus you are using. Security programs are known to interfere with other applications and processes running in the background, and can sometimes lead them to malfunction.
Interference from background applications can cause various programs to crash. We recommend disabling them to see if the issue goes away.
If the problem goes away after you turn off your security program, you can try whitelisting Photoshop in your antivirus settings to resolve the issue. This will prevent the antivirus from interfering with the application and allow it to function correctly.
3. Open Photoshop in Safe Mode
Another reason which can potentially cause Photoshop to crash is the third-party plugins that you have installed. This can happen due to the presence of problematic third-party plugins.
In this case, you can mitigate the issue by launching Photoshop in safe mode. This allows Photoshop to start without loading any third-party plugins you might have installed. If the problem goes away in safe mode, it will be evident a third-party plugin is causing the issue.
In such a scenario, you will have to remove the plugins one by one to identify the culprit. Follow the instructions below to launch Photoshop in safe mode:
- First, exit Photoshop if it is already running.
- After that, hold down the Shift key on your keyboard and open Photoshop.
Shift Key - On the dialog box that appears, click Yes to skip loading optional and third-party plugins.
- Wait for Photoshop to open and see if the problem persists.
4. Reset Photoshop Preferences
In some scenarios, the problem can also be triggered due to your Photoshop preferences. Changing these settings can allow you to run Photoshop smoothly on your computer.
The preferences file contains various settings and configurations. In some cases, damage to the preferences file on your computer can cause the program to crash repeatedly.
In such a scenario, you will have to reset your Photoshop preferences so that a new file could be created. Resetting them will permanently remove any settings that you might have set up, so keep that in mind before proceeding.
Follow the instructions below to reset your Photoshop preferences:
- Start by exiting Photoshop on your computer.
- Press and hold the CTRL + ALT + SHIFT keys on your keyboard and open Photoshop.
- As Photoshop opens up, you will be shown a Delete the Adobe Photoshop Settings File dialog box.
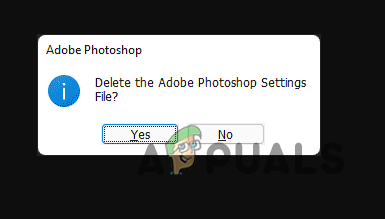
Deleting Photoshop Preferences - Click Yes to reset your preferences.
- With that done, see if the problem goes away.
Alternatively, you can also use the Preferences window to reset your preferences. Follow the instructions below to do that:
- First, open Photoshop on your PC.
- After that, navigate to Edit > Preferences.
- On the General tab, click on the Reset Preferences on Quit option.
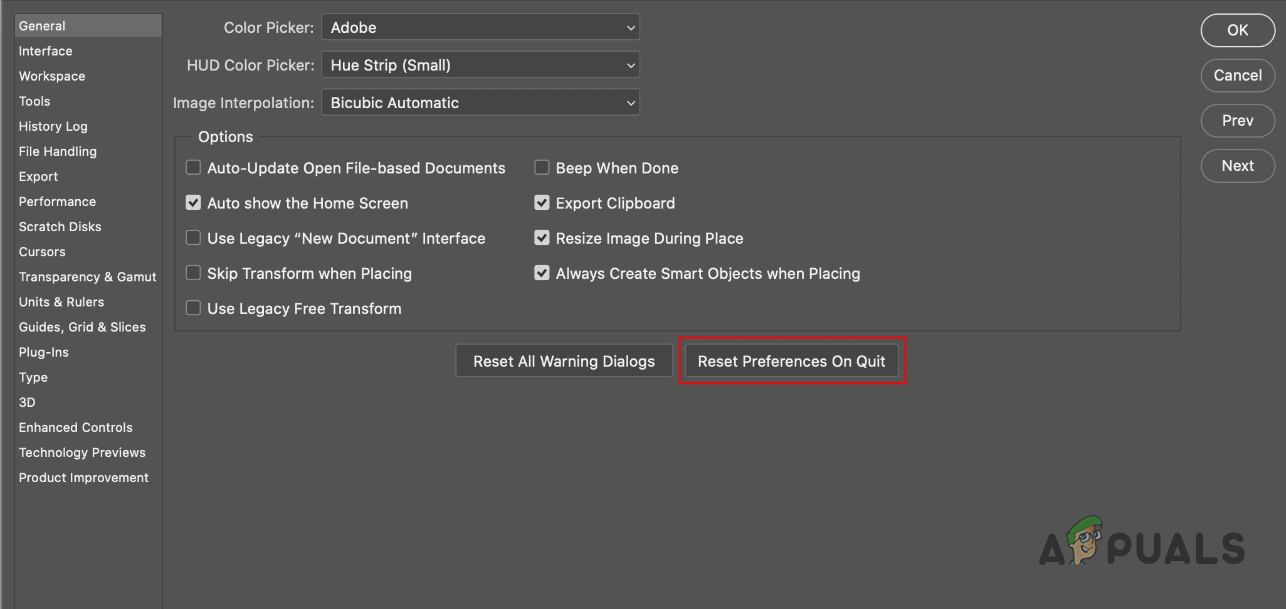
Resetting Preferences on Quit - Confirm the action on the follow-up dialog box.
- With that done, quit Photoshop.
- Finally, open Photoshop again to see if it still crashes.
5. Reinstall Graphics Drivers
The graphics drivers installed on your computer can also trigger the issue in question. This is because your graphics card is utilized a lot when you are working with high-quality images in Photoshop or other graphics.
Any corruption or damage to the graphics drivers on your computer can crash your Photoshop randomly. The drivers can, sometimes, get damaged during a Windows update or something similar.
You can check to see if the application is crashing due to your graphics drivers by disabling the use of GPU in Photoshop. If the problem goes away after doing so, it will be clear the graphics drivers are triggering the issue and need to be reinstalled.
Follow the instructions to disable GPU in Photoshop:
- First, open Photoshop on your computer.
- After that, navigate to Edit > Preferences > Performance.
- Finally, uncheck the Use Graphics Processor option and restart Photoshop.
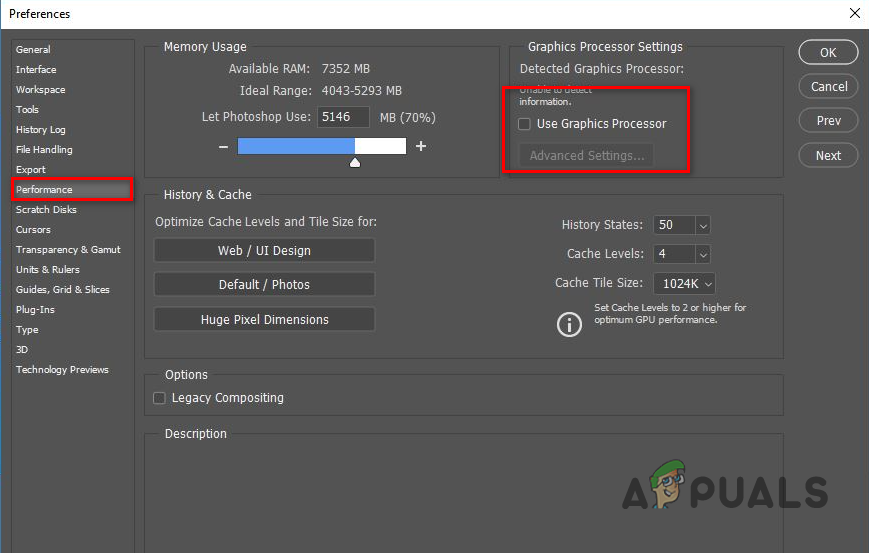
Disabling GPU on Photoshop - See if the problem still occurs.
If Photoshop is no longer crashing, the problem, in your case, is caused by your graphics drivers. In such a scenario, you can reinstall your graphics drivers to fix the issue. Follow the instructions below to do this:
- First, download the Display Driver Uninstaller (DDU) utility from the official website here.
- Extract the downloaded file to any location.
- Then, navigate to the extracted directory and open the Display Driver Uninstaller.exe file.
- Once DDU opens, you will be shown the General Options window. Click the Close button to continue.

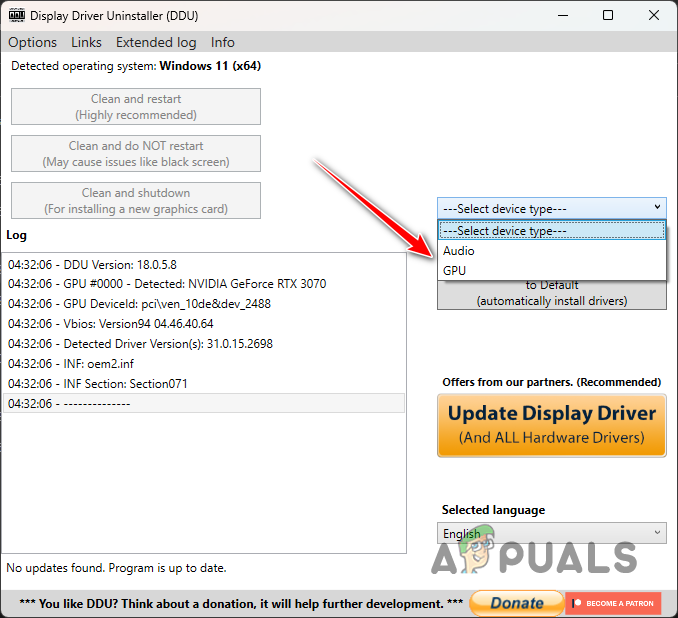
DDU General Options - After that, select GPU from the Select device type drop-down menu.
Selecting GPU as the Device Type - Then, select your graphics card manufacturer from the Select device drop-down menu.
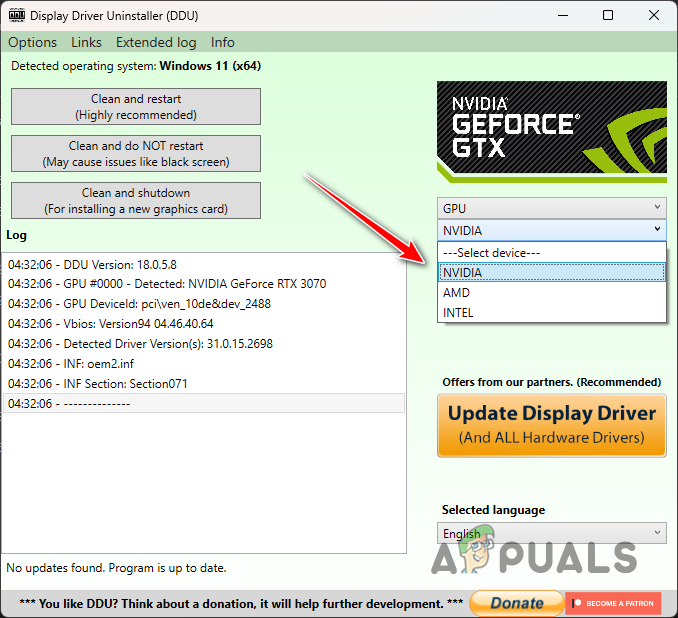
Selecting Graphics Drivers Manufacturer - Finally, click the Clean and restart option to uninstall your graphics drivers.
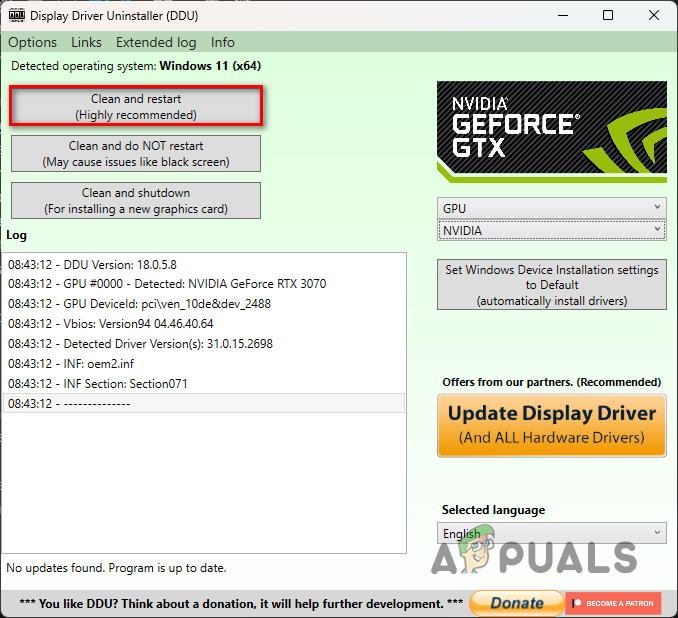
Uninstalling Graphics Drivers - After your PC boots up, head to your manufacturer’s website and download the latest drivers available for your graphics card. Install the drivers and see if the issue still occurs.
6. Perform a Clean Boot
Finally, if none of the methods above has resolved the problem for you, the issue is likely caused by the interference of a third-party process in the background.
When this happens, you can perform a clean boot to verify the suspicion. If the problem does not occur after performing a clean boot, it is likely a third-party app in the background is causing the issue.
A clean boot starts your computer with only essential services running in the background. This means all third-party services are stopped from opening on startup. Follow the instructions below to perform a clean boot:
- First, open the Run dialog box by pressing the Win key + R on your keyboard.
- In the Run dialog box, type in msconfig and hit Enter.
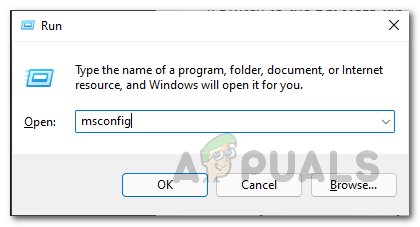
Opening System Configuration - This will bring up the System Configuration window. Switch to the Services tab.
- There, tick the Hide all Microsoft services checkbox.
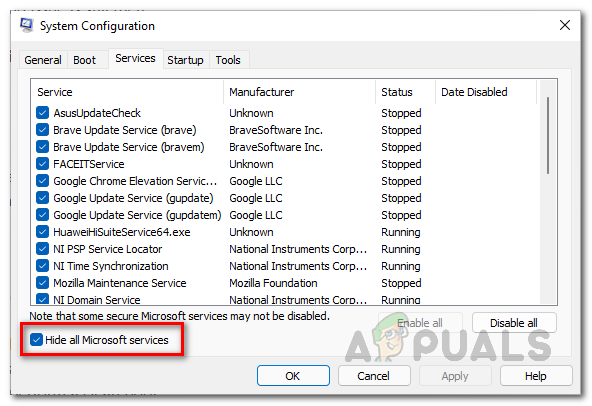
Hiding All Microsoft Services - After that, click the Disable all button and follow it up by clicking Apply.
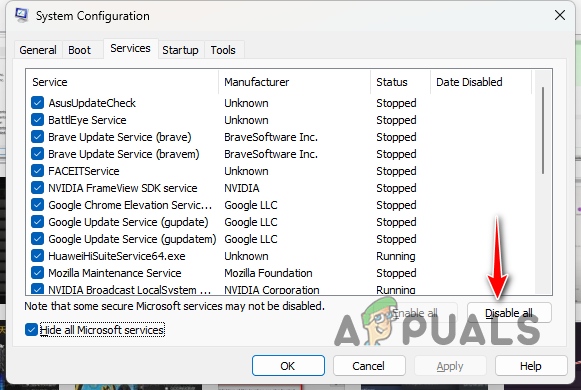
Disabling Third-Party Services - Once you do that, switch to the Startup tab and click on the Open Task Manager option.
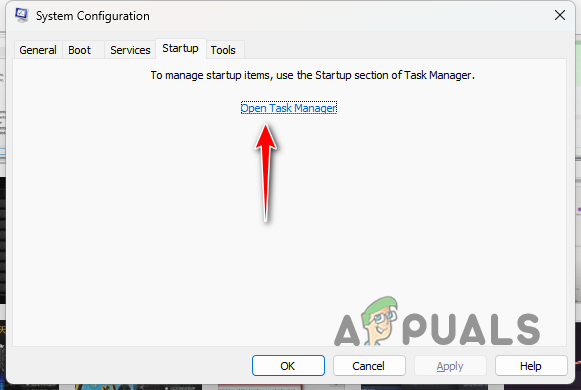
System Configuration Startup Tab - On the Task Manager window, select the apps one by one and click the Disable button.
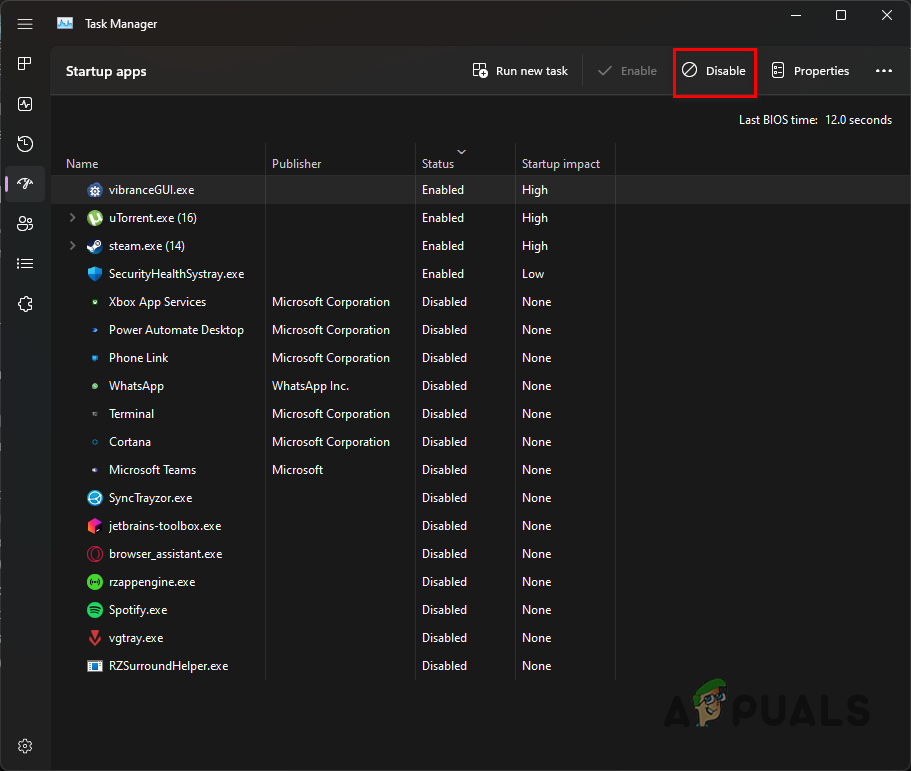
Disabling Third-Party Apps - With all of the apps disabled on startup, restart your computer.
- See if the problem still occurs.


