How to Fix Windows 10 Crashing Randomly or at Startup
If you are experiencing frequent crashes, reboots, or screen freezing on Windows, don’t worry. There are plenty of solutions you can apply to solve these problems.
The crashes can occur for multiple reasons, including a faulty power supply, overheating, RAM or Hard Disk issues, and motherboard or processor issues. Therefore, it’s critical to thoroughly check your PC before disposing of it or selling it.
In this guide, we will go through a series of methods to troubleshoot and solve the issue. Start with method 1 and proceed to the next method if it doesn’t solve your problem.
Troubleshooting
- Scan your computer with an antivirus or malware detector. Perform a thorough scan, not a quick one.
- If you have recently installed new hardware such as RAM or a Power Supply, replace it with a new one or a previously used one (that is known to work properly), and then check your PC.
Method 1: Cleaning Dust
- Hold Windows key and press X (Release the Windows Key) then click Shut down or sign out and select shut down.
- Unplug your power cable. Look at the top back of your PC and you will see a black cable coming from the socket to your PC. Cable will be connected somewhere around a fan. Take it out.
- Disconnect keyboard, mouse, webcam and all the other devices from your PC by taking out their cables. Cables might be connected to the front or back of the PC.
- Remove the outermost screws of the side panel using a screwdriver. If you can’t find any screws, then look for a latch or unlock button on the side panel of your PC. Remove the side panel.
- Place your PC horizontally if it isn’t already in that position. Clean the dust from inside your PC, ensuring that all fans are clear of dust on their blades. Don’t overlook the power supply fan located on the back of your casing. A blower can be used to remove dust.
- After you are done cleaning, put back the side panel, connect all the devices and plug in your PC.
Now, turn on your PC and check if it crashes. If it doesn’t, that means the problem was due to overheating and dust.
Method 2: Checking and Replacing Power Supply
- Hold the Windows key and press X. After releasing the Windows key, then click ‘Shut Down or Sign Out‘ and select ‘Shut Down‘.
- Unplug your power cable. Look at the top back of your PC, and you will see a black cable coming from the socket to your PC. The cable will be connected somewhere around a fan. Take it out.
- Disconnect keyboard, mouse, webcam and all the other devices from your PC by taking out their cables. Cables might be connected to the front or back of the PC.
- Remove the outermost screws of the side panel with a screwdriver. If you can’t find any screws, then look for a latch or unlock button on the side panel of your PC. Remove the side panel.
- Find a box attached to one of the back corners of your PC case. This box should have an opening that contains a fan on the back. This particular component is your power supply.
- Remove all the power supply cables that are connected to the motherboard, which is the main board in your casing. Remember where they were connected.
- Take out your power supply from the casing. If you can’t, look for a screw or a latch that might be holding the power supply in the casing.
- Once the power supply is out, look for a sticker attached to it. You will be able to see the wattage of your power supply
- Go here and insert all the information about your PC. Calculate and make sure your power supply has enough wattage for your PC
- If your power supply doesn’t have enough wattage, then buy a new one that has enough wattage for your PC.
- Install the new power supply back into the casing, and connect its cables to the motherboard, which is the main board in your casing.
- Put back the side panel, connect all devices and plug in your PC.
If you are not sure how to take out your power supply or about anything else, contact a professional or take your PC to a computer shop and get your power supply replaced.
Method 3: RAM Checks
You can check for memory problems with Windows‘ own memory diagnostic tool or with Memtestx86, which is a third-party tool.
Ideally, you should first check with the Windows Memory Diagnostic Tool, and then proceed to use Memtest86.
For Windows Memory Diagnostic Tool
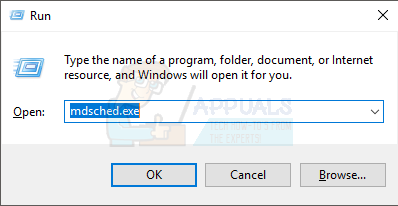
- Hold Windows Key and press R (Release Windows Key)
- Type mdsched.exe and press enter
- Select Restart now and check for problems (recommended)

Your computer will reboot and check for errors in the memory. Once the diagnostic tool finishes testing, your computer will restart, and the results will be displayed. If this doesn’t happen, or if you want to view the results again, please follow the steps provided below.
- Hold Windows Key and press R (Release Windows Key)
- Type eventvwr.msc and press enter

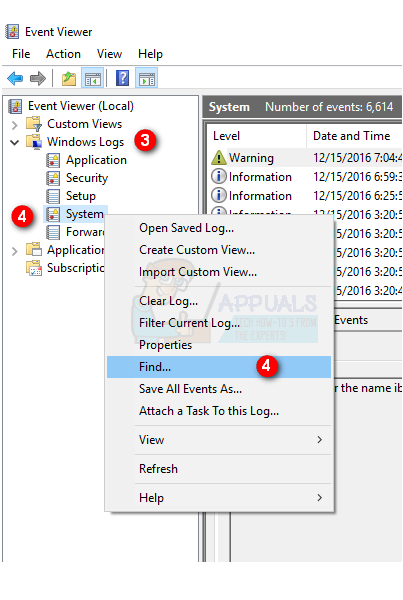
- Double click Windows Logs
- Right click System then select find
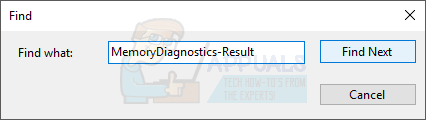
- Type MemoryDiagnostics-Result and press Enter.
- Click the result with source MemoryDiagnostics-Results
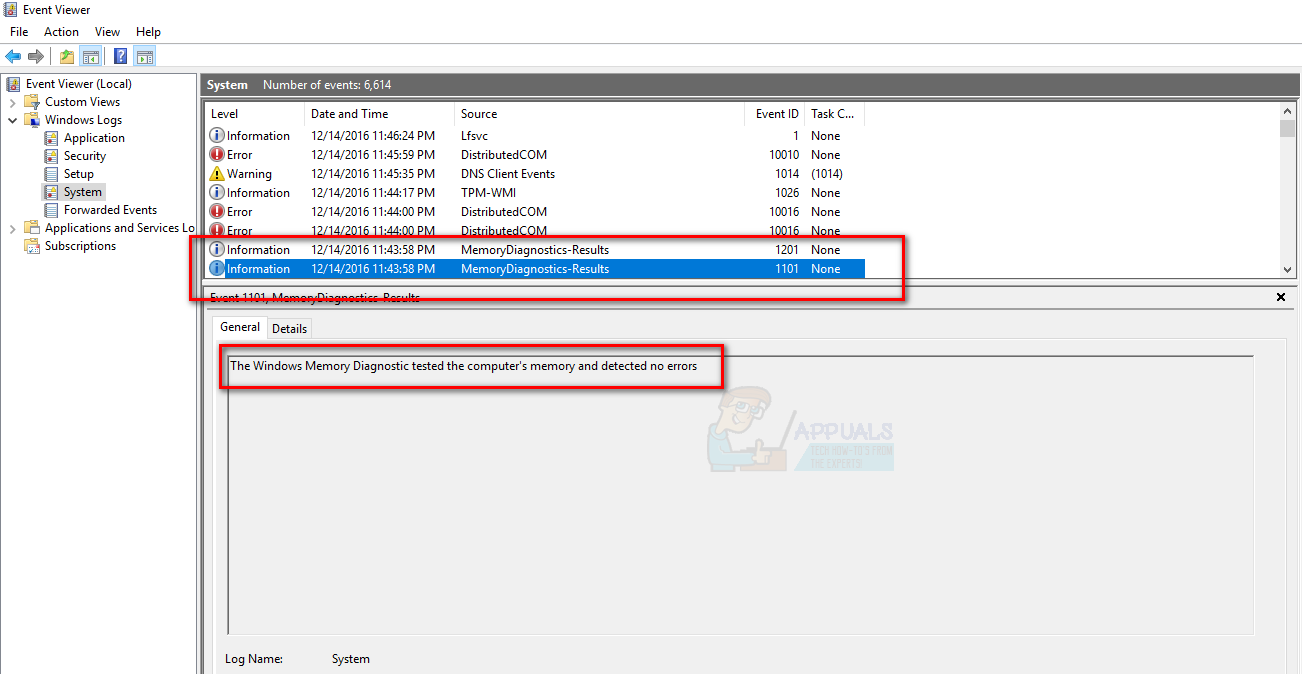
Results
As you can see the diagnostic tool did not detect any errors.
If it doesn’t solve your problem, please continue with the methods below.
For Memtestx86
If the Windows memory diagnostic tool doesn’t reveal any errors and your computer continues to crash, then use Memtestx86 for a more detailed analysis of RAM errors. Memtestx86 is a third-party tool that is free to use and checks your RAM for faults.
Make sure you have a CD or a USB drive, as you will need them for testing. Also, Memtestx86 takes a lot of time, so ensure you run the scan in your spare time.
- Go here and download the image for creating a bootable USB drive, or the image for creating a bootable CD (ISO format) found under the Windows downloads.
- Unzip the file you just downloaded and follow the instructions in the readme files
- Let the Memtestx86 run for a few hours and check the results
If you notice errors or faulty RAM in the results, then you should visit a computer shop and have your RAM replaced.
Method 4: Hard Disk Checks
You can check the hard disk for errors using either Windows’ own command prompt or a third-party tool.
From Windows own commands
- Hold the Windows key, then press X and release the Windows key. After that, select ‘Command Prompt (Admin)‘.
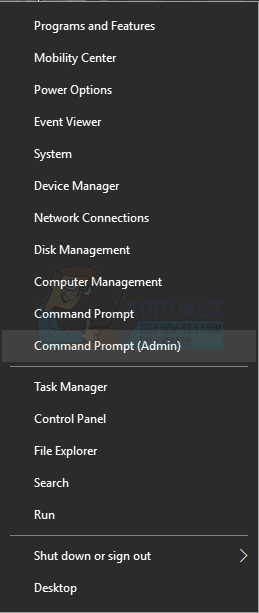
- Type wmic and press Enter

- Type diskdrive get status and press Enter

You should be able to see the results there. If the result says ‘Ok’ and you are still experiencing crashes, then it’s time to conduct a thorough analysis of the hard disks using a third-party tool. If the result is anything other than ‘Ok,’ that suggests your hard disk is faulty. Take your PC to a repair shop and have your hard disk checked.
For DiskCheckup
DiskCheckup, a third-party tool for hard disk testing and monitoring, measures your hard disk activity to provide an estimated time for potential disk failure. It can also be used for quick or thorough hard disk testing.
- Go here and click on the Download Now
- Once the download is finished, run the exe and install the software
- Run the DiskCheckup from the Desktop once it’s installed.
- Click on the Hard Drive that appears in the top section, and you will be able to see the information about your disk.
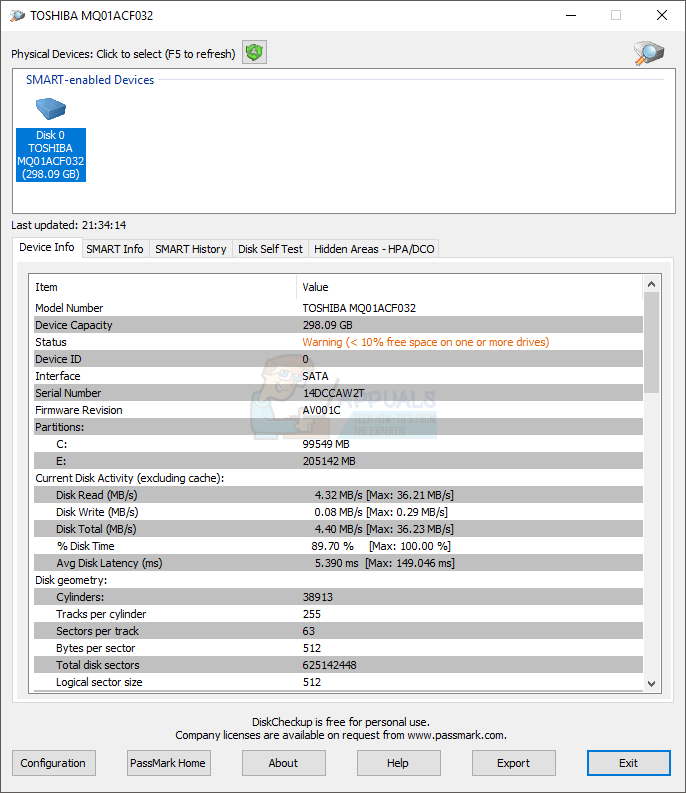
- Check the ‘Device Info,’ ‘Smart Info,’ and ‘Disk Self-Test‘ tabs to see information about your hard drive.
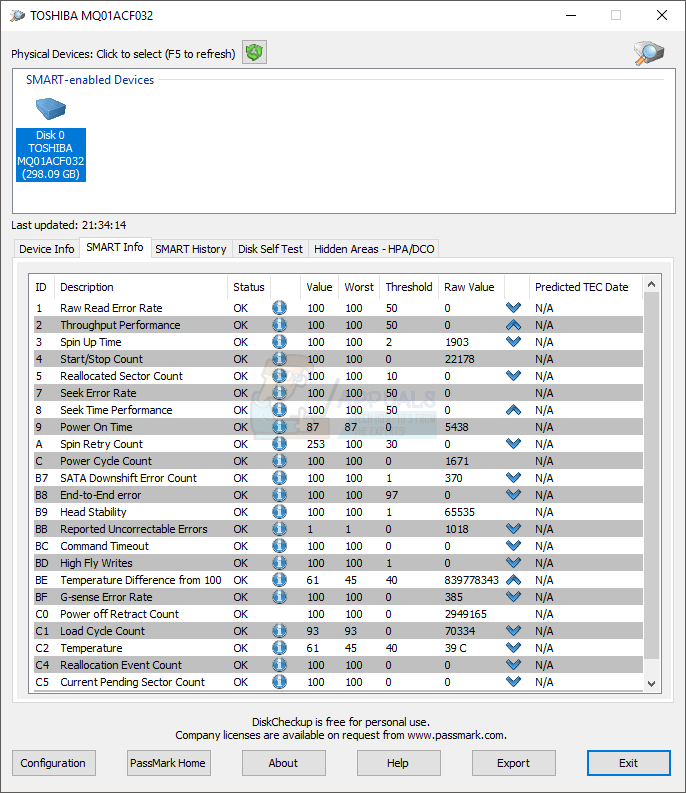

If your Hard Drive has any labels indicating errors or poor performance, it may be faulty and should be examined or replaced. Ideally, all statuses and results should read ‘OK’.
If none of the above-mentioned methods fix your problem, then it’s likely that the cause of the crashes is a faulty motherboard or processor. If that’s the case, you should go to the nearest PC shop and get your motherboard and processor checked.