How to Fix ‘Packet Burst’ Error in Call of Duty Vanguard
Call of Duty: Vanguard has been building a pretty huge fan base, but lingering issues like the ‘Packet Burst’ error keep it from being a truly next-gen experience.
PC and console players alike are being annoyed by a packet loss issue that causes them to experience lag. This issue severely impairs the gameplay experience and it’s prevalent on both consoles and PC.

We’ve looked into this ‘packet burst’ issue extensively and we found that this problem has multiple potential root causes. Here’s a list of potential culprits that are most likely responsible for this particular issue:
- Ongoing server issue – As it turns out, you can expect to face this issue when there’s scheduled maintenance or an ongoing server issue that is affecting the connectivity to the game server. In this case, there’s nothing you can really do other than confirm the issue and wait until the developers manage to fix the issue on their side.
- On-Demand Texture Streaming is Enabled – On-demand texture streaming is a new setting in COD: Vanguard that enhances the color palette by streaming data from the internet. This will make colors more vivid, but it’s also known to cause this error and facilitate gameplay lagging. Turn this feature off to make the issue less frequent.
- Router-related issue – In certain scenarios, this problem is linked to badly cached network-related data that is slowing the connection with the game server, causing the ‘packet burst’ error to appear. In most cases, this particular issue can be resolved either by restarting or resetting your router.
- Improper DNS range – Depending on your ISP (Internet Service Provider), a level 3 Node might mean that your DNS range is not fit to facilitate the connection between your console or PC and the game server. In this case, migrating your DNS range from your default one to Google’s equivalent should drop the frequency of which you get the error.
Now that we went over every potential fix that might be responsible for this issue, let’s go over some of the actual methods that will allow you to pinpoint and fix (in some cases) the ‘packet burst’ error when playing Call of Duty Vanguard.
1. Check out the Server Status
The first thing that you should do when troubleshooting this particular issue is to check and see if Activision is currently dealing with an underlying server issue.
It’s not uncommon to experience the ‘packet burst’ error in those instances where there is scheduled maintenance or when there’s some kind of a server issue on the server that you’re attempting to play on.
Fortunately, there’s an easy way to check if other people in your area are also experiencing the same issue with the game.
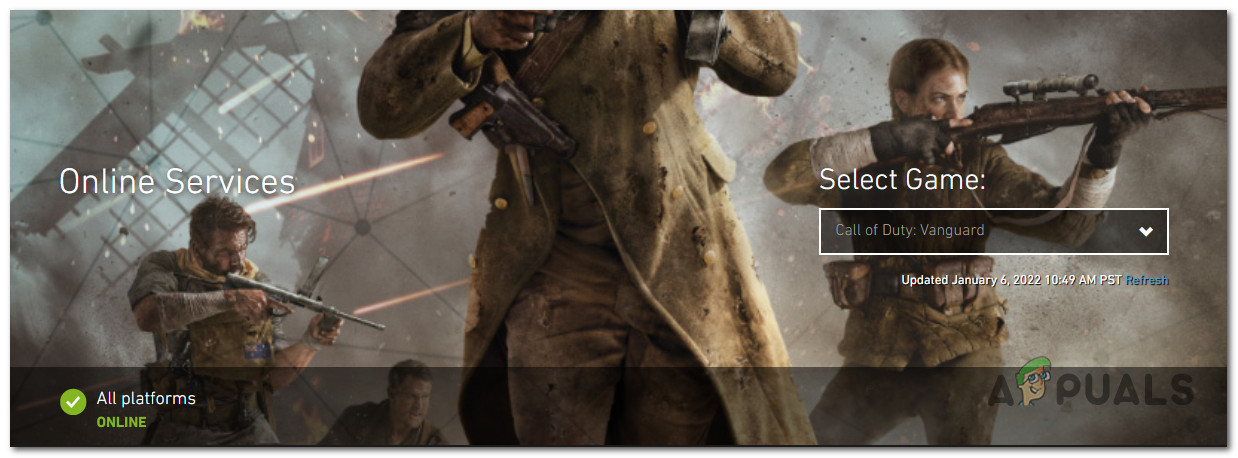
The best place to check is the official Online Services page of Activision.
Once you’re inside the correct page, use the drop-down menu on the right-hand side and select Call of Duty: Vanguard from the list.
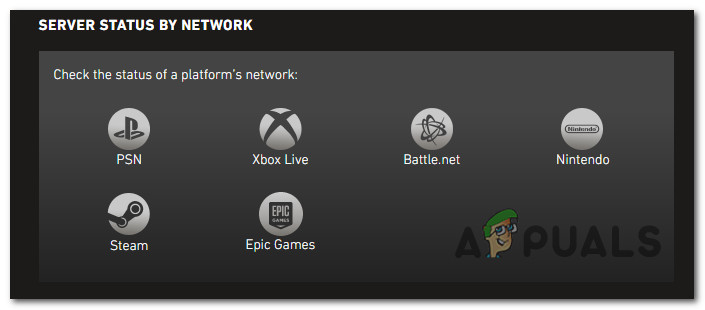
Next, scroll down below to check if there’s an underlying issue with the platform that you’re currently playing on.
Additionally, you should also check for a network issue by clicking on your platform from the list below.
If the investigation has revealed evidence about a potential server issue, there is nothing you can really do other than wait until the developers manage to fix the server issues on their side.
On the other hand, if you found no evidence of a server issue, move down to the first proper fix below.
2. Disable On-Demand Texture Streaming
Before Call of Duty Vanguard officially launched at the end of 2021, there was a lot of hype around the new on-demand texture streaming. Techy gamers were saying that it will revolutionize the way games are being rendered.
Although on-demand texture streaming is a technique that definitely enhances the color palette and makes colors more vivid while allowing you to save space, it’s also heavily linked with the apparition of the ‘packet burst’ error (especially for users playing the came from a limited Internet connection).
If you’re experiencing the ‘packet burst’ error consistently, our advice is to simply disable this feature and see if the frequency of the error improves.
Follow the instructions below for specific steps on how to do this:
Note: Before following the instructions below, close every bandwidth-hogging application and do a Speedtest on your internet connection to make sure your Download speed is at least 11 MB/s and your Upload speed at least 4.5 MB/s.
- Launch Call of Duty Vanguard normally (via the standalone executable or via the launcher).
- Once you’re at the main menu of the game, access the Settings menu.
- Next, select the Graphics sub-menu at the top, then scroll all the way down and select On-Demand Texture Streaming.
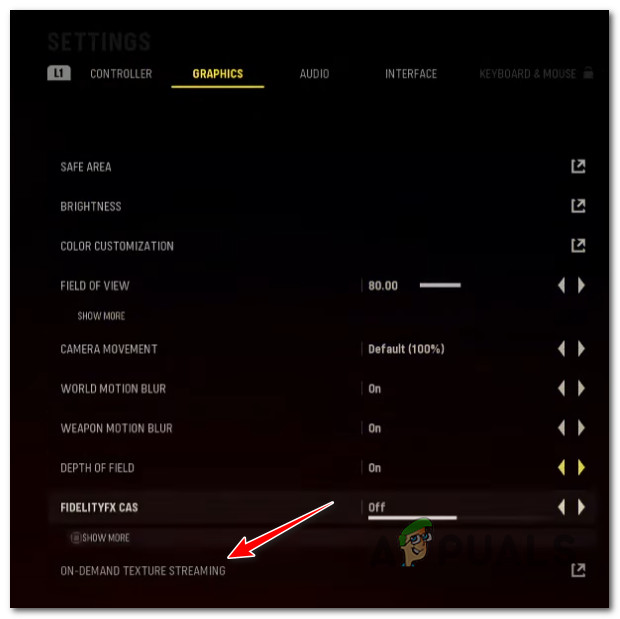
Access the On-Demand Texture streaming - From the next menu, simply toggle off the option named On-Demand Texture Streaming.

Disable On-Demand Texture streaming - Once you’ve made this chance, save the changes and restart the game before attempting to connect to another COD: Vanguard server.
- Play the game normally and see if the problem is now fixed.
If the problem is still not resolved, move down to the next potential fix below.
3. Restart or Reset the router
Another potential inconsistency that is known to be responsible for the apparition of the ‘packet burst’ error with Call of Duty Vanguard is a network inconsistency facilitated by temporary files generated by your router.
Some COD players that we’re also struggling with this problem confirmed that they finally managed to get the issue fixed either by restarting or resetting their router.
Note: This is mostly reported to be effective in situations where the router is actually overworked with multiple devices actively using bandwidth from it.
If you want to give this fix a try, our advice would be to start with a simple router reboot – this will resolve a wide array of issues that are typically associated with a network inconsistency.
Rebooting your router is way less destructive than a reset since it allows you to clear the networking temp folder and refresh every involved component without making long-lasting changes to your network credentials and settings.
To perform a router restart, look for the On / Off button on the back of your device. Press it once to turn your device off, then wait for 30 seconds or more to allow the power capacitors enough time to clear themselves.
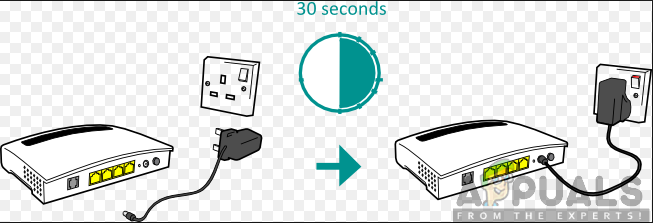
Note: Additionally, you can simply disconnect the power cable from the power outlet.
Once you’ve done this and you’ve regained access to the internet, attempt to join another multiplayer game inside Call of Duty and see if the problem is now fixed.
If the problem is still not resolved, you should move forward with a reset procedure.
This operation means that you’ll also reset the custom credentials from your router, so any previously established users, custom settings, and forwarded ports will be erased. Also, if your ISP is using PPPoE, the login credentials will be ‘forgotten’ too.
If you want to go for a router reset and you understand the consequences, equip yourself with a sharp object like a needle or a toothpick – you’ll need it in order to push and hold on to the reset button (you’ll find it on the back of your router).
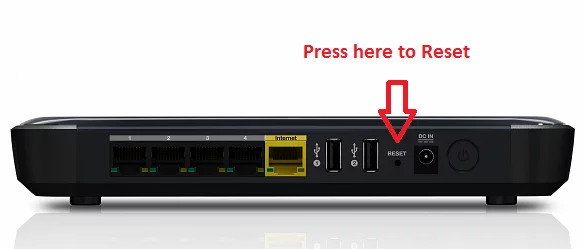
Press and hold on to the reset button for at least 10 seconds or until you see the front LEDs of the router start blinking intermittently – this is your confirmation that the reset procedure is complete.
Once the reset procedure is complete, re-configure your router to regain internet access, then reboot your PC or console one final time before attempting to see if the ‘packet burst’ error has been resolved.
If the same problem is still ongoing, move down to the final method below to try an additional way of resolving the issue.
4. Change the DNS range
If you’ve come this far without a viable result, the last thing you should troubleshoot against is an issue brought about by an inconsistent DNS (Domain Name Address). This is especially common among ISP (Internet Service Providers) that are using Level 3 nodes.
If this scenario looks like it could be applicable, you might be able to alleviate the problem by migrating the current DNS range to the one facilitated by Google.
Note: A lot of Call of Duty: Vanguard players are reporting that after making the switch to the Google DNS range the frequency of the ‘packet burst’ error has gone down drastically.
However, since the game is launched on a lot of different platforms, the instructions on making the switch to the Google DNS range provided by Google are different from platform to platform.
Because of this, we’ve made a list of sub-guides that will show you how to change the DNS range regardless of the platform you’re playing Call of Duty Vanguard on.
Change the DNS to Google on PC
If you’re playing the game on PC, you’ll need to access the Properties screen of the network that you’re currently connected to (ethernet or wireless) and adjust the Internet Protocol Version 4 (IPv4) and Internet Protocol Version 6 (IPv6).
Follow the step by step instructions below:
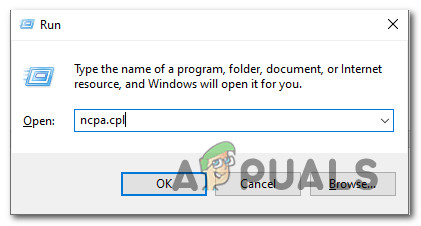
- Press Windows key + R to open up a Run dialog box. Next, type ‘ncpa.cpl’ and press Enter to open up the Network Connections window.
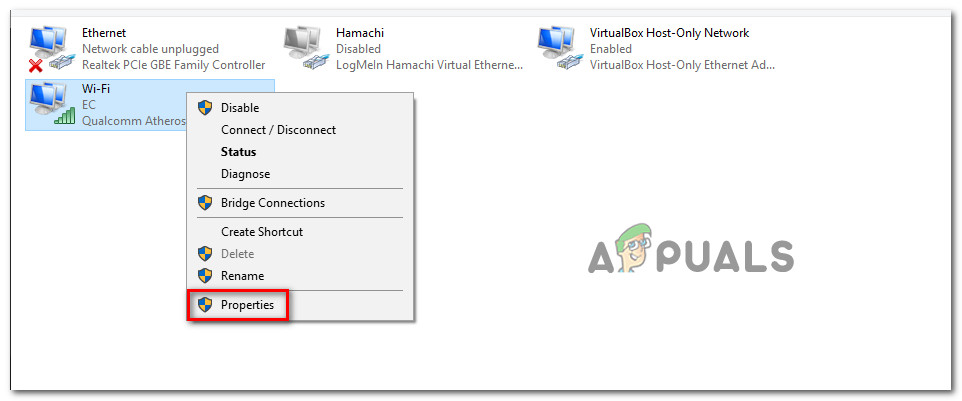
Access the Network Settings - Inside the Network Connections window, go ahead and right-click on Wi-Fi (Wireless Network Connection) or Ethernet (Local Area Connection) depending on if you’re using a wired or wireless connection.
- Next, click on Properties from the new context menu that appeared.
Accessing the Properties screen of your network device - At the UAC (User Account Control) prompt, click Yes to grant yourself admin access.
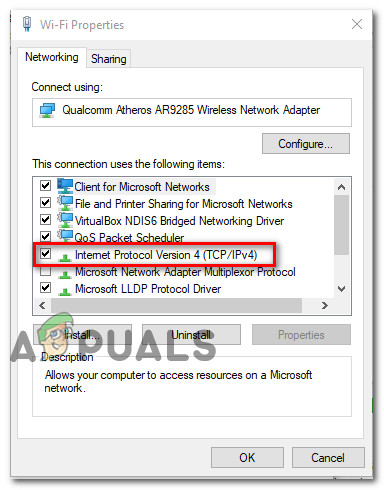
- Inside the Properties screen of the active network, access the Networking tab, then navigate to the section entitled This connection uses the following items section.
- Next, check the box associated with Internet Protocol Version 4 (TCP / IPv4) then click on the Properties button.
Accessing the internet protocol settings - Inside the next screen, go ahead and replace Preferred DNS server and Alternate DNS server with the following values:
8.8.8.8
8.8.4.4
- The next step is to take care of the TCP / IPV6 protocol. Return to the initial menu and do the same thing for the Internet Protocol Version 6 – Change the Preferred DNS server and Alternate DNS server to the following value:
2001:4860:4860::8888
2001:4860:4860::8844
- Once the changes have been made, reboot your PC, then Call of Duty: Vanguard and see if you still end up getting the ‘packet burst’ error.
Change the DNS to Google on PS5
If you’re experiencing this issue on a Playstation 5 console, you will need to set up a new manual connection and choose to manually specify the DNS instead of letting the system choose the range for you.
This is similar to what you need to do on the old-gen Playstation 4 system. Here’s what you need to do:
- Make sure you’re on the main dashboard of your PS5 console, then use the left thumbstick to access the Settings menu in the top-right section of the screen.

Accessing the Settings menu - Next, from the Settings menu of your PS5 system, click on Network, then access the sub Settings menu.
- Inside the Settings menu of your network, access the Set up Internet Connection tab, then scroll down to the bottom of the screen and choose Set up Manually.
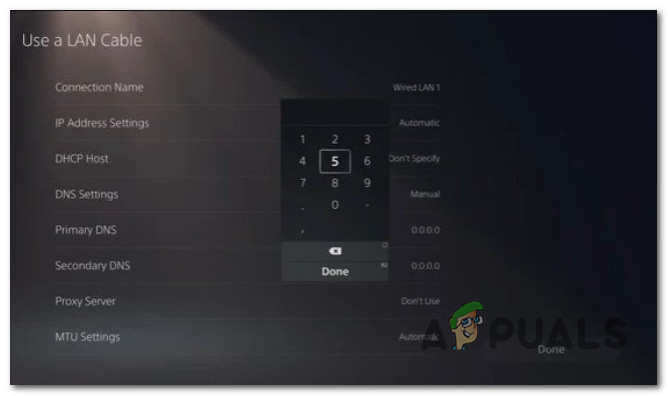
Set up the DNS manually on PS5 - Depending on the type of connection that you’re using, select Wi-Fi or LAN cable before choosing DNS.
- Next, change the Primary DNS and Secondary DNS to the following values:
Primary DNS: 8.8.8.8
Secondary DNS: 8.8.4.4
Note: If you want to use IPV6, use these values instead:
Primary DNS: 208.67.222.222
Secondary DNS: 208.67.220.220
- Save the changes and complete the setting up of the new network connection, then open Call of Duty Modern Warfare once again and see if the problem is now fixed.
Change the DNS to Google on PS4
On Playstation 4, the steps of changing the default DNS are similar to the PS5 equivalents with some small exceptions having to do with the sub-menus of the Network settings.
Follow the instructions below for specific instructions on making the switch from the default DNS range to the equivalents provided by Google:
- From the main menu of your PS4 console, access the main dashboard, then use the left thumbstick to access the vertical menu at the top and select the Settings icon, then press X to access the menu.
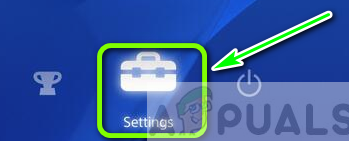
Accessing the settings menu on Ps4 - Next, from the main Settings menu, navigate to the Network tab, and then choose Set Up Internet Connection from the list of available options.
- After this, choose Custom, so you have the option to establish a custom DNS range.
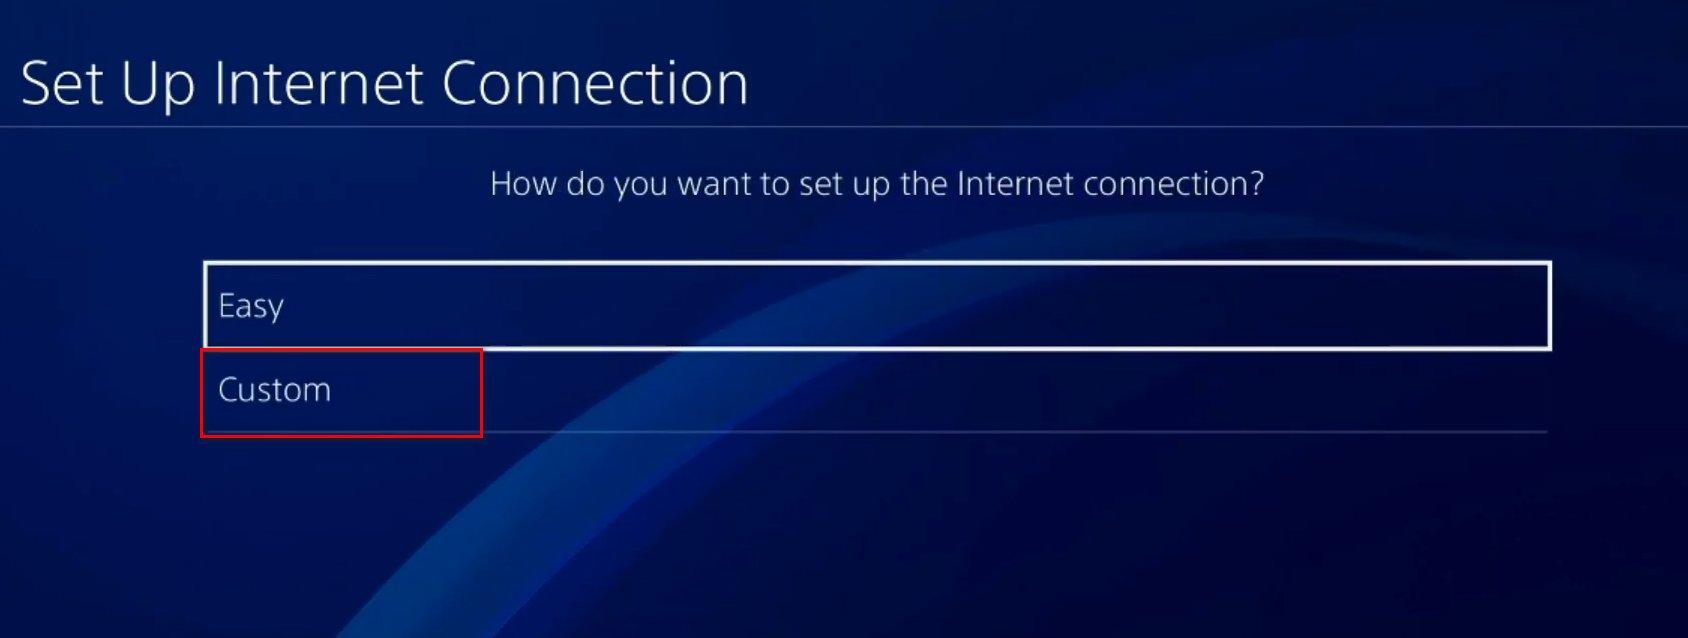
Accessing the custom internet connection - When asked if you want to configure your IP Automatically or Manually, choose Automatic.
- At the DHCP Host Name prompt, choose Do Not Specify.
- Inside the DNS Settings menu option, choose Manual, then set the Primary DNS to 8.8.8.8 and the Secondary DNS to 8.8.4.4.
Note: Additionally, you can use the IPV6 equivalents:
Primary DNS – 208.67.222.222
Secondary DNS – 208.67.220.220
- Save the changes, and restart your console before opening Call of Duty: Vanguard once again and checking if the lag issue has been resolved.
Change the DNS to Google on Xbox One and Xbox Series X
The instructions on changing the DNS range from the default one to the dedicated Google range are identical on both Xbox One and Xbox Series X versions.
Follow the instructions below for specific steps on changing the DNS to the range provided by Google:
- At the initial dashboard menu of your Xbox console, press the Xbox button (on your controller) to open up the guide menu. Once you’re inside, access the All Settings menu.
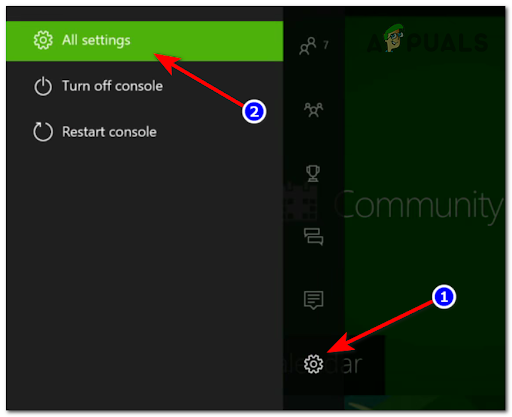
Accessing the All Settings menu - Inside the Settings menu, access the Network tab using the menu on the right-hand side, then access the Network Settings sub-menu.
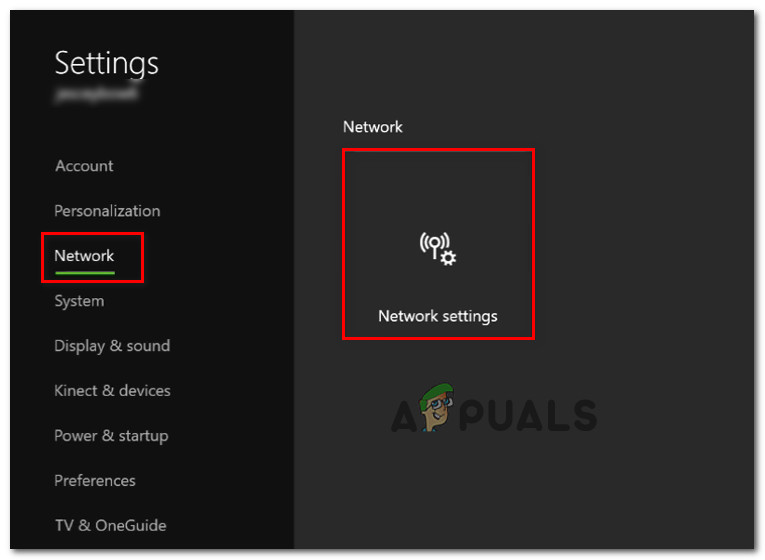
Accessing the network settings menu - Inside the Network menu of your Xbox One console, choose Advanced Settings from the section on the left.
- From the Advanced Settings menu, choose DNS settings, then choose Manual at the next prompt.
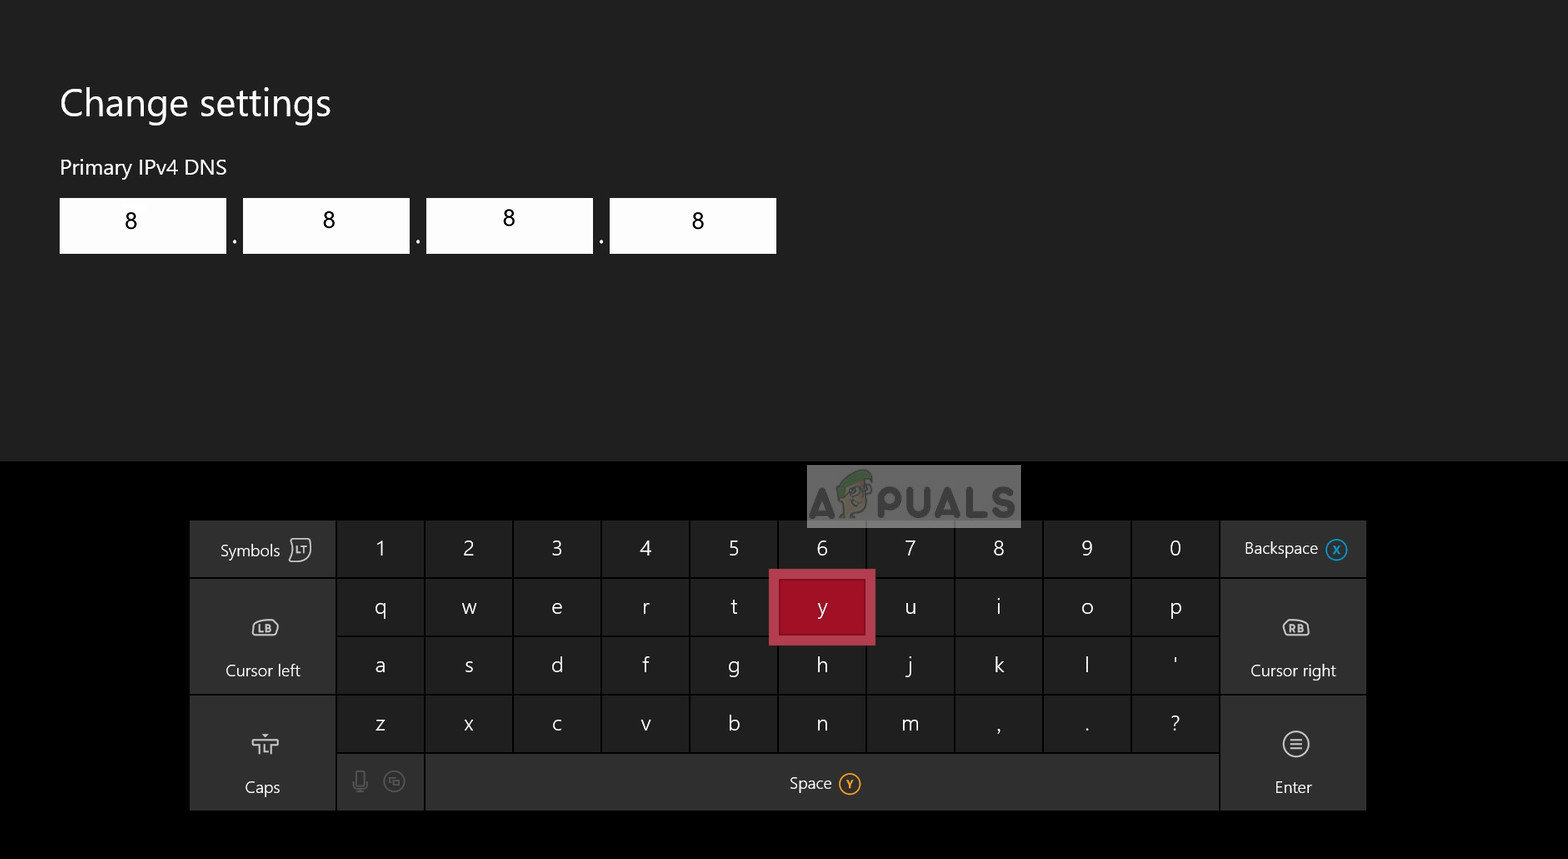
Changing the DNS settings= - At the next prompt, change the default DNS values to the following:
Primary DNS: 8.8.8.8
Secondary DNS: 8.8.4.4
Note: If you want to use IPv6 instead, use the following values:
Primary DNS: 208.67.222.222
Secondary DNS: 208.67.220.220


This is ridiculous. It’s the only game I have played in my 17 years of gaming where packet burst is a thing.