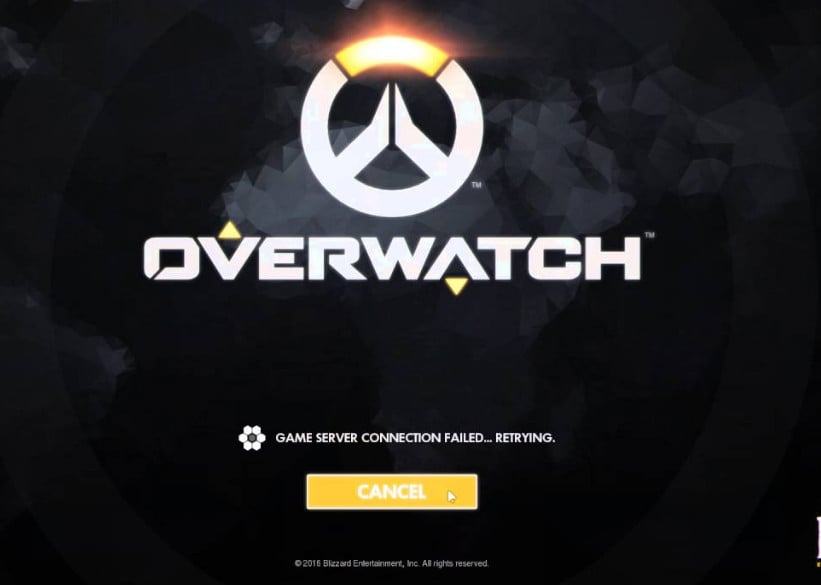
Fix: Overwatch Failed to Connect to Server
Overwatch is a team-based multiplayer first-shooter game that is published by Blizzard Entertainment. It is one of another flagship games after World of Warcraft. Like all other online multiplayer games, Overwatch also encounters several connection errors with the “Overwatch failed to connect to server” topping the list.
Truth be told, there is no definitive fix for these kinds of errors. The problems can be potentially anywhere including the server, the ISP, your local forwarding station, your computer, etc. Still, we have tried to outline the things to check and several workarounds. Start with the first one and work your way down.
But before moving on with the solutions, make sure to restart your system and check if the problem is solved.
Solution 1: Check For Server Outrages
The first and foremost thing you should check is for server outrages. The error “Outlook failed to connect to server” surfaced a lot in the past year and was even acknowledged by Blizzard to be an official problem. After the fix provided by them, the players were still unable to connect successfully or were disconnected within ranked matches. This caused them to lose points that they were unable to recover.
You should check in various forums and threads by the Overwatch community and see if other players are also experiencing similar problems like you. You can also check third-party websites to see the status.
Solution 2: Change the Mode of Connection
The mode of communication you are using may be experiencing lag and packet losses. Wi-Fi connections are known to underperform if your computer is getting a weak signal. Sometimes that computer’s Wi-Fi receiver also malfunctions and drops packets now and then.
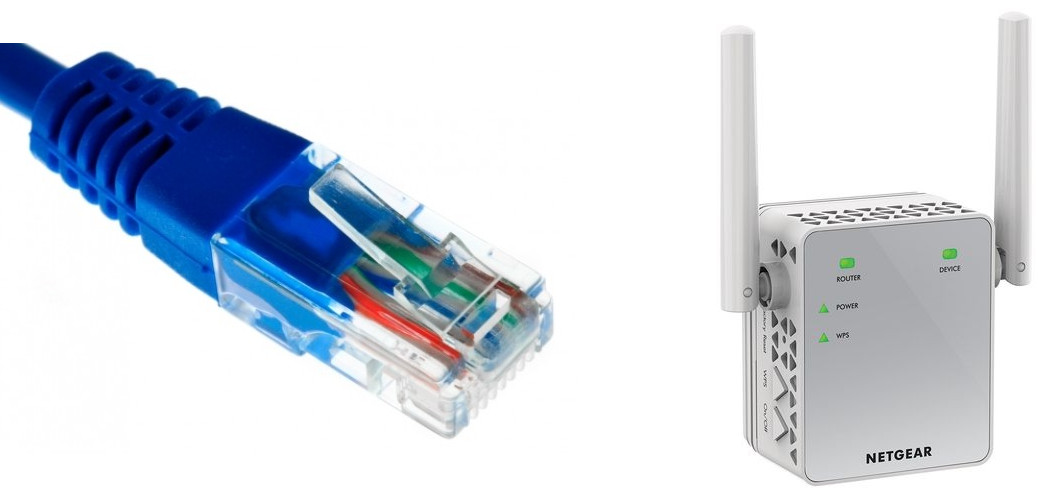
There are several remedies to counter this problem. You can plug an Ethernet cable directly into your computer instead of relying upon Wi-Fi signals. If you don’t have an Ethernet setup, you can plug an Ethernet wire into the back of your router and connect it to your computer. Furthermore, you can also use simple devices to act as repeaters (Wi-Fi extenders) and see if this solves the problem. Also, sometimes, too many people consuming the internet can cause this problem. Make sure you are getting enough bandwidth and a stable internet connection.
This step is very important as in a way, we are determining if the problem lies at your end in the network you are using.
Solution 3: Scan and Repair Files
In this solution, we will try to determine if the problem lies with your game files. There may be some corrupt modules or wrongly updated files that may be causing the game to be unstable and thus drop the connection every once in a while.
- Close all processes related to Overwatch through the task manager.
- Press Windows + R to open Run command box and copy-paste the following in it.
%userprofile%\Documents\Overwatch\Settings\
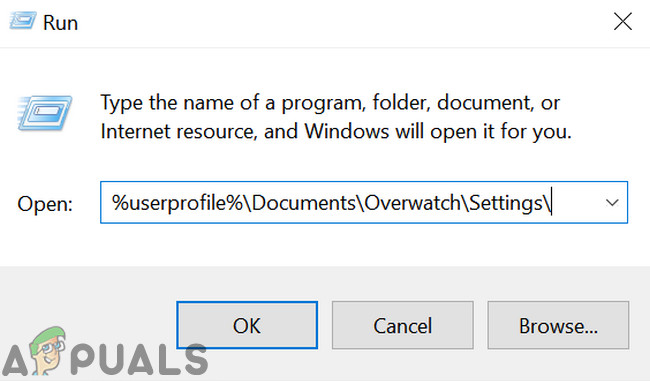
Delete Setting File of OverWatch - Find and Delete the Overwatch Setting file. It will be something like Settings_v0.ini
- Open the Blizzard application. Now click on the Games tab and select Overwatch from the left navigation pane. Now click Options and select Scan and Repair.
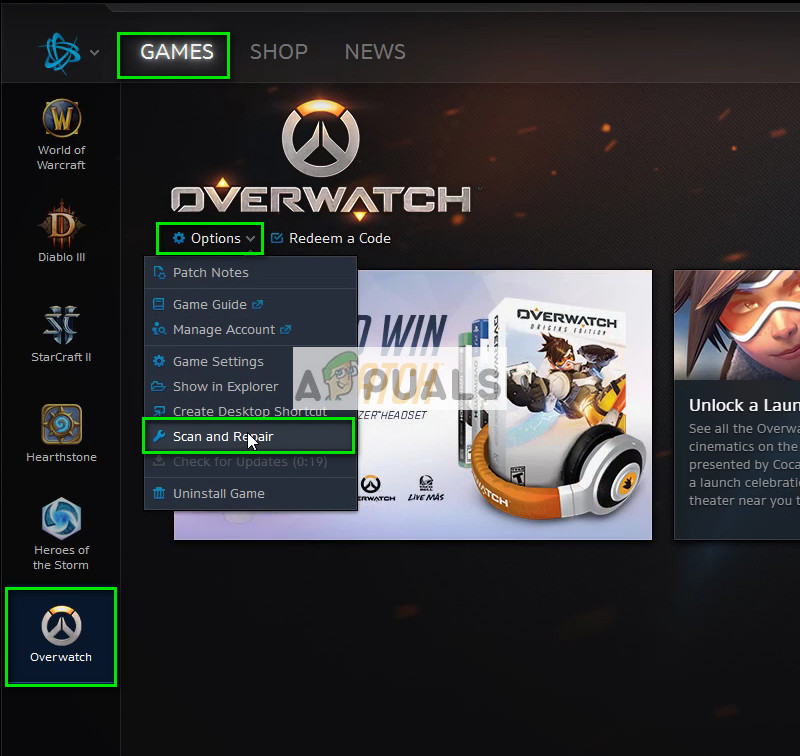
Scan and Repair Overwatch - Now when the scan starts, you will see a progress bar at the bottom of the page. This process might take a while so sit back don’t cancel any stage. After the scan is complete, try playing the game and see if the problem is fixed. Also, consider restarting your computer.

Solution 4: Update Overwatch to the Latest Version
Blizzard tends to release periodic updates to fix bugs and problems. This seemed to be the case last year where a majority of the players were unable to connect with a stable connection to the game. In response, Blizzard released an Overwatch update to fix this problem.
Make sure you have a stable internet connection before proceeding with this solution.
- Open the Battle.net application and from the section of Games, select Overwatch.
Update Overwatch - Now check if there are any available updates. Perform the latest update and see if this solves the problem for you.
Another thing you should try is power cycling your computer. Power cycling is an act of turning off a device completely off and then on again. Reasons for power cycling include having an electronic device reinitialize its set of configurations parameters or recover from an unresponsive state or module. It is also used to reset all the network configurations as they are all lost when you turn the device completely turned off. After turning off the computer, take out the main power cable and let them stay idle for a couple of minutes (~5). After the required time, plug in the cables and turn on your computer. Do the same with your router. After you turn everything back on and connect to the internet, check if the problem got solved.
Solution 5: Disable Proxy Server
If you use proxy settings for your work or university, this may be causing the issue. Proxy settings provide another path for the internet to work. This implementation is mainly done in institutions or workplaces that don’t allow full internet access or monitor it.
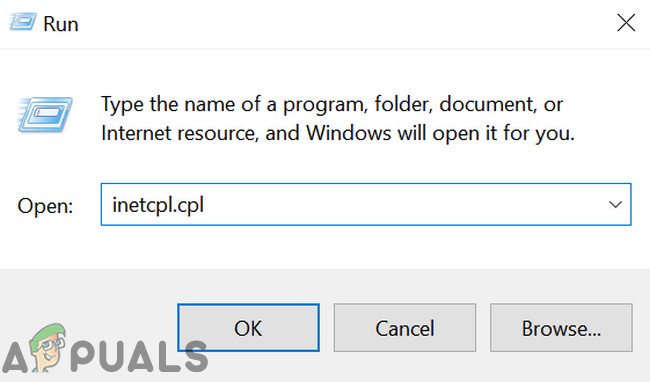
- Press Windows + R, type “inetcpl.cpl” in the dialogue box and press Enter.
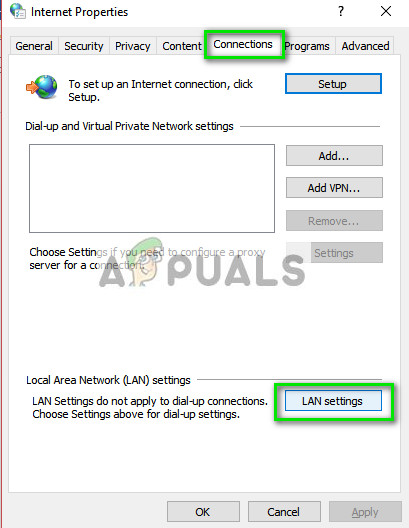
Run inetcpl.cpl - Select the Connections tab and click the LAN Settings button present at the near end of the window.
Open LAN Settings - Uncheck the box which says “Use a proxy server for your LAN”. Press Ok to save changes and exit.
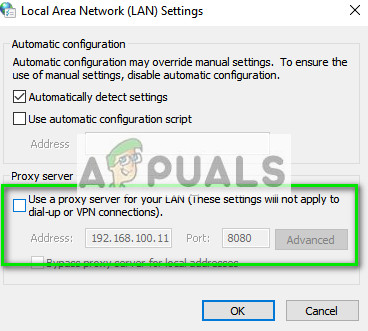
Uncheck the Option of Use a proxy server for your LAN - Now check if the problem got fixed. If you are using the internet within an institute, it is possible that they only allow connections using a proxy server. In that case, you might have to search for different network alternatives out there.
Solution 6: Update Windows to the Latest Build
Outdated Windows can cause a lot of problems for a user. Moreover, in a Windows update, a lot of issues related to software/hardware are patched and the problem you are facing may already have been patched in the latest Windows update. In that case, updating Windows to the latest build may solve the problem. Make sure that you are logged in as an administrator. Also, good internet access will be required.
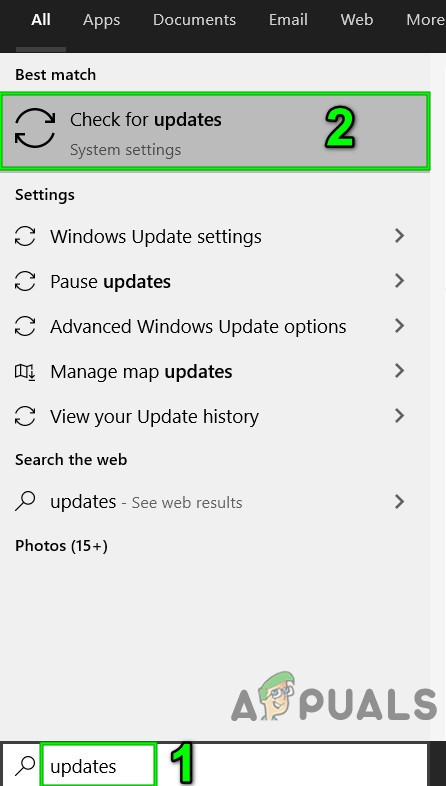
- Press Windows key and type Update. Then in the search results, click on Check for Updates.
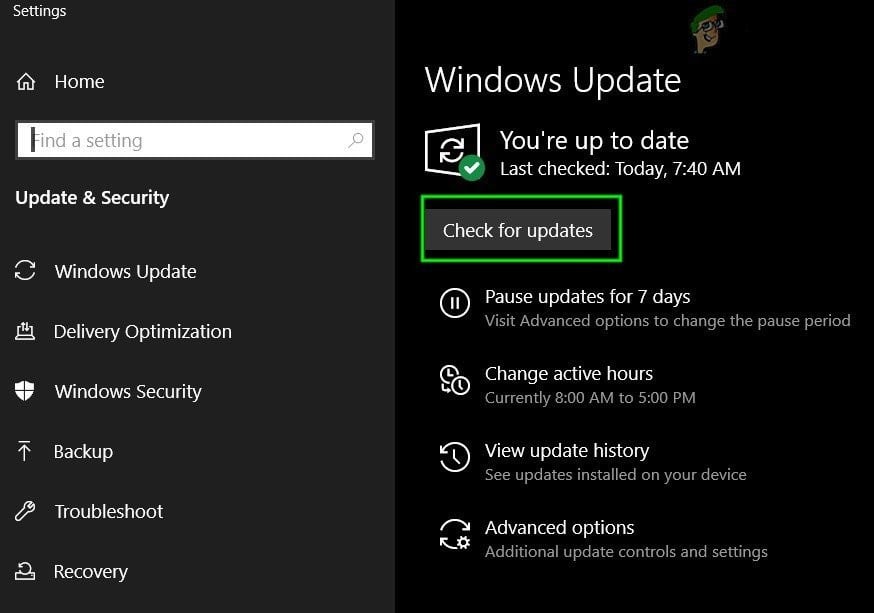
Check For Updates in Windows Search - Now in Windows Update, click on Check for Updates. And if there are any updates available, install them and then check if the problem is solved.
Check For Updates in Windows Update
Solution 7: Reset Network Configurations
As a last resort, you should try resetting all the Network Configurations and see if this fixes anything. There is a very slight chance that this will solve your ‘failed to connect’ issue but there is still a chance which you should take. If even this solution doesn’t work out, you should head over to Overwatch and make an official ticket either in the game or in the forums.
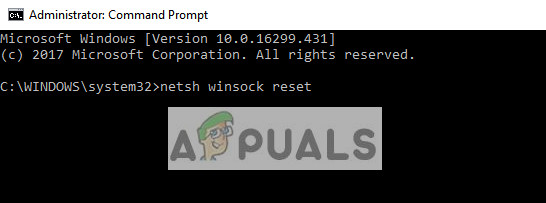
- Press Windows + S, type “command prompt” in the dialogue box, right-click on the application and select “Run as administrator”.

Running Command Prompt as an administrator - Once in elevated command prompt, execute the following command to reset the Winsock data.
netsh winsock reset
Run netsh winsock reset Command - A restart is required to implement all the changes. After restarting, check the progress of the error.
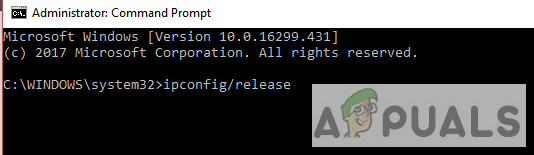
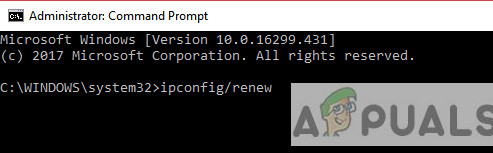
If resetting the Winsock doesn’t work as well, we can try to release and renew the IP and also try flushing the DNS.
- Open an elevated command prompt window and type the following commands:
ipconfig/release
ipconfig/renew
ipconfig/flushdns

After performing all the steps, check if you can successfully connect to Overwatch servers.
Tips:
- You can change the settings of your “Hosts file” as shown in the official documentation regarding troubleshooting your connection on Overwatch’s website.
- Do not forget to update your Drivers especially Graphics driver to the latest build.
- Make sure all background processes are closed and no third-party applications are conflicting with Overwatch or you can try either by clean booting Windows or use Safe Mode with Networking.
- Disable your Antivirus and turn off your Firewall to check if they are creating the problem. Warning: Disable Antivirus and turn off your Firewall at your own risk as this step will make your system vulnerable to threats like viruses and malware etc.
- Try launching Overwatch in a new administrator account and see if this does the trick.
- You can run a ‘pathping’ to determine the health of your connection. This practice is usually instructed by Overwatch employees when you are troubleshooting your connection.


