Fix Outlook Error 0x80042109
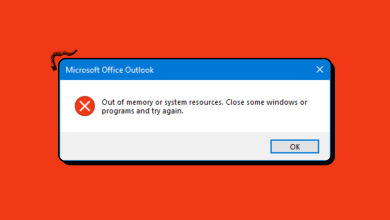
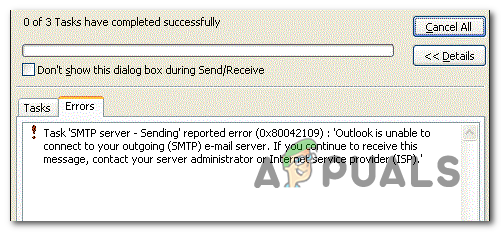
The 0x80042109 error is encountered when users try to send Outgoing emails with various versions of Outlook. The full error message is ‘Error Code 0X80042109 – Cannot connect to the outgoing (SMTP) email server‘.
What’s causing the Outlook error message 0x80042109?
- Incorrect SMTP settings – As it turns out, this particular issue can also occur due to some incorrect SMTP settings that Outlook will enforce automatically under certain circumstances. If this scenario is applicable, you can resolve the issue by accessing the Email Accounts setup screen via the classic Control Panel interface and adjusting Outgoing server settings, forcing the client to connect via LAN with a specific Incoming server and type of encryption.
- 3rd party firewall interference – This issue can occur due to some type of 3rd party firewall interference that is inhibiting the connection between the Outlook client and the external email server. Comodo and McAffee are known to trigger false under certain circumstances. In this case, you can resolve the issue by disabling the 3rd party firewall or by uninstalling & removing any remnant files that might still enforce the same security rules.
- Add-in Interference – According to several affected user reports, this issue can also get triggered by some sort of 3rd party Add-in interference that ends up breaking the email sending function on Outlook. In this case, pinpoint and eliminate the culprit by launching Outlook in Safe Mode and then systematically disable every add-in until you find the one responsible for the issue.
Method 1: Adjusting SMTP settings manually
As it turns out, this particular issue can occur due to some incorrect SMTP settings that Outlook will configure by default.
Several Windows users that have been struggling with the 0x80042109 Outlook error have reported that they managed to get it fixed by using the classing control panel interface to adjust some settings manually in order to allow the SMTP communications to go through.
This procedure was confirmed to be effective by a lot of affected users and can be followed regardless of the Windows version that you’re using.
Here’s a quick step-by-step guide on adjusting the SMTP settings manually:
- Make sure that Outlook and every associated instance is completely closed.
- Press Windows key + R to open up a Run dialog box. Next, type ‘control’ and press Enter to open up the classic Control Panel interface. If you’re prompted by the UAC (User Account Control), click Yes to grant administrative privileges.
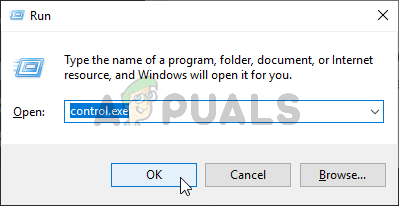
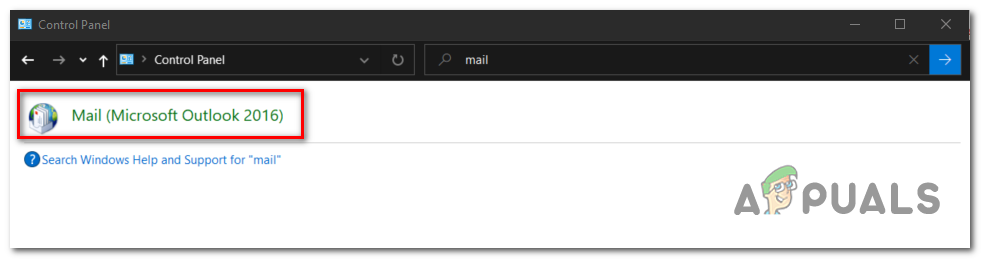
Running the Control Panel - Once you’re inside the classic Control Panel interface, use the search function in the top-right corner to search for ‘mail’. Next, from the list of results, click on Mail (Microsoft Outlook).
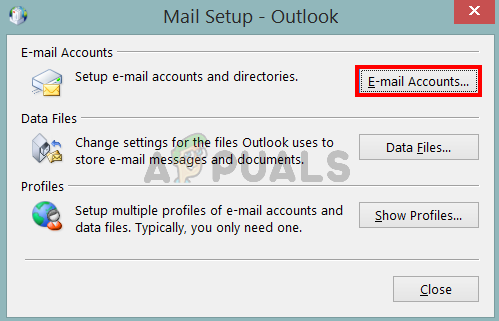
Accessing the classic Mail interface - When you’re inside the Mail Setup – Outlook window, click on the Email accounts button associated with E-mail Accounts.
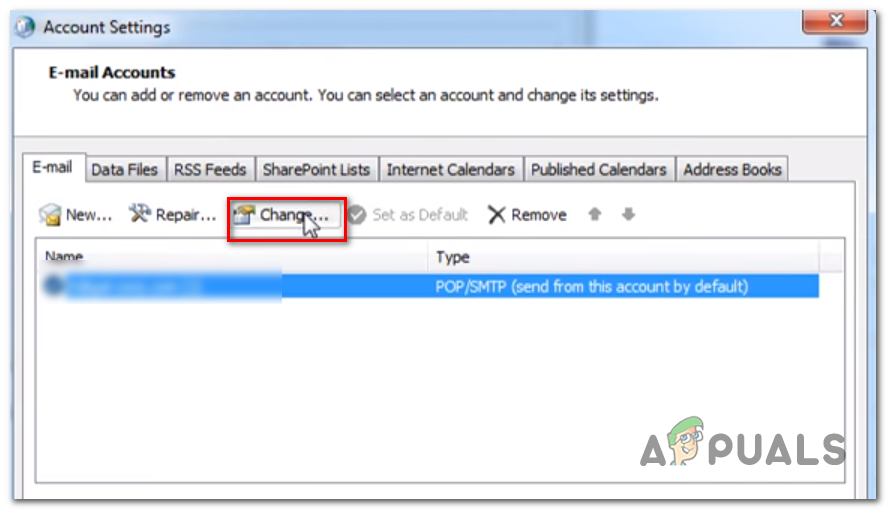
Selecting Email Accounts Option from Mail Setup to Add New Account - Then, once you’re inside the Account Settings window, select the Email tab from the horizontal menu, then select the email account that you’re encountering issues with and click the Change button.
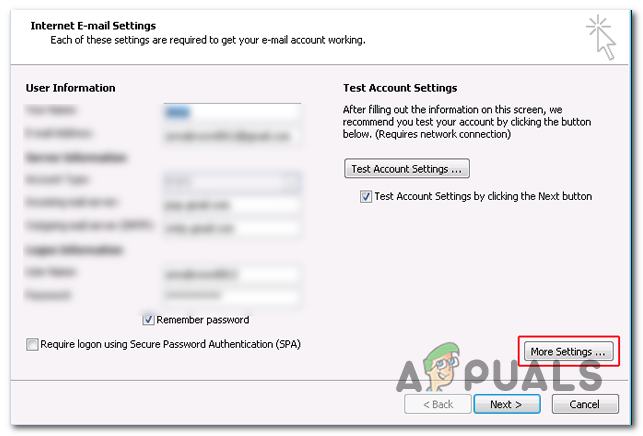
Changing email settings manually - From the Change Account window, look in the bottom-right corner and click on More Settings.
Accessing the More Settings menu of Outlook - With the Internet E-mail Settings window opened, go to the Outgoing Server tab and ensure that the box associated with My outgoing server (SMTP) requires authentication is checked.

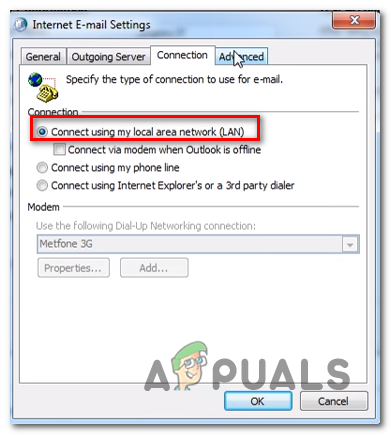
Enabling SMTP authentication from Outgoing Server settings - Next, move over to the Connection tab, go over to the Connection tab and select the tab associated with Connect using my local area network (LAN).
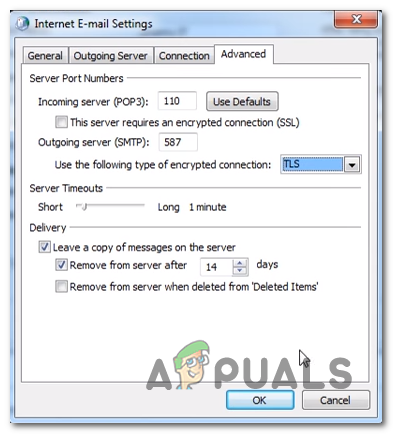
Forcing the email server to connect using LAN - Then, move over to the Advanced tab and change the Incoming server (POP3) to 110. Then, move down below and change the Outgoing server (SMTP) to 587. And finally, set the drop-down menu associated with Use the following type of encrypted connection from None to TLS. Don’t forget to click OK in order to Save the changes.
Adjusting the advanced Email Internet settings - Repeat the action that was previously causing the 0x80042109 error and see if the issue is now resolved.
If the same error message is still appearing and you’re still unable to send ongoing emails, move down to the next potential fix below.
Method 2: Disable 3rd party firewall (if applicable)
According to several affected users that also encountered this problem, if you’re using a 3rd party firewall to protect your network connection from being abused, it’s likely that you’re using an overprotective suite that is interfering with the connection between Outlook and the external email server that is being used for SMTP.
If this scenario is applicable, you should be able to resolve the issue by disabling the 3rd party firewall that is triggering this false positive.
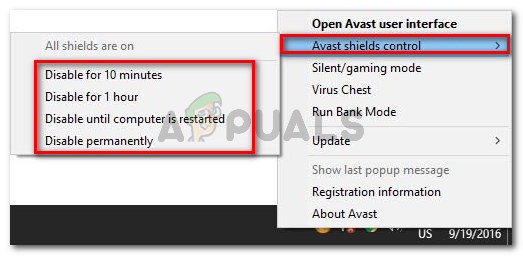
Comodo and McAfee are among the most commonly reported suites that will cause this type of behavior. If you believe that this particular scenario might be applicable to you, you should be able to resolve the 0x80042109 error either by disabling the real-time protection or by uninstalling the entire 3rd party suite altogether.
However, with most firewall suites, this operation will not be enough since the same security rules will remain in place even if the real-time security protection is disabled. In this case, the only viable fix is to white list the communications between Outlook and the email server (the steps of doing this are different depending on the security tool that you use.
If you’re not exactly sure how to create exclusions, one universal fix that will work regardless of the firewall that you’re using is to uninstall and delete any remnant files and see if the same problems are still occurring.
Here’s a step-by-step guide on doing this:
- Press Windows key + R to pen up a Run box. Next, type ‘appwiz.cpl’ inside the text box and press Enter to open up the Programs and Features menu.
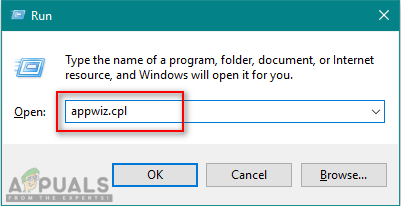
Opening Programs and Features - Once you get inside the Applications & Features menu, scroll down through the list of installed applications and find the firewall that you want to uninstall. When you see it, right-click on it and choose Uninstall from the newly appeared context menu, then follow the on-screen prompts to complete the uninstallation.
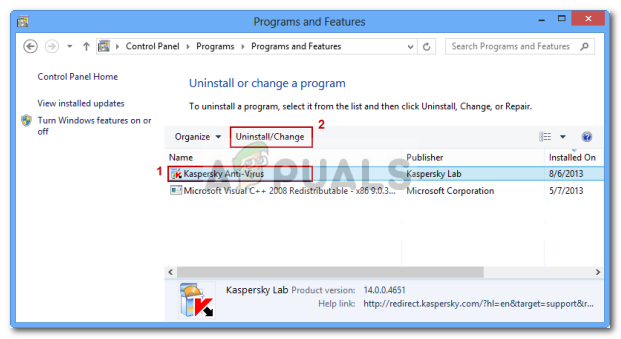
Uninstalling Antivirus Using Control Panel - After the uninstallation operation is complete, restart your computer and see if the issue is resolved at the next system startup.
- To ensure that you don’t leave any leftover files that might still cause this behavior, follow the instructions in this article (here) just to make sure that there are no leftover files that might still cause the same blockage.
- Restart your computer and see if you are able to send emails once the next computer startup is complete.
If you’re still encountering the Outlook error 0x80042109 when you try to send out an Ongoing email or this method was not applicable to you, move down to the next potential fix below.
Method 3: Opening Outlook in Safe Mode
Add-ins can add to the already rich Outlook functionality, but in some cases, they can affect core functions such as sending Outgoing emails. Some affected users that were previously struggling with the 0x80042109 have confirmed that the issue was resolved for them after they managed to start Outlook in Safe mode.
Safe mode will launch the application without any other 3rd party modules (add-ins). If the email sending module works in Safe Mode, it’s evidence that some 3rd party add-in is actually causing the problem.
If this scenario is applicable and you confirm that one of your installed add-ins is causing the problem, you can then systematically re-enable all add-ins until and test the email sending function until you discover the module that’s responsible for the issue.
Here’s a quick guide on opening Outlook in safe mode and discover the add-in that’s causing problems:
- Make sure Outlook and any associated instances are completely closed.
- Press Windows key + R to open up a Run box. Inside the run box, type ‘Outlook.exe /safe’ and press Enter to launch Outlook in Safe Mode.
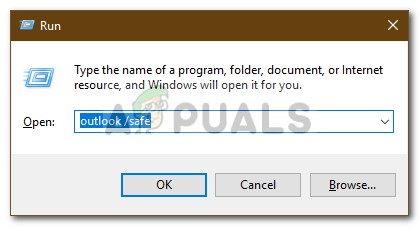
Running Outlook in Safe Mode - At this next step, you might be asked to confirm the Outlook profile that you want to use (if you have multiple profiles). When this happens, confirm your profile, then go to the File tab at the top and click on Options from the newly appeared drop-down menu.
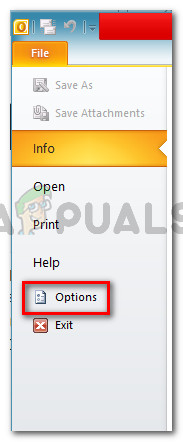
Opening the Options menu inside Outlook - Once you’re inside the Outlook Options menu, select the Add-ins tab from the left-hand section, then move over to the right-hand side, select COM Add-ins from the Manage menu and click on Go to launch the menu.
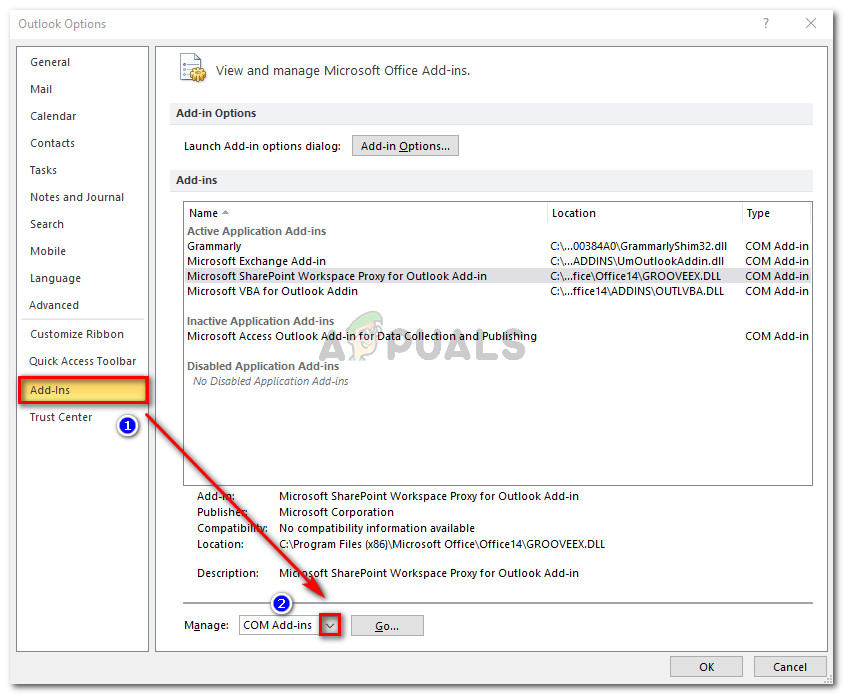
Opening the COM Add-ins menu in Outlook - Once you get to the COM Add-ins menu, disable every installed Add-in by unchecking the boxes associated with it and click Ok to save the change.

- Once every add-in has been disabled, restart Outlook and see if the email sending function works. If you are able to send emails without encountering the 0x80042109 error, go ahead and systematically re-enable the add-ins that you previously disabled until you manage to find your culprits.