Fix: NordVPN Password Verification Failed ‘Auth’
Your NordVPN may fail to verify password auth mostly due to the firewall restrictions, corrupt installations, or use of special characters in the NordVPN password. The affected users encounter this error when they try to connect to a location, which was working fine previously.
This issue can occur on desktop applications, mobile apps, as well as with the browser extension. In some cases, the issue arises only with a particular type of server like the P2P server.
Before moving on with the solutions to fix NordVPN password verification failed, make sure there are no NordVPN server outages. Also, try to connect to a different location to rule out any server overload. Make sure your internet is working fine. A maximum of 6 devices can connect to the NordVPN network by using the same account credentials; so make sure the limit of 6 devices is not reached. Furthermore, try to log in on the NordVPN website using your credentials to confirm if the credentials used are not wrong.
Solution 1: Relogging NordVPN
The failed auth issue could be the result of temporary communication/software glitch. In this case, logging out of the app/extension and then logging back in may solve the issue. For illustration, we will discuss the process for the Windows app. You may follow the instructions as per your app/OS.
- Launch the NordVPN app and then click on the gear icon (near the top right corner) to bring out the Settings menu.
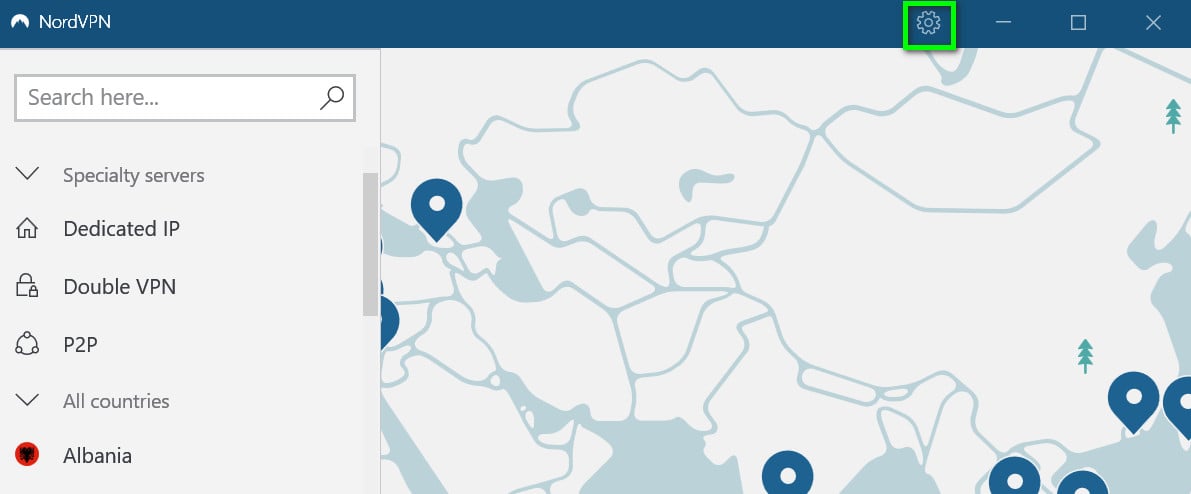
Open NordVPN Settings - Now, in the left pane of the window, scroll down till the end and click on Log Out.
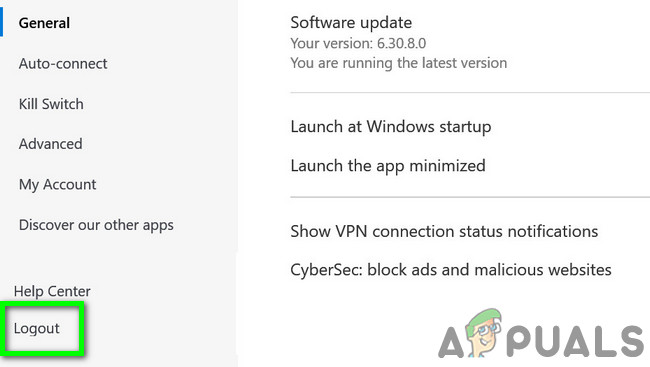
Logout of NordVPN - Then restart your system.
- Upon restart, launch NordVPN and log in using your credentials. Then check if the app is working fine.
Solution 2: Allow the NordVPN Client Through the Antivirus/Firewall of Your System
Your firewall and antivirus play a vital role in the security of your system and data. However, if the firewall/antivirus is blocking the essential files required by the NordVPN app, then the VPN client will be unable to create a successful connection. In this context, either temporarily disabling your firewall or adding an exception for the NordVPN files may solve the problem. For demonstration purposes, we will discuss the process for the NordVPN Windows app.
Warning: Proceed at your own risk as disabling/adding an exception for the files may expose your system to severe threats like viruses, trojans, etc.
- Temporarily disable your antivirus and turn off the firewall. Keep an eye on Windows Defender; if it automatically takes up the role of antivirus/firewall, then either add an exception for the files in its settings or disable Windows Defender as well.
- You can also add an exception for the VPN client in the Settings of your security program. You should add the following files in the exception list for inbound and outbound rules in the antivirus/firewall settings:
%ProgramFiles% (x86)\NordVPN\NordVPN.exe

%ProgramFiles% (x86)\NordVPN\nordvpn-service.exe

%ProgramFiles% (x86)\NordVPN\Resources\Binaries\64bit\openvpn-nordvpn.exe

%ProgramFiles% (x86)\NordVPN\Resources\Binaries\32bit\openvpn-nordvpn.exe
- After adding exceptions, launch the VPN client to check if it is clear of the error.
Solution 3: Disable CyberSec, Invisibility on LAN and Obfuscated Servers Settings
NordVPN client has a known bug, in which, if CyberSec, Invisibility on LAN, and Obfuscated Servers options are enabled when connecting to a location, then the VPN client may throw the Auth failed error. In this scenario, disabling these three options and then connecting to a server may solve the problem. After a successful connection, you can enable these options. For illustration, we will discuss the process of the NordVPN Windows application.
- Open the NordVPN app and click on the gear icon to bring out the Setting menu.
- Now, in the left pane of the window, select the General tab and then in the right pane disable the option of CyberSec: Block Ads and Malicious Websites.
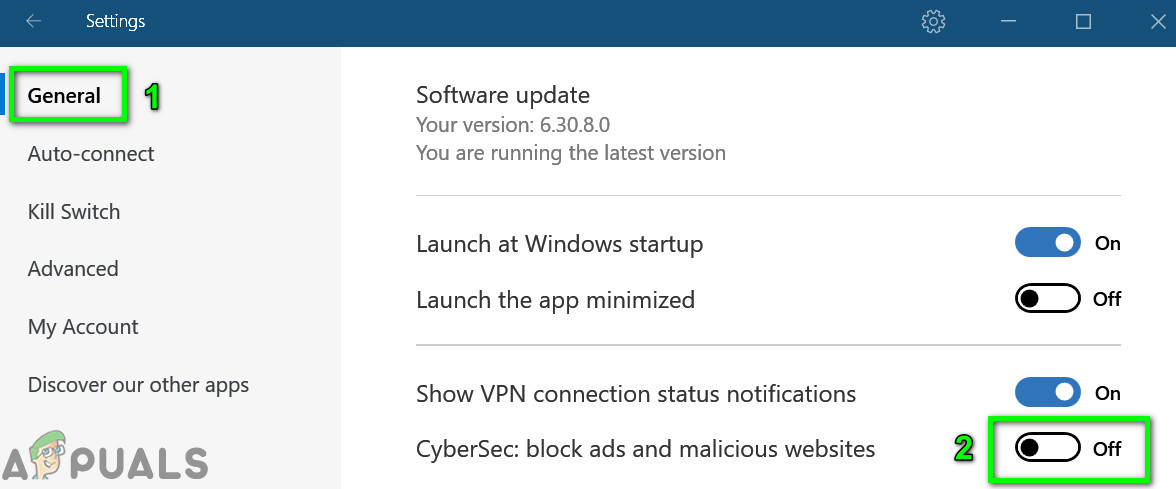
CyberSec: Block Ads and Malicious Websites - Now, in the left pane of the window, navigate to the Advanced tab and then disable the option of Obfuscated Servers.
- Now disable the option of Invisibility on LAN.
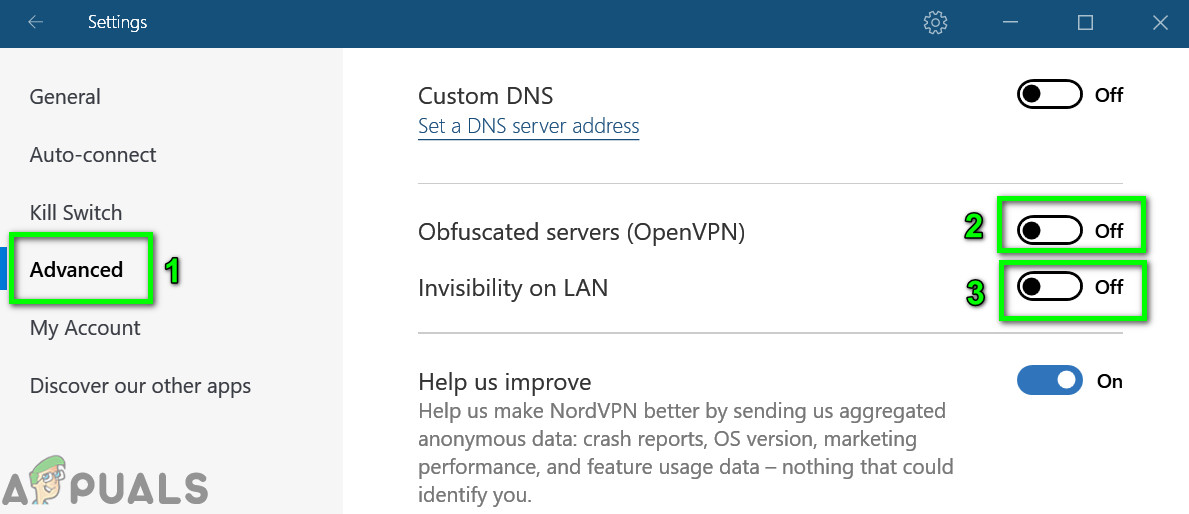
Disable Obfuscated Servers & Invisibility on LAN - Then restart your system. Upon restart, launch the VPN client and check if the issue is resolved.
Solution 4: Change Your Password for NordVPN
The NordVPN app and extension have known connection issues if your password contains special characters. Moreover, if your account has been shared on social sites like Pastebin and accessed by many users, then NordVPN may show the error under discussion (as there can be a maximum of 6 devices that could connect to the NordVPN account). In this case, changing your password (without the use of special characters) may solve the problem.
- Logout of the NordVPN app, as mentioned in Solution 1.
- Launch a web browser and navigate to the NordVPN UCP and Log in using your credentials.
- Navigate to the Change Password tab and click on Send Reset Link.
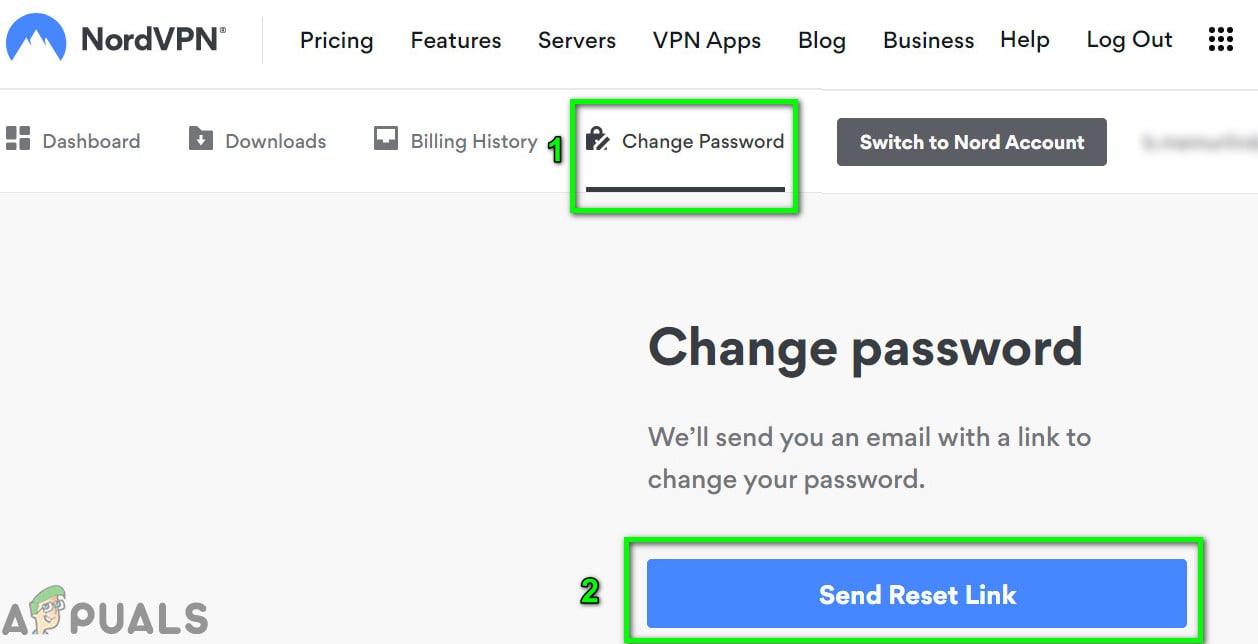
Send Reset Link of NordVPN - Now open the email registered with NordVPN and use the link there to reset your password. Make sure that no special characters are used in the new password.
- Then log in using the new password and check if the VPN is clear of the failed auth error.
Solution 5: Repair the Application Installation
If the VPN installation is corrupt, then NordVPN may fail to verify the password auth because of any module not working properly. In this scenario, repairing the installation may solve the problem. The default installer of Nord VPN has a ‘repair’ option that automatically searches for files that are different than the manifest and replaces them accordingly.
- Logout of the VPN client and open the official NordVPN download page.
- Then click on the Download button to download the VPN client.
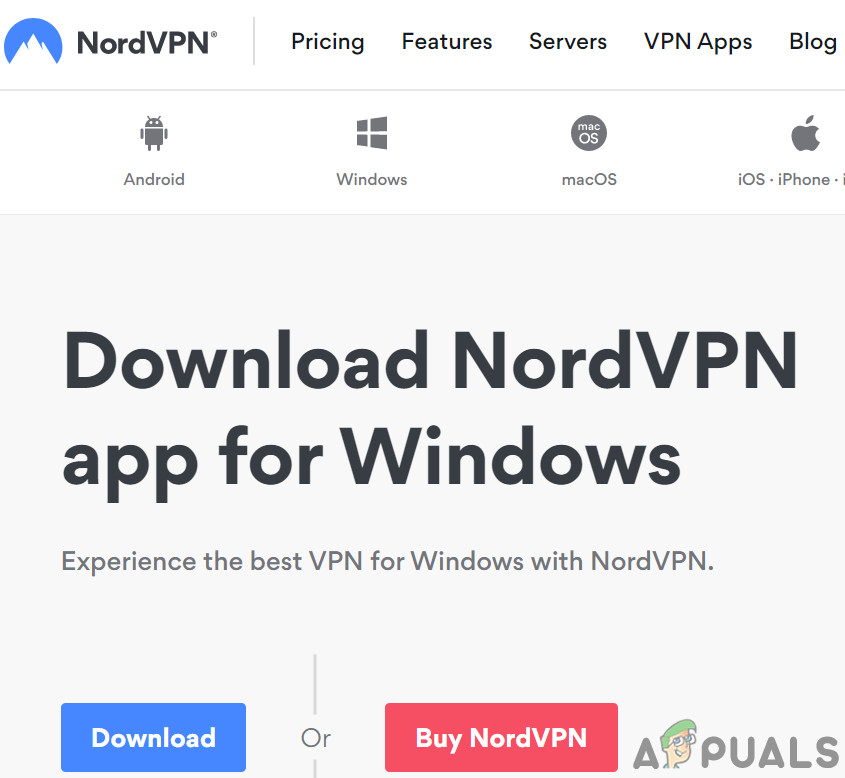
Download NordVPN - Now launch the newly downloaded setup and when prompted, then click on the Repair button.

Repair the NordVPN Installation - Now restart your system and then launch the VPN client to check if it is clear of the failed auth error.
Solution 6: Reinstall the NordVPN App/Extension
If repairing has failed to rectify the issue, we can consider reinstallation of the VPN client altogether. Do note that this will remove the saved configurations and replace them with default values. You will also need to log in using the Nord activation key.
- Logout of the VPN client. Press the Windows key and in the Windows search bar, type Control Panel. Then in the list of results, open it.
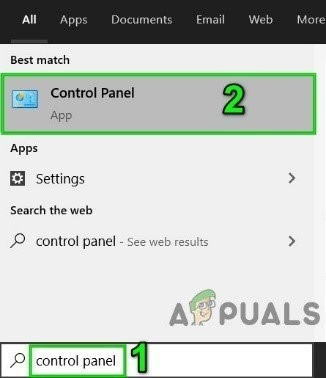
Open Control Panel - Then click on Uninstall a Program. Now uninstall the following applications:
NordVPN

NordVPN Network TAP

NordVPN Network TUN
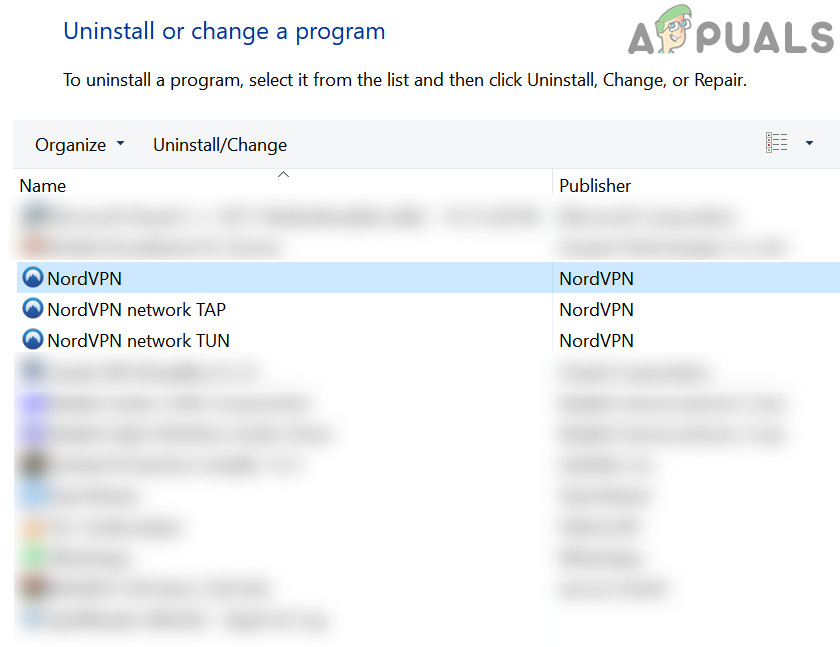
Uninstall NordVPN - Restart your system after the uninstallation.
- Upon restart, download and install the latest version from the official NordVPN download link.
- After reinstalling, launch the VPN client and log in using your credentials.
If you are encountering the issue on macOS, then upon reinstallation, you may get a prompt to enter the NordVPN password from a keychain. In this case, follow the steps mentioned below:
- Open Keychain and search for NordVPN. Then in the search results, open the NordVPN entry.
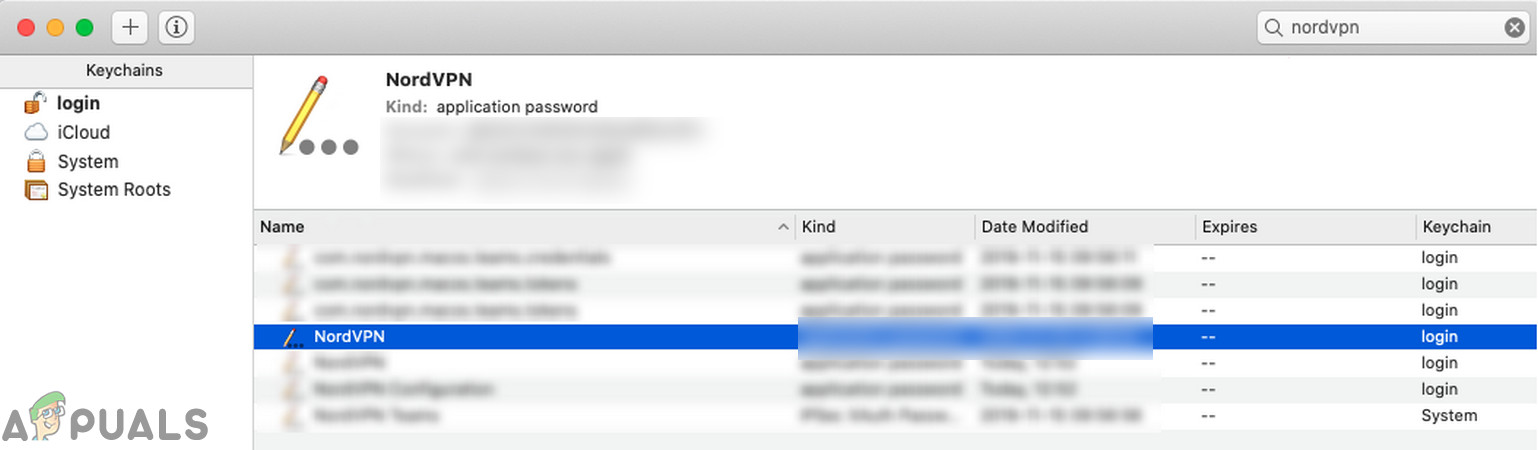
Search for NordVPN in Mac Keychains - Now click on Show Password and then copy the password shown.
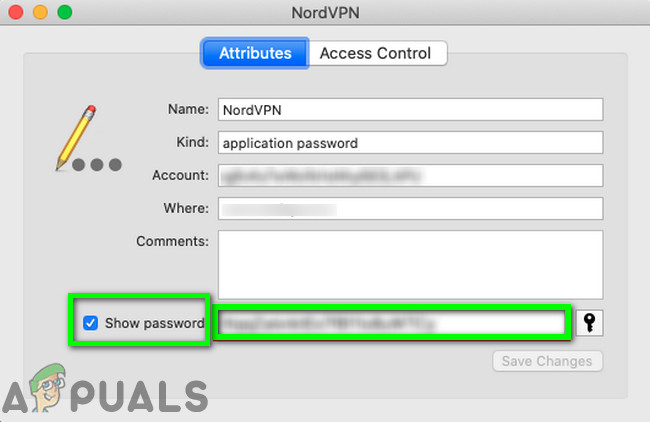
Show Password for NordVPN in Mac Keychains - Now paste the copied password in the VPN client and check if it is operating fine.
- If not, exit the VPN client. Now delete all the entries related to NordVPN in the Keychain.
- Then relaunch the VPN client, when asked for security permissions, check the option of Always Allow, and then click on Allow.
- Now connect to your preferred country and see if the connection is successful.


The first solution worked for me, thank you.