Fix: Nord VPN not Connecting on Windows
Nord VPN is one of the old players in the VPN world and its Windows application is considered amongst the best in the PC world. Nord VPN is very diverse if spoken in terms of functionality and flexibility. In addition to cross-platform support, it also has different servers located in different countries for you to choose from.
Despite the application being in the market for quite a long time, users are reporting that they are unable to connect to Nord VPN. It either stops connecting after a potential update or the request to DNS servers either return a ‘timed out’ response.
What causes Nord VPN not to Connect?
Since a VPN makes use of the entire internet architecture of a computer system, there are several reasons why your Nord VPN might be unable to connect properly. Some of these are listed below.
- IPv6: Apparently Nord VPN doesn’t support the IPv6 protocol in any of its communications. So if this is enabled, you might not be able to connect.
- Third-party programs: Third-party programs are known to conflict with the software system and compete for resources; hence, causing it not to connect properly.
- Network adapter: Since Nord uses a separate network adapter to communicate with the internet, it can be the case that the network adapter isn’t working properly and you need to restart it.
- Error in Network: Sometimes the network configurations on your computer might be in an error state causing no connectivity at all. We can try refreshing all the variables in this case.
Before we start with the solutions, you need to make sure that your internet is actually working. If your internet is not working properly, Nord will not be able to establish a proper connection and give you access to a tunneled network.
Make sure that you are using a private network (not school, work, or public places like hospitals) and no proxies are involved. Once you have double-checked that your internet is working fine, proceed.
Solution 1: Disabling IPv6
IPv6 (Internet Version Protocol 6) is the latest version of IP in the networking architecture of a computer. By default, we are still using IPv4 and have still not transitioned to IPv6 permanently. However, there might be some of you out there who have started the use of IPv6 for internet connectivity. It seems that IPv6 doesn’t work properly with Nord VPN. Hence we will disable it and check again.
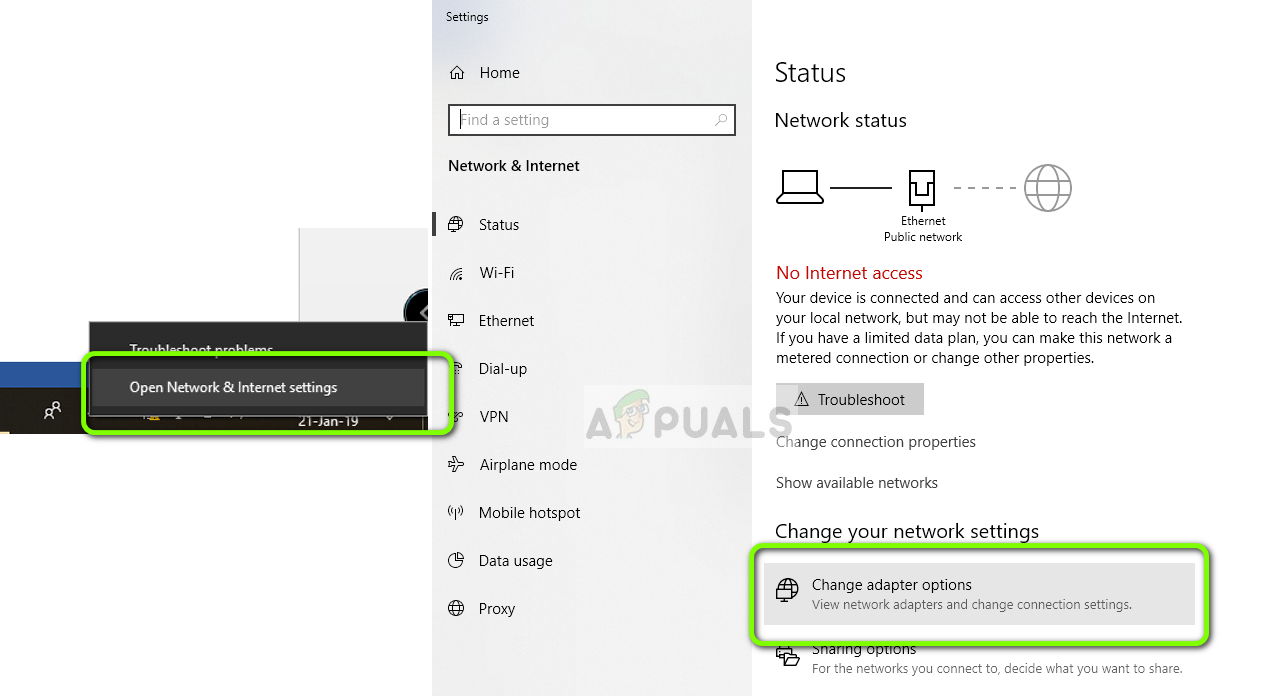
- Right-click on your network icon present at your taskbar and select Open Network and Internet Settings. Now click the option Change adapter options from the settings.
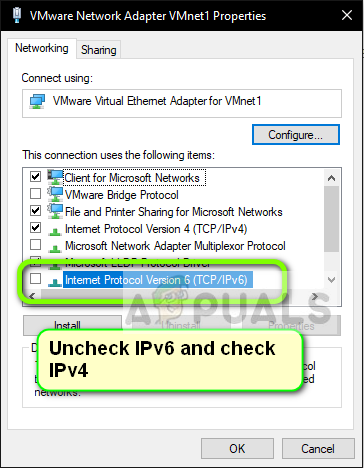
- Once in adapter settings, right-click on the adapter you are using and select Properties.
- Once in adapter properties, uncheck the IPv6 option and make sure that IPv4 is enabled. Save changes and exit. Now restart your computer and check if the error is resolved and you are able to connect to Nord VPN.
Solution 2: Checking Third-Party Applications
There are numerous other applications and programs which seem to conflict with Nord VPN in its operation. If there is more than one application trying to access a resource, there will be a race condition and they will not work as expected.
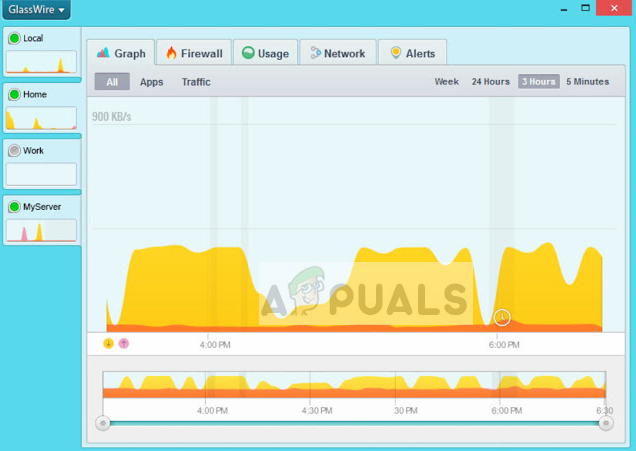
You should bring up the task manager (Windows + R and ‘taskmgr’) and check all the applications which are running in the background. One such application that was known to cause problems was Glasswire Elite. Make sure that you either uninstall it or make sure it is disabled when you try to connect with Nord VPN.
Note: You can also try to clean boot your computer. This will disable all external third-party applications and only launch the necessary ones. Now you can try establishing a connection. If you are successful, it means there was some application causing the issue. You can work your way back by enabling each application and checking again.
Solution 3: Changing Server Location
Nord VPN gives the users the choice to select their server location. These servers are scattered across the world and give connectivity according to their geographical location i.e. a server closer to you is expected to be faster. We will try to change the server location which you are trying to connect and see if this solves the not connecting problem.
- Launch Nord VPN and click on the Servers heading present at the top of the application.
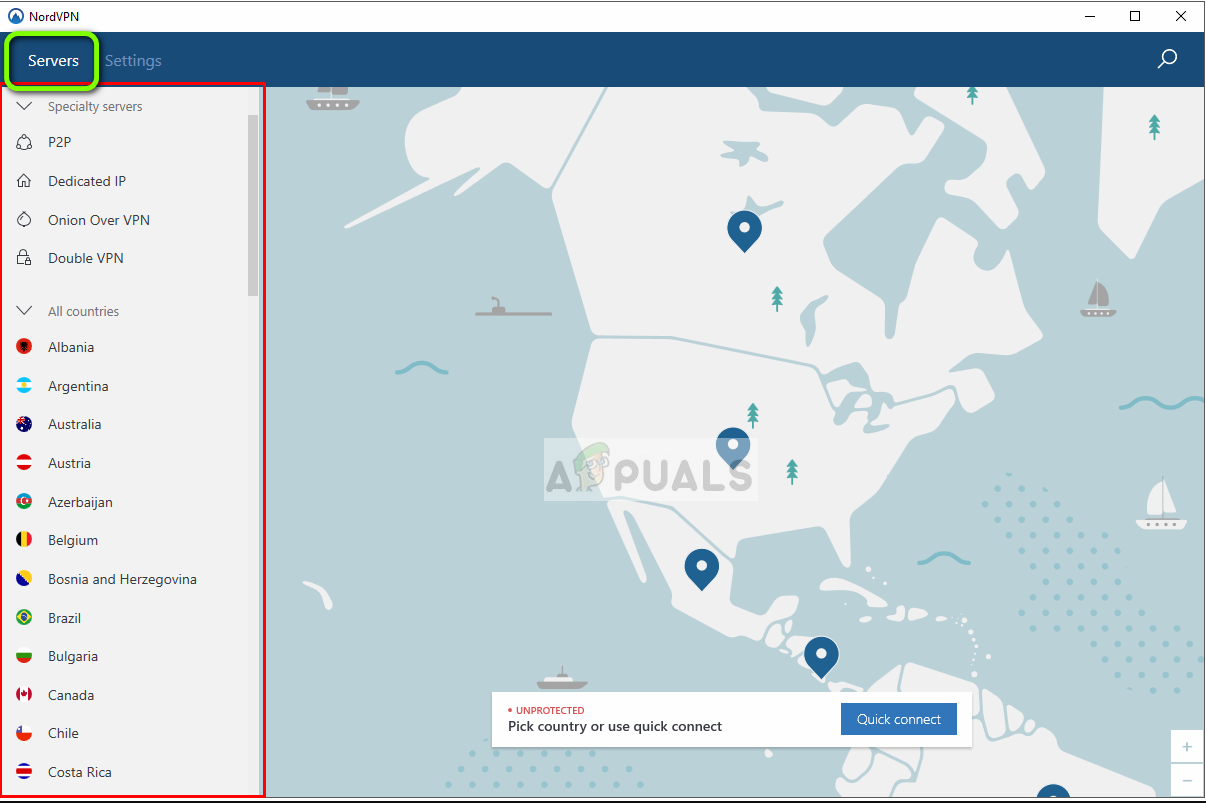
- Now select a different server than before and after selecting, try firing up the VPN again. If you experience the same behavior, try picking another server and test the network on another website.
Solution 4: Restarting Network/TAP Adapter
Nord VPN creates a virtual network adapter on your computer which it can use to communicate information. It acts like a bridge in which Nord VPN modifies the settings so it can initiate and maintain a VPN connection. Sometimes this goes in an error state causing you not to connect with your VPN server. We will restart the adapter properly which will make sure that all the configurations of it are reinitiated.
- Press Windows + R, type “ncpa.cpl” in the dialogue box and press Enter.
- All the network adapters will be listed in front of you. Select the TAP adapter, right-click it and select Disable.
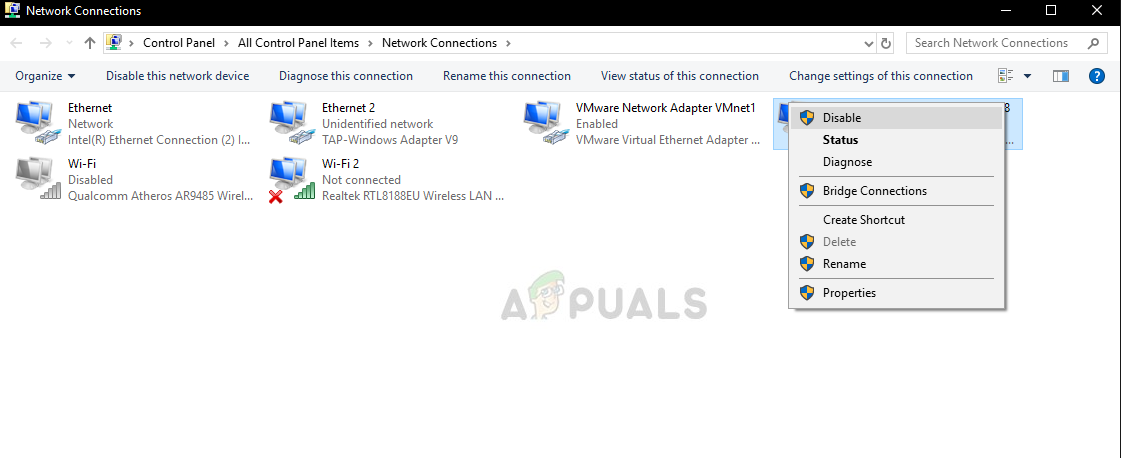
- After disabling it, wait for a minute. Then right-click it again and select Enable. Now try connecting Nord VPN and see if this does the trick.
Solution 5: Flushing Network Stack
There are countless examples where flushing (refreshing) the network stack on your computer solves various VPN related problems (including Nord). This process will flush your DNS and IP settings and make sure there are no improper settings that might be conflicting with the application.
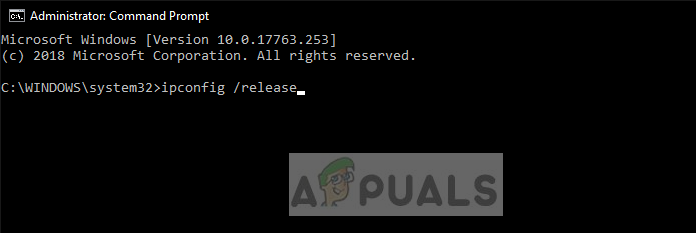
- Press Windows + S, type “command prompt” in the dialogue box, right-click on the application and select Run as administrator.
- Once in an elevated command prompt, execute the following commands one by one followed by the Enter key after each command:
ipconfig /release

ipconfig /flushdns

ipconfig /renew

netsh winsock reset

netsh interface ipv4 reset

netsh interface ipv6 reset

netsh winsock reset catalog

netsh int ipv4 reset reset.log

netsh int ipv6 reset reset.log
- Now close the command prompt and try launching Nord VPN again. Check if you can connect with it properly.
Solution 6: Reinstalling Nord VPN (along with the TAP adapter)
If all the above methods don’t work, you need to make sure that your Nord installation is proper and there is nothing wrong with the installation files. The TAP adapter will also be reinstalled in the process because Nord VPN manages the adapter and it is only for its use. Make sure that you are logged in as an administrator. If reinstalling doesn’t work, make sure that your credentials are correct which you are entering the services have not expired.
- Press Windows + R, type “appwiz.cpl” in the dialogue box and press Enter.
- Once in the application manager, search for the entry Nord VPN from the list, right-click on it and select Uninstall.

- Now restart your computer and download the application again from Nord VPN’s official website. Now after entering your credentials, try connecting again and check if you can establish the VPN connection correctly.
Solution 7: Using an Alternative VPN Service
There are numerous VPN clients out there in the Windows market. However, we recommend or readers to try CyberGhost. This VPN service is as simple as it gets and also provides you with servers located at different countries. It even has separate VPN servers for streaming Netflix and BBC with ease. Follow the steps below to download the application and get your connection secure in no time.
- Download CyberGhost from (here).
- After downloading the VPN, install it on your computer. You might be asked for proper permissions. Make sure that you are logged in as an administrator and press Yes to all the permissions asked.
- After CyberGhost is installed on your computer, launch it. Here you will see a list of different servers available along with the distance from your actual location (more distance means slower internet).
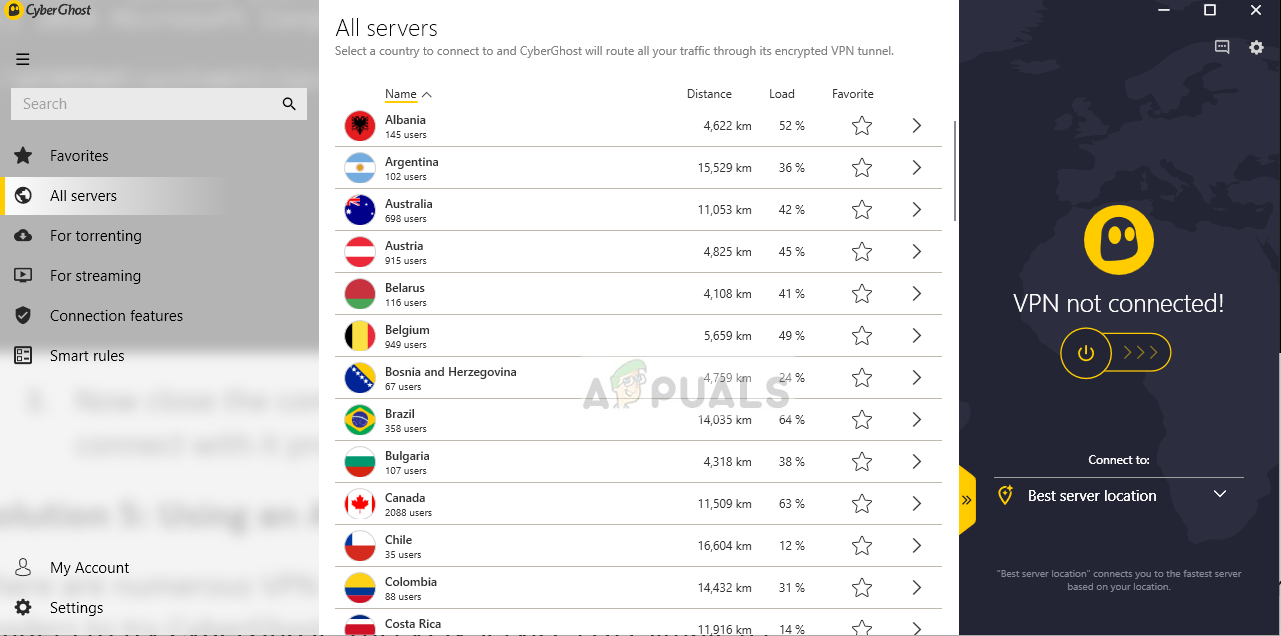
- After selecting the server, click on the power button present at the right-hand side of the application. You can also select dedicated servers for torrenting and streaming (present at the left navigation pane).
Solution 8: Disable Firewall
In some cases, the default Windows Firewall might be preventing the application from working properly. Therefore, in this step, we will first be allowing it through the Firewall and make sure that it isn’t blocked by the Firewall and then we will also make sure that Windows Defender has it added as an exception. For that:
- Press “Windows” + “R” to launch the Run prompt.
- Type in “Control Panel” and press “Enter” to launch the classical control panel interface.
Accessing the Classic Control Panel interface - Click on the “View by:” button, select “Large Icons” and then click on the Windows Defender Firewall option.
- Select the “Allow an app or feature through the Firewall” button on the left pane and then click on the “Change Settings” button and accept the prompt.
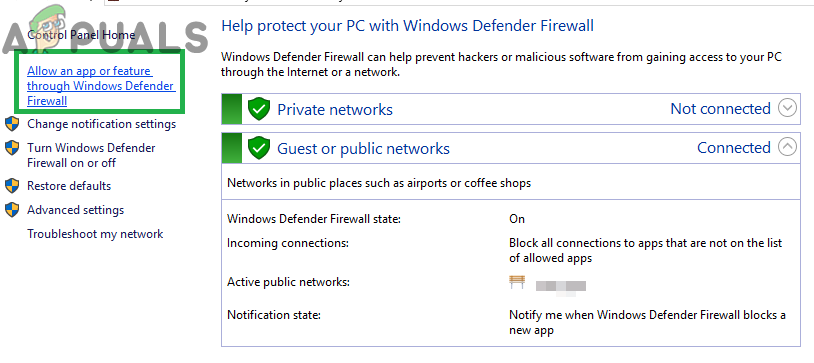
Clicking on the “Allow an App or feature” through firewall option - From here, make sure that you check both the “Public” and the “Private” options for Nord VPN and its related applications/drivers.
- Save your changes and exit out of the window.
- After that, press “Windows” + “I” to launch the settings and click on the “Update and Security” option.
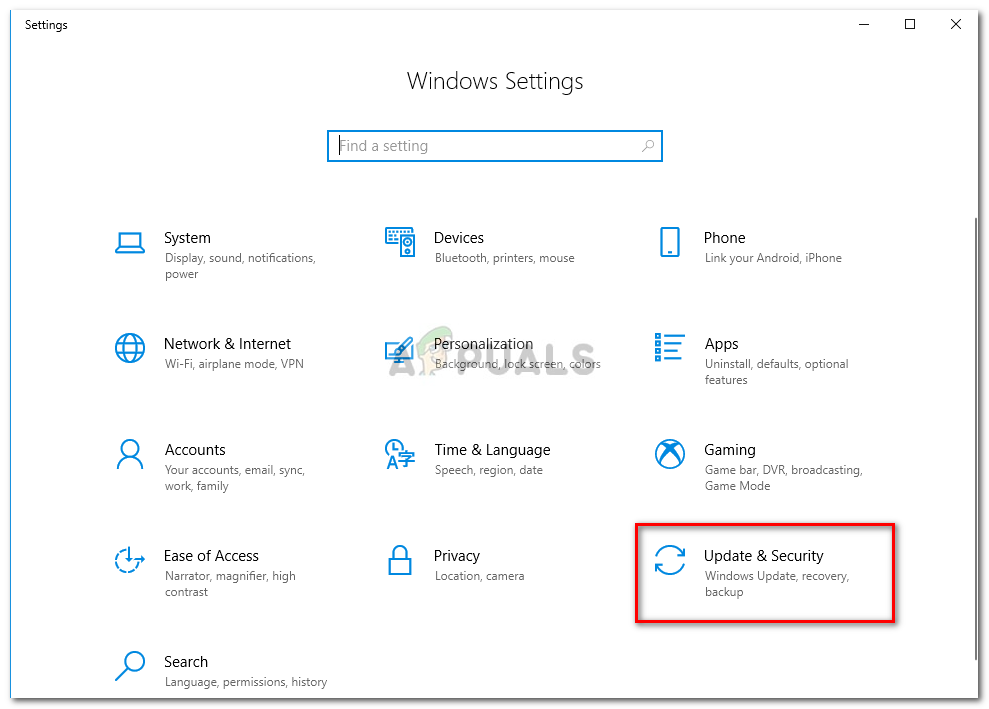
Click Update and Security - From the left pane, click on the “Windows Security” button and then click on the “Virus and Threat Protection” button.
- Select the “Manage Settings” button under the Virus and Threat Protection Settings heading.
- Scroll down and click on the “Add or Remove Exclusions” button in the next window.
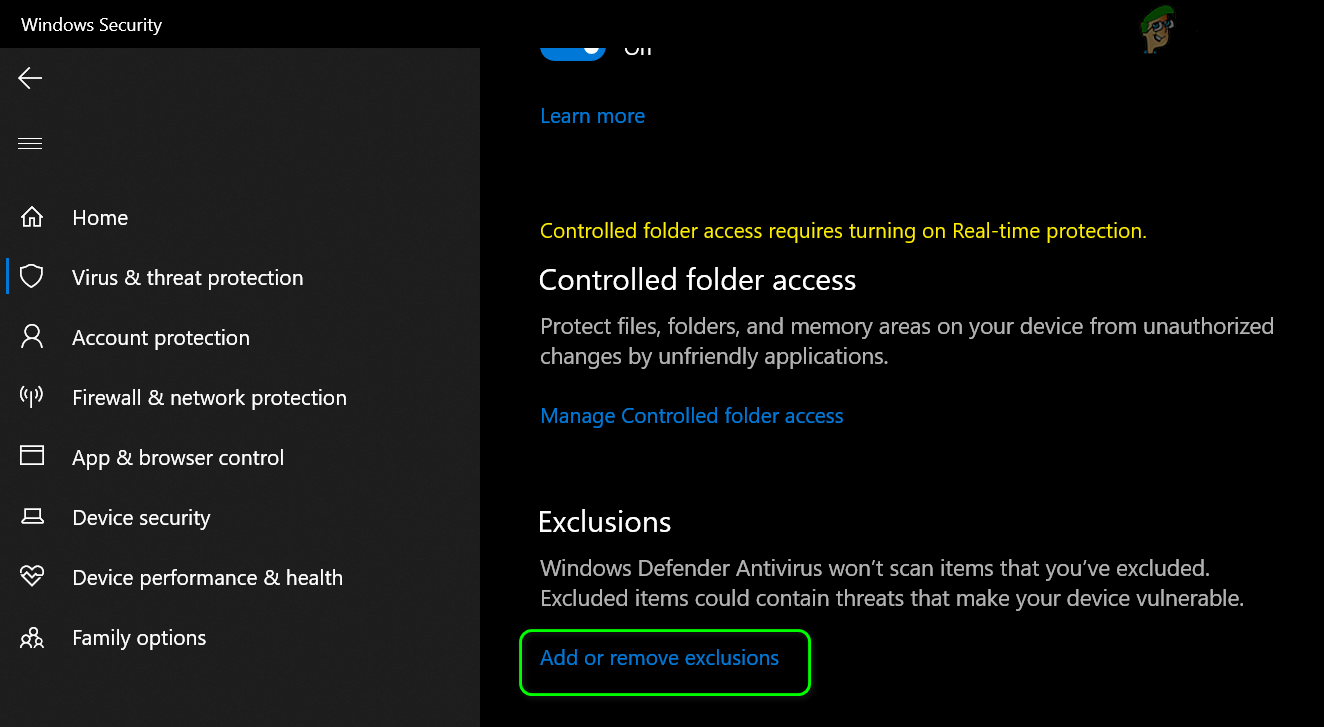
Open Add or Remove Exclusions in Windows Defender Settings - Click on the “Add an Exclusion” option and select “Folder’ from the File type.
- Make sure to specify the Nord VPN folder and exit out of this window after saving your changes
- Check and see if doing so has fixed the issue with Nord VPN not connecting.
Solution 9: Change NordVPN Protocol
It is possible that Nord VPN might be running into issues while trying to connect to its servers due to the protocol configuration in its settings. If one type of protocol isn’t working for you, it is always recommended to try and switch to the other protocol to make sure that the issue isn’t tied to the wrong selection of the protocol type automatically or manually. For that:
- Launch NordVPN and make sure to disconnect from any currently active sessions.
- Click on the “Gear” icon on the top right corner and go into the settings.
- Click on the “Advanced” option from the left-hand side menu.
- Click on the “Protocol” dropdown and check on “TCP”.
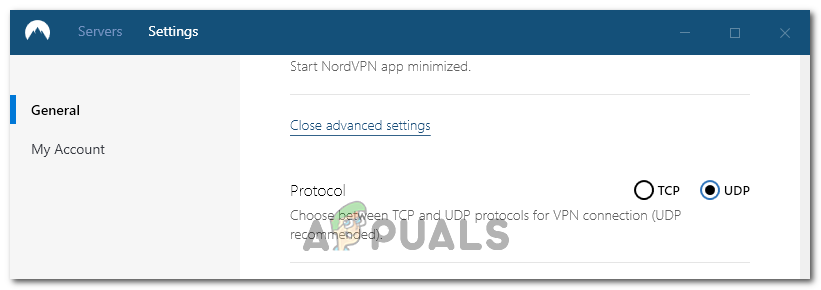
Changing Protocol on Nord VPN - This should change your protocol from TCP to UDP.
- Check to see if doing so fixes the issue for your computer.
- To Verify that none of the protocols work, make sure to repeat the steps and select “UDP” instead of TCP and then check again.
- If none of the selected protocols are able to make a connection with the server, move on to the other fixes.
Solution 10: Changing DNS Server Configuration
DNS Servers are used by the computer to establish a stable and secure internet connection with other sites on the internet, however, if the computer is unable to detect the DNS settings properly, or if the selected DNS server is facing outage, Nord VPN might not connect properly. Therefore, in this step, we will be changing the DNS configuration to ensure that DNS isn’t an issue. For that:
- Press “Windows” + “R” to launch the Run prompt.
- Type in “ncpa.cpl” and press “Enter” on the keyboard to launch the network configuration panel.
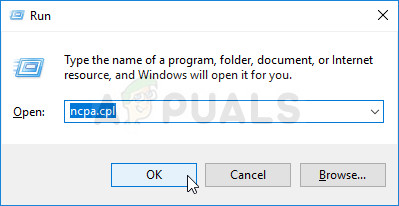
Run this command - Right-click on your internet connection and select the “Properties” option.
- Double click on the “Internet Protocol Version 4 (TCP/IPV4)” option and check on the “Use the following DNS addresses” button.

Internet Protocol Version 4 – Properties - At first, type in “8.8.8.8” and “8.8.4.4” in the primary and the secondary DNS addresses field respectively and click on “OK”. After that, check to see if NordVPN is connecting, if it isn’t, try to use “103.86.96.100” and “103.86.99.100” in the primary and the secondary fields respectively.
- Check to see if you are able to make a connection by selecting those DNS servers.
Solution 11: Opening Ports
For some people, the issue might arise if the ports that NordVPN uses to communicate with its servers are being blocked by your router. For security reasons most routers often block ports used by VPN/Network Tools to prevent any alterations to your connections and if that is the case, we will have to open the ports by logging in to the router’s control panel. For that:
- Press “Windows” + “R” to launch the Run prompt and type in “cmd” and then press “Ctrl” + “Shift’ + “Enter” keys on your keyboard to provide admin permissions.

Type “cmd” into the Run dialog - Type in the following command in the command prompt to list the IP information.
ipconfig /all
- The computer will list all the information of the network adapters connected to your computer.
- Under the default gateway option, after the mac address, there should be an IP address that should look something like “192.168.x.x”.
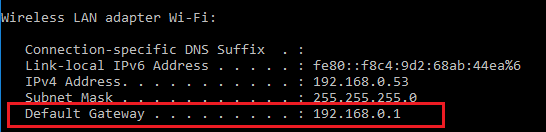
How to check your Default Gateway - Copy this IP address and launch your browser.
- Paste the IP address within a new tab on the browser and press “Enter” to navigate to the browser’s login page.
- Once on the login page, log into the control panel with your credentials, both of which, i.e the username and password should be written on the back of your internet router. If not, then the username should be admin and the password should be the Wifi password that you use to connect your devices.
- After logging into the Control panel, look around for a “NAT” or “Port” option that allows you to forward ports.
- Type in “500” and select “UDP” from the list.
- Click on “Save” to forward the 500 UDP port and exit out of the control panel after the change has been made.
- Try connecting with Nord VPN and check to see if the issue persists.
Solution 12: Use Hotspot
Mostly, this error can be fixed simply by employing your mobile’s hotspot connection instead of the Wifi or the Wired connection that you are already using on your computer. This does seem an inconvenience for Data conscious people but it seems to be the only way some people are able to connect through Nord VPN as some routers block it completely.
Note: In addition to this, you can try to change the firmware on your router to avoid any permanent blocks put from the router or to eliminate any bugs with the connection.


Hi,
I tried all the steps in this tutorial, yet I’m unable to log in to my nordvpn on my laptop, and chrome extension. I’ve changed password, it’s still same….I can only log in on their website.Please what do I do