How to Fix Netflix Error H7053-1807 on Windows?
Some Windows users are encountering the ‘Error H7053-1807’ when they attempt to stream content from Netflix on their computer. As it turns out, this particular issue is confirmed to occur with Windows 7, Windows 8.1, and Windows 10.
After investigating this particular issue thoroughly, it turns out that there are several different causes that might end up triggering this error code. Here’s a list of potential culprits that are confirmed to cause the Error H7053-1807 issue inside Netflix:
- Outdated Netflix app – There are some documented instances where this problem is actually produced due to a severely outdated Netflix build when using the UWP version of the app. To fix this problem, all you need to do is update your Netflix UWP app to the latest version available.
- Corrupted Netflix cookie or cache – According to a lot of affected users, this problem is known to occur if you’re dealing with a partially corrupted cookie or badly cached data belonging to Netflix. In this case, you can fix the issue in 2 different scenarios – You can either go for a full cleanup swipe to wipe out the entire fleet of cookies and cache or you can only clean the data related to Netflix.
- Conflict with a 3rd party suite – We’ve managed to identify some user reports claiming that in their case, the issue was being caused by an interfering 3rd party security suite. To fix this particular issue, you need to either update your AV suite, disabling the 3rd party suite temporarily (while streaming Netflix content), or simply uninstall the problematic security suite altogether.
- Corrupted local installation of Netflix UWP – If you’re only encountering this issue while using the UWP version of Netflix (streaming through your browser is fine), you might be dealing with a corrupted local installation. Several users encountering the same problem have confirmed that they finally managed to fix the issue by resetting or reinstalling Netflix UWP.
Now that you know every potential culprit that might be responsible for this issue, here’s a list with verified methods that were confirmed to be effective in resolving the Error H7053-1807:
Method 1: Cleaning the Netflix Cookie
As it turns out, one of the most common instances that will produce this error is a partially corrupted cookie or badly saved cookie data that is determining the main Netflix server to terminate the connection.
If you find yourself in this particular scenario, there are 2 different potential fixes that you can deploy:
- Full cleanup in order to wipe out the entire cache folder on your browser and also remove any current cookies that your browser makes use of.
- Focus solely on removing the cookies and cake belonging to Netflix.
Note: Keep in mind that if you want the focused approach, you should only remove the cookies associated with Netflix. However, if you’re dealing with some kind of interference caused by a cookie that’s outside the scope of Netflix, the best approach is to go for a full cookie & cached data cleanup.
To make matters easier for you, we’ve put together 2 separate guides that will walk you through bot processes:
A. Cleaning the Netflix Cookie and Cache ONLY
- Open the browser that you’re encountering the ‘Error H7053-1807’ issue on, then visit the dedicated Netflix clear Cookies page.
Note: This page contains an automated script developed by Netflix that will automatically clear the dedicated cookies that Netflix stores on the most popular browsers – This will work on the vast majority of 3rd party browsers as well as on Internet Explorer and Edge. - Once you successfully visit the page above, you will automatically be signed out of your Netflix account. Revisit the Netflix page again and sign in with your account again by inserting your credentials again
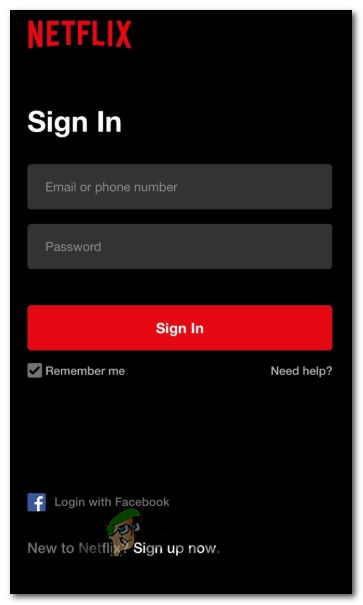
Signing in with Netflix - Once you sign in with your Netflix account once again, attempt to stream content once again and see if the problem is now fixed.
B. Clearing all your Browser Cookie and Cache
If simply clearing the Netflix cookies weren’t enough in your case or you’re using a browser that is not supported by the cleanup Netflix script, it might be better to clear all your browser’s cookies and cache.
To make matters easier for you, we’ve put together a series of sub-guides that will walk you through the process of cleaning your cookies and cache from every major browser on Windows.
Once you locate the guide that’s compatible with your particular browser, follow the instructions associated with it.
Note: Keep in mind that if you’re using a chromium-based browser that is not covered in your guide, you can simply follow the guide for Google Chrome.
If you already tried clearing the cookies and cache and you’re still encountering the same Error H7053-1807, move down to the next potential fix below.
Method 2: Resolving the interference with 3rd party AV
Keep in mind that some 3rd party security suites are known to interfere unintentionally with Netflix due to a false positive. Several affected users that found themselves in this scenario have reported that the issue was resolved after they updated the security suite, temporarily disabling the suite (while watching Netflix content) or uninstalling the problematic suite altogether.
A. Updating your AV suite
Keep in mind that depending on your antivirus suite, you can expect to see this error in situations where an outdated security signature is determining your AV suite to flag the connection with Netflix as potentially malicious.
While we can’t show you a definitive guide on how to do this, with most AV suites, you can trigger a scan for a newer virus signature directly from the tray bar icon of the security suite. Simply right-click on the tray icon of your antivirus and look for an option that allows you to update.
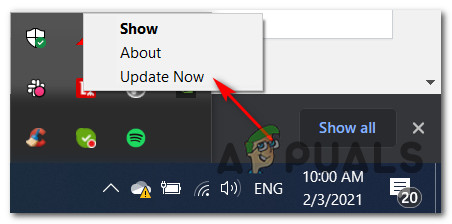
If a new version is found, follow the on-screen prompts to install the newer AV signature, then reboot your computer and see if the problem is fixed once the next computer startup is complete.
B. Disabling the 3rd party suite
If you were already using the latest virus signature available to your AV solution, it’s also possible that a temporary conflict is determining the real-time connection monitoring feature to block the connection with Netflix.
In case you find yourself in this scenario, the next thing you should try is to disable the real-time protection via the tray bar icon (before attempting to Steam content from Netflix).
With most AV suites, you can do this simply by right-clicking on the tray bar icon of your AV and looking for an option that allows you to disable the real-time protection.
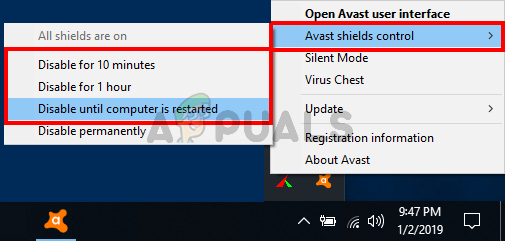
Once the real-time protection is disabled, stream content from Netflix again and see if the problem is now fixed.
C. Uninstalling the 3rd party suite
If you weren’t able to resolve the issue by updating your virus signature or by disabling the problematic AV suite, one last thing you can do is uninstall the overprotective suite altogether in order to ensure that it’s not interfering with the streaming jobs.
Here’s how you can do this directly from the Programs and Features menu:
- Open up a Run dialog box by pressing Windows key + R. When you’re inside the Run box, type ‘appwiz.cpl’ and press Enter to open up the Programs and Features menu.
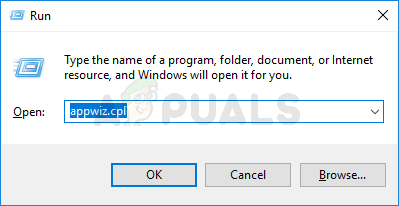
Accessing the Programs and Features menu - From the Programs and Features menu, scroll down through the list of installed programs and locate the problematic AV suite.
- Once you locate the correct entry, right-click on it and choose Uninstall from the context menu that just appeared.
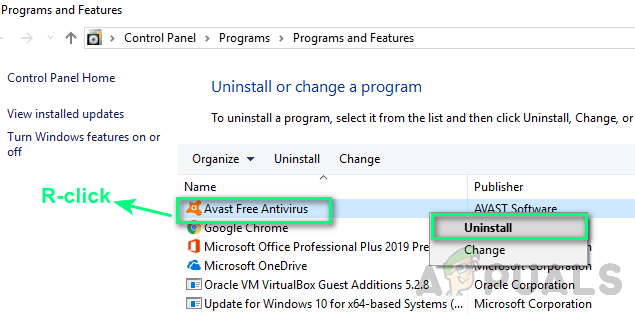
Uninstalling antivirus - Inside the uninstallation screen, follow the on-screen prompts to complete the process, then restart your computer and wait for the next startup to complete.
If this issue is still not resolved, move down to the next potential fix below.
Method 3: Updating the Netflix UWP app (if applicable)
If you’re encountering the ‘Error H7053-1807’ on the UWP version of Netflix, you should make sure that you have updated the application to the latest version available.
Several affected users have confirmed that they’ve finally managed to fix the issue after they’ve discovered that a new version of the Netflix UWP app was available.
If this scenario is applicable, follow the instructions below to force an app update directly from the Microsoft Store menu:
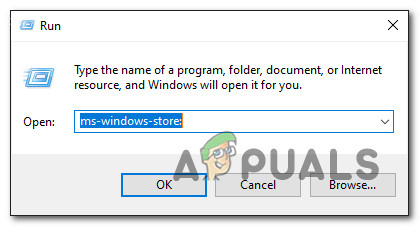
- Press Windows key + R to open up a Run dialog box. When you’re inside the Run box, type ‘ms-windows-store:‘ and press Enter to open up the Microsoft Store app.
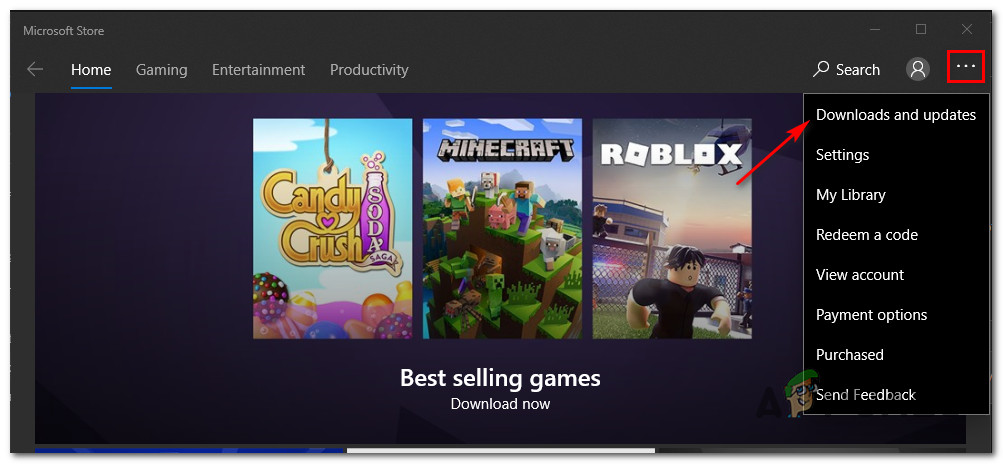
Opening the Windows Store menu - Once you’re inside the Microsoft Store, click on the action button (near your account icon) in the top-right section of the screen, then click on Download and Updates from the context menu that just appeared.
Accessing the Downloads and Updates tab of Microsoft Store - Once you’re inside the Downloads and updates screen, click on the Ready to install tab and see if you can spot a new update that’s currently available for the UWP version of Netflix.
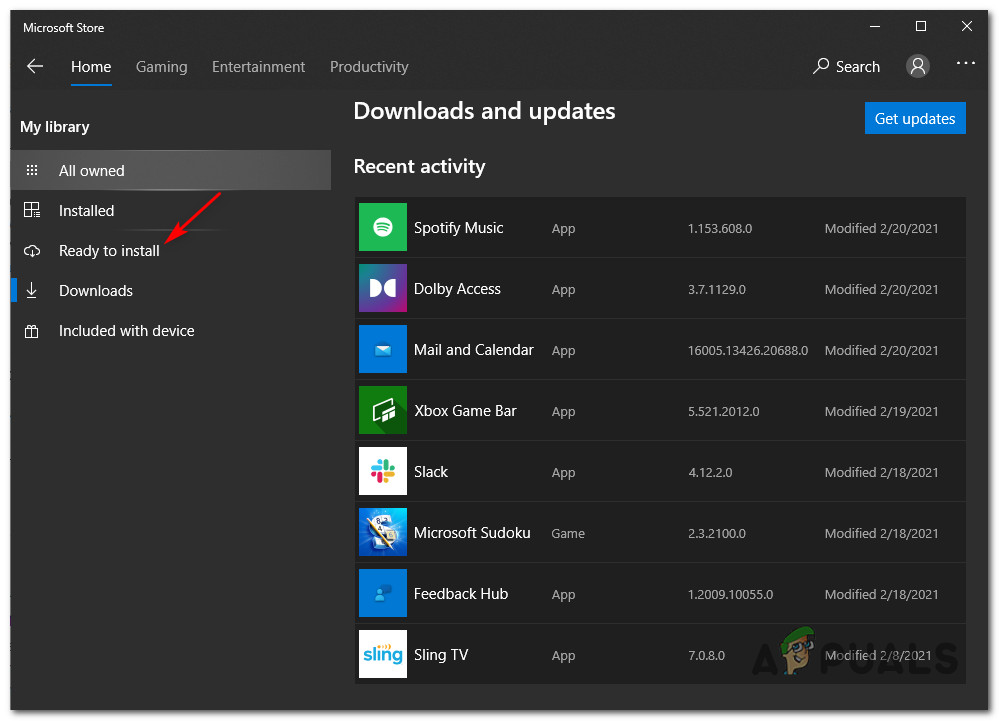
Identifying the Netflix UWP update - If a new update is available, click on Install, then follow the on-screen instructions to complete the update before restarting your computer and seeing if the issue is now fixed.
If the problem is still not resolved, move down to the final potential fix below.
Method 4: Reinstalling / Resetting the Netflix app
If none of the methods above have worked in your case, it’s very likely that you’re experiencing an issue with some temporary files that are being stored locally and are currently interfering with the Netflix UWP app attempt at streaming content.
Several affected users that were also encountering this problem have reported that the issue was finally resolved after they either reset or reinstalled the UWP application.
If you find yourself in this scenario, our recommendation is to start with a reset procedure and only proceed to a reinstallation procedure if the first method fails.
A. Resetting the Netflix app
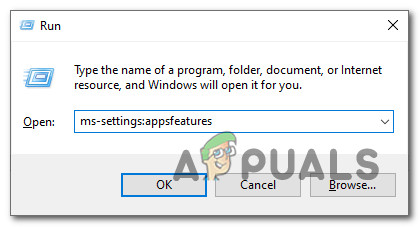
- Press Windows key + R to open up a Run dialog box. Next, type ‘ms-settings:appsfeatures‘ and press Enter to open up the Apps & Features menu of the Settings app.
- Inside the Apps & Features menu, go down to the right section of the screen, then locate the UWP version of Netflix among the UWP applications that you currently have installed.
- Once you manage to locate the correct listing, click on it once to expand the menu, then click on Advanced Options.
- After you do this, scroll down to the Reset tab and click on the Reset button (twice to also confirm).
Note: This operation will end up clearing any temp data associated with the Netflix app and revert every local setting associated with the app back to the default. - After the operation is finally complete, launch the Netflix UWP app and see if the problem is now fixed.
B. Reinstalling the Netflix app
- Press Windows key + R to open up a Run dialog box. Next, type “ms-settings:appsfeatures” inside the text box and press Enter to open up the Programs and Features tab of the Settings app.
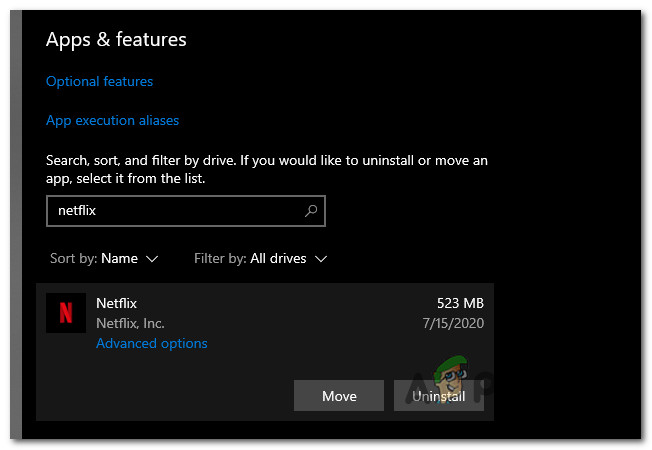
Uninstalling the Apps and Features screen - Inside the Programs and Features menu, go ahead and locate the Netflix UWP app inside the list by scrolling down through the list of applications or by using the search function.
- After you locate the correct entry, click on the Netflix app, then click on the Advanced Menu hyperlink.
- From the new menu that just appeared, click on Uninstall (under the Uninstall section), in order to confirm the uninstallation process.
Uninstalling the Netflix app - After the operation is complete, restart your computer and wait for the next startup to complete.
- Once your computer boots back up, press Windows key + R to open up another Run dialog box. But this type, type ”ms-windows-store://home” and press Enter to open up the Microsoft Store.
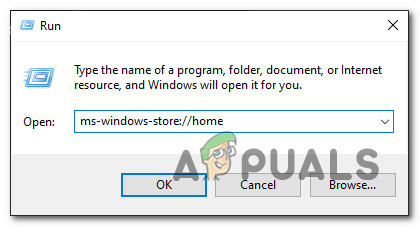
Opening the Microsoft Store - Next, use the Microsoft Store’s search function (top-right section of the screen) to search for Netflix.
- Once you get to the correct listing, click on the Get button associated with the Netflix UWP version to download and install the latest version again.
- Stream content from the UWP version of Netflix once again and see if the problem is now fixed.