[FIX] iTunes Error ‘Movie Cannot be Played in HD’
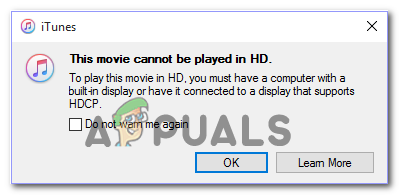
Some users are reporting that they are unable to play any HD movies from iTunes on their Windows PC and macOS even though they’ve purchased or rented them conventionally. The error that appears is ‘Movie Cannot be Played in HD‘. Most affected users are reporting that none of the TV series or movies that they have ownership of will play.
Your first attempt at fixing this issue should be to sign out and into your Itunes account in order to clear any temp data that might be causing the problem. If that doesn’t work, try re-configuring the app playback preferences to run at 1080p by default.
Since a partially broken update might cause the ‘Movie Cannot be Played in HD‘ error, you should also take some steps to ensure that iTunes is updated to the latest version and your Windows is running on the latest build available.
Note: In case you can’t afford to update your OS build for whatever reason, you’ll need to rollback on the problematic driver and block the update from installing again using the Show or Hide troubleshooter package.
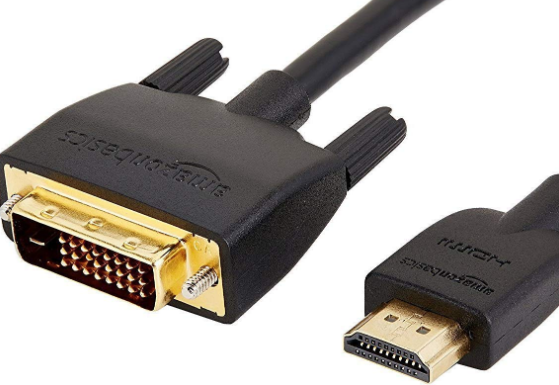
However, this problem can occur if you are trying to play iTunes movies and TV series on an external screen connected through DVI. In this case, moving to an HDMI connection should fix the issue for you.
On Windows 10 and Windows 8.1, you might see this issue occurring due to a secondary driver of Hyper-V that ends up breaking HDCP. In this case, you’ll need to disable Hyper-V altogether in order to fix the issue.
In case you’re encountering the macOS equivalent of this error (Can’t watch in HD), try resetting the power manager before re-initiating video playback.
Re-signing with your iTunes account
In some cases, the apparition of ‘Movie Cannot be Played in HD‘ might occur due to a glitch related to the account that you’re currently using with iTunes. This problem is reported to occur after a network interruption or after the user tries to play content on iTunes after waking their computer from sleep or hibernation.
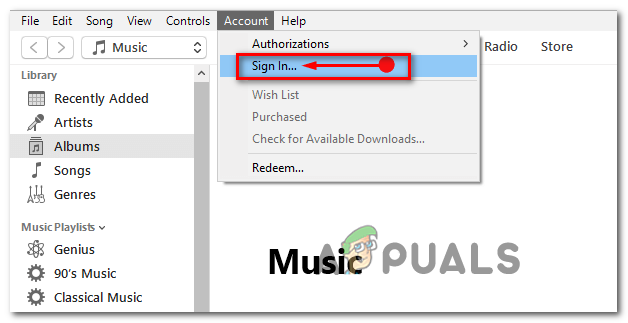
If this scenario is applicable, you should be able to fix the issue by re-signing with your iTunes account. To do this, simply click on Accounts from the ribbon bar at the top and click on Sign Out to remove your account.
Next, return to the Account menu and click on Sign In. Next, insert your Apple ID credentials and complete the sign-in procedure.
Once you have successfully signed back in, repeat the action that was previously causing the problem and see if it’s now resolved.
Changing the default resolution to 1080P
Under certain circumstances, you might end up encountering the ‘Movie Cannot be Played in HD‘ error due to the fact that your iTunes Playback preferences are not configured for 1080P playback. This can be a problem if you’re trying to play video content on a screen with a resolution larger than 720p.
Several affected users have confirmed that the issue was only resolved after they modified the iTunes store preferences in order to force the Maximum Revolution.
Here’s a quick guide on how to change the default iTunes resolution for video Playback to 1080p:
- Open Itunes and click on the Edit menu from the ribbon bar at the top. From the newly appeared context menu, click on Preferences.
- Once you’re inside the Preferences menu, select the Playback tab from the horizontal menu at the top.
- Use the drop-down menu associated with Maximum Resolution to change it to High Definition (1080p) and click Ok to save the changes.
- Restart iTunes and see if the problem still appears when you try to play video content.
In case you are still seeing the ‘Movie Cannot be Played in HD‘ error, move down to the next potential fix below.
Updating iTunes to the latest version
As it turns out, you might be encountering this issue due to the fact that you’re running an outdated version of iTunes. Apple is notoriously known from cutting support to older versions (especially on PC) without really announcing it.
Because of this, you should start this troubleshooting guide by installing the latest version of iTunes and retying the operation. However do not rely to heavily on the auto-update function, since it’s not that reliable on the Windows Platform.
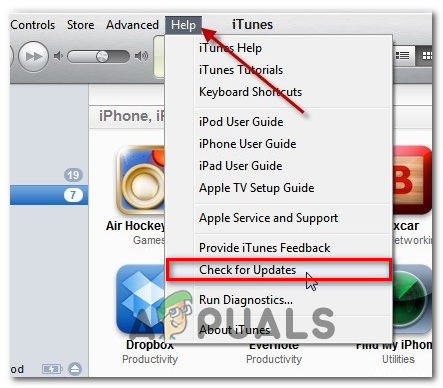
You can try updating automatically by clicking on Help from the menu at the top and clicking Check for Updates from the newly appeared context menu.
If that doesn’t work, you should take the time to remove ever iTunes component manually from your computer and install the latest version at the end. Here’s a quick, step-by-step guide that will show you how to do this:
- Press Windows key + R to open up a Run dialog box. Next, type ‘appwiz.cpl’ and press Enter to open up the Programs and Features screen.

Type appwiz.cpl and Press Enter to Open Installed Programs List - Once you’re inside the Programs and Features windows, scroll down through the list of applications and locate the iTunes installation. Once you see it, right-click on it and choose Uninstall from the newly appeared context menu.
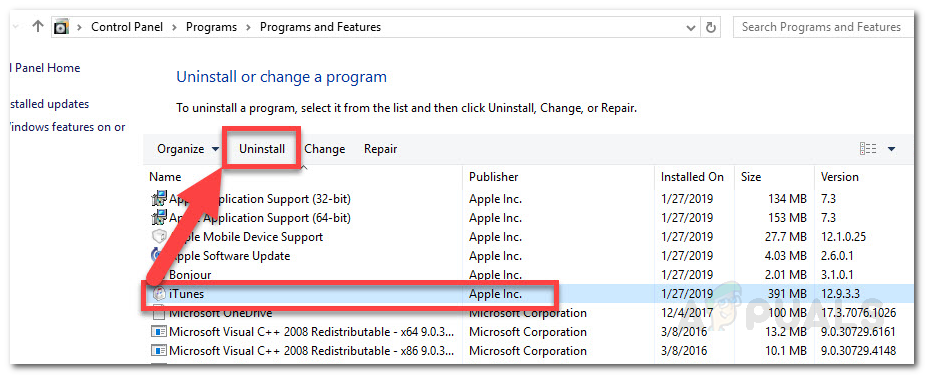
Uninstalling problematic application - Once the uninstallation is complete, restart your computer and wait for the next startup to complete.
- After the next startup is complete, access this link (here) from your default browser and hit the Download button to get the latest version of iTunes. Next, click Get while inside the WIndows store to start the installation.
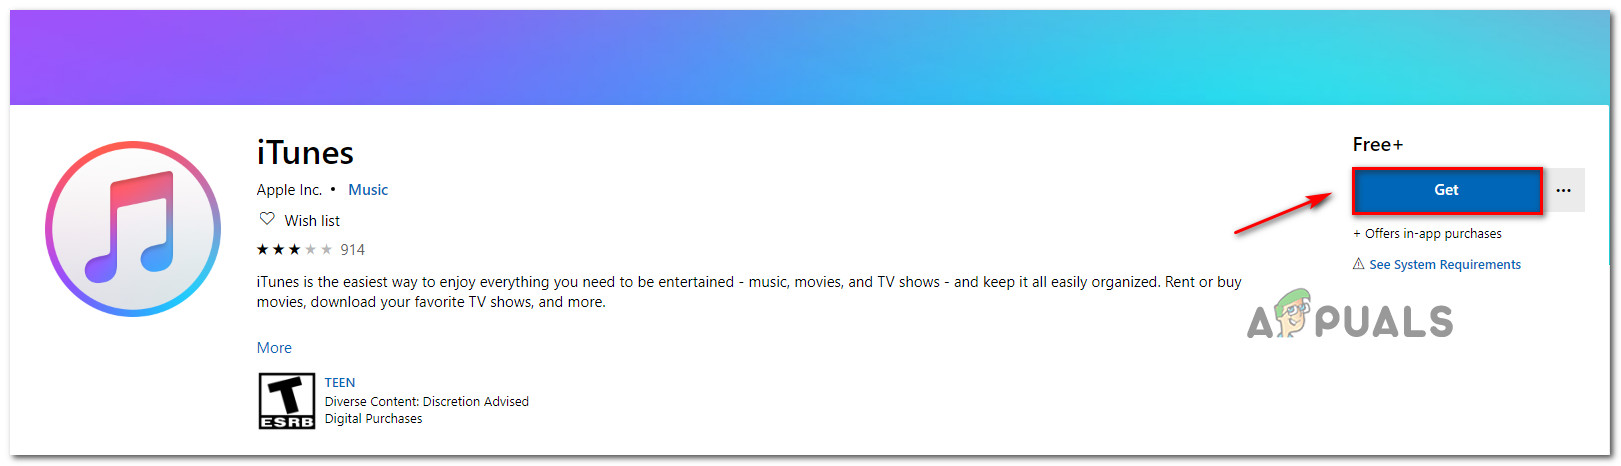
Downloading the latest version of iTunes Note: In case you’re not encountering this issue on Windows 10, download this version (here) instead.
- After the installation is complete, open up the inTunes application and see if the problem is now resolved by attempting to play an iTunes movie or TV series.
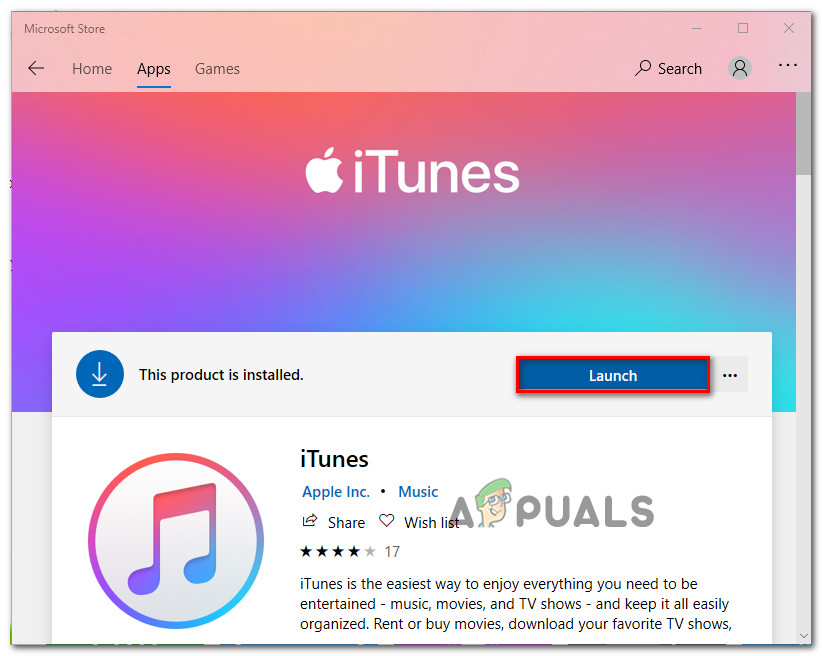
Launching iTunes
In case you’re still seeing the ‘Movie Cannot be Played in HD’ error, move down to the next potential fix below.
Switching Display to HDMI only
As it turns out, the Windows version of iTunes seems to trigger this particular error when it’s forced to play high-definition (HDCP) movies or TV series to a monitor connected via a DVI cable.
If this scenario is applicable and you are trying to play content on an external screen connected through DVI, remove it, restart your computer and attempt to play the movie from your default screen. In case the ‘Movie Cannot be Played in HD’ issue doesn’t appear while the DVI screen is not connected, you’ve just managed to identify the problem.
To fix it, switch the connection to HDMI. In case your external screen device doesn’t have an HDMI slot by default, you’ll need an adapter in order to enforce this workaround.
In case this method is not applicable, move down to the next potential fix below.
Installing every pending Windows update
According to a lot of affected users, this problem can be caused by a bad Windows 10 update released around the end of 2015. In case you installed that update but you didn’t install the hotfix that resolves the iTunes conflict (released in February 2016), you can expect to see the ‘Movie Cannot be Played in HD’ error whenever you try to play visual media on iTunes.
One solution that will get the problem fixed if this scenario is applicable is to install every pending Windows update and bring your computer up to that. This operation will ensure that you have the hotfix installed – after you do this, you should be able to use iTunes for movies & TV series without problems.
Here’s a quick guide on installing every pending update on Windows 10:
- Open up a Run dialog box by pressing Windows key + R. Next, type ”ms-settings:windowsupdate’ and press Enter to open up the Windows Update tab of the Settings app.
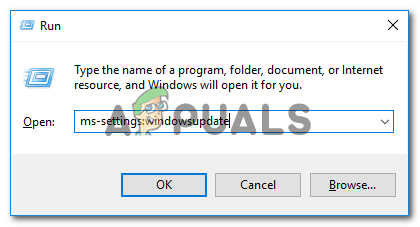
Opening the Windows Update screen - Inside the Windows Update screen, move down to the right section and click on Check for updates to initiate the scans for updates.
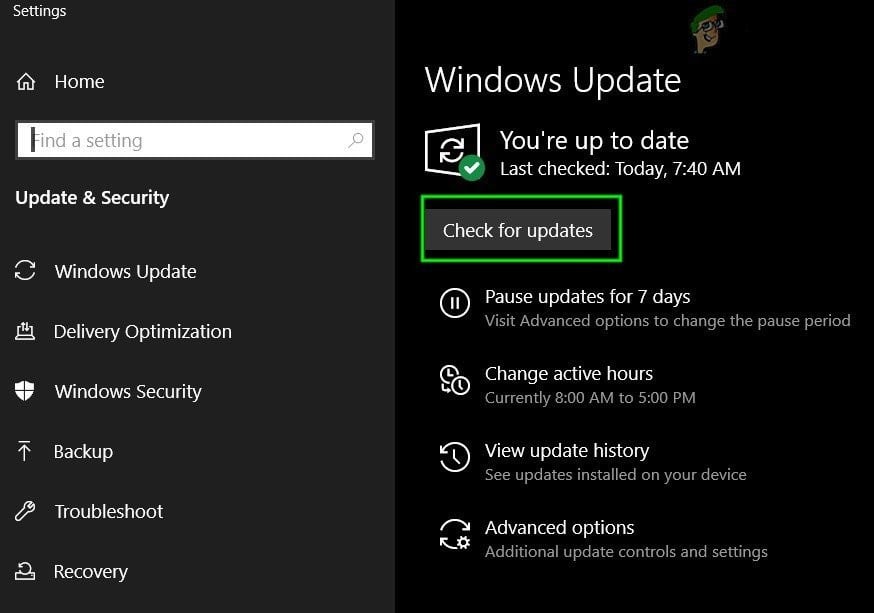
Check For Updates in Windows Update - If any pending updates are available, follow the on-screen instructions to install every instance. If you are prompted to install before every update is installed, do so but make sure to return to the same screen once the next startup is complete in order to ensure that every pending update is installed.
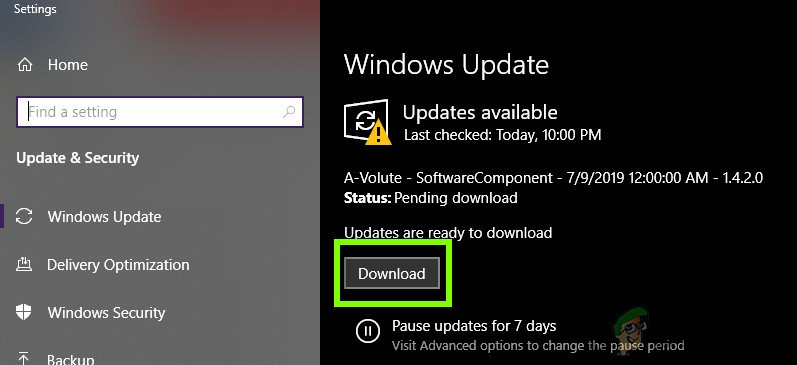
Check For Updates in Settings - After every available update is installed, restart your computer and see if the issue is resolved once the next startup sequence is complete by trying to play video content from iTunes.
In case the ‘Movie Cannot be Played in HD’ error still appears, move down to the next potential fix below.
Reverting & Blocking the Windows Update
As it turns out, the ‘Movie Cannot be Played in HD’ error is often reported to be caused by a problematic update that ends up effectively breaking the iTunes application. This can be resolved by installing the hotfix (method above), but in case you don’t want (or don’t have the means) to update to a newer Windows version, there is one additional workaround.
Some users that also faced this issue have confirmed that they were able to get the issue resolved by using system restore to revert back from the problematic Windows update and then block it in order to prevent it from being installed once again.
Here’s a step by step guide that will show you how to revert & block the Windows update that ends up causing the ‘Movie Cannot be Played in HD’ error:
- Open up a Run dialog box by pressing Windows key + R. Next, type ‘rstrui’ inside the text box and press Enter to open up the System Restore utility.
Opening the System Restore wizard via Run box - Once the System Restore utility is loaded, click Next at the first prompt and then check the box associated with Show more restore points to see a full lineup of available system restore points.
- Next, select a restore snapshot that is dated right before the problematic Windows update installed and messed up with iTunes and click Next once again.
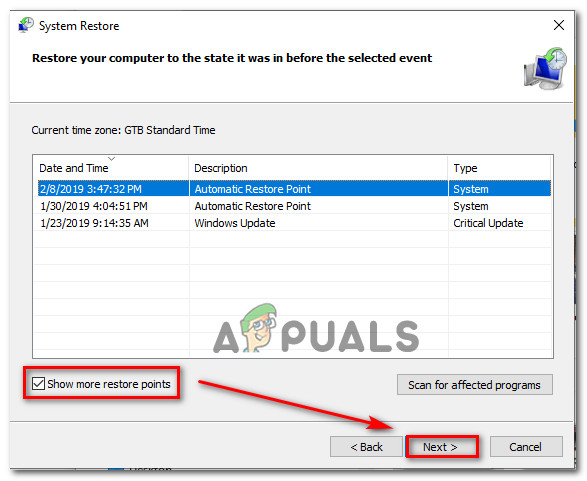
Restoring your system to a previous point in time Note: Windows will automatically create restore snapshots prior to the installation of major Windows Updates. So unless you modified the default behavior, you should have one restore snapshot that will revert your computer state right before the update was applied.
- All you have to do now is click Yes in order to start the restoring process. Upon clicking Finish, your computer will restart and the old state will be enforced.
- Once the next startup is complete, you need to ensure that the update doesn’t get installed again in order to cause the ‘Movie Cannot be Played in HD’ error again. To do this, you need to download and install the official Microsoft Show or Hide troubleshooter package from this link (here).
- Once the executable is downloaded, double-click on it and start by clicking on Advanced and checking the box associated with Apply Repairs Automatically and click Next to continue.
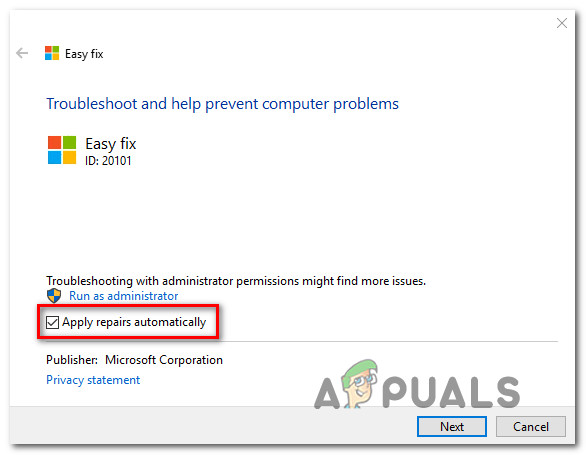
Applying repairs automatically - At the next screen, wait until the initial scan is finished, then click on the Hide Updates hyperlink.
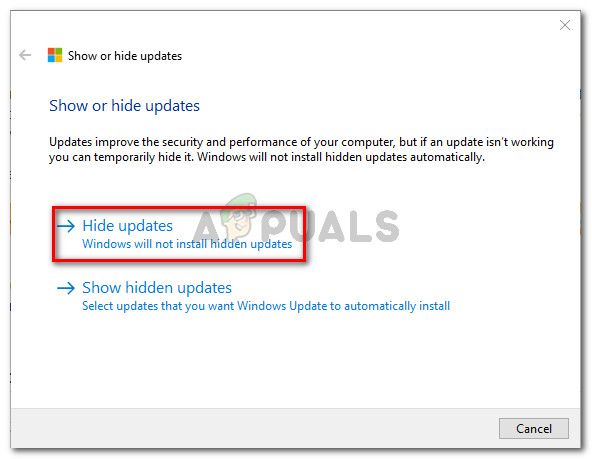
Hiding the updates on Windows 10 - Next, check the box associated with the problematic update that you want to hide, then click on Next to advance to the final screen.
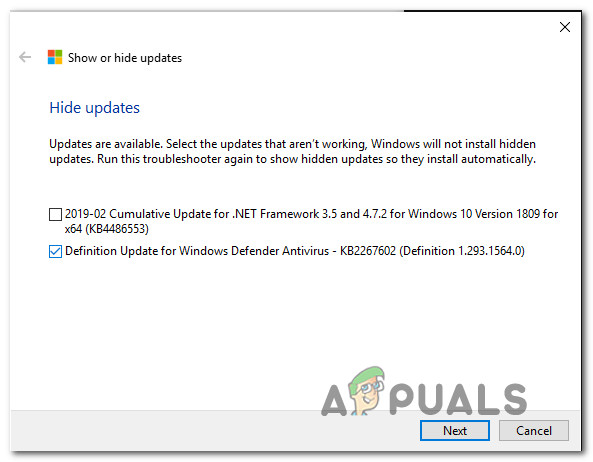
Hiding updates - Wait until the procedure is complete, then restart your computer and launch iTunes at the next startup to see if the ‘Movie Cannot be Played in HD’ error is now resolved.
In case the issue persists, move down to the next potential fix below.
Disabling Hyper-V (Windows 8.1 and Windows 10 Only)
As it turns out, there is one particular scenario that seems to only affect Windows 8.1 and Windows 10 users. Keep in mind that on this operating system, Microsoft automatically includes a Virtual Machine package called Hyper-V Client – It will be installed by default.
But keep in mind that the Hyper-V package is not a problem by itself. The problem occurs because it installed a secondary driver that’s capable of breaking HDCP – which means you will see the ‘Movie Cannot be Played in HD’ error even if your system is fully compliant.
If this scenario is applicable, you should be able to fix the issue by disabling the Hyper-V technology altogether. Here’s a quick guide on how to do this:
- Press Windows key + R to open up a Run dialog box. Next, type ‘appwiz.cpl’ inside the text box and press Enter to open up the Programs and Features menu.

Type “appwiz.cpl” into the Run dialog and press Enter - Once you’re inside the Programs and Features menu, use the menu on the left to click on Turn Windows features on or off.

Accessing the Windows features menu - Once inside, expand the Hyper-V folder and make sure that the boxes associated with Hyper-V Management Tools and Hyper-V Platform are unchecked before clicking Ok.
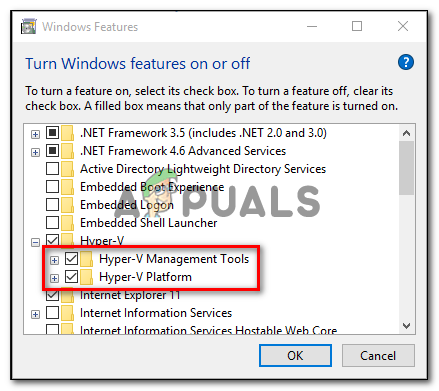
Disabling Hyper-V via the Windows Features screen - Wait until the operation is complete, then restart your computer if not prompted to do so automatically.
- Check to see if the ‘Movie Cannot be Played in HD‘ error is fixed at the next startup by repeating the playback operation.
If the issue persists, move down to the next method below.
Resetting the Power Manager (macOS Only)
In case you’re encountering the macOS variation of this error (‘Can’t watch in HD’), you should be able to fix the issue by resetting the power manager. There are a lot of Mac users confirming that this operation finally allowed them to play video content normally within iTunes. Apparently, this is one of the first troubleshooting guide recommended by Apple support agents for issues of this kind.
Here’s a quick guide on how to do this:
Note: The instructions below should work regardless of the macOS version that you’re using.
- Ensure that every application is closed (including iTunes).
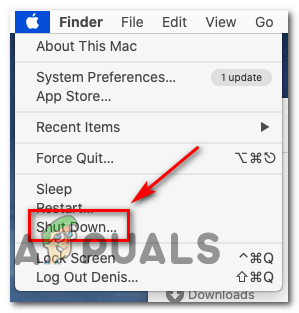
- Click on the Apple icon (top-left corner) and click on Shut Down from the newly appeared context menu.
Shutdown MacOS - Once you get to the confirmation prompt, press and hold Shift + Control + Option and then click on Shut Down once again to initiate the reset of the power manager.
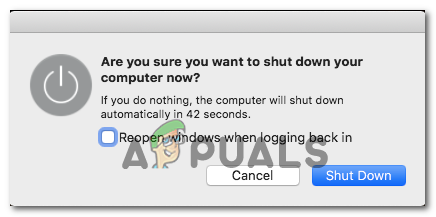
Resetting the Power Manager - Once your Mac is fully powered off, start it conventionally and wait for the boot procedure to complete. Next, repeat the action that was causing the ‘Can’t watch in HD’ and see if the issue is now resolved.